
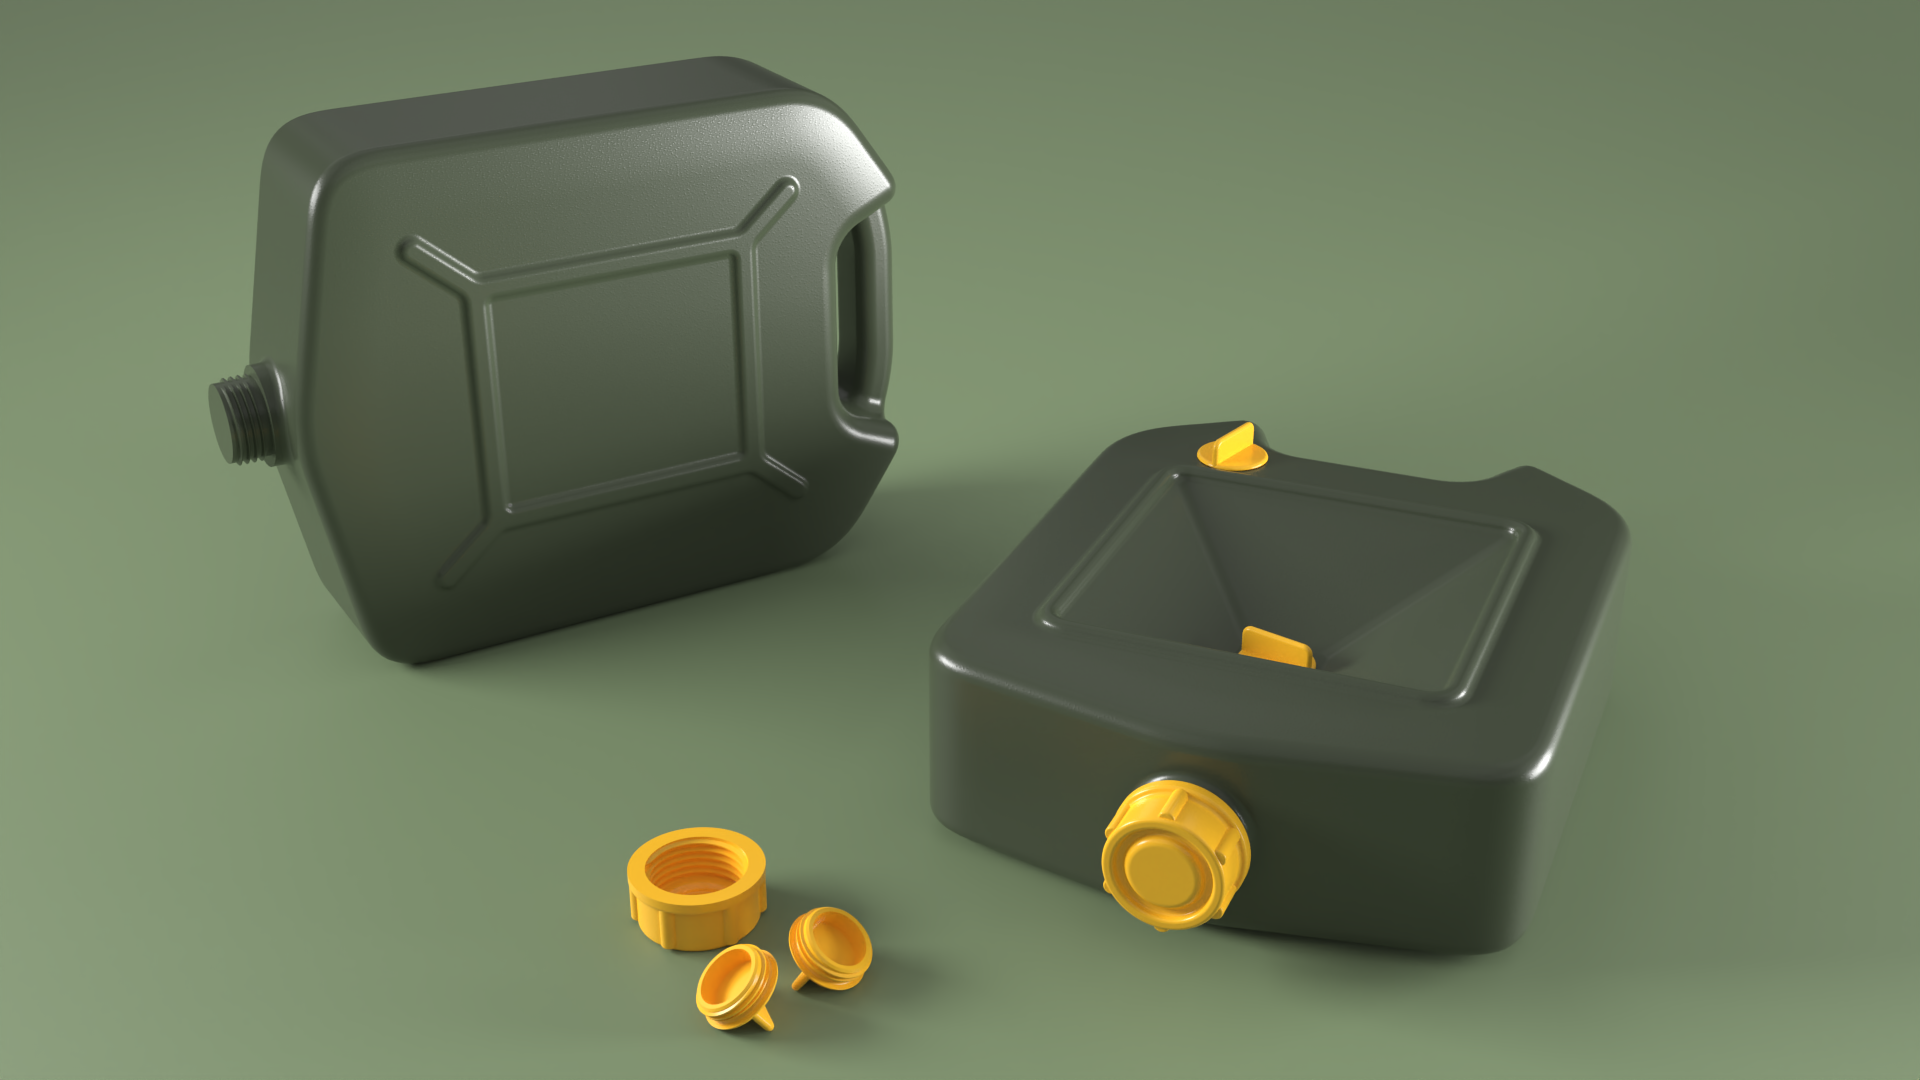
What you'll learn
- Create clean G1 (rolling ball) transitions with
 FilletSrf
, even between surfaces that don’t share an edge.
FilletSrf
, even between surfaces that don’t share an edge. - Chain fillets all the way around a body and let them trim the surfaces they meet automatically.
- Fillet between a surface and a curve or edge using
 FilletSrfCrv
.
FilletSrfCrv
.
Filleting the top half body
The base surfaces for the model have been created. In this tutorial we will only focus on filleting.
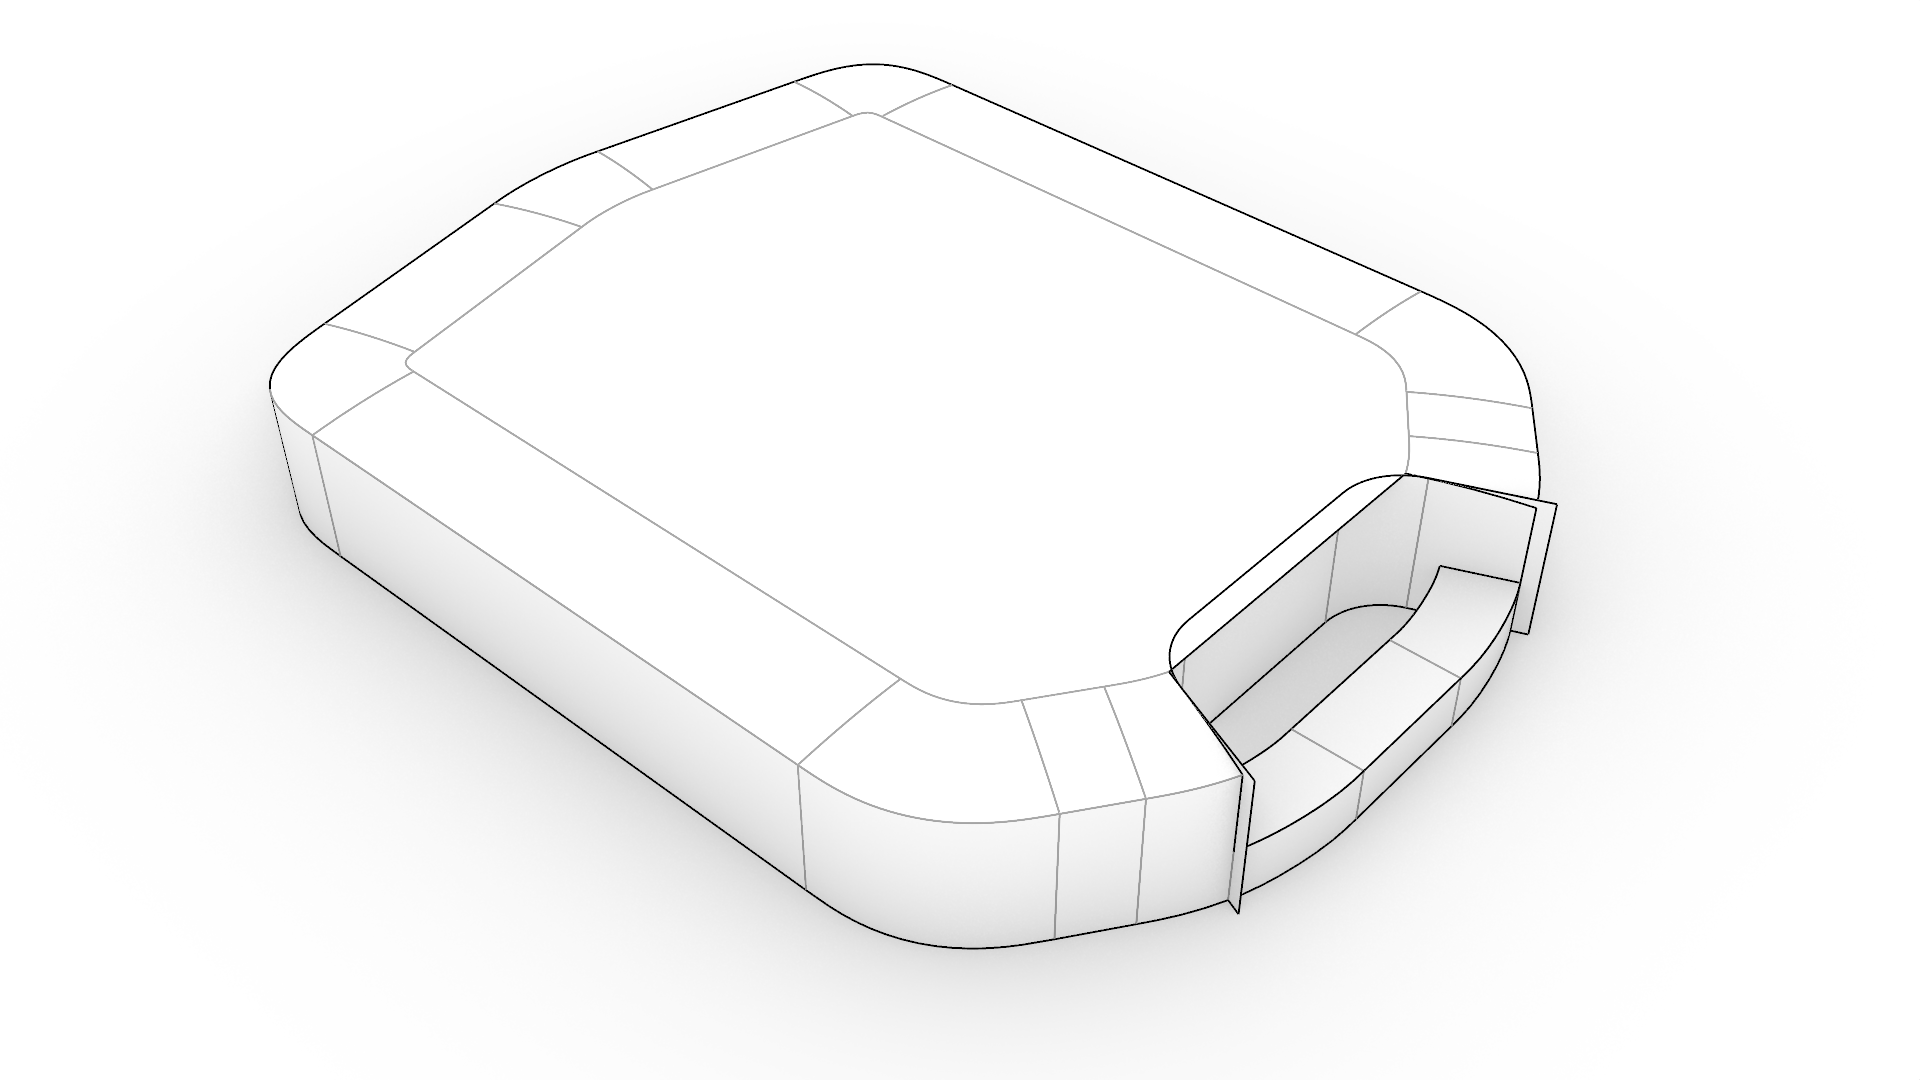
- Download and open the model JerryCan and run FilletSrf
.
- At the
Select first surface to Fillet (Radius=1)prompt, select the top handle surface. - At the
Select second surface to fillet (Radius=1) prompt, select the inner handle surface. - The FilletSrf dialog will show. You can now use the slider to increase the radius. Increase to Radius 10.
- Make sure that all the checkboxes are checked, so that the surface fillet runs across all the handle surfaces and joins the filleted pieces together:
- Trim
- Join
- Extend
- Continue across faces
- Click OK to create the first surface fillets.
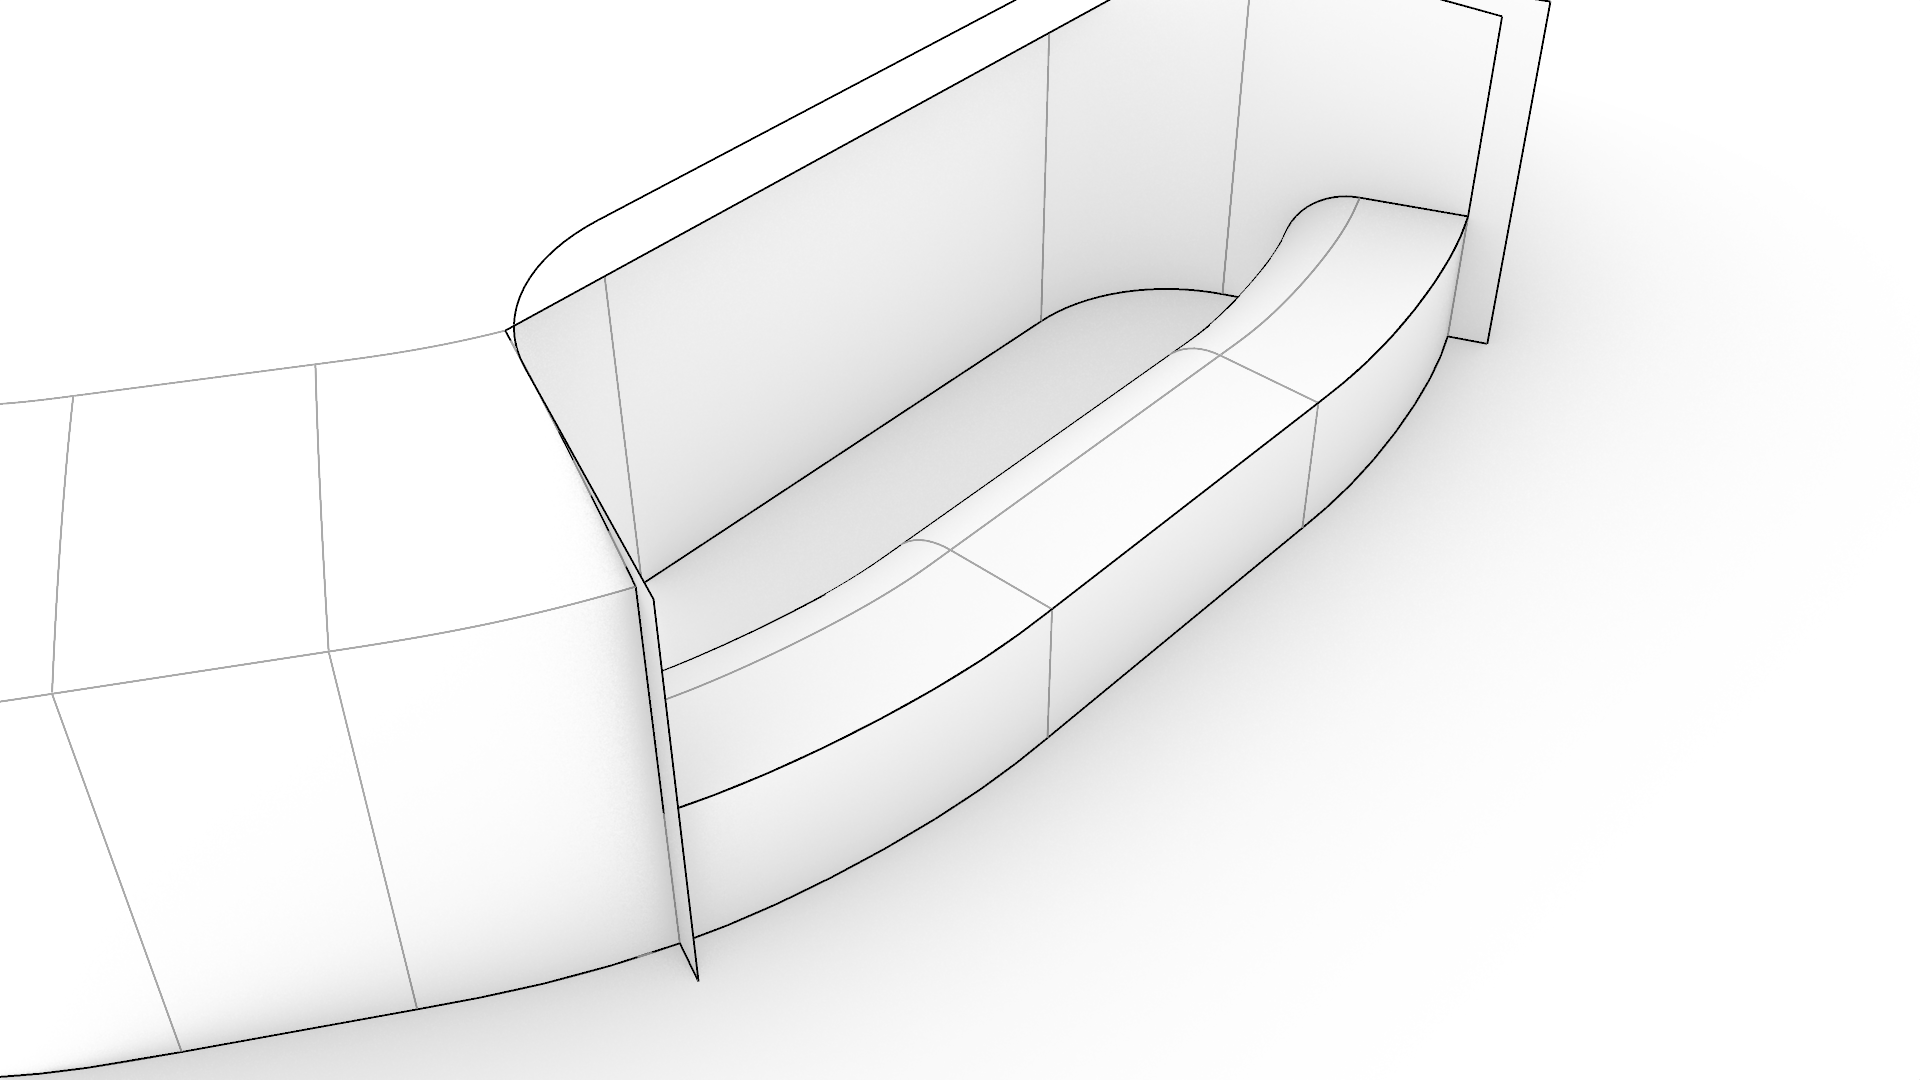
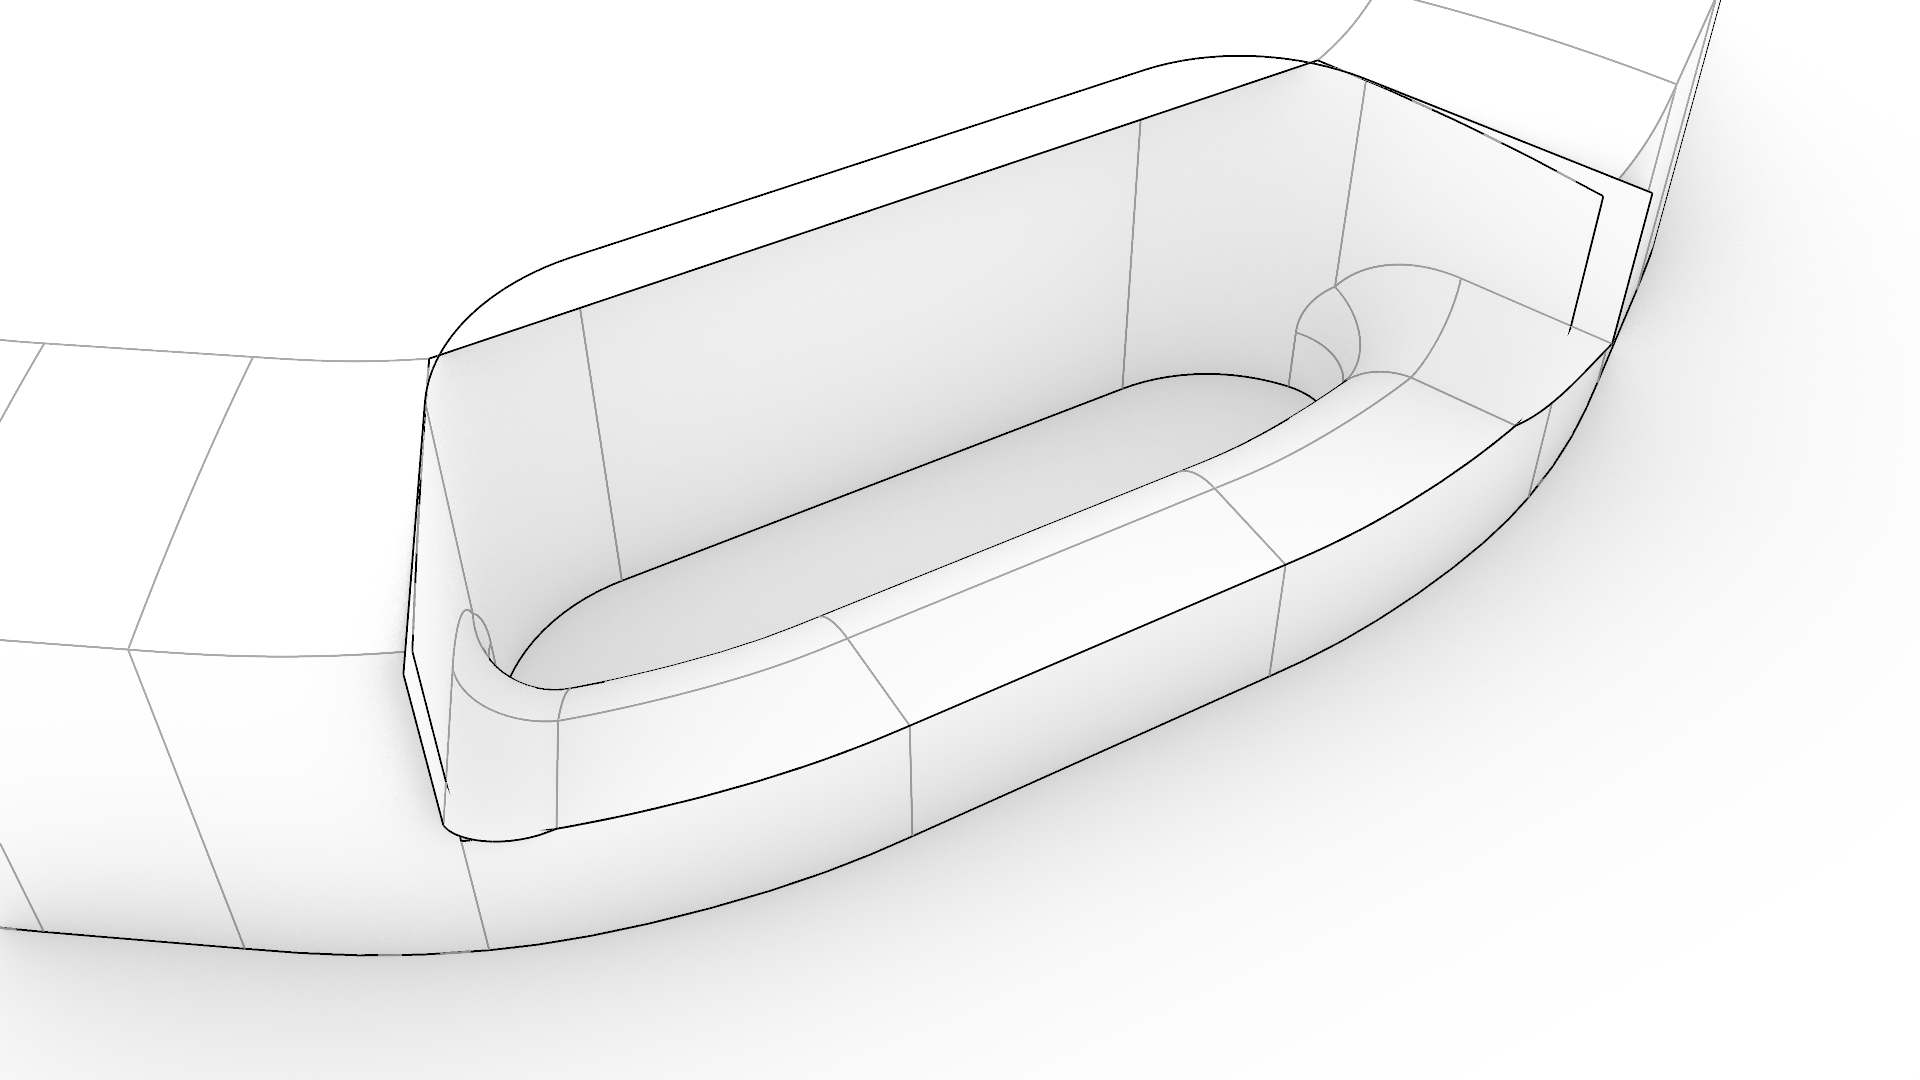
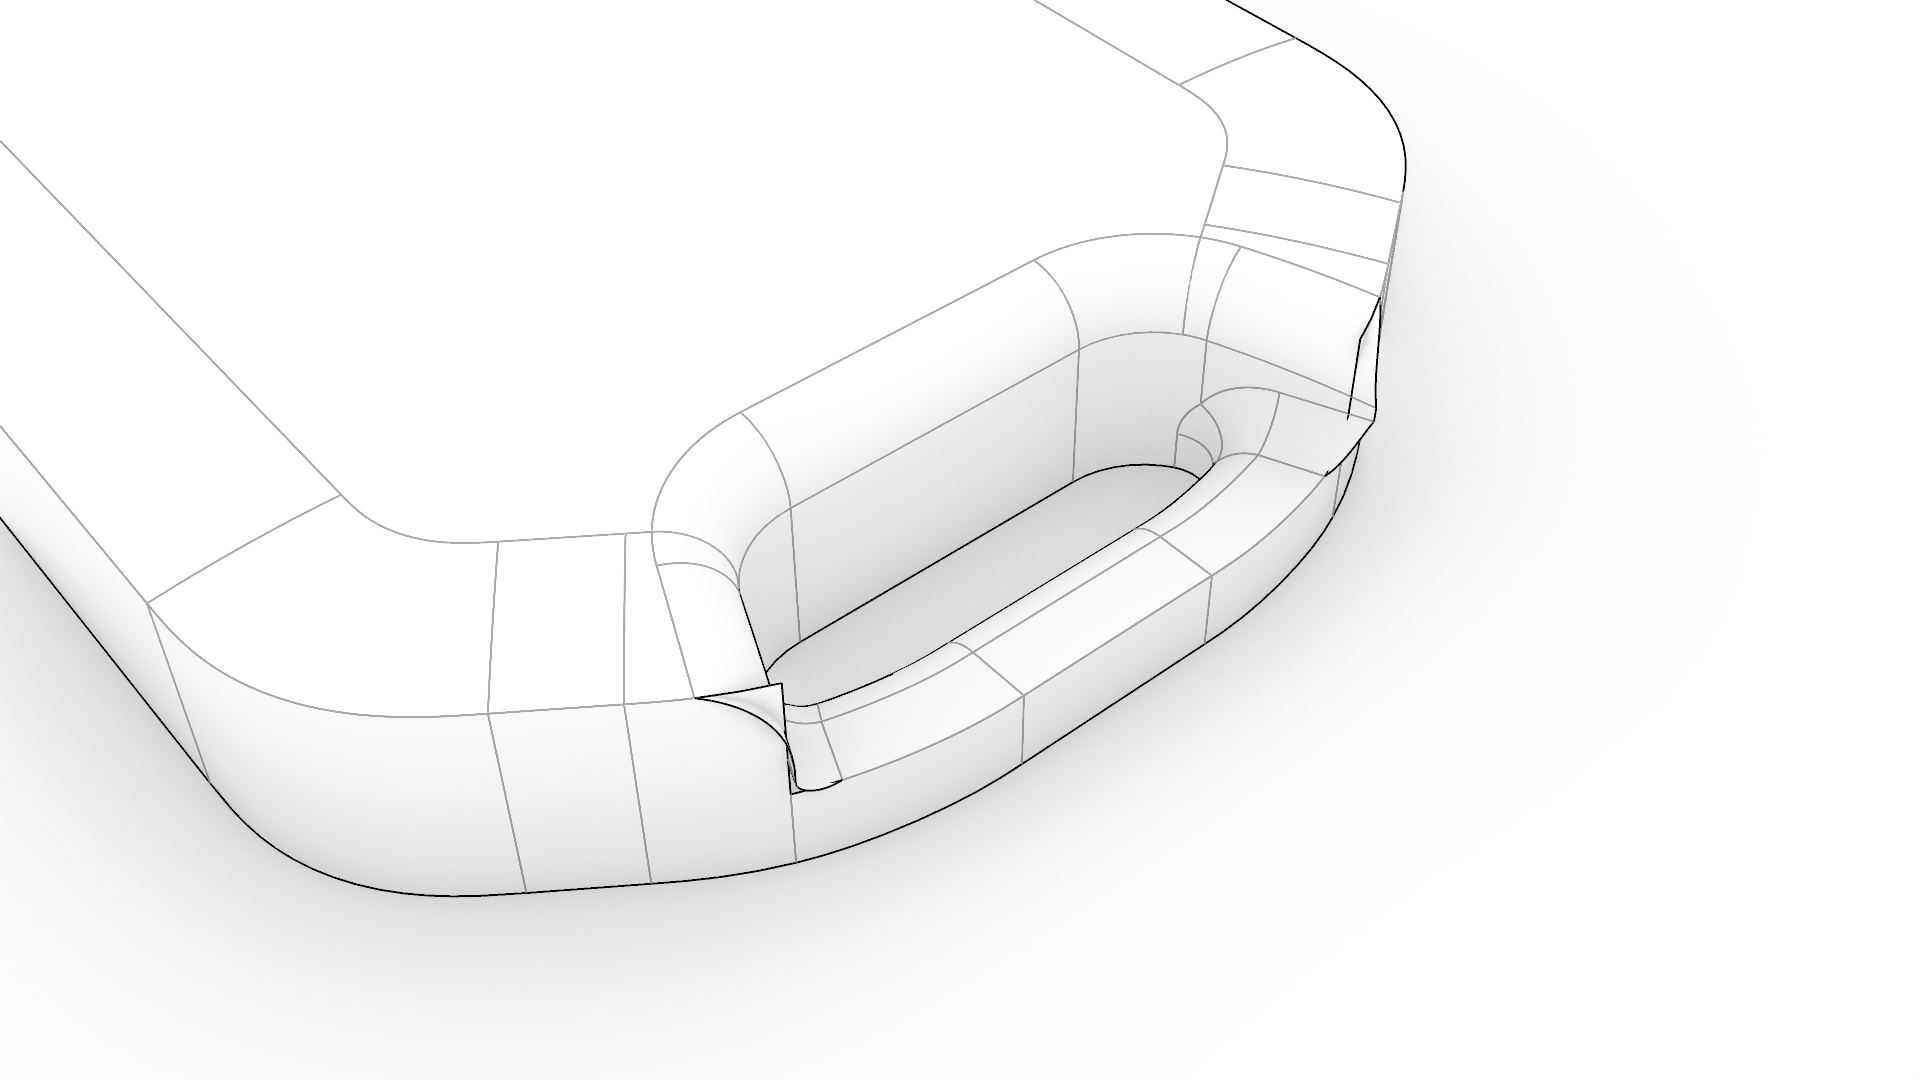
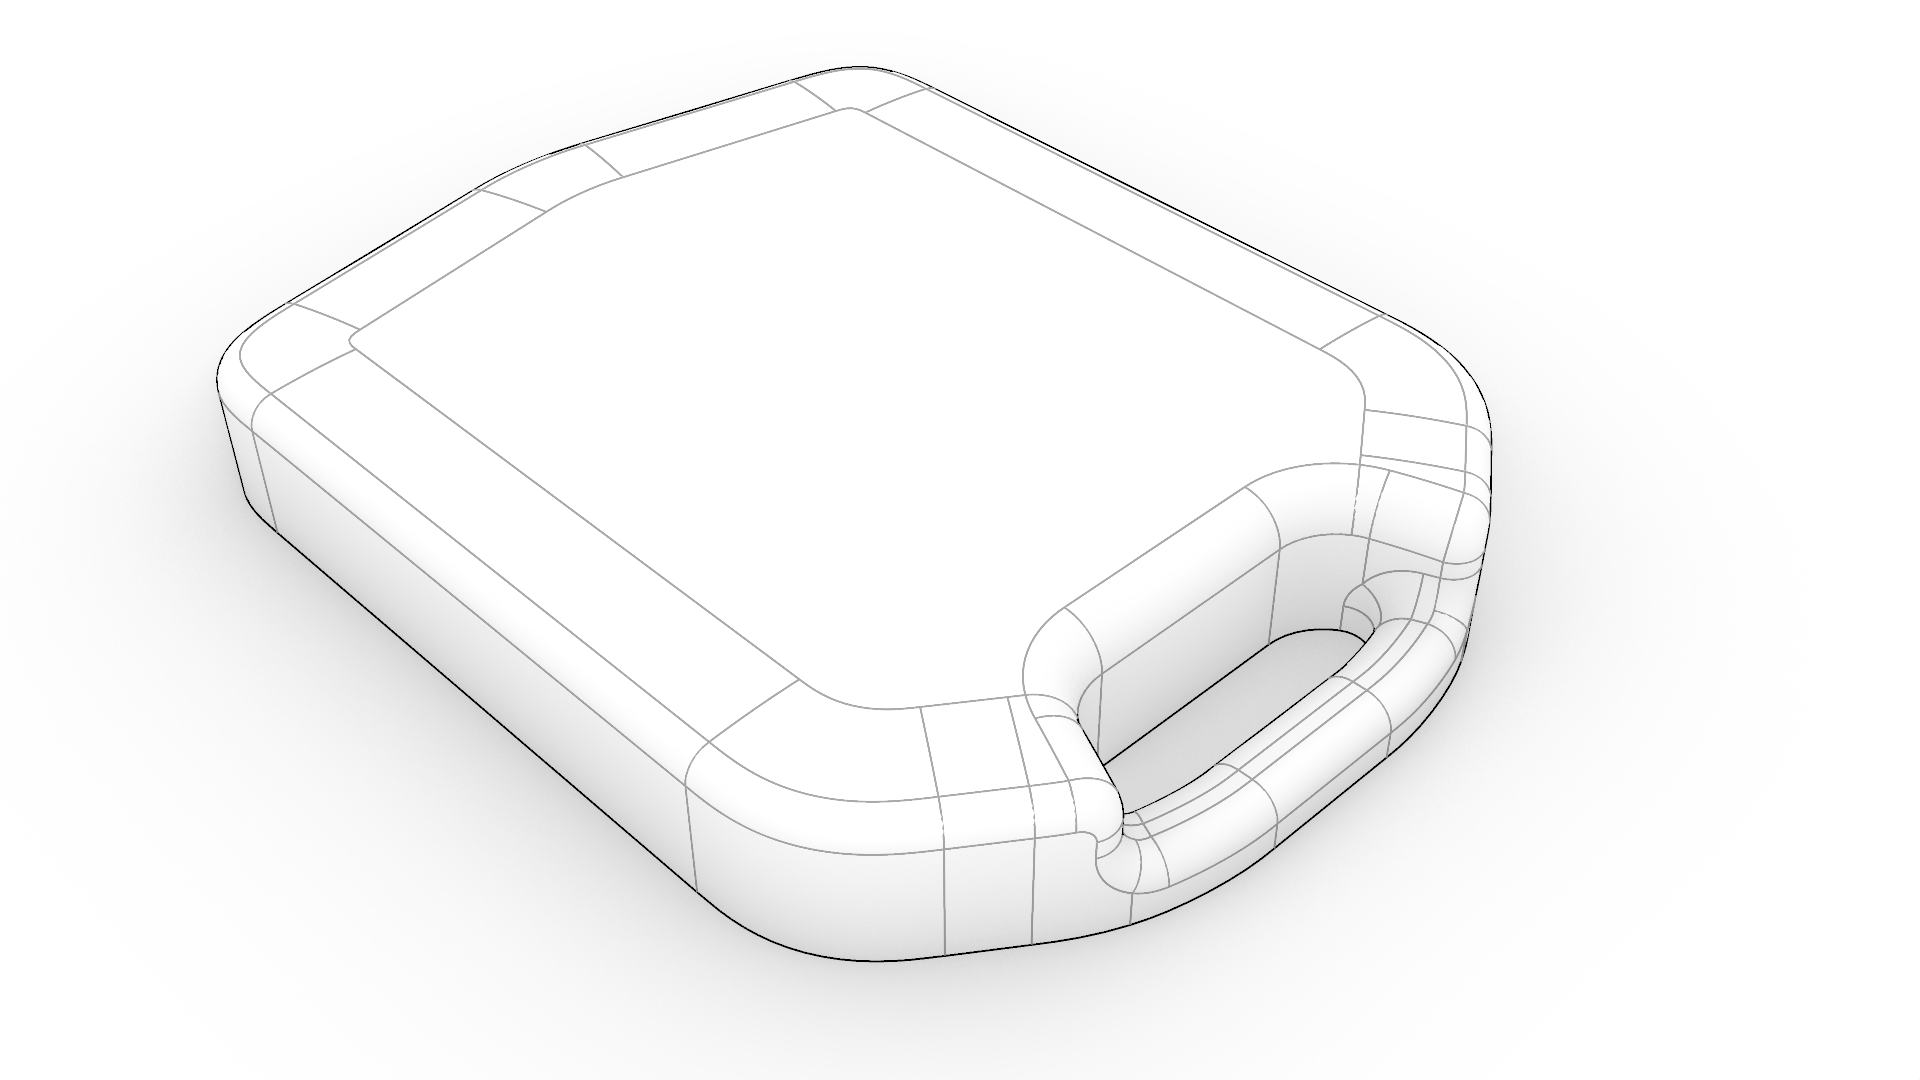
- Create the fillets that connect the handle to the vertical part of the cutout. Radius 10.
- Create the fillets that connect the handle to the rest of the body. Radius 15.
- Now we can finish the remaining open and sharp edges with one continuous chain of fillet surfaces. Radius 10. Notice that FilletSrf continues all the way around, even where there are no matching edges: This is the true power of FilletSrf over FilletEdge.
Creating the funnel
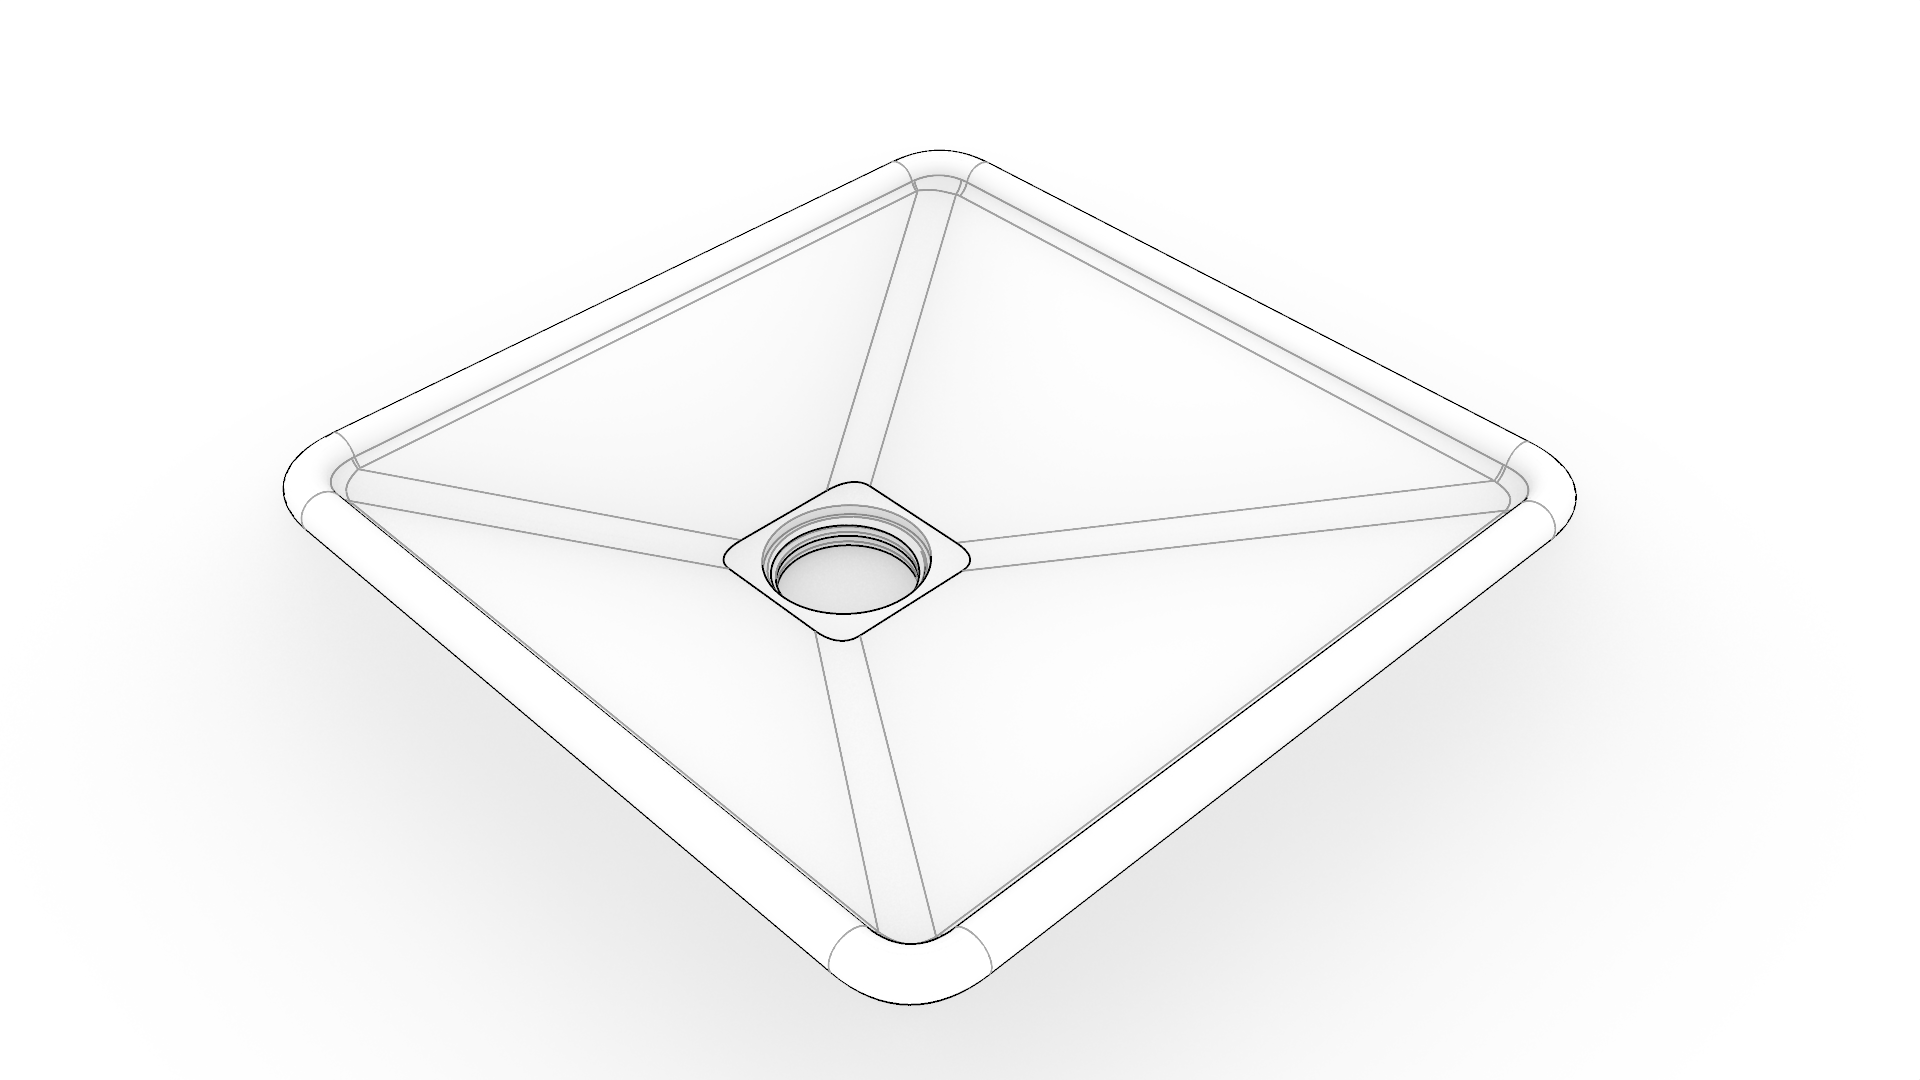
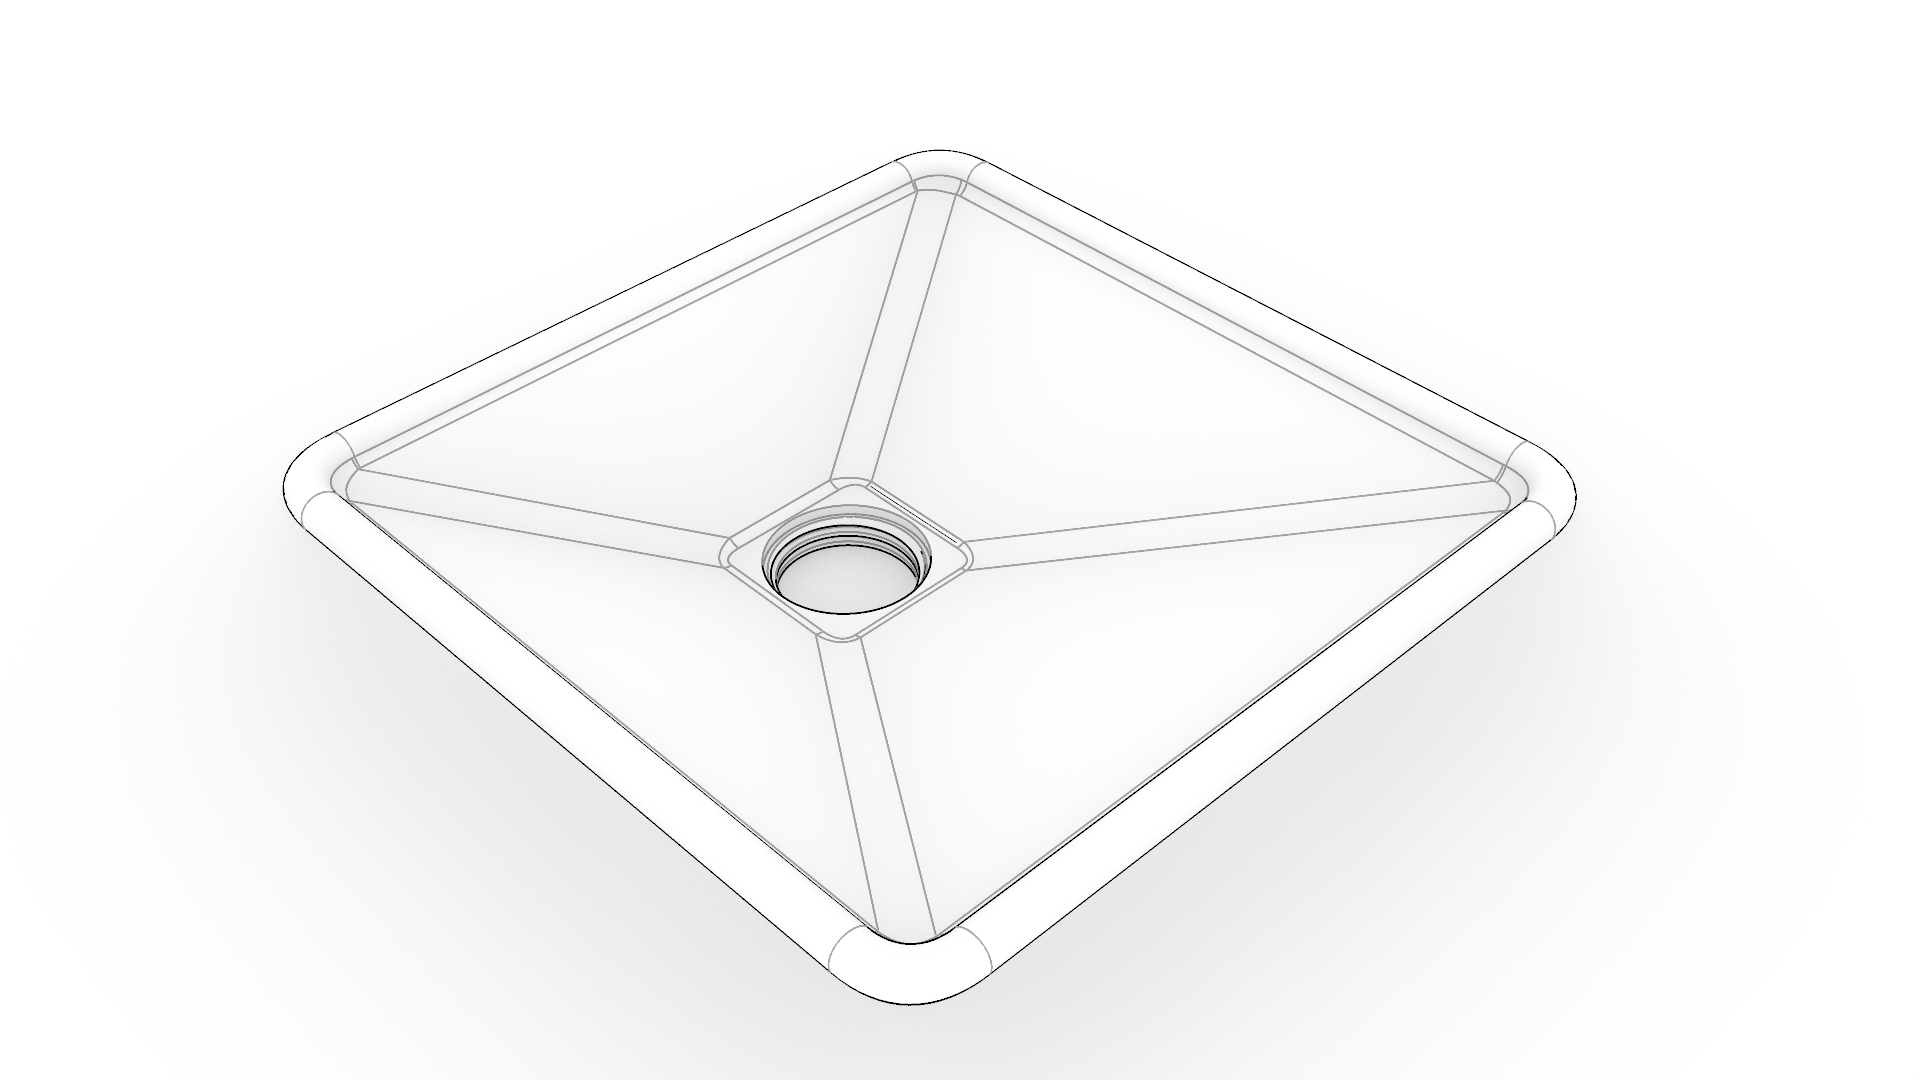
There are 3 polysurfaces in this step that we connect with fillets using FilletSrf only. We use a radius of 5 for all connections in this step.
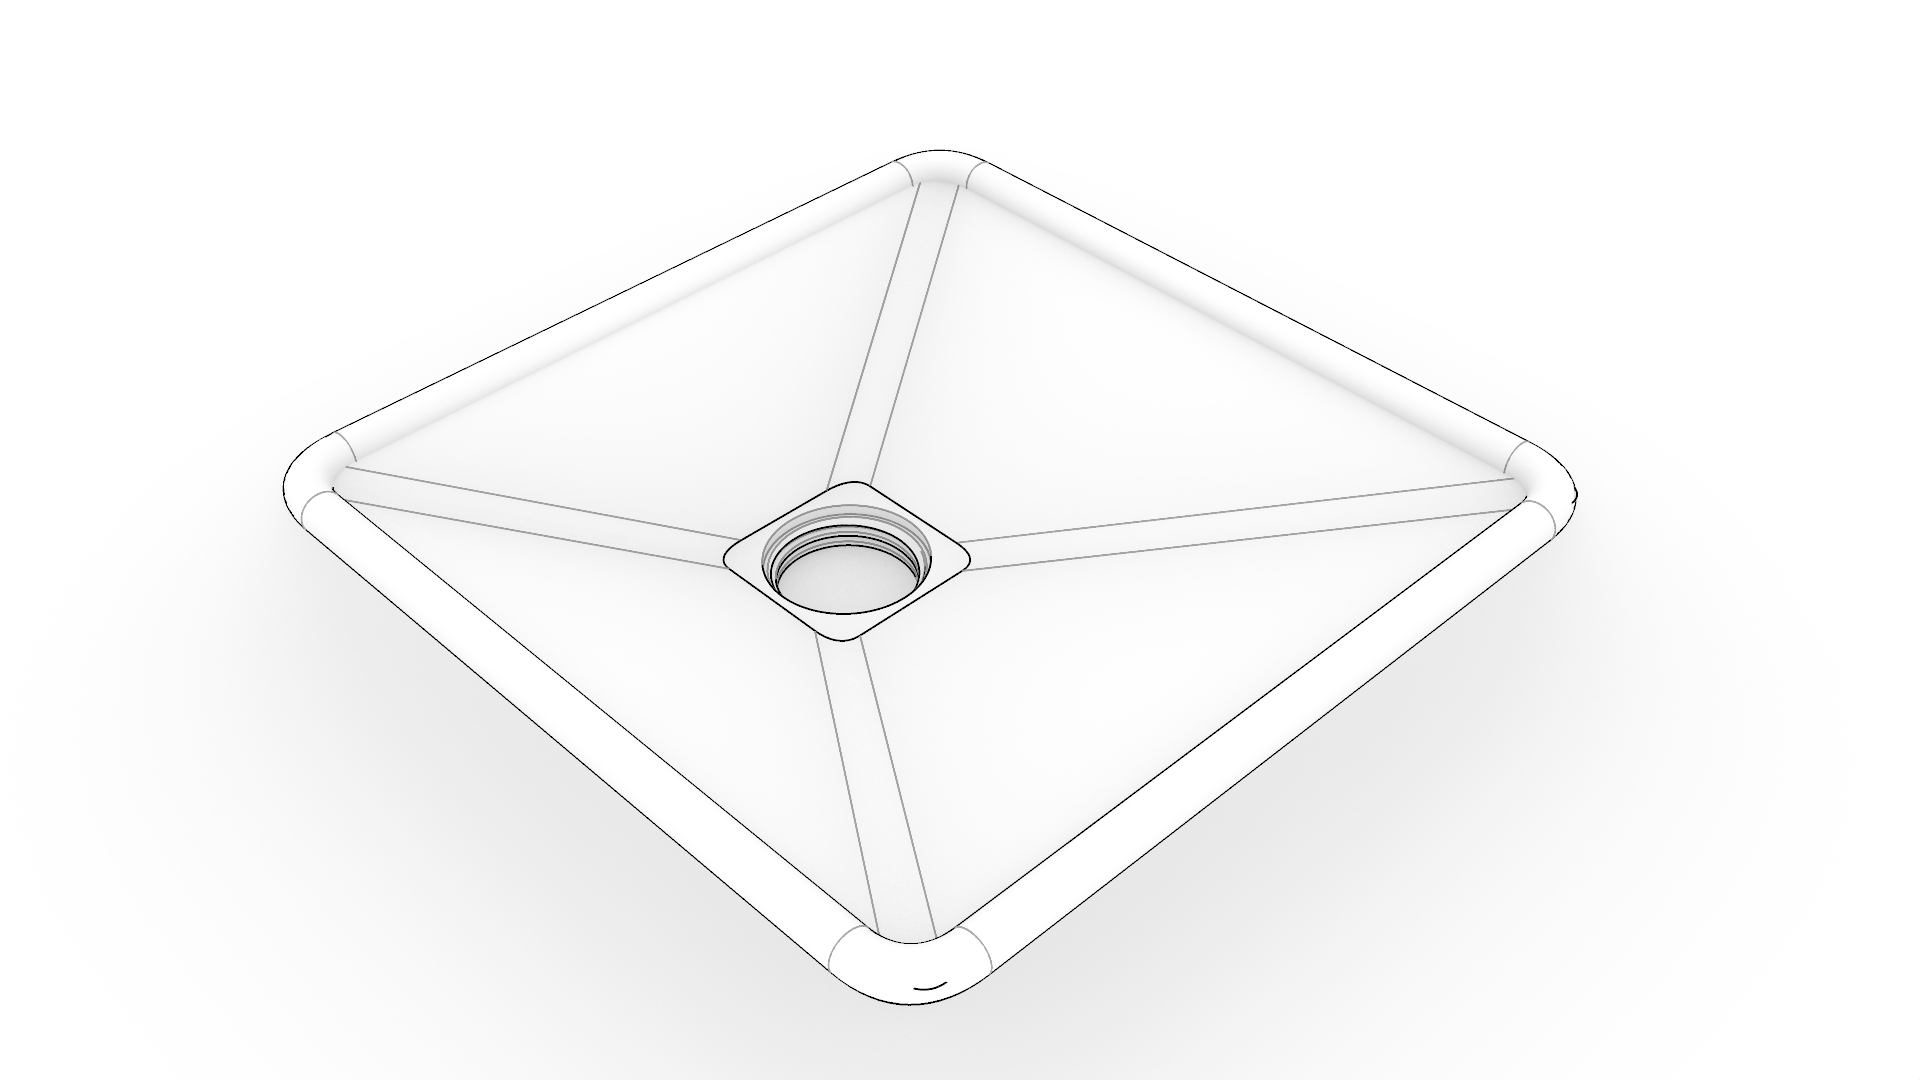
- Run
 OneLayerOn
and select layer 02 - 1.
OneLayerOn
and select layer 02 - 1. - Run FilletSrf
, to make a chain of fillets between the pipe and the funnel. Radius 5
Important
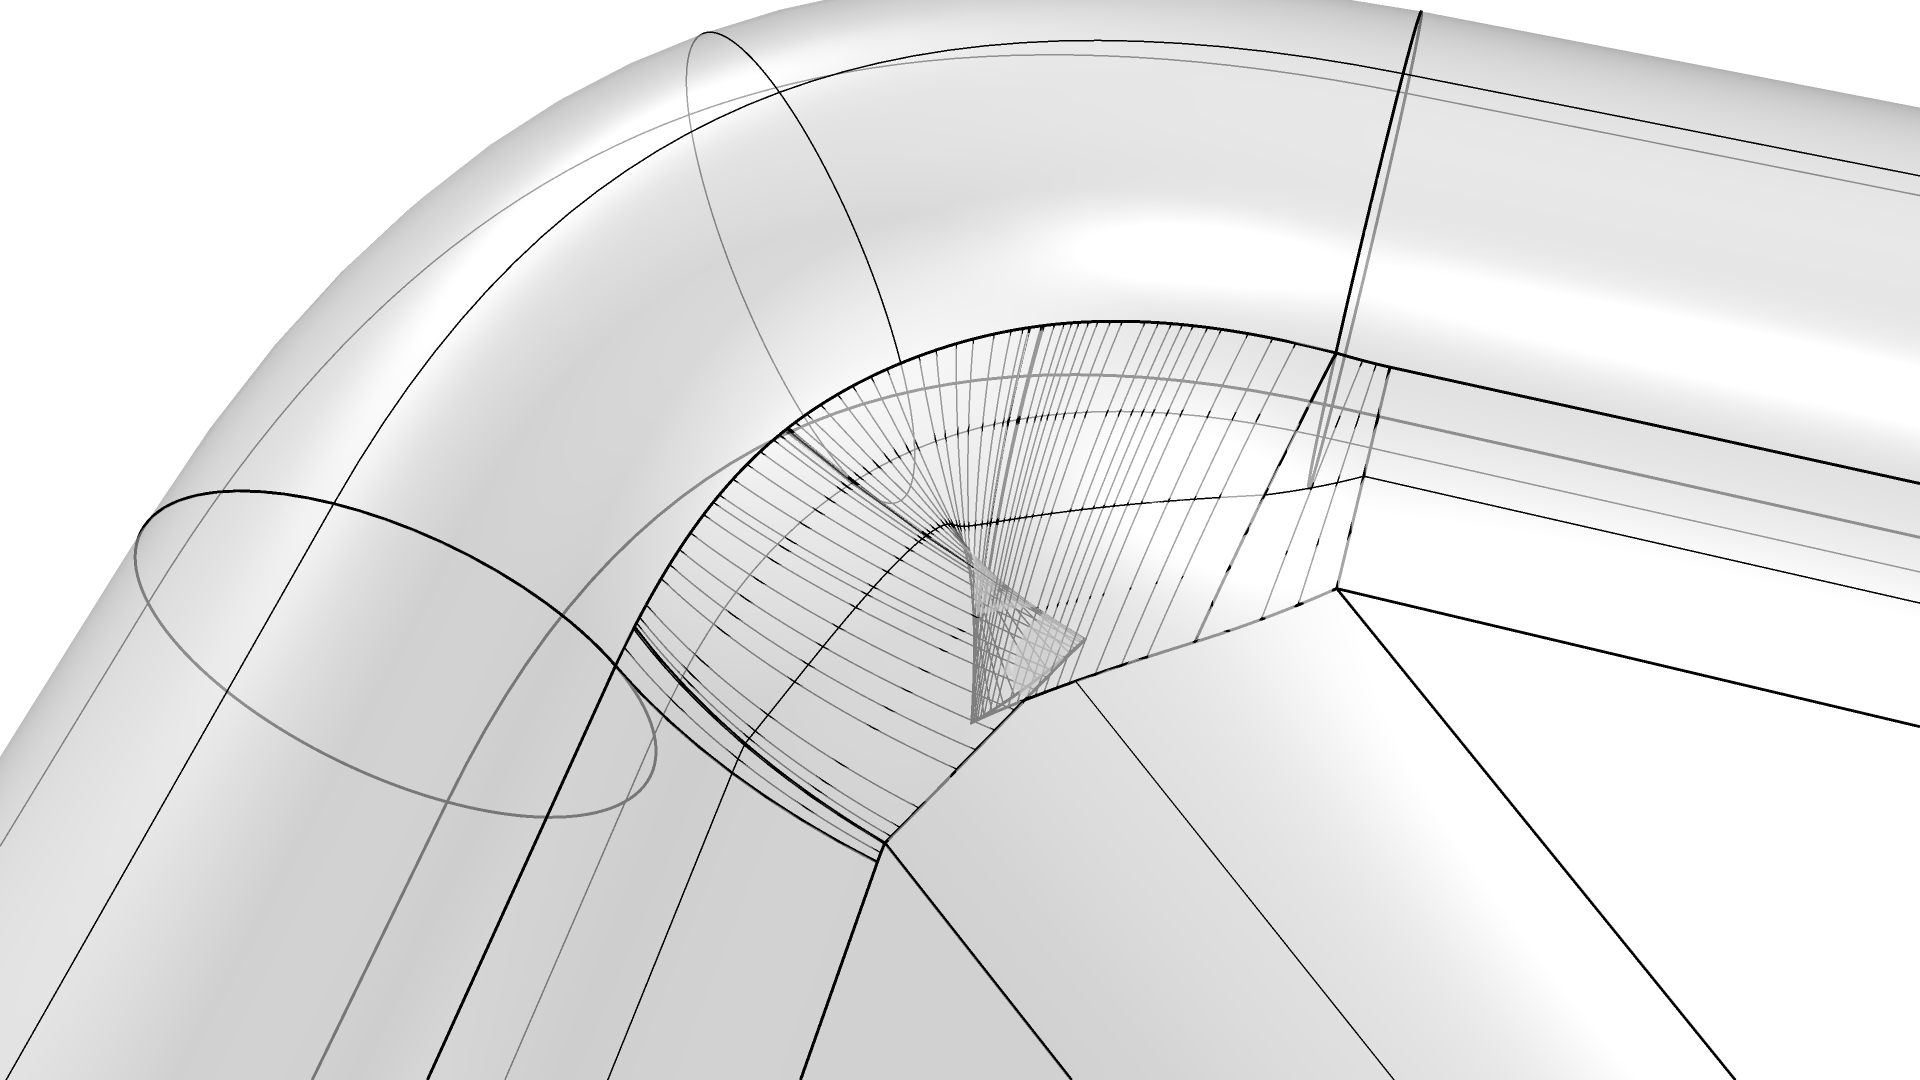
Make sure to keep the fillet radius equal or smaller than the radius of curvature the filleted surfaces. Otherwise fillets start self intersecting. You can easily see this in the corners of the pipe when adding a fillet of 10 instead of 5. The pipe surface has a smaller curvature in the middle, the rolling ball fillet of 10 will not fit.
- Create another chain between the funnel and the surfaces around the threaded opening. Radius 5
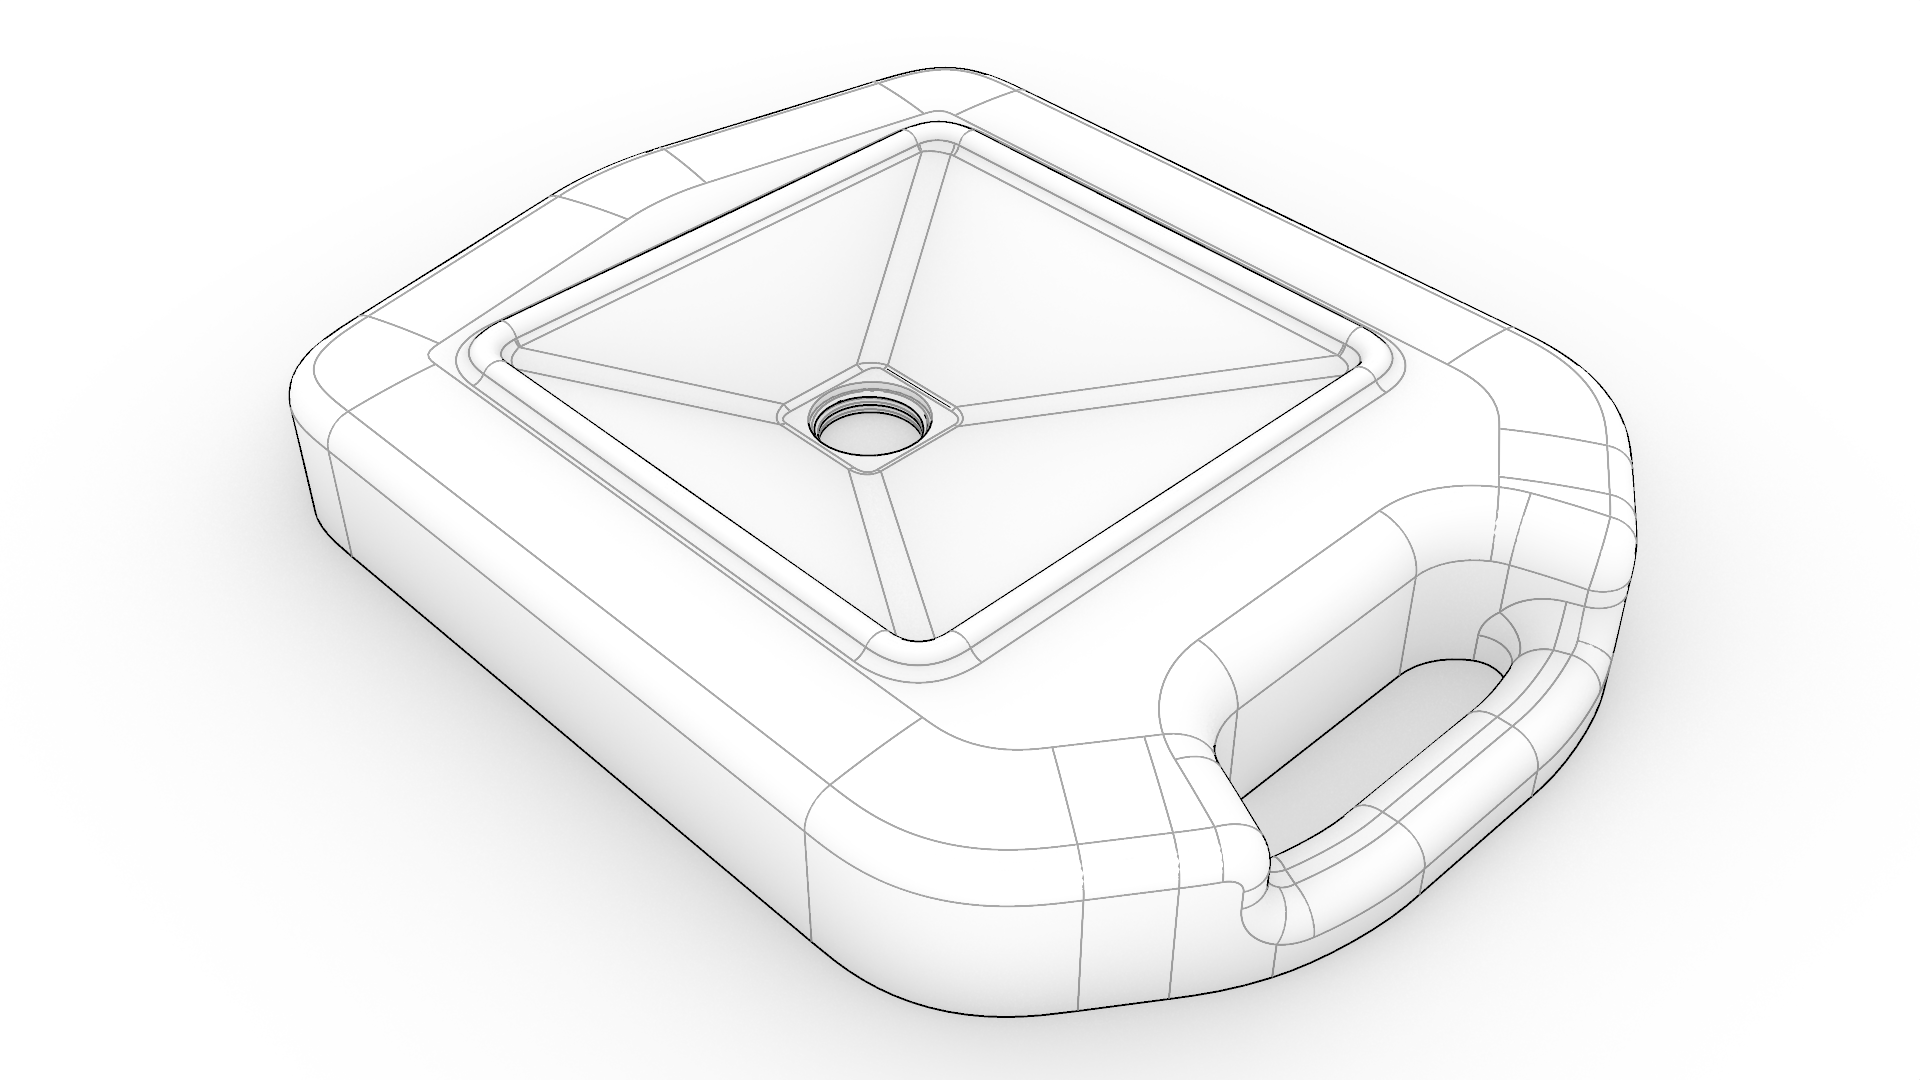
- Turn on the layer that contains the model created in step 01 and connect the funnel to the body with another surface fillet chain. Radius 5. Notice the fillet chain automatically trims the top surface of the body to make place for the funnel.
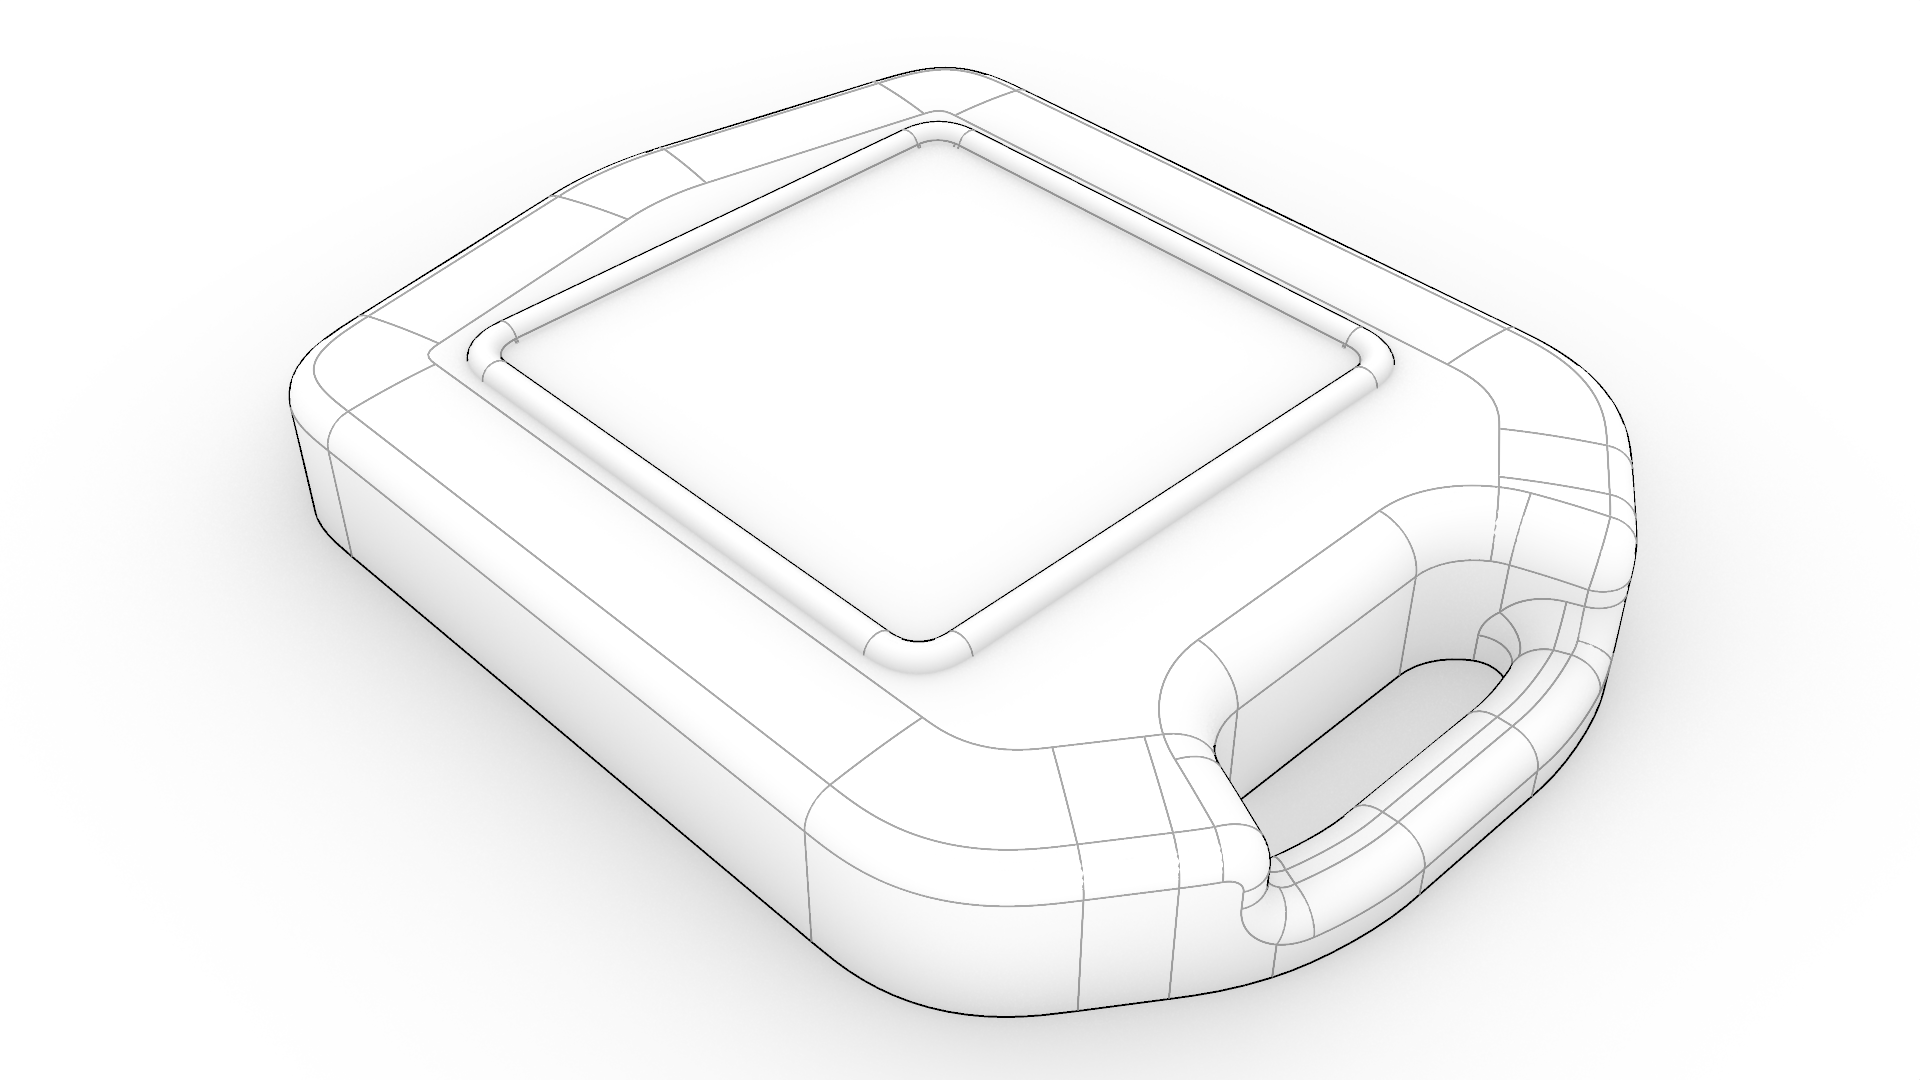
- To complete the top half of the body turn on the layer 02 - 5 and use the object to
 Trim
a hole in the top surface of the body. Then
Trim
a hole in the top surface of the body. Then  Join
the two polysurfaces.
Join
the two polysurfaces.
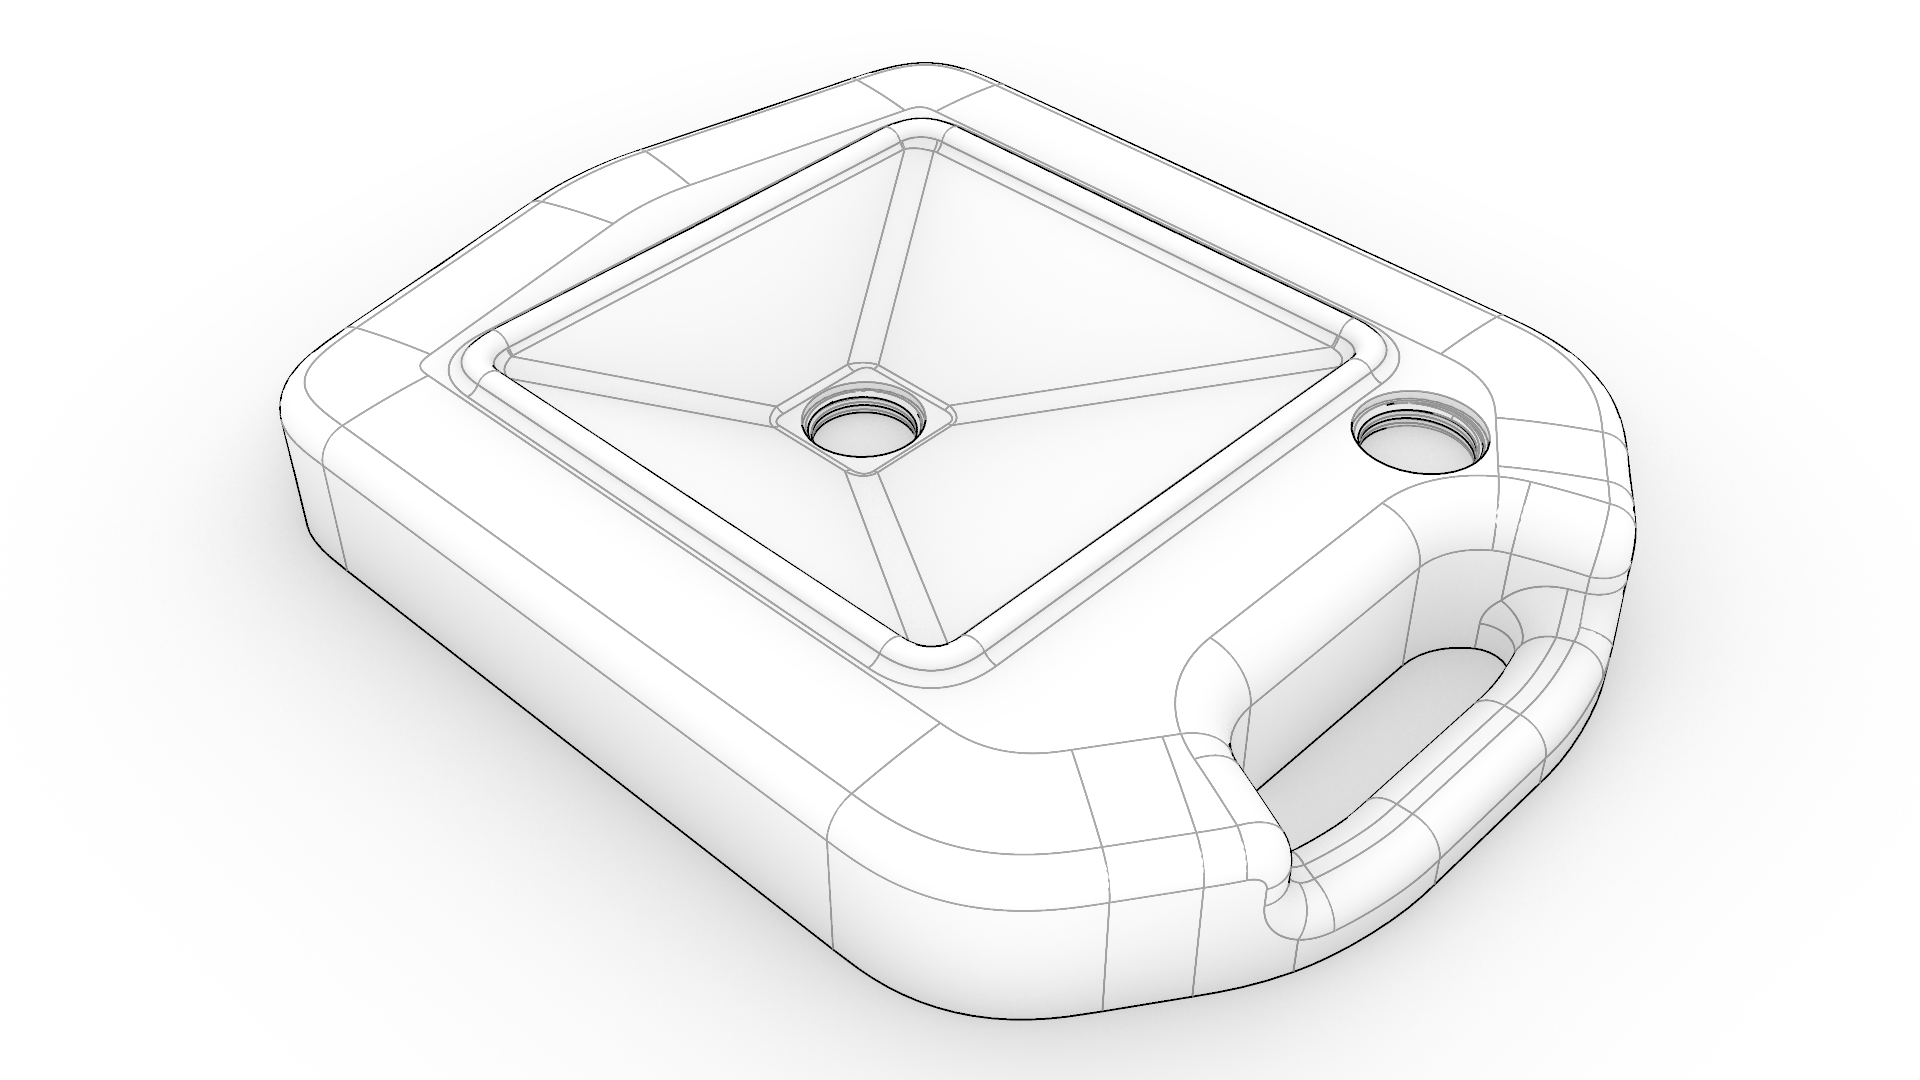
Creating the bottom half body
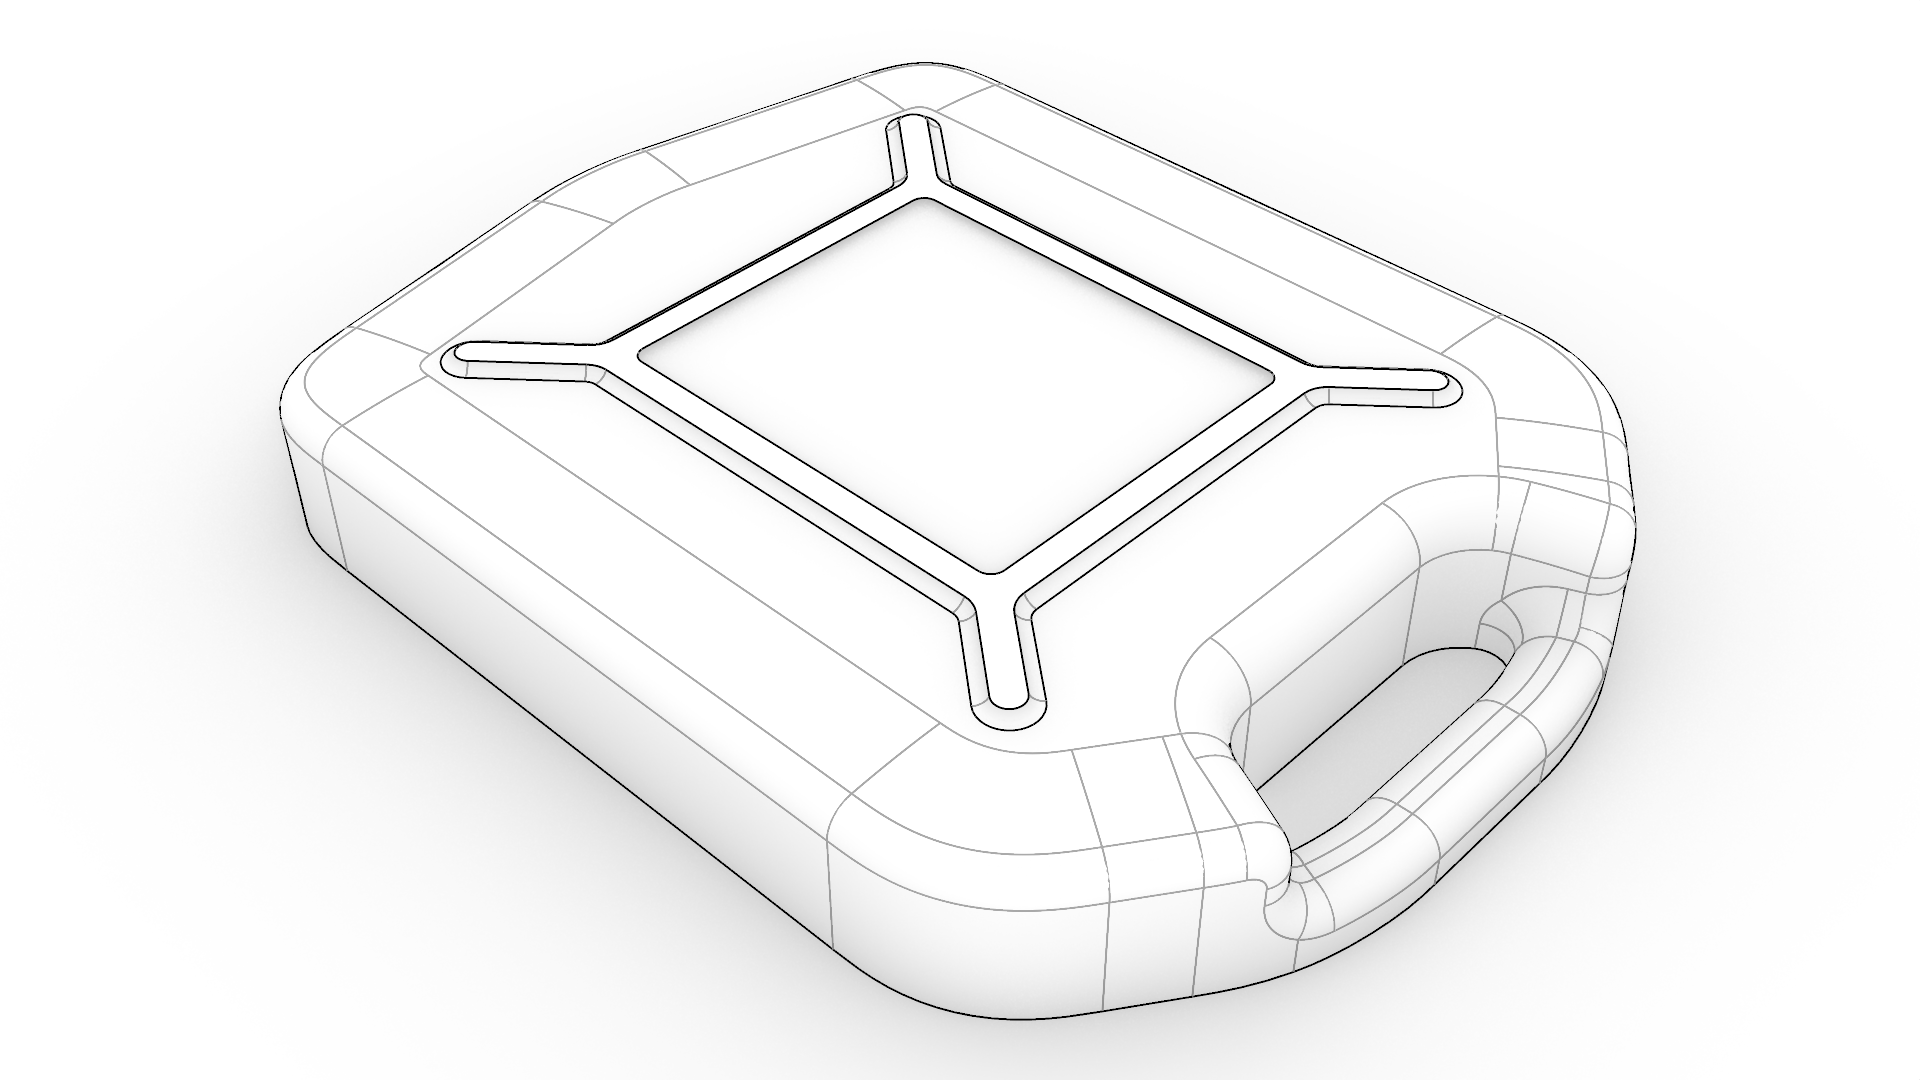
We will now create fillets between the edge of a surface and a surface using FilletSrfCrv
. In this step we will also keep radii 5 mm.
- Run OneLayerOn
and select layer 03 - 1.
- Run FilletSrfCrv
.
- At the
Select a surface near a curve (Radius=1)prompt, select the top surface close to the border of the surface. - At the
Select a curve near the surface selection point (Radius=1)prompt, double click on the edge of the open surface to select the whole outer loop. - Turn the Trim option off.
- Trim
- At the
Select a curve near the surface selection point.. Press Enter when done (Radius=1)prompt, press . The dialog will show up, but no fillets will be created yet, since the distance between the surface and the curve chain is too large for a fillet of radius 1. - Use Radius 5 and press to create the fillets.
- Repeat the process for the radius on the other side of the inner surface.
 Hide
the surface that was filleted against.
Hide
the surface that was filleted against.- Select the two fillet chains from previous steps and run Trim
.
- Select the top surface in between the two fillet chains to trim that part.
 Show
the surface and Join
all the parts into a single polysurface.
Show
the surface and Join
all the parts into a single polysurface.
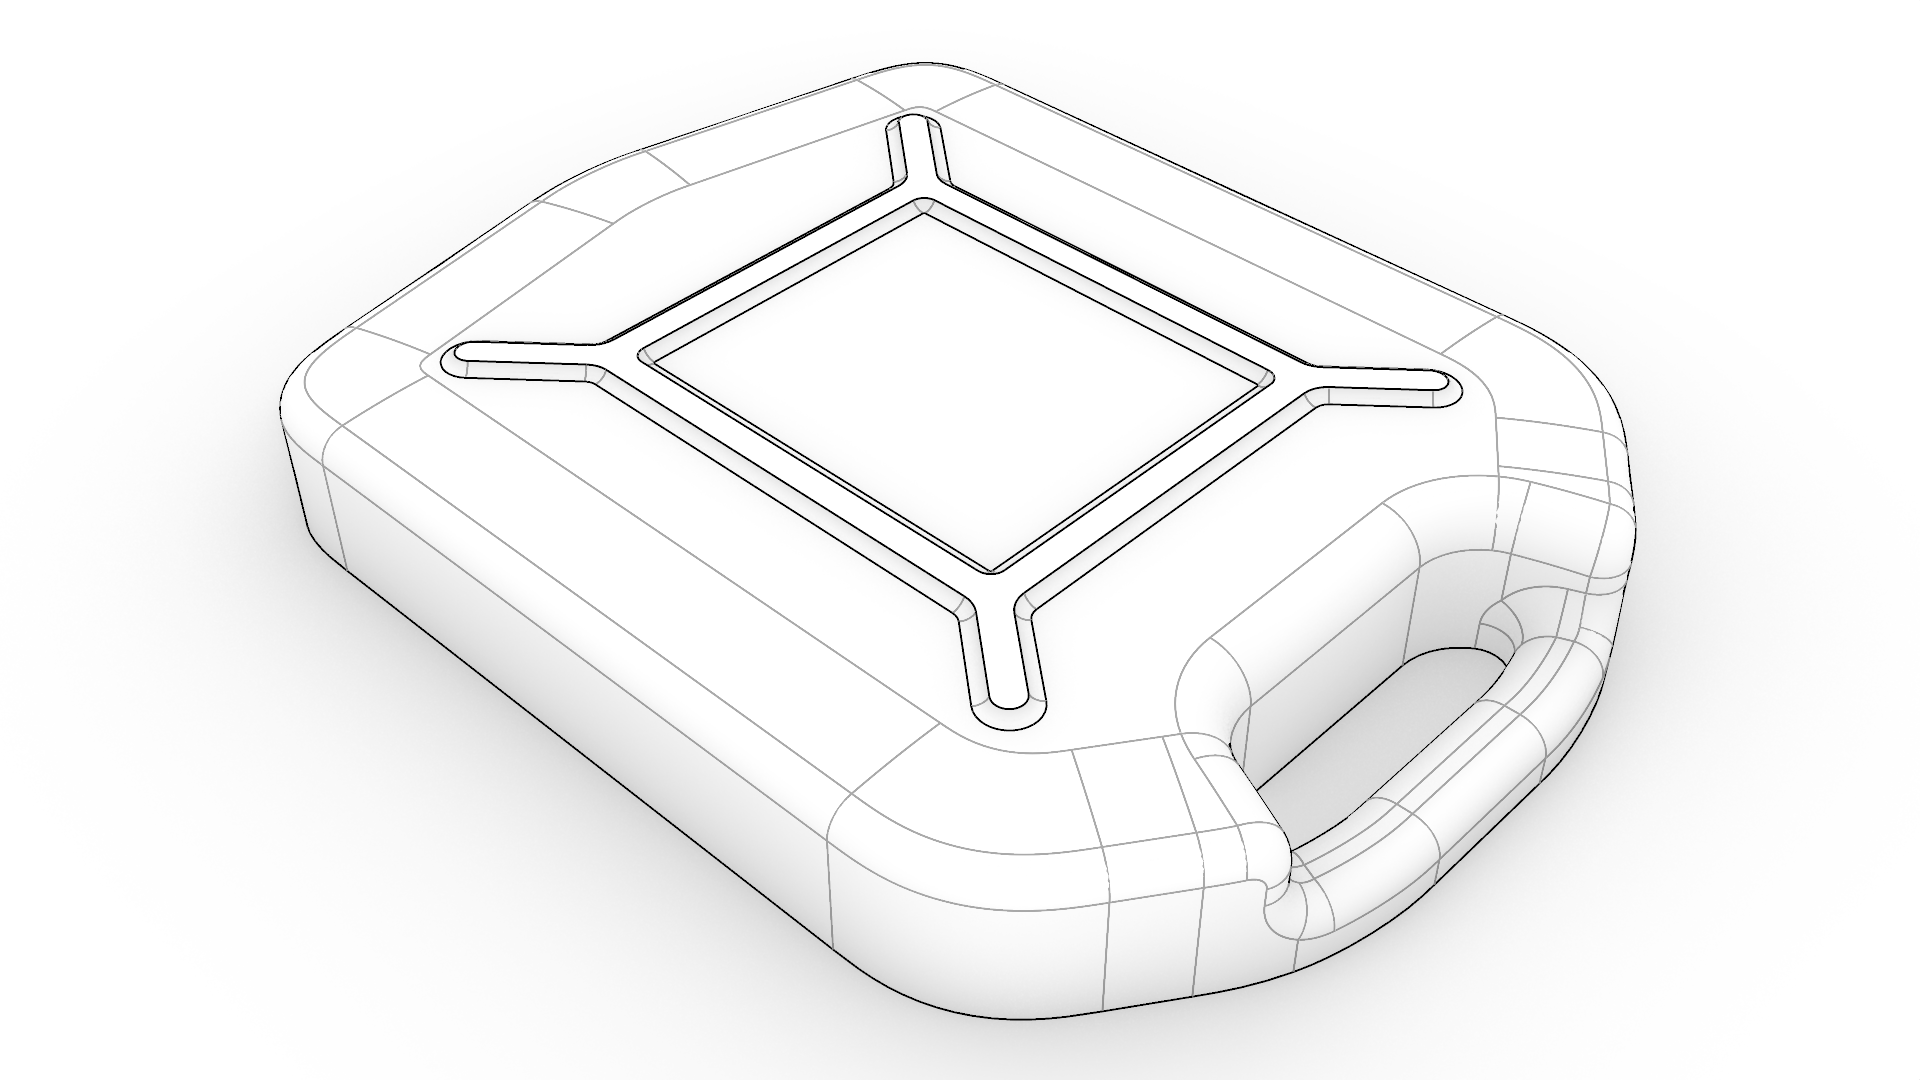
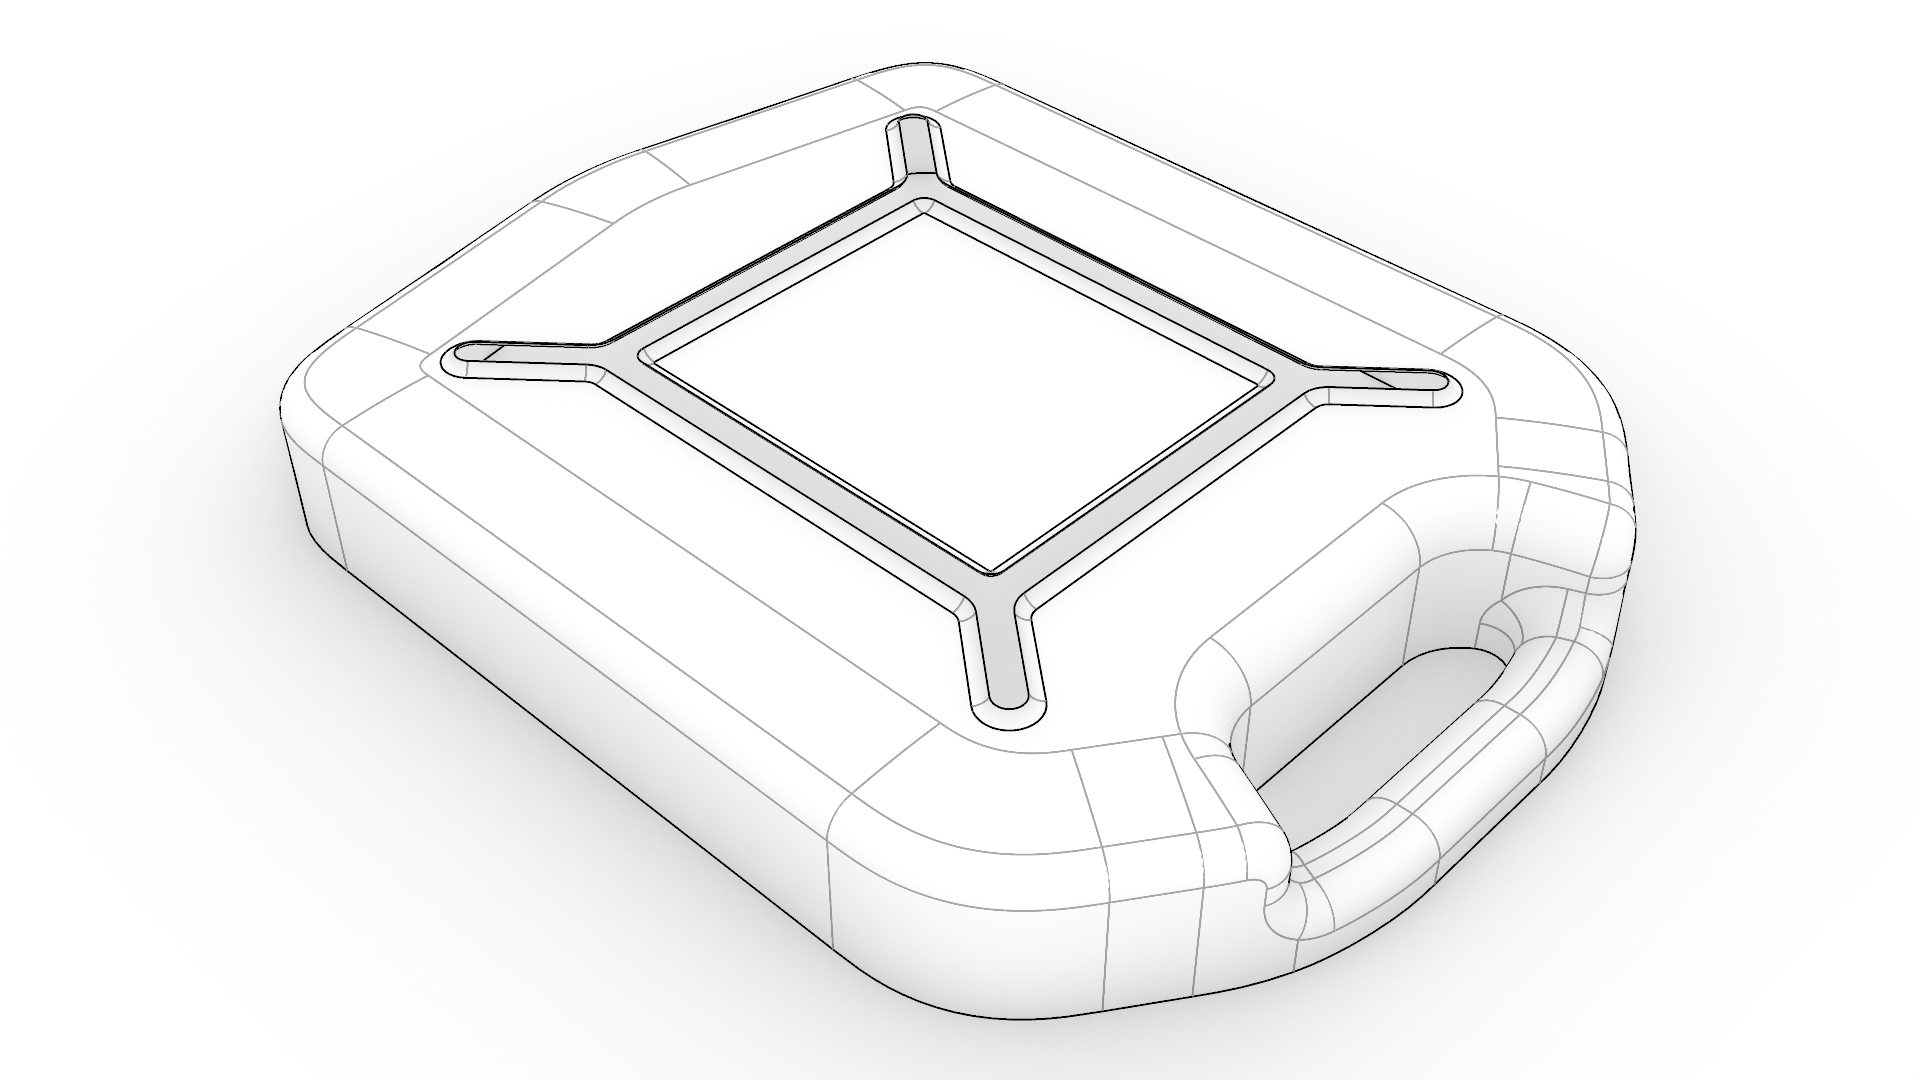
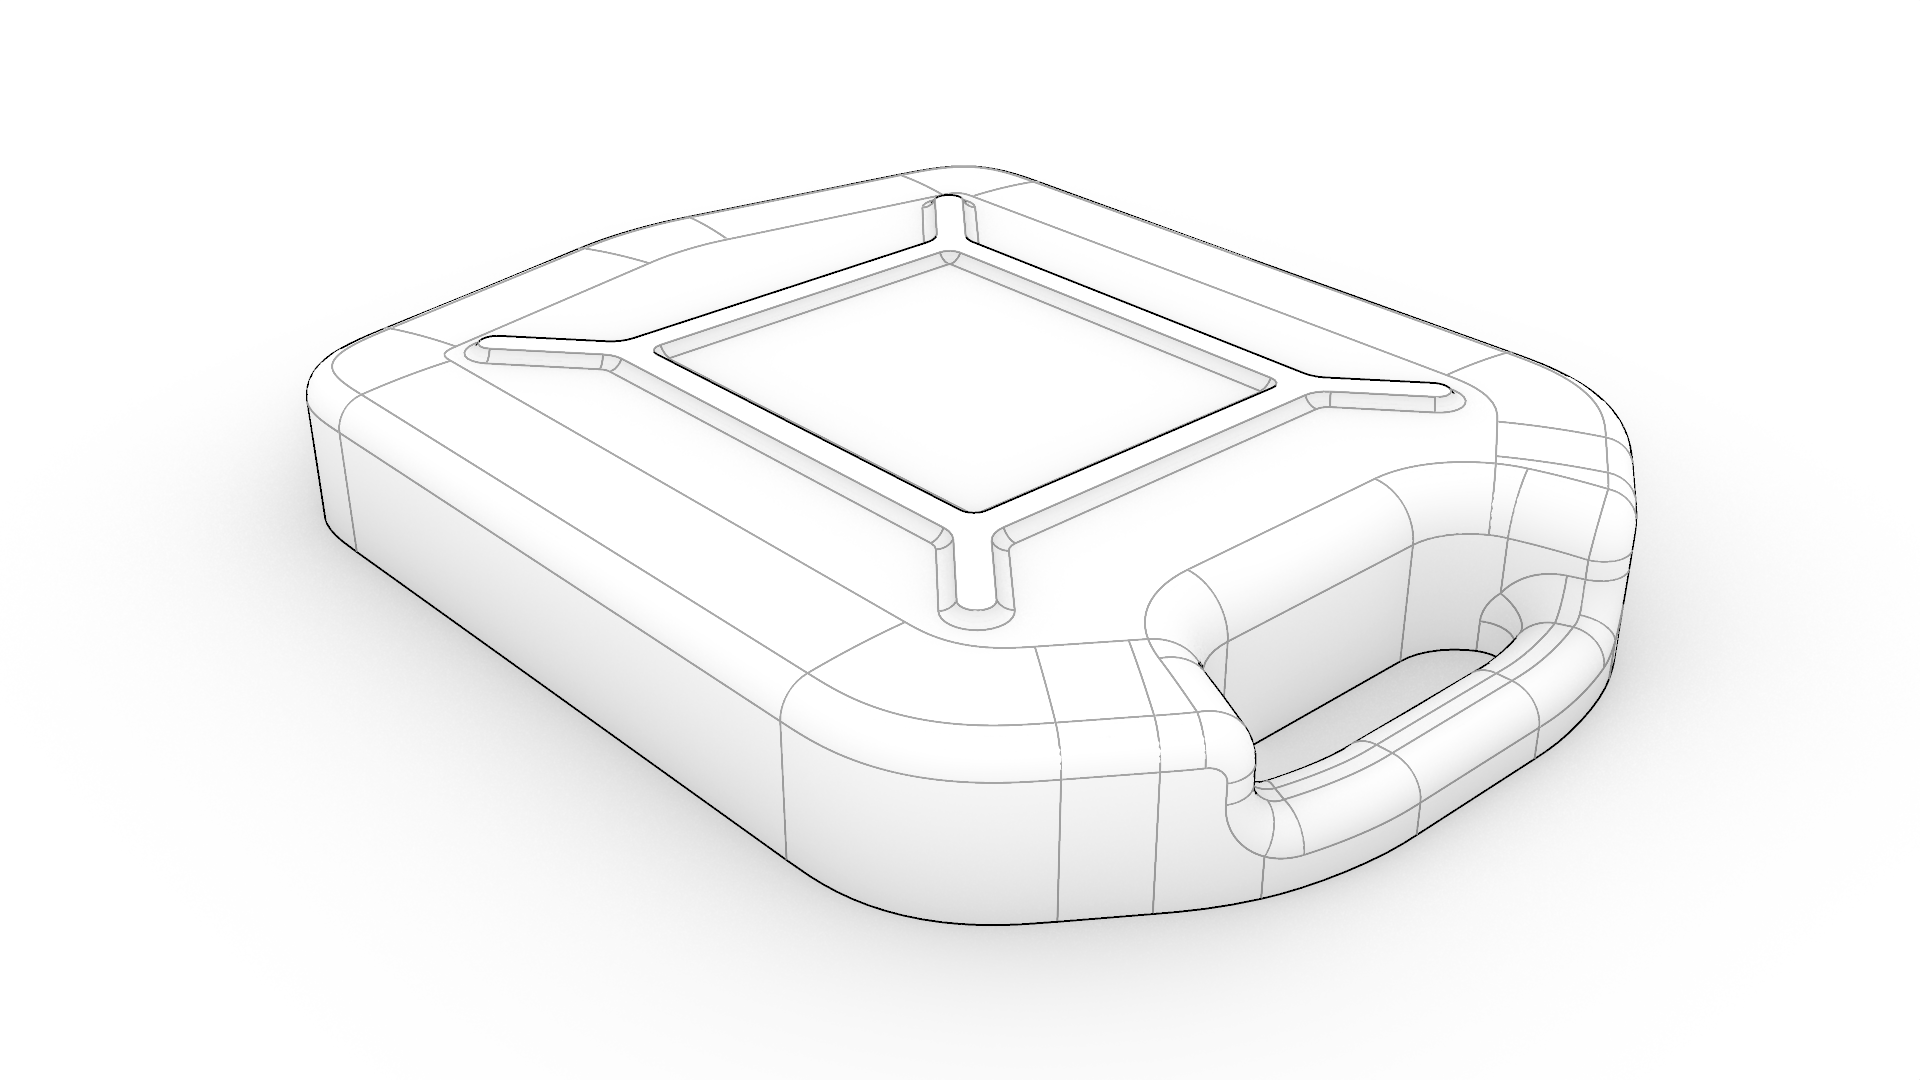
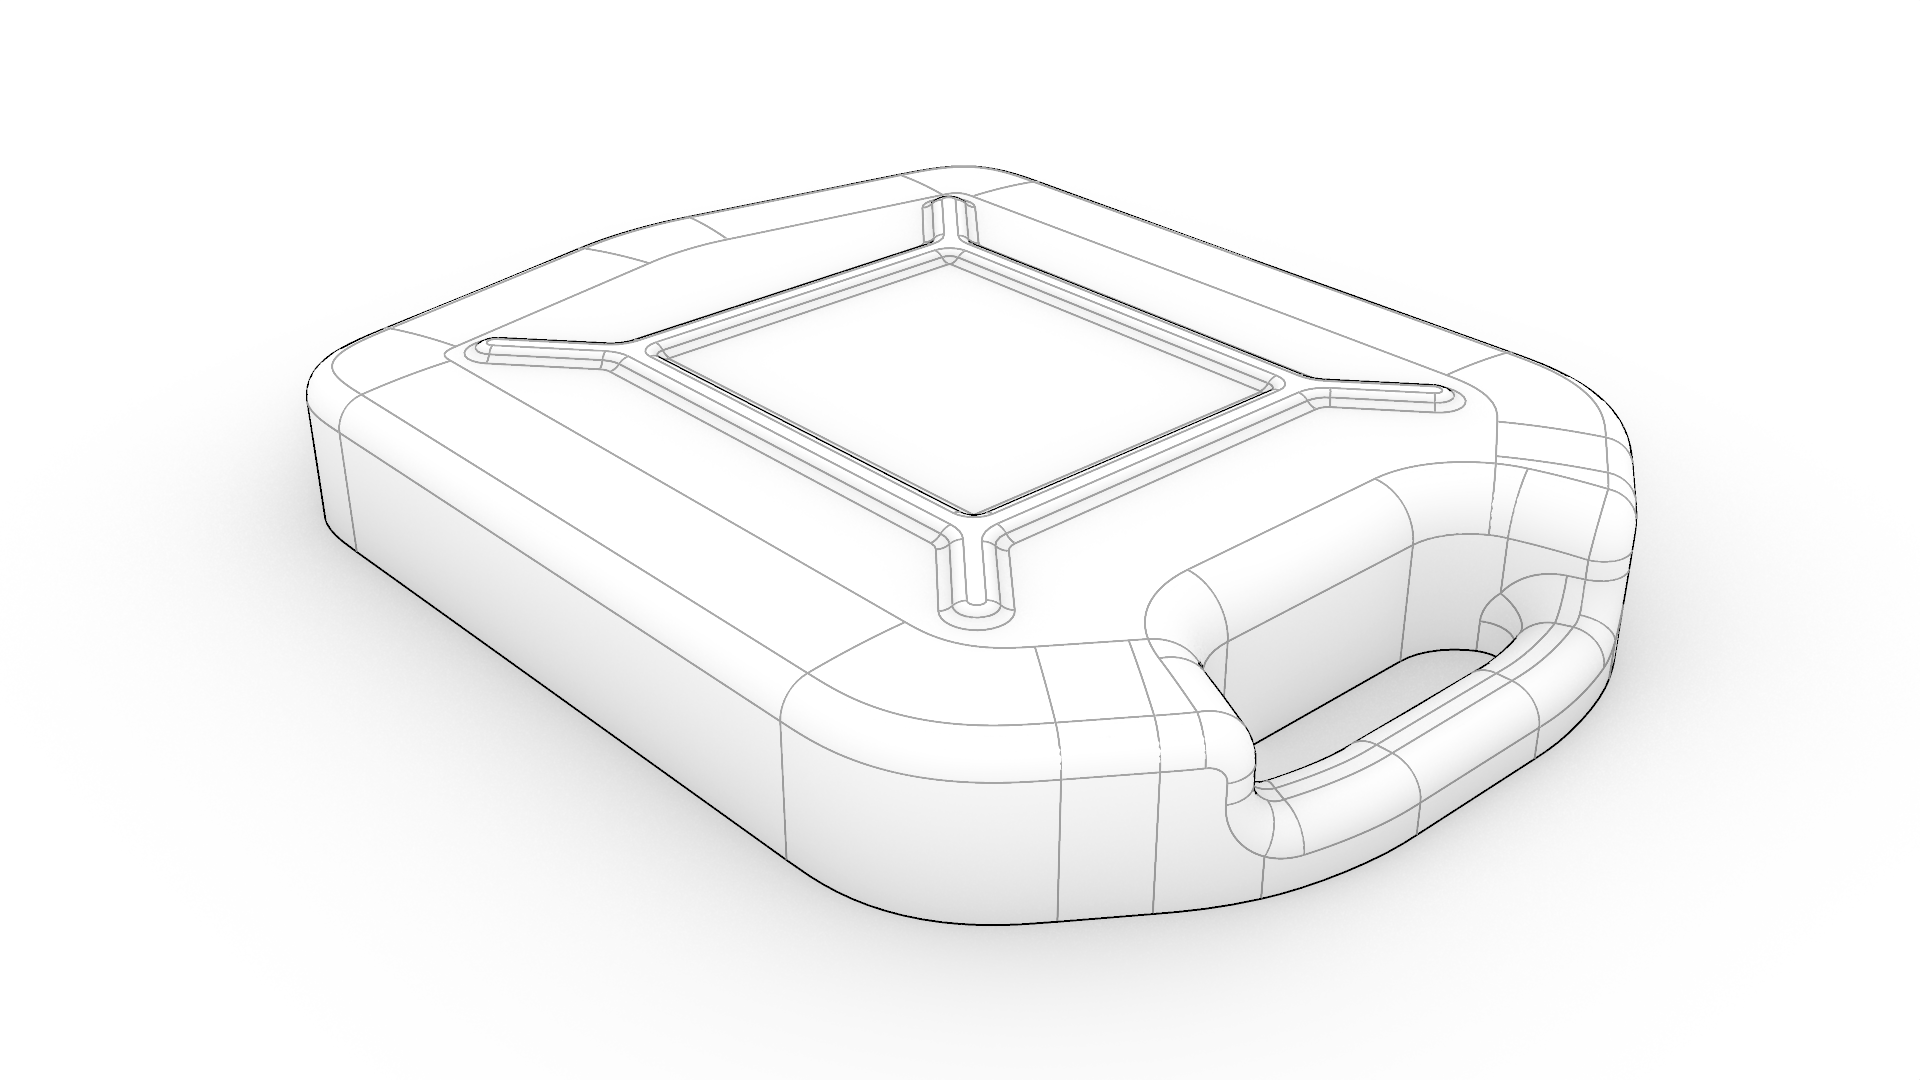
- Use FilletSrf
to fillet the remaining sharp edges of the bottom support
Finish the complete body
- Run
 Mirror
- At the
Select objects to mirrorprompt, select the lower half of the body and press . - At the
Start of mirror plane (3Point, Copy=Yes, MirrorAnnotations=yes, XAxis, YAxis, ZAxis, Object)prompt, set the Copy option to no, and select ZAxis. - Turn on the top half body layer.
- Select all polysurfaces and Join
them into a single closed polysurface.
- Turn on layer 04 - 1.
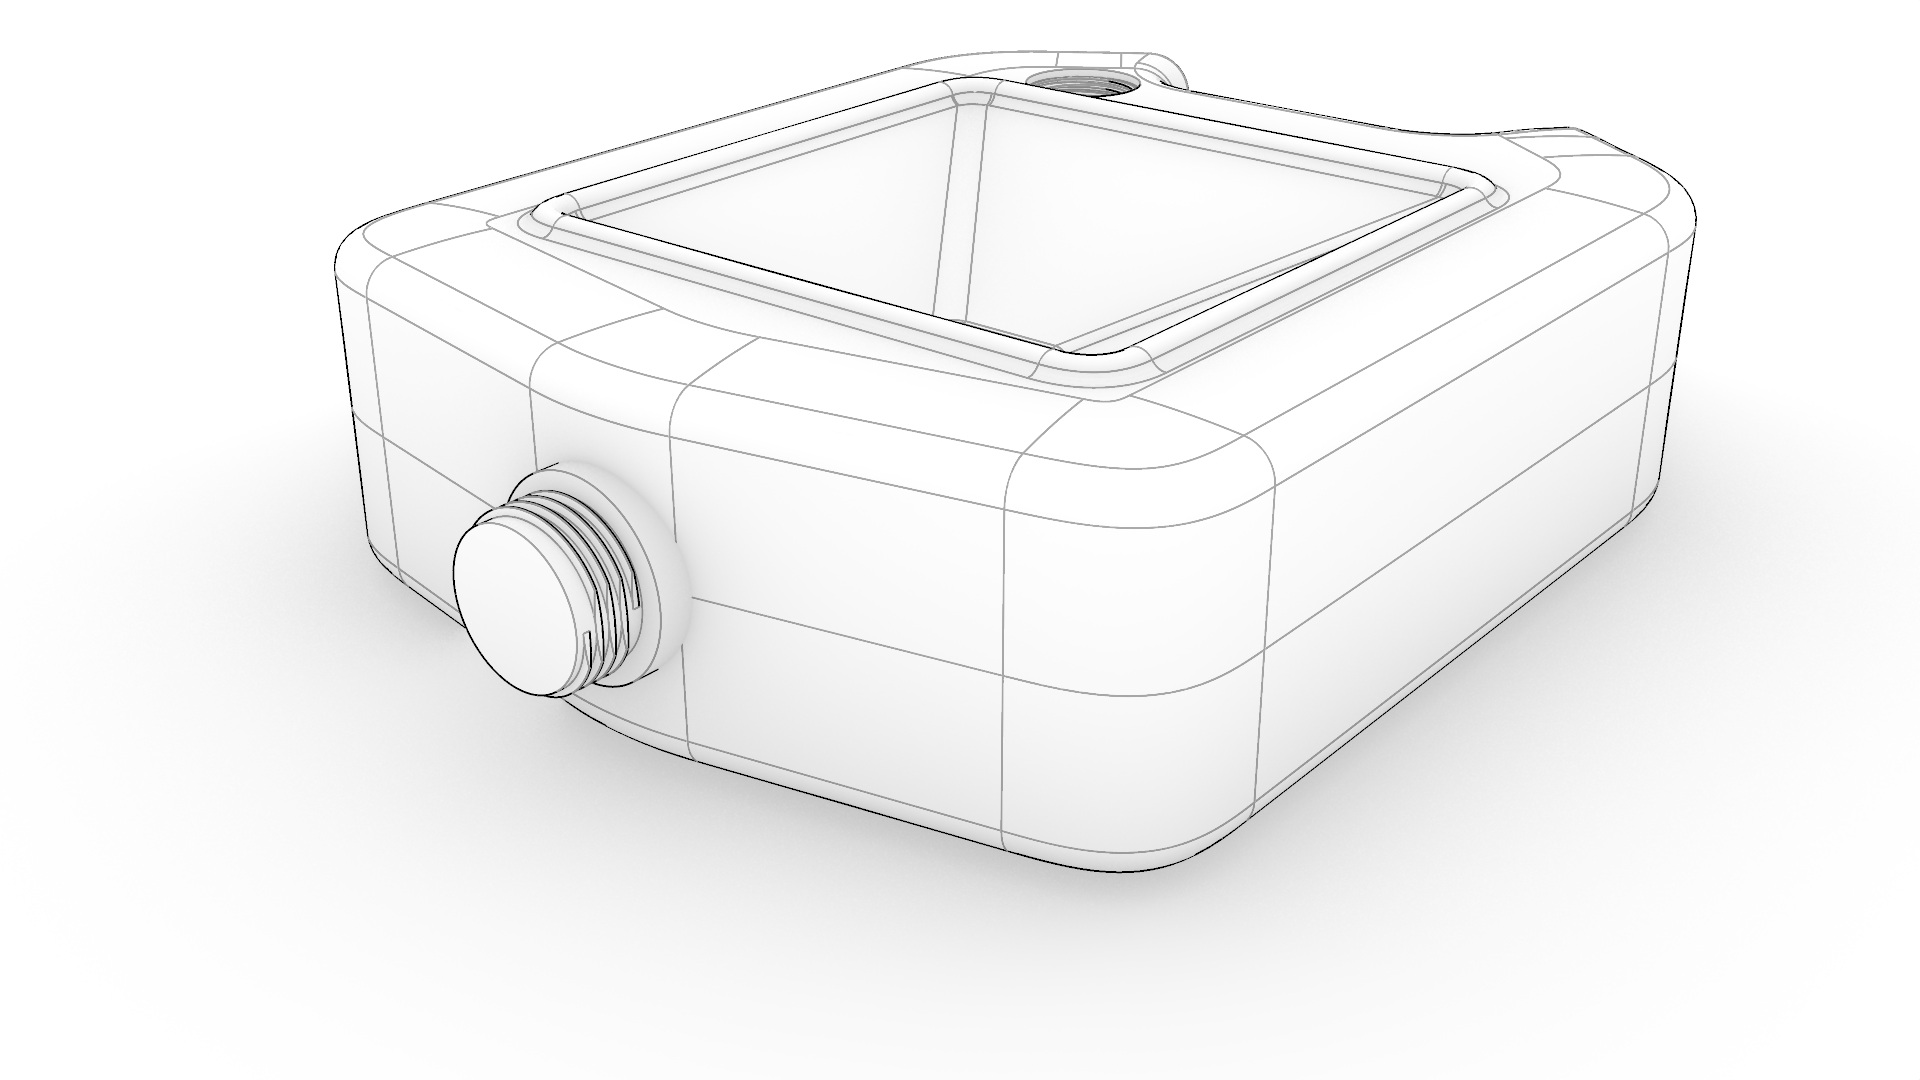
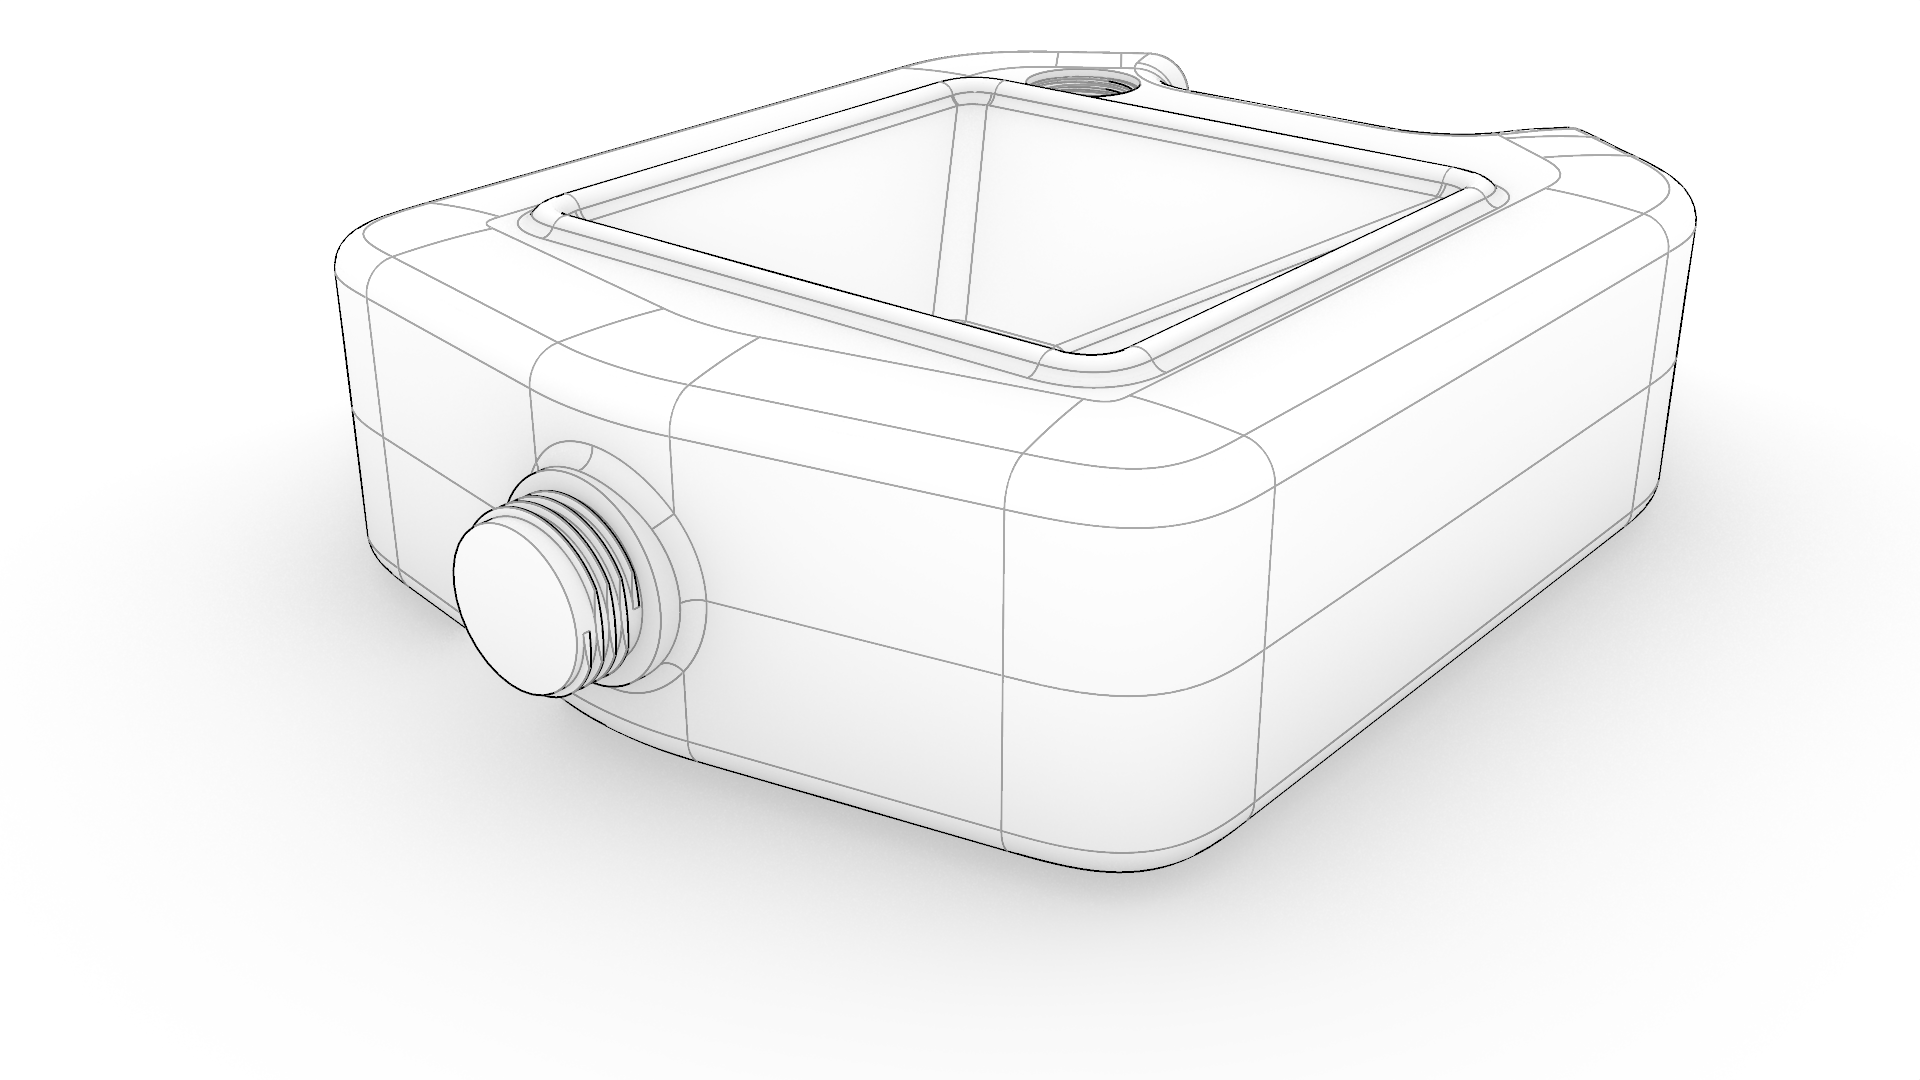
- To join the outlet with screw thread to the body, again use FilletSrf
, Radius 5.
Finished
Congratulations for completing this tutorial! If you have any questions write on discourse or drop a mail to gijs@mcneel.com