What You Will Learn
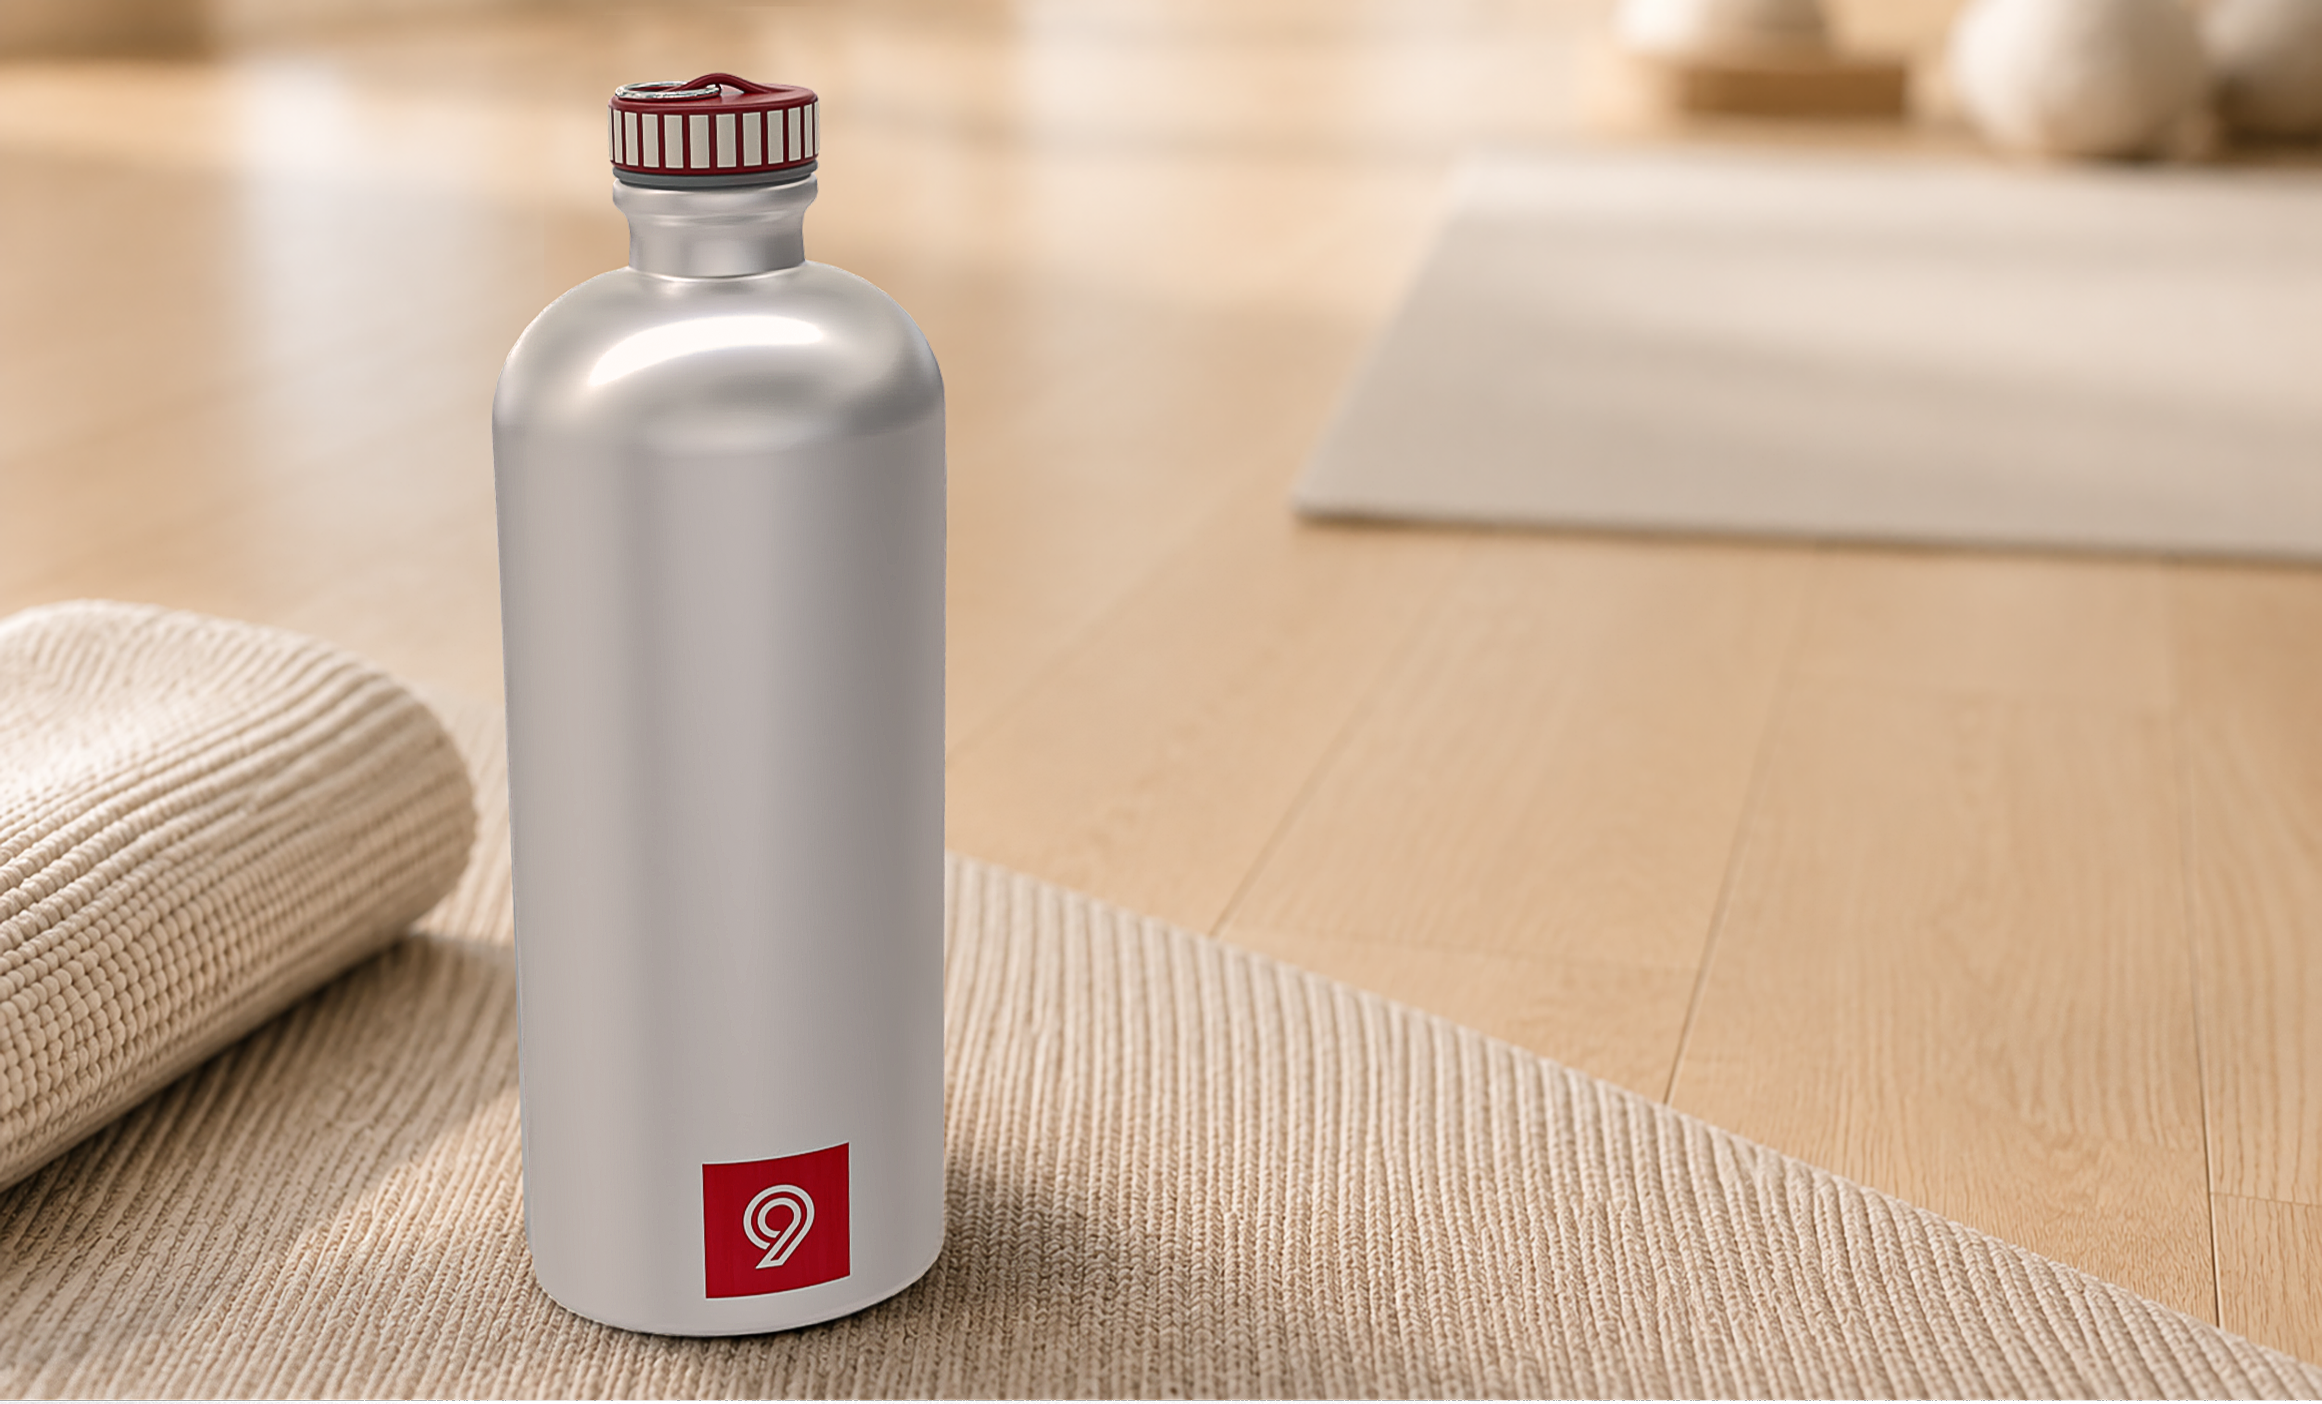
In this tutorial, learn how to add a full material decal, complete with metallic reflectivity and a subtle emboss, onto a stainless steel insulated water bottle, and visualize the results in Rendered mode for quick decision-making. Then compare with a full-fledged Raytraced image. Use Markups to mark changes to the design.
Add the Full Material Decal
-
Open water-bottle.3dm. The bottle body carries a stainless steel material.
-
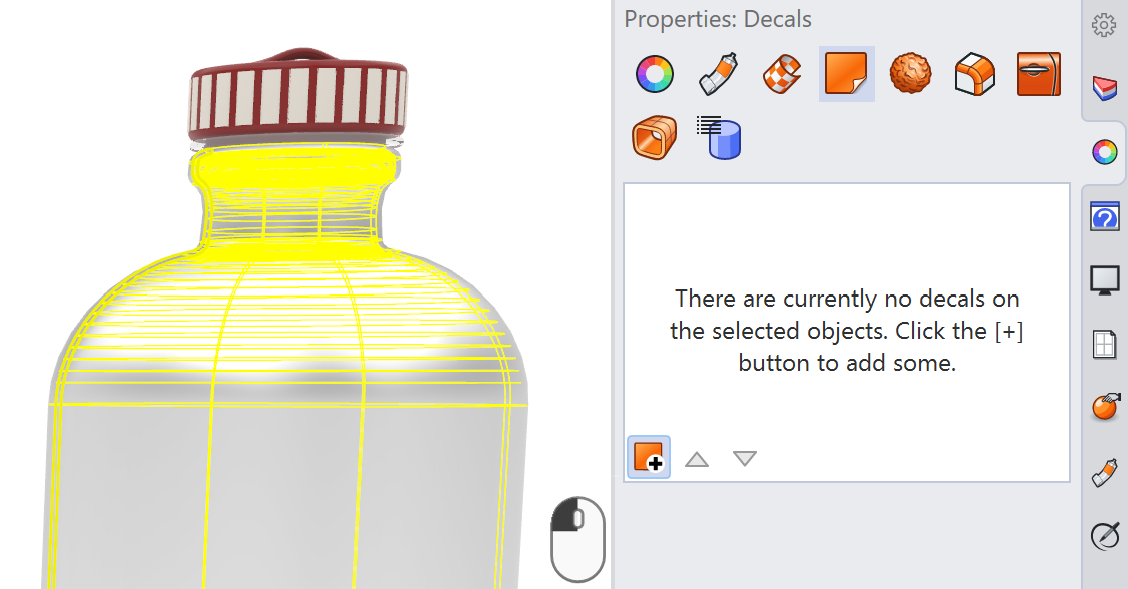
Select the body of the water bottle, open the Properties panel and select the Decals tab.
-
Click Add decal to selected object and browse to the logo image.
-
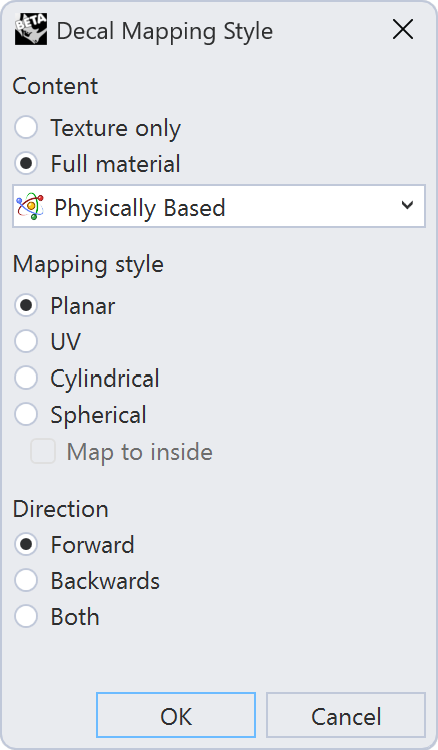
Set the mapping type to Planar, so the decal is set flat to the surface, and set the Content setting to Full Material → Physically Based, then press Ok.
-
In the decal’s material properties, set Reflectivity to a brushed metal finish, and add a small amount of Bump so the logo reads as embossed rather than printed.
Preview in Rendered Mode
- Set the viewport display mode to Rendered.
- Check the logo’s position and scale on the curved surface. Rendered mode is fast enough to make these calls in real time, which is useful when you’re deciding live in a client meeting.

Mark Up the Design
- Run the
 Markup
command to open the Markup HUD.
Markup
command to open the Markup HUD. - Select the Sketch tool and circle the areas that need adjusting: the decal, which needs to move down and be scaled, and the bottle cap, which needs to match the label’s color.
- Add text notes describing what needs fixing. Add “move label down and scale” next to the label and “update color on cap to match label” next to the cap.

- Confirm the markup with the checkmark button. It’s saved with the file and can be reopened later from the Markups panel.
Refine the Decal
- Reposition and resize the decal to match the markup note.
- Adjust the cap’s color tone to #E00211 so it matches the label.
Confirm in Raytraced Mode
- Set the viewport display mode to Raytraced.
- Let the view clean up. Notice how the metallic decal’s reflections and highlights now respond to the scene’s actual lighting as they wrap around the bottle’s curve. Rendered mode could only approximate this.

- Compare the Rendered and Raytraced results side by side.