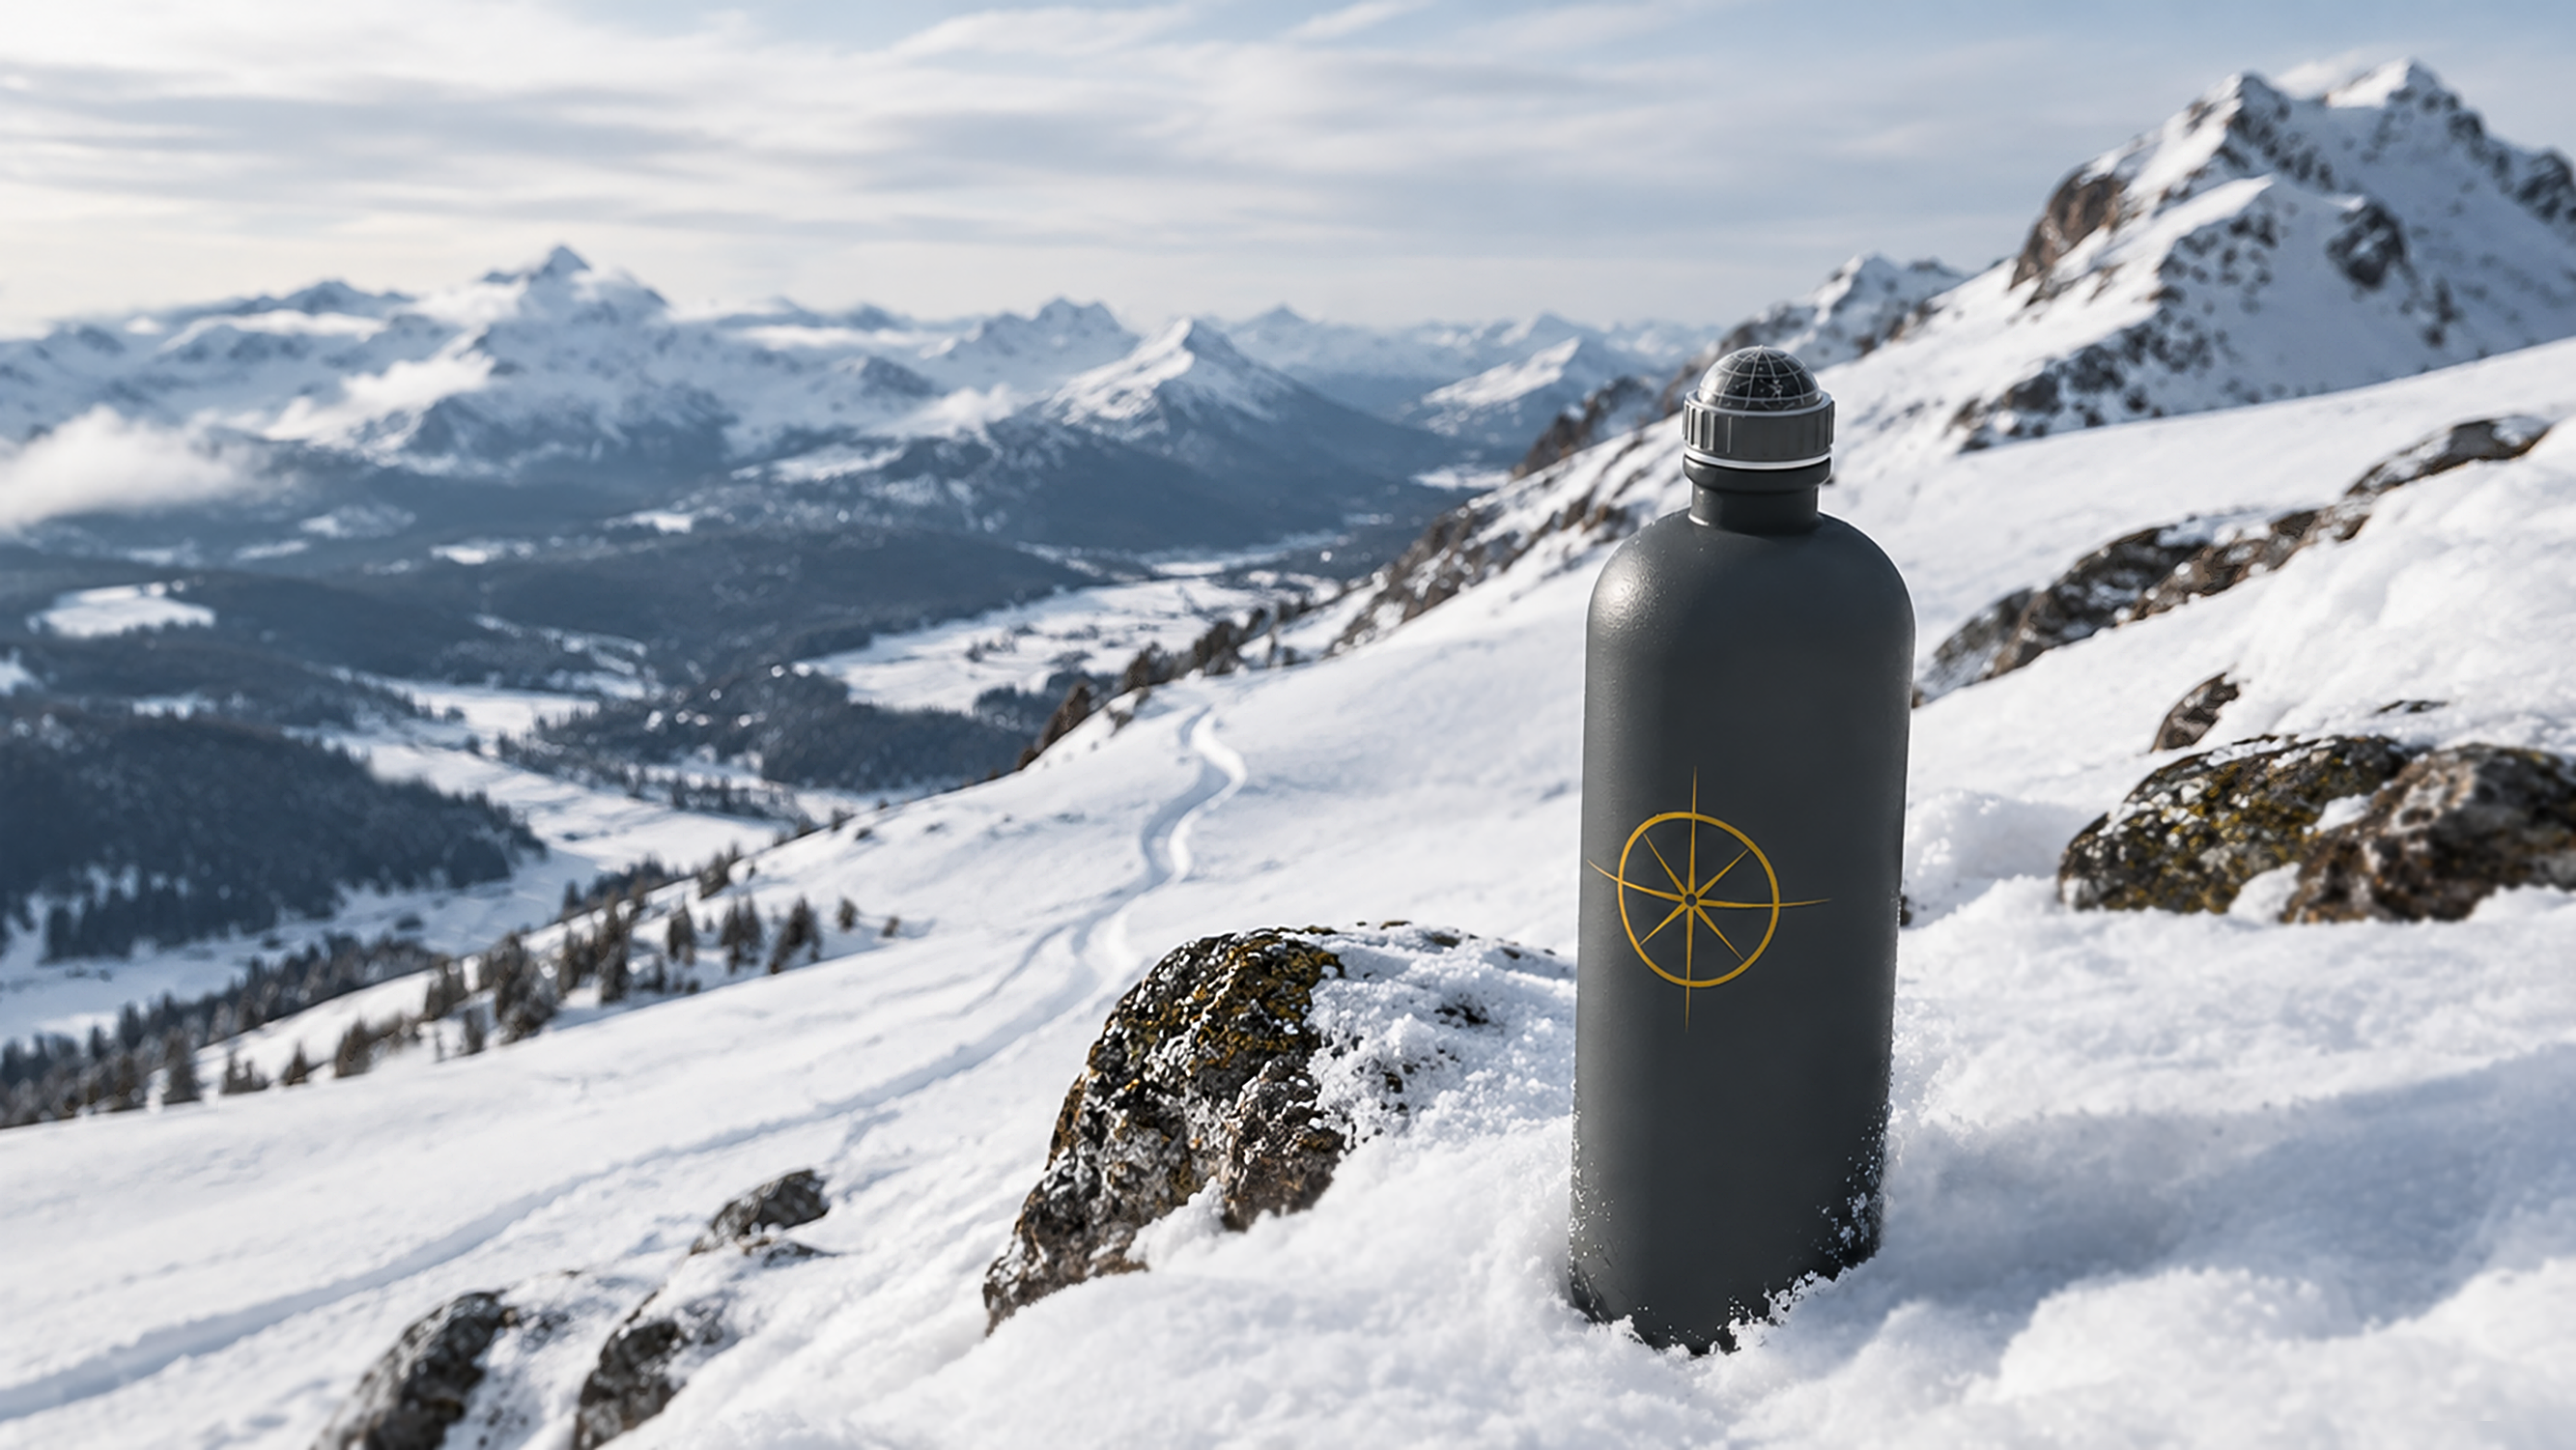
In this tutorial, learn how to add a full material decal, complete with metallic reflectivity and a subtle emboss, onto a stainless steel insulated water bottle, and visualize the results in
Rendered Mode
for quick decision-making. Then compare with a full-fledged
Raytraced
image. Use the  Markup
command to mark changes to the design.
Markup
command to mark changes to the design.
What you'll learn
- Apply a full material decal with metallic reflectivity and a bump map, using the Decals panel’s Physically Based content type.
- Adjust the decal’s placement and scale interactively with the decal widget and Gumball.
- Mark up revisions directly in the viewport with Markup
’s Sketch and Leader tools.
- Compare Rendered and Raytraced results side by side to confirm how the metallic decal reads under real lighting.
Add the Full Material Decal
Unlike a standard decal, a full material decal carries its own complete material (color, reflectivity, and bump) independent of the object it’s applied to. That’s what lets a decal look like metal, or carry a bump map, even when the object underneath has a completely different material.
-
Download and open water-bottle-gold-decal.3dm. The bottle body carries a stainless steel material.
-
Select the body of the water bottle.
-
Open the
 Properties
panel and select the
Properties
panel and select the  Decals
page.
Decals
page. -
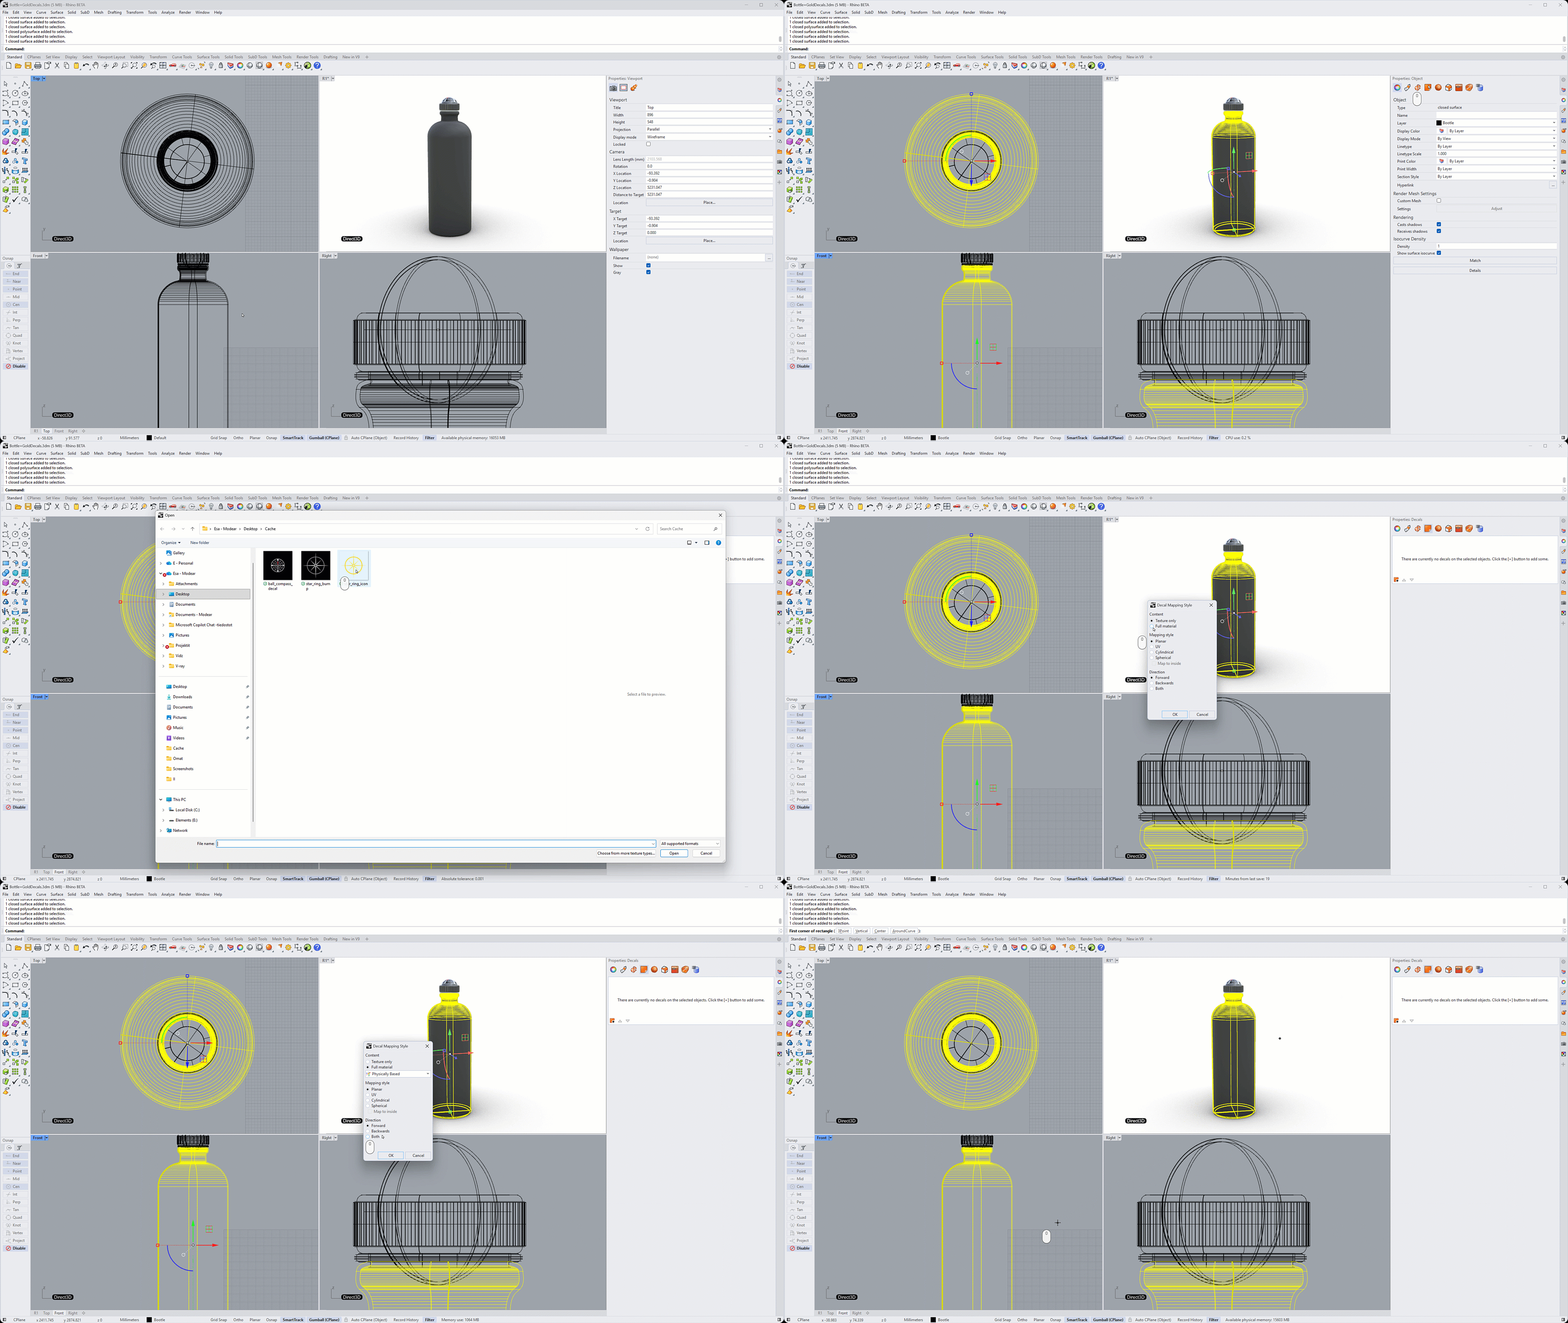
Select Add decal to selected object and browse to the star_ring_icon.png image.
-
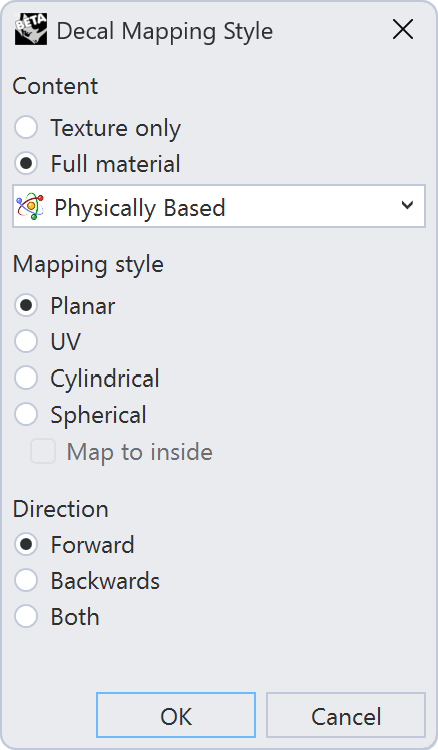
Set the following options in the Decal Mapping Style dialog, then press OK:
- Content =
Full Material→Physically Based - Mapping style =
Planar, so the decal is set flat to the surface
- Content =
-
At the
First corner of rectangleprompt , draw a rectangle on top of the bottle in the viewport. Notice the decal appears on the bottle in the Perspective viewport. -
With the bottle selected, in the
Properties
panel, select the Toggle Widget icon, to get the decal widget to show up in the view.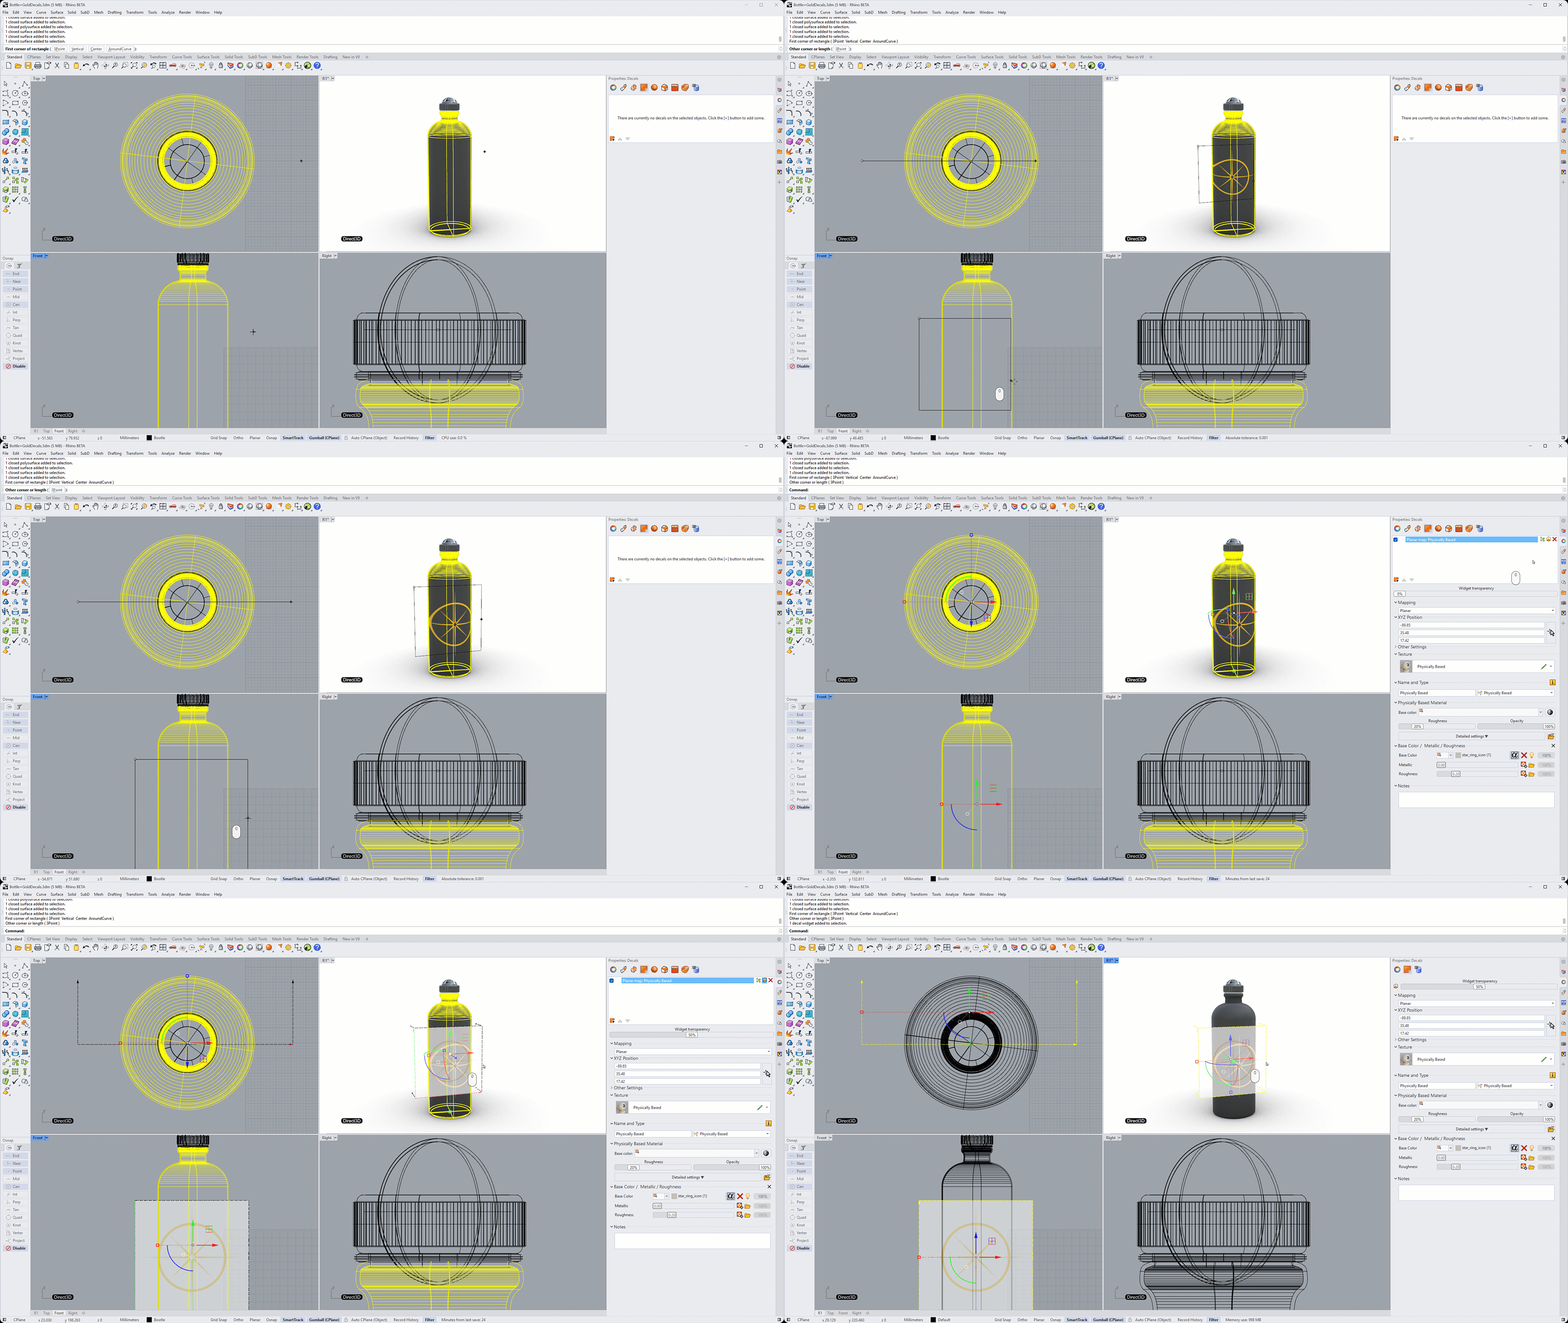
-
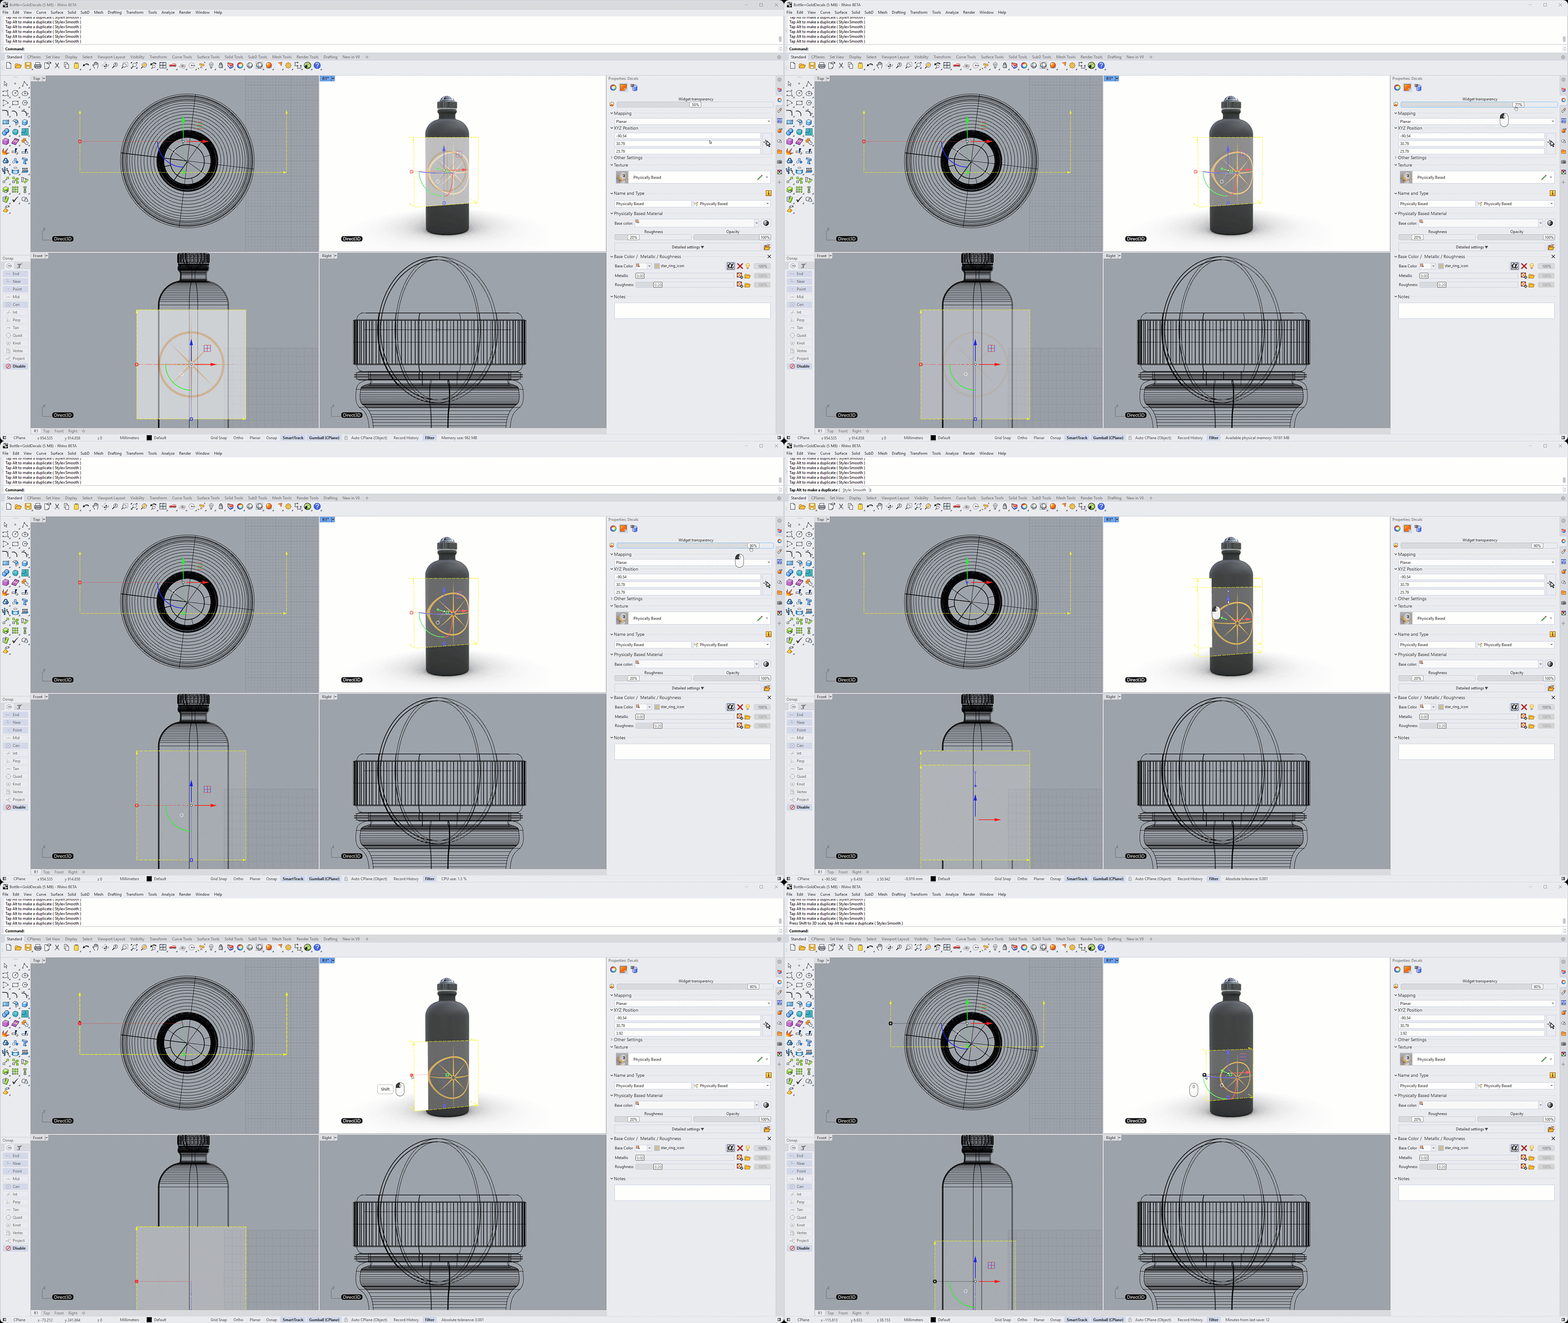
Select the decal widget, and with Gumball activated , move the widget to adjust the decal’s position.
-
In the
 Properties
panel → the Decals
page:
Properties
panel → the Decals
page:- Toggle off the decal widget.
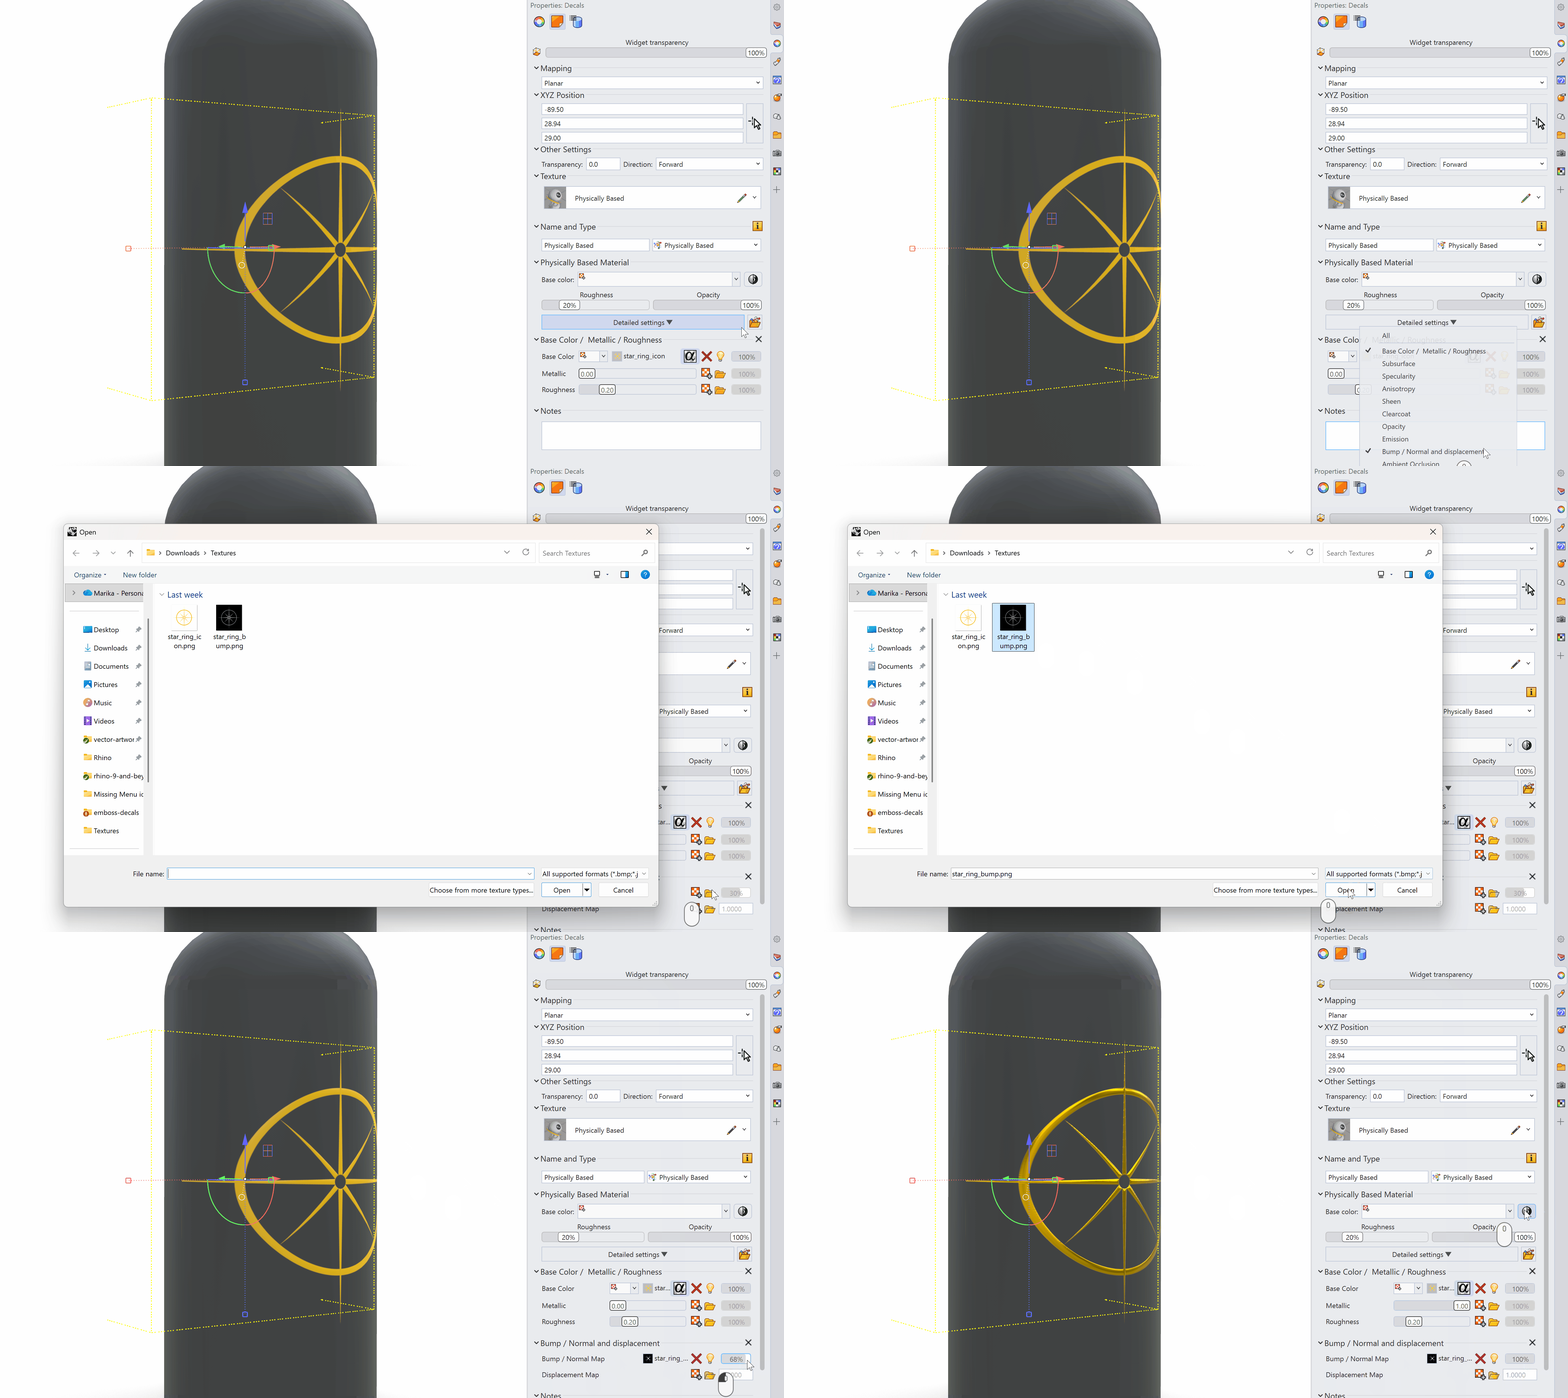
- Under Physically Based Material settings → Detailed Settings menu:
- Select the
 Metallic
icon, to enable metallic reflections.
Metallic
icon, to enable metallic reflections. - Select the Bump / Normal and displacement option.
- Select the
-
In the Bump / Normal section, select the
 Browse in Folder
icon:
Browse in Folder
icon:- Browse and select the star_ring_bump.png texture.
 Properties
panel, as Decals are a per-object property. Without an object selected, these options do not appear in the panel.
Properties
panel, as Decals are a per-object property. Without an object selected, these options do not appear in the panel.Mark Up the Design
In this section, we will learn how to sketch and annotate the 3D model about making design changes. Markup
in Rhino 9 help communicate with the rest of the design team. They are saved in the Markup panel and can be exported as image files.
-
Continue with your file or download water-bottle-gold-decal-01.
-
Maximize the viewport.
-
Run the
Markup
command and press Enter. It will open the Markup HUD. -
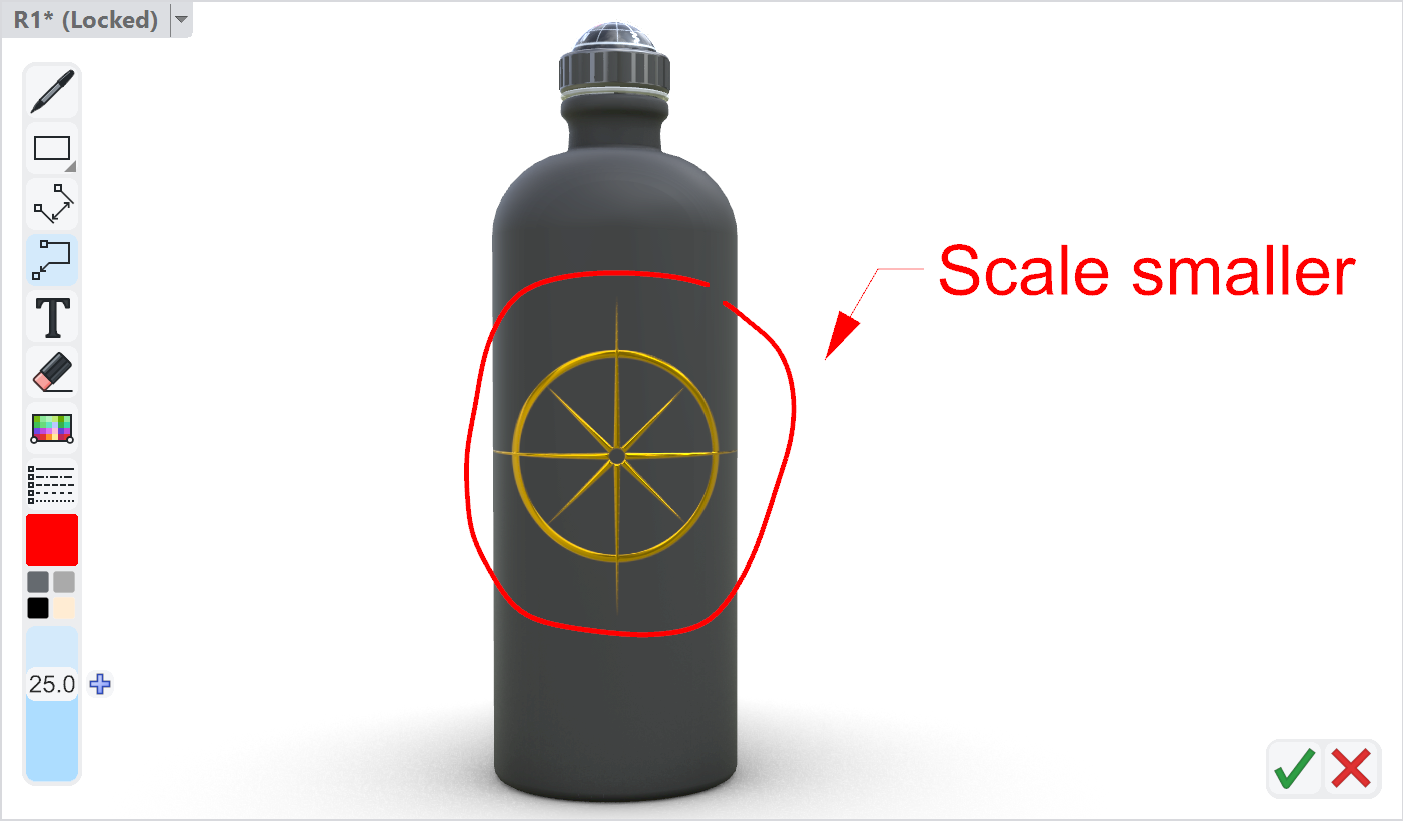
Select the Sketch tool and circle the areas that need adjusting: the decal, which needs to be moved and scaled.
-
Choose Leader to add an arrow and notes describing what needs fixing. Point the arrow to the decal and add “scale smaller” text next to it.
-
Confirm the markup with the checkmark button. It’s saved with the file and can be reopened later from the Markups panel.
Refine the Decal
Make the changes according to the suggestions made in the Markup.
-
Continue with your file or download water-bottle-gold-decal-02.
-
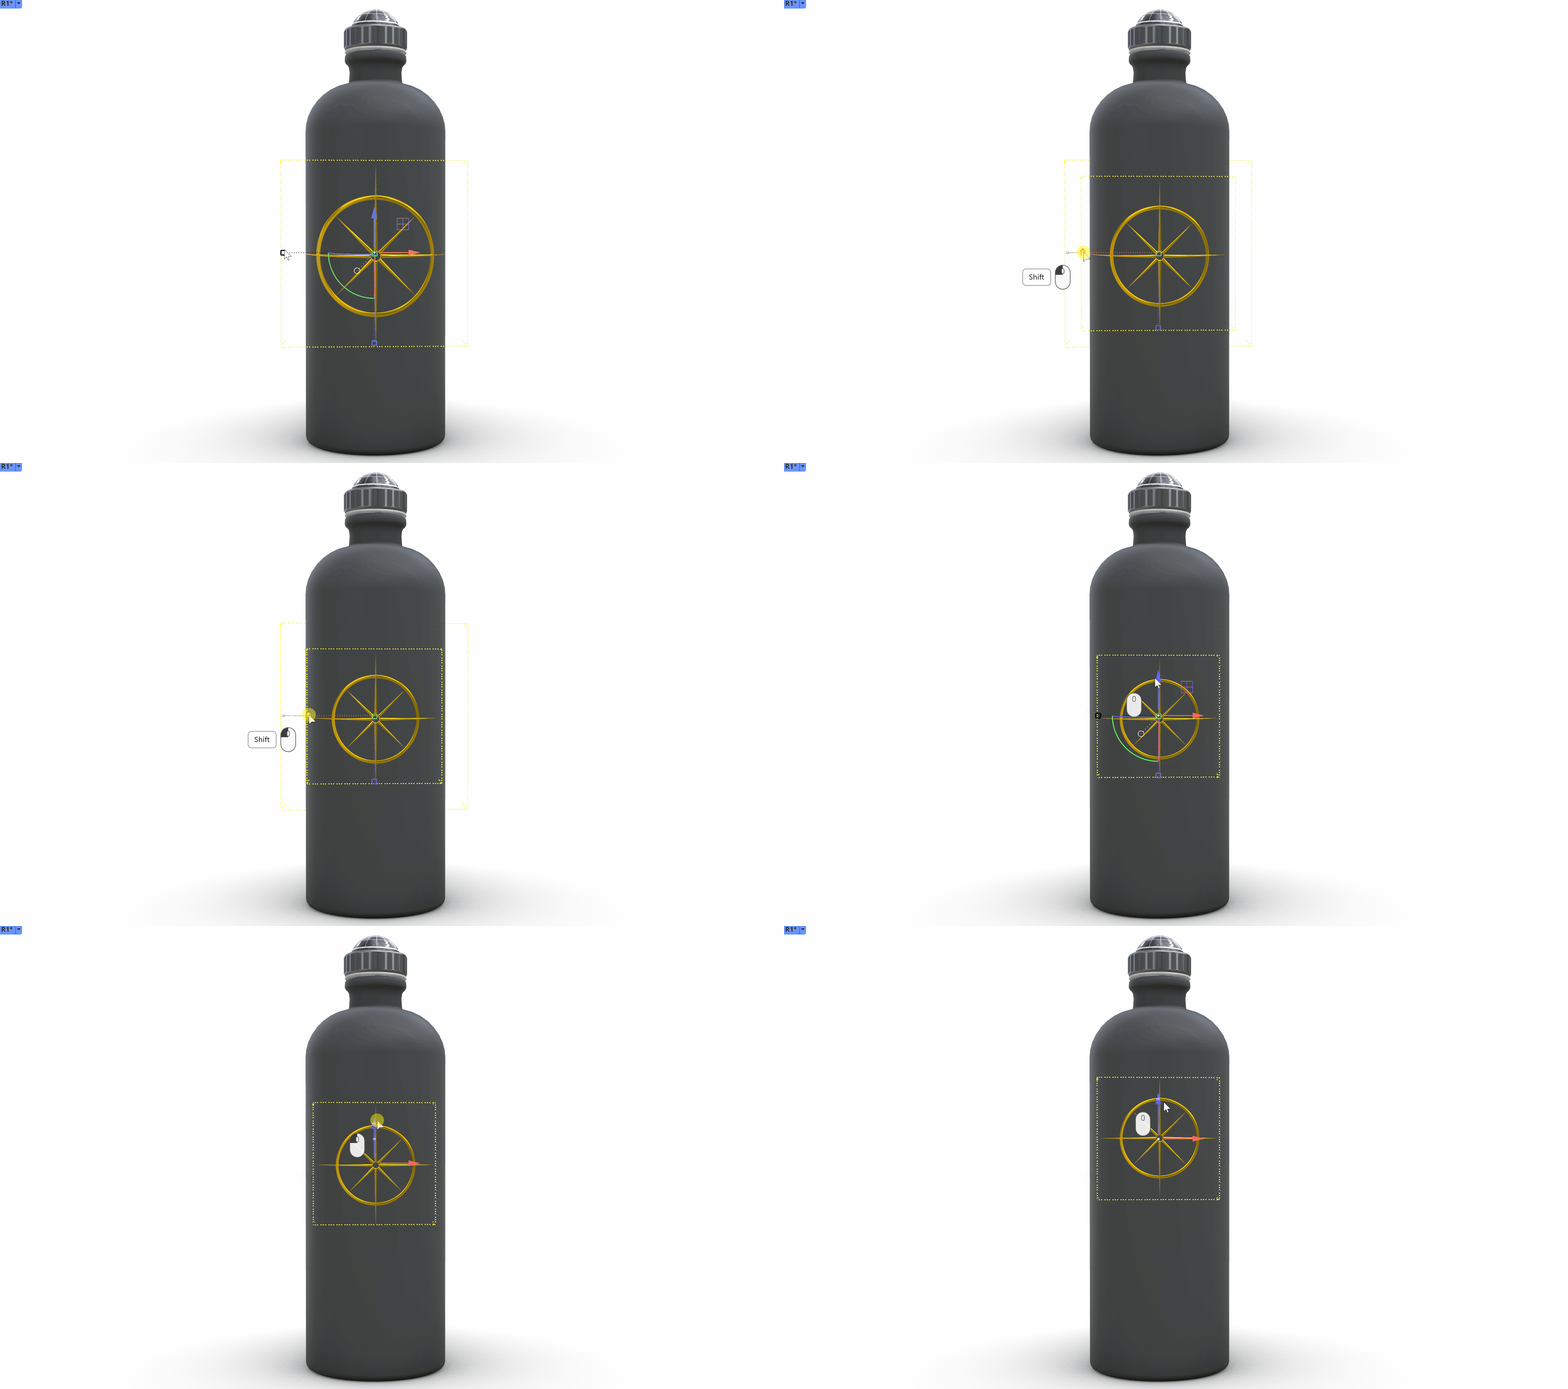
Select the bottle and activate the Gumball .
-
In the
Properties
panel → the Decals
page:- Toggle on the decal widget.
- Resize and reposition the decal to match the markup note, using the Gumball.
- Toggle off the decal widget.
Confirm in Raytraced Mode
Til now, we were working in Rendered Mode , which is a fast approximation of how a scene would look. The advantage is that you can make changes and visualize a preview quickly, without long waiting times for each change. Certain visual effects, especially related to refraction or reflection, require true light calculations to become realistic. This is where Raytraced comes in.
-
Continue with your file or download water-bottle-gold-decal-03.
-
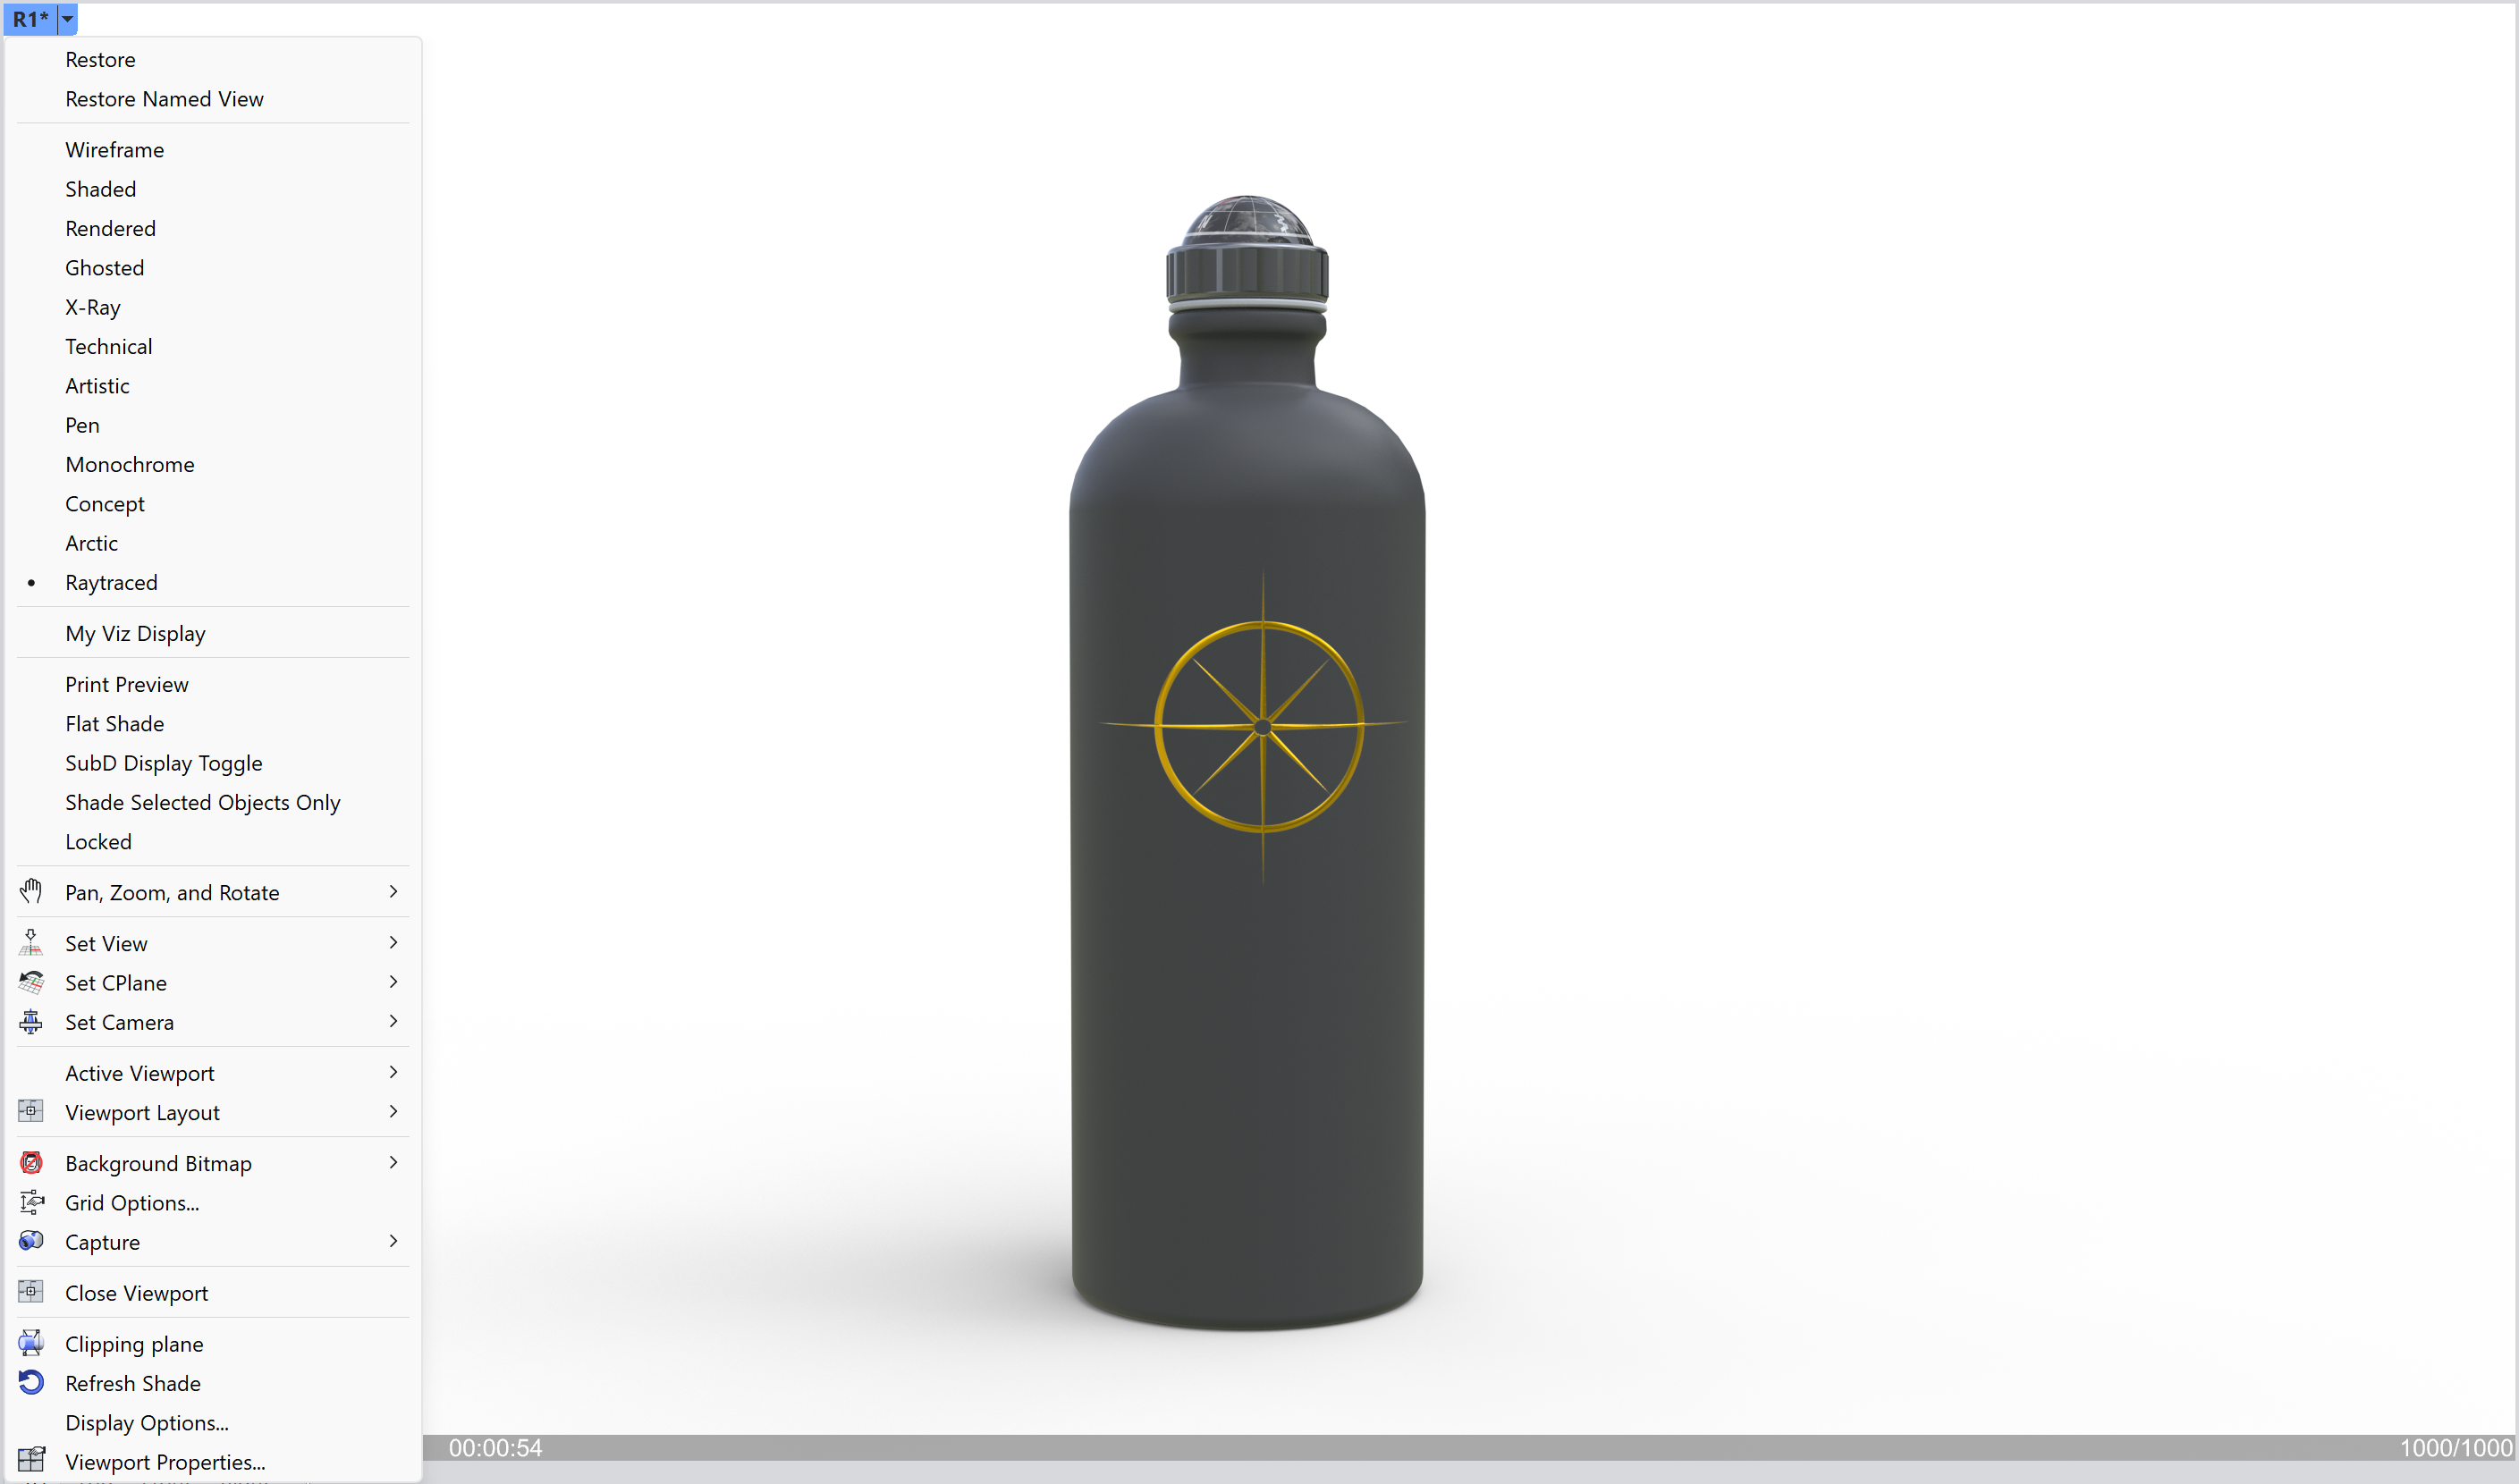
Change the Display Mode to Raytraced.
-
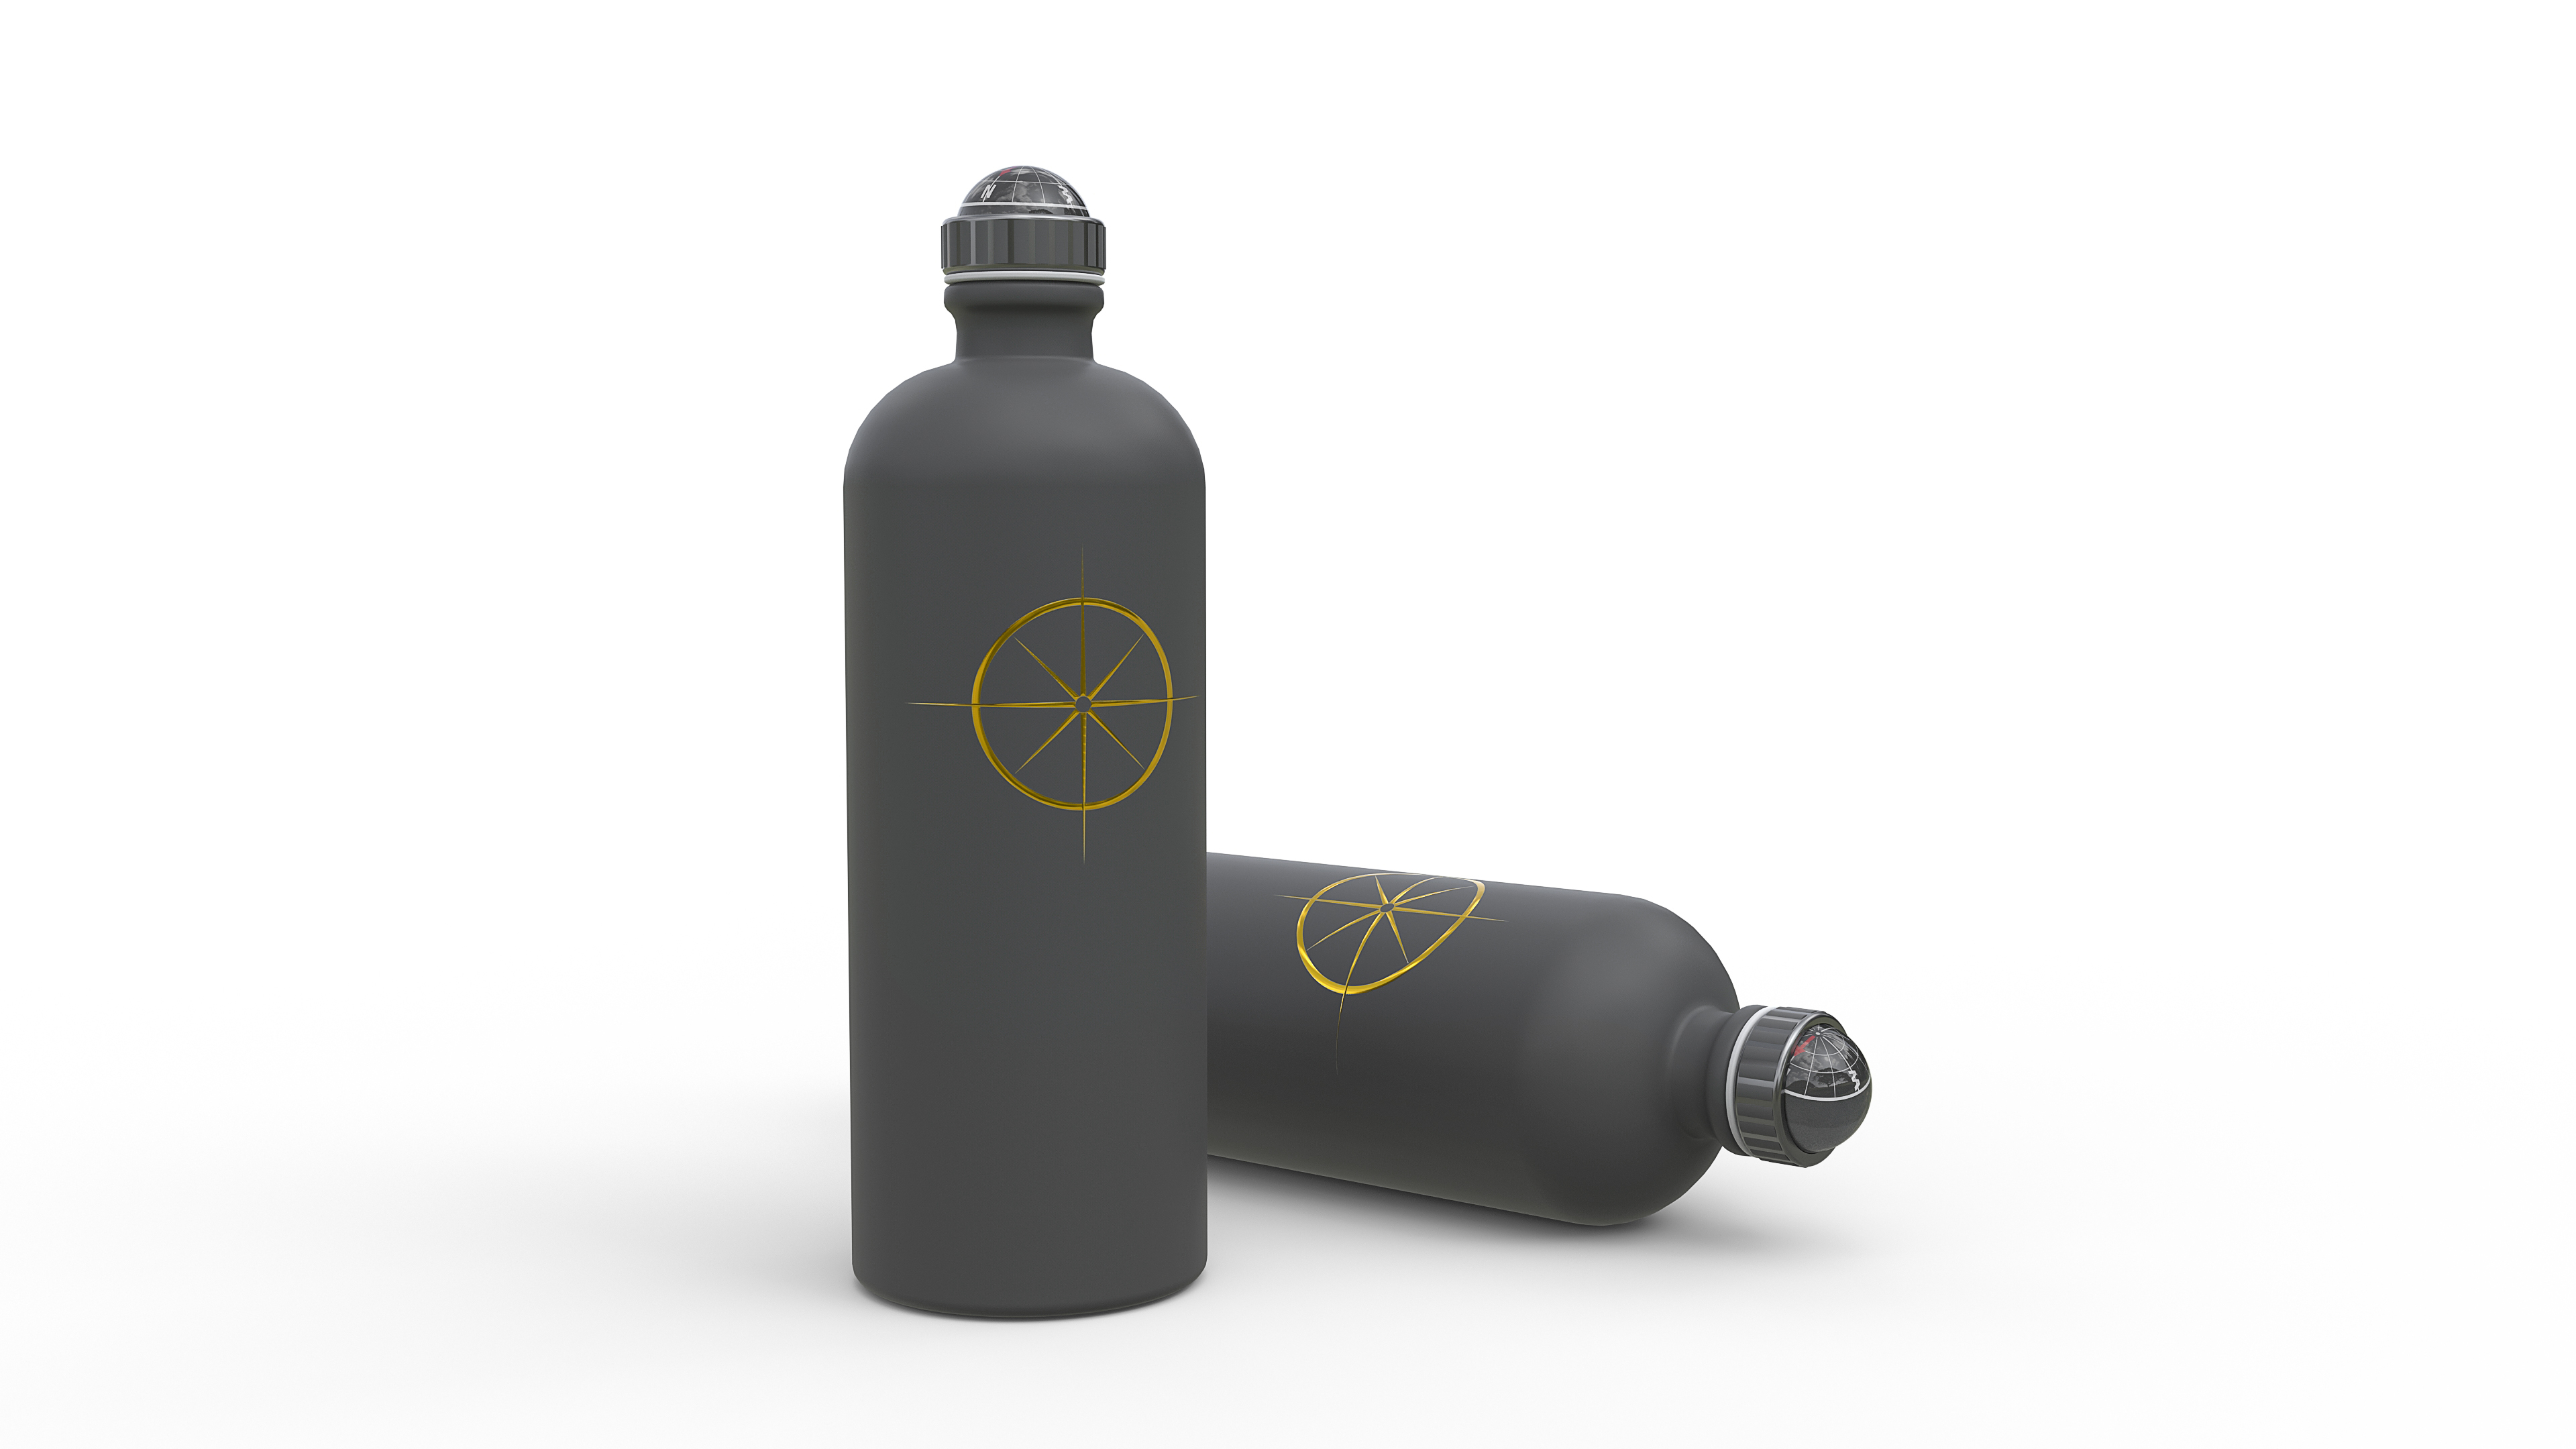
Let the view clean up. Notice how the metallic decal’s reflections and highlights now respond to the scene’s actual lighting as they wrap around the bottle’s curve. Rendered mode could only approximate this.
-
Compare the Rendered and Raytraced results side by side.
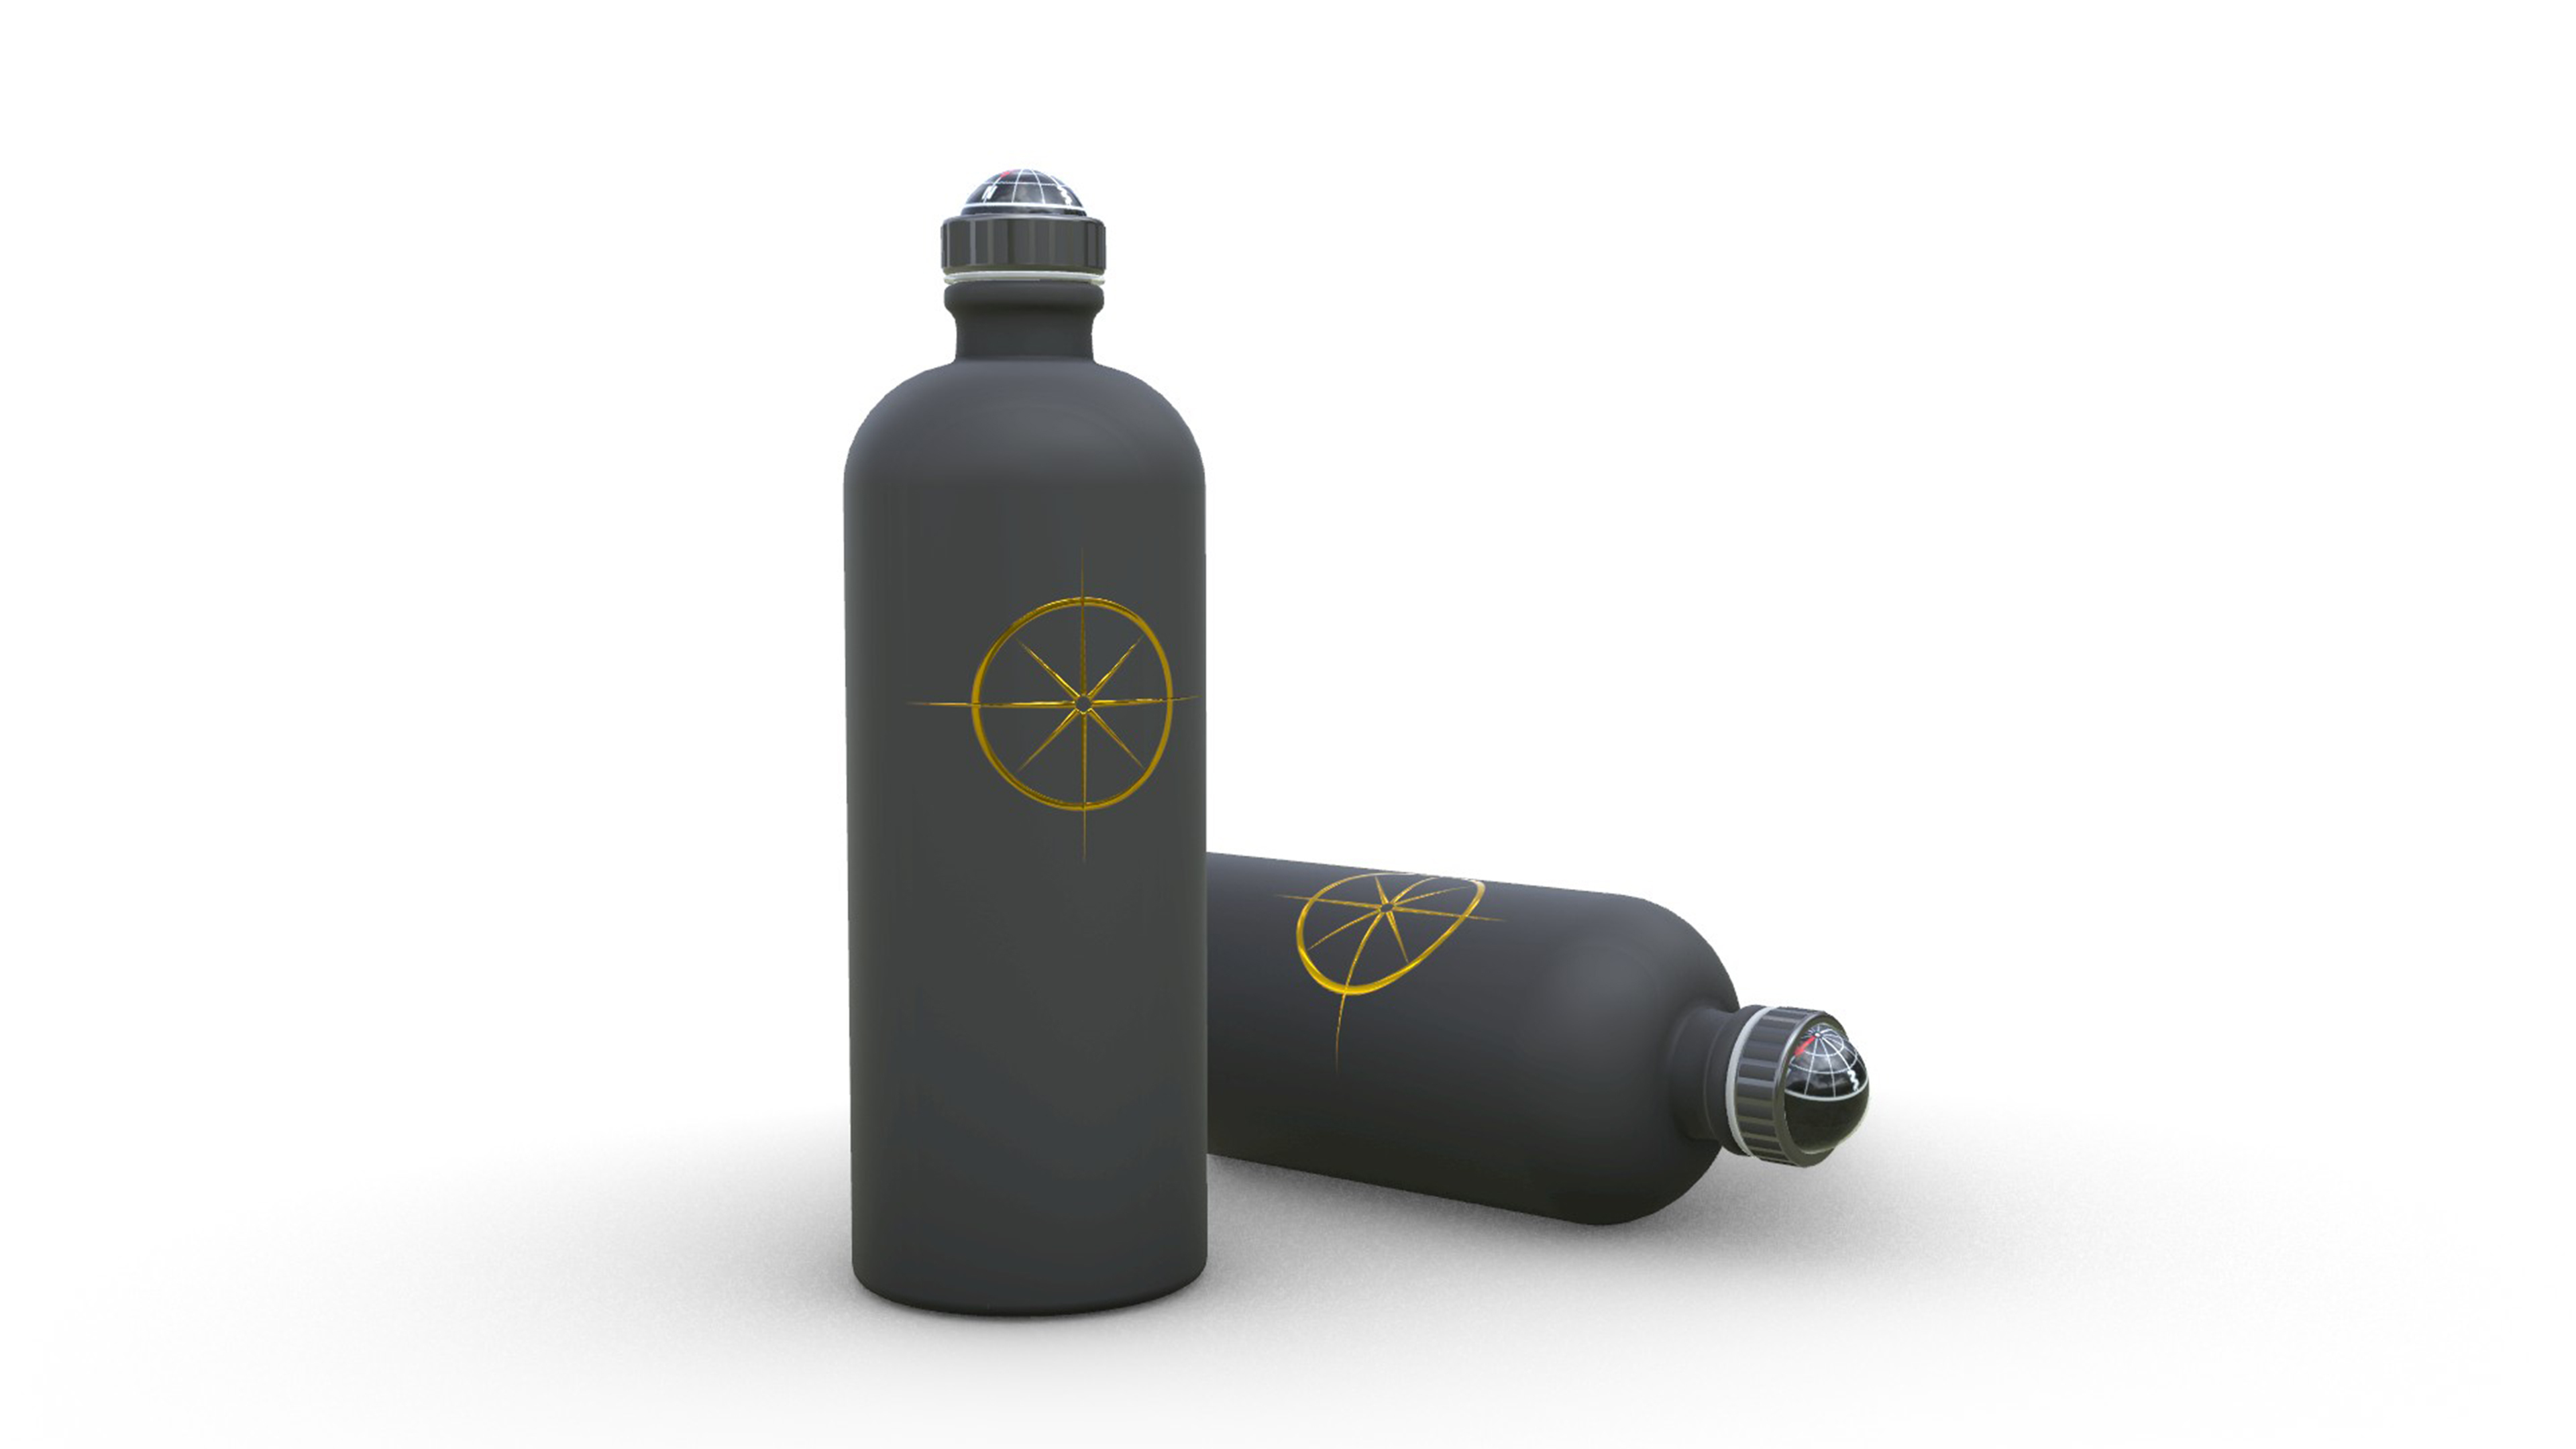
Rendered
Raytraced