Reference · Onboarding
A library of essential gestures to become fluent in Rhino.
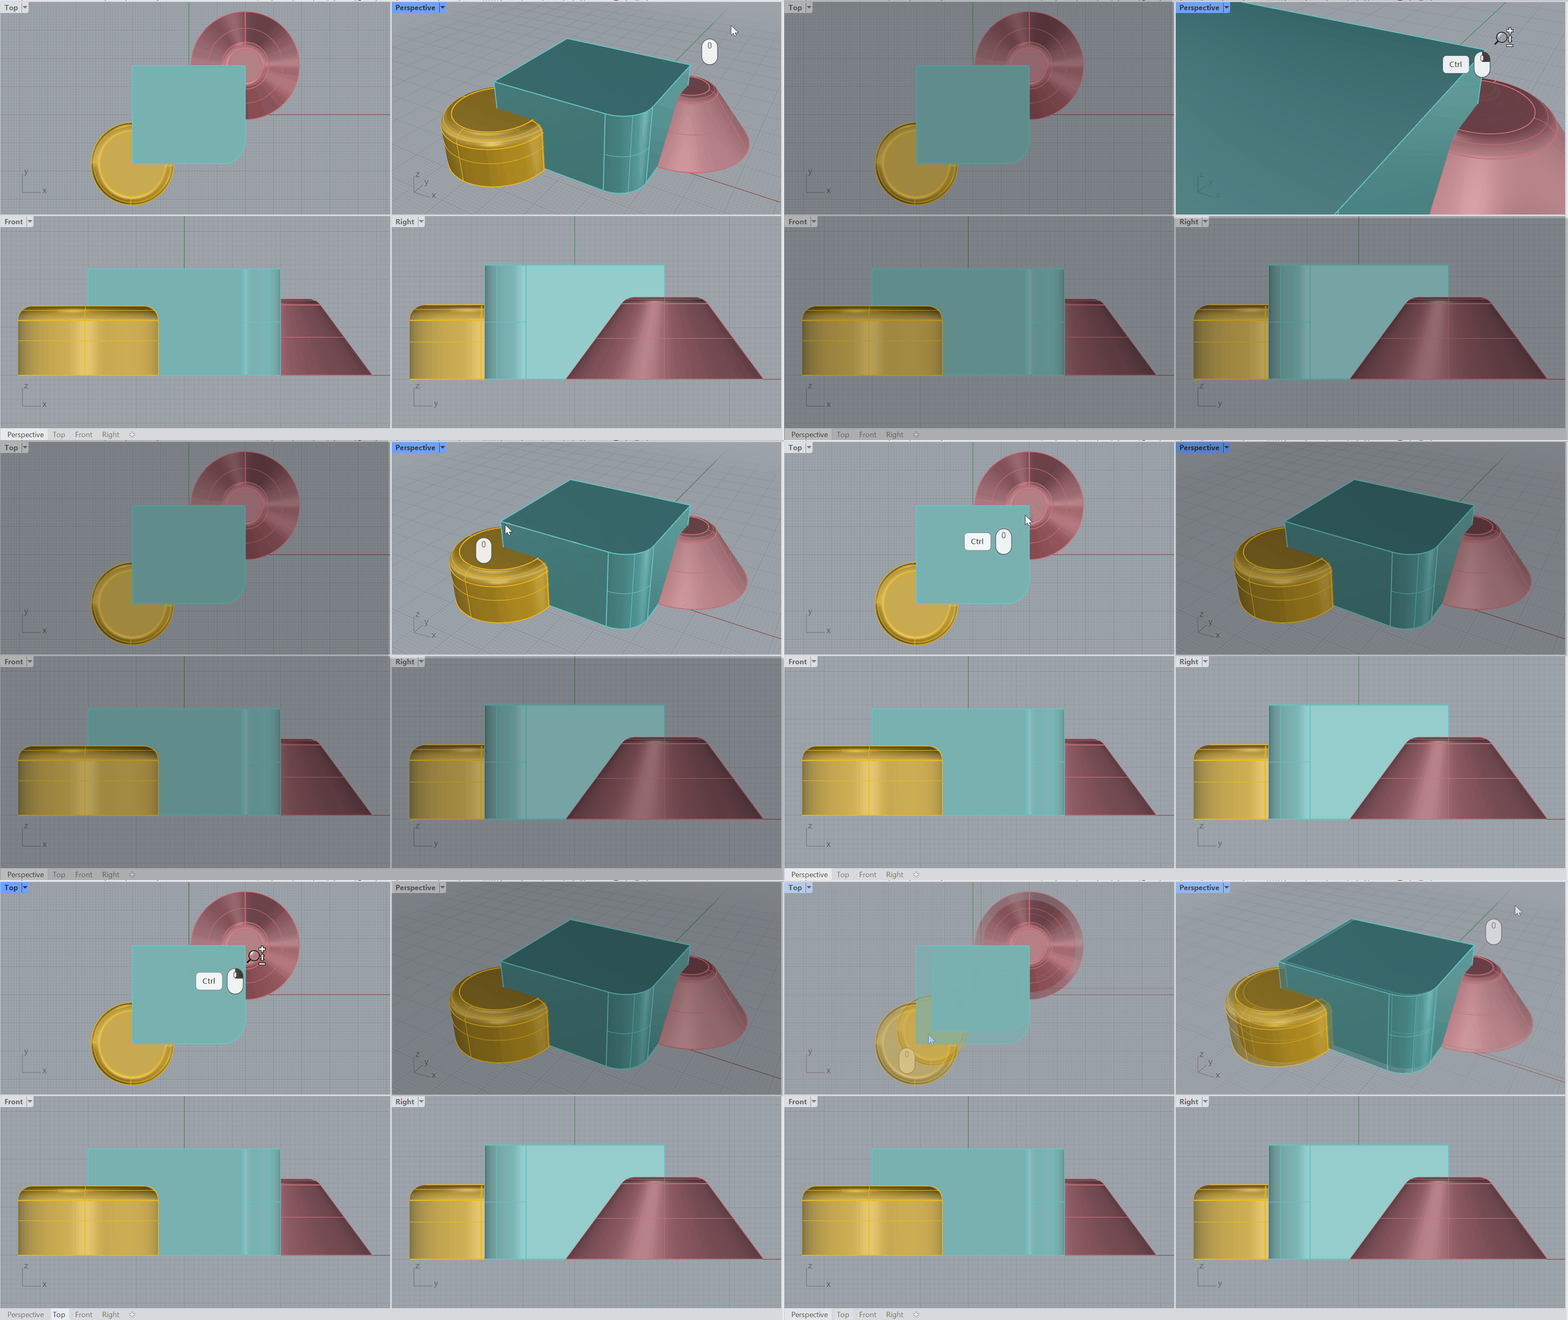
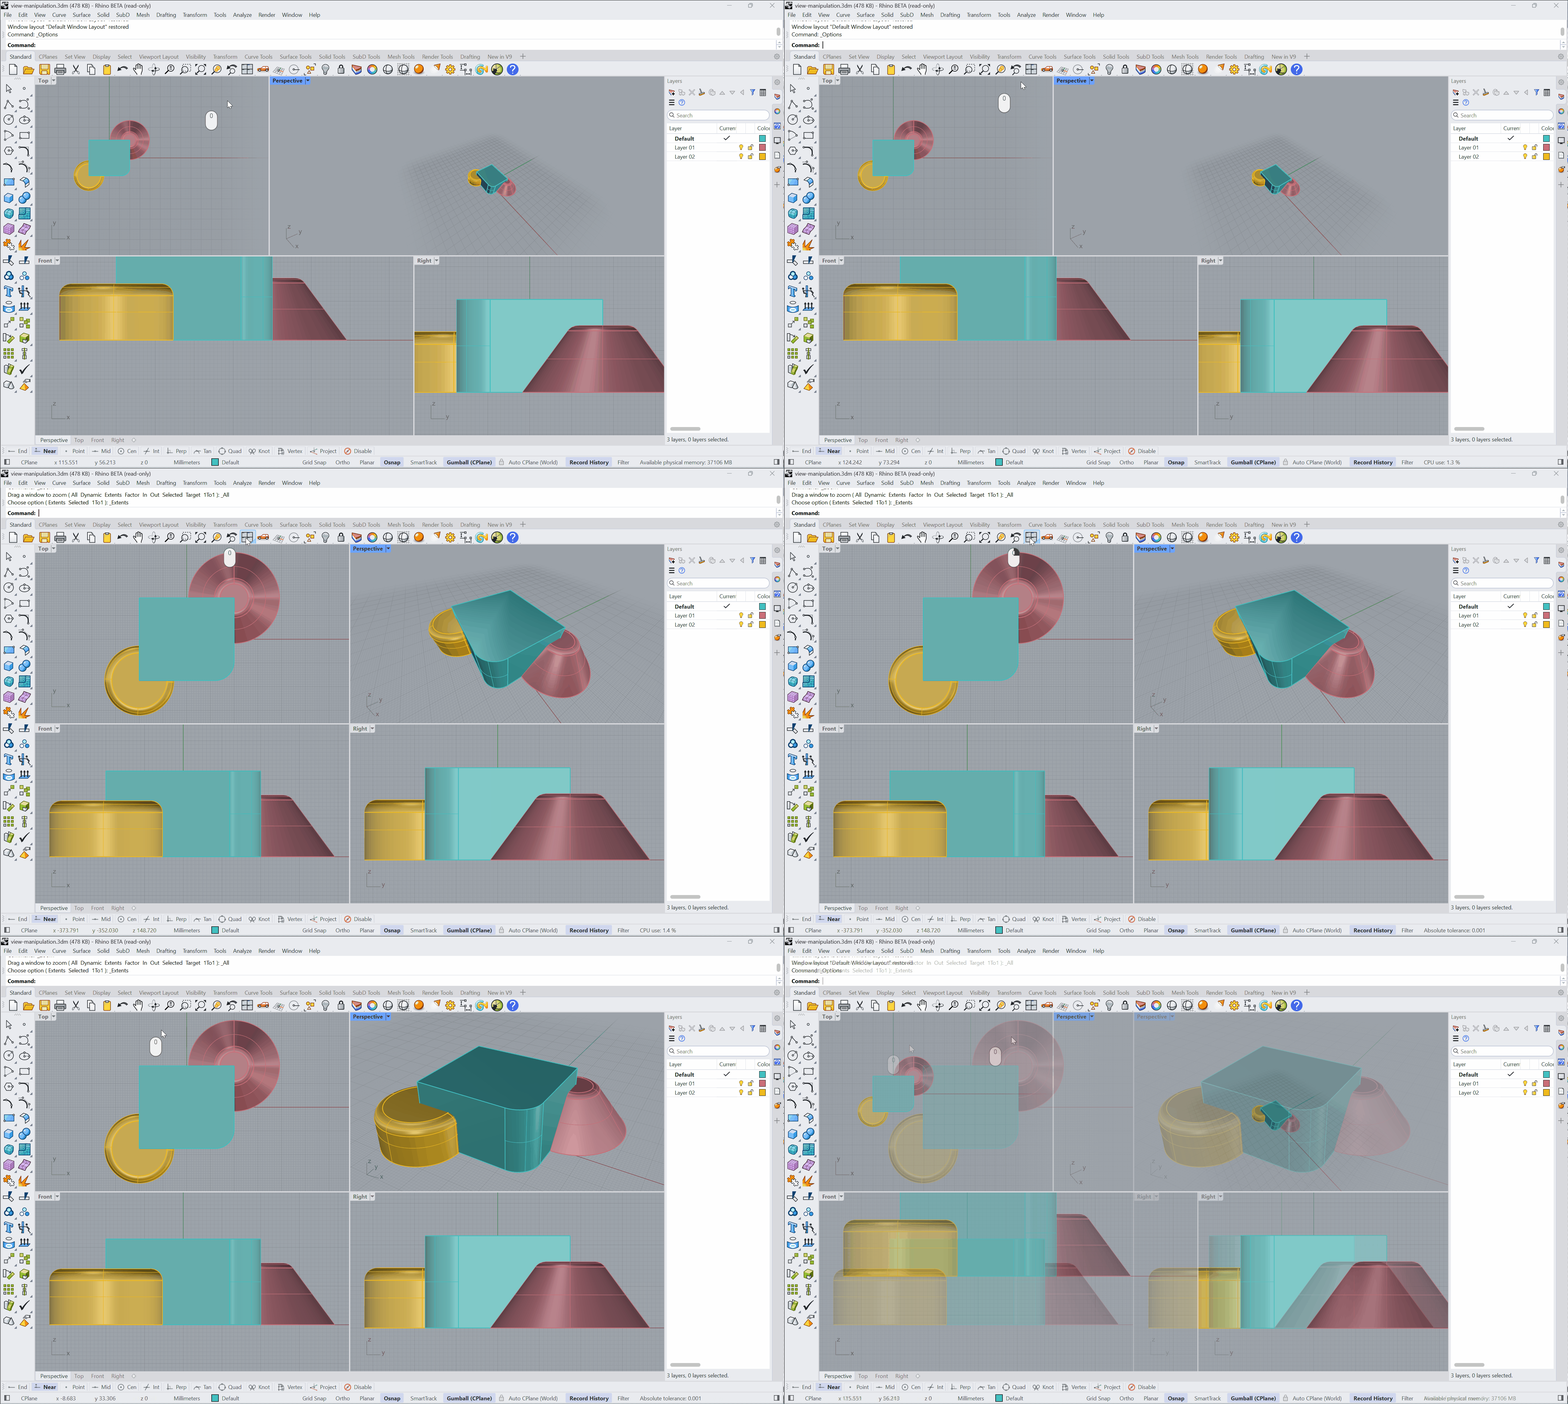
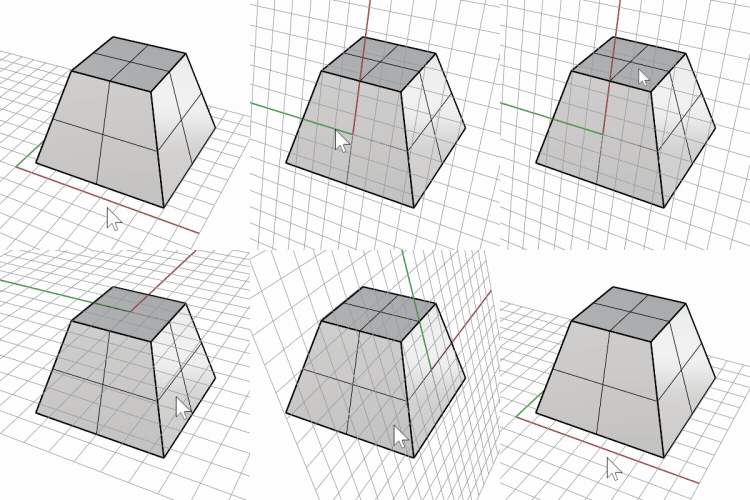
Zoom in and out of a view by holding down Ctrl / CMD + right-click for a smooth zoom. Scroll with your mouse wheel for a stepped zoom.
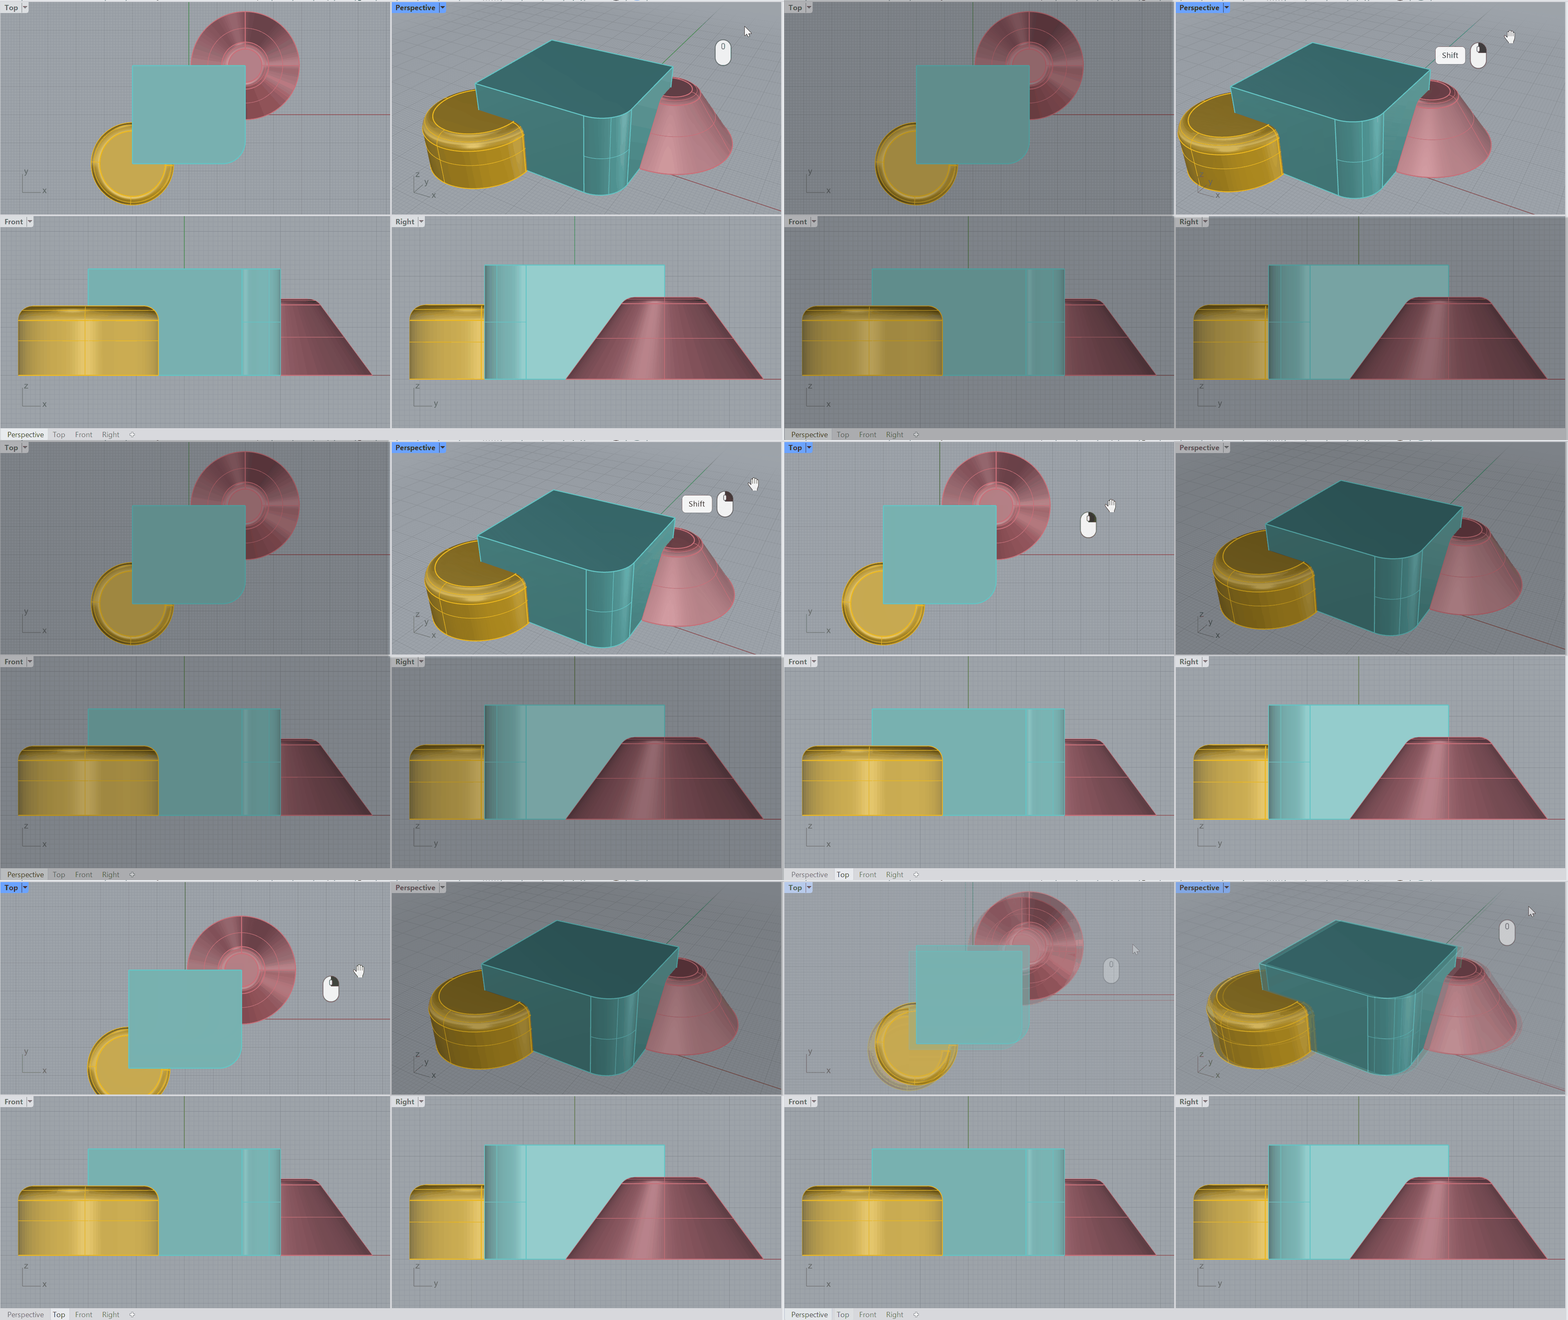
Move the view parallel to the camera angle by holding down the Shift + right-click in the Perspective or a right-click in a Parallel view.
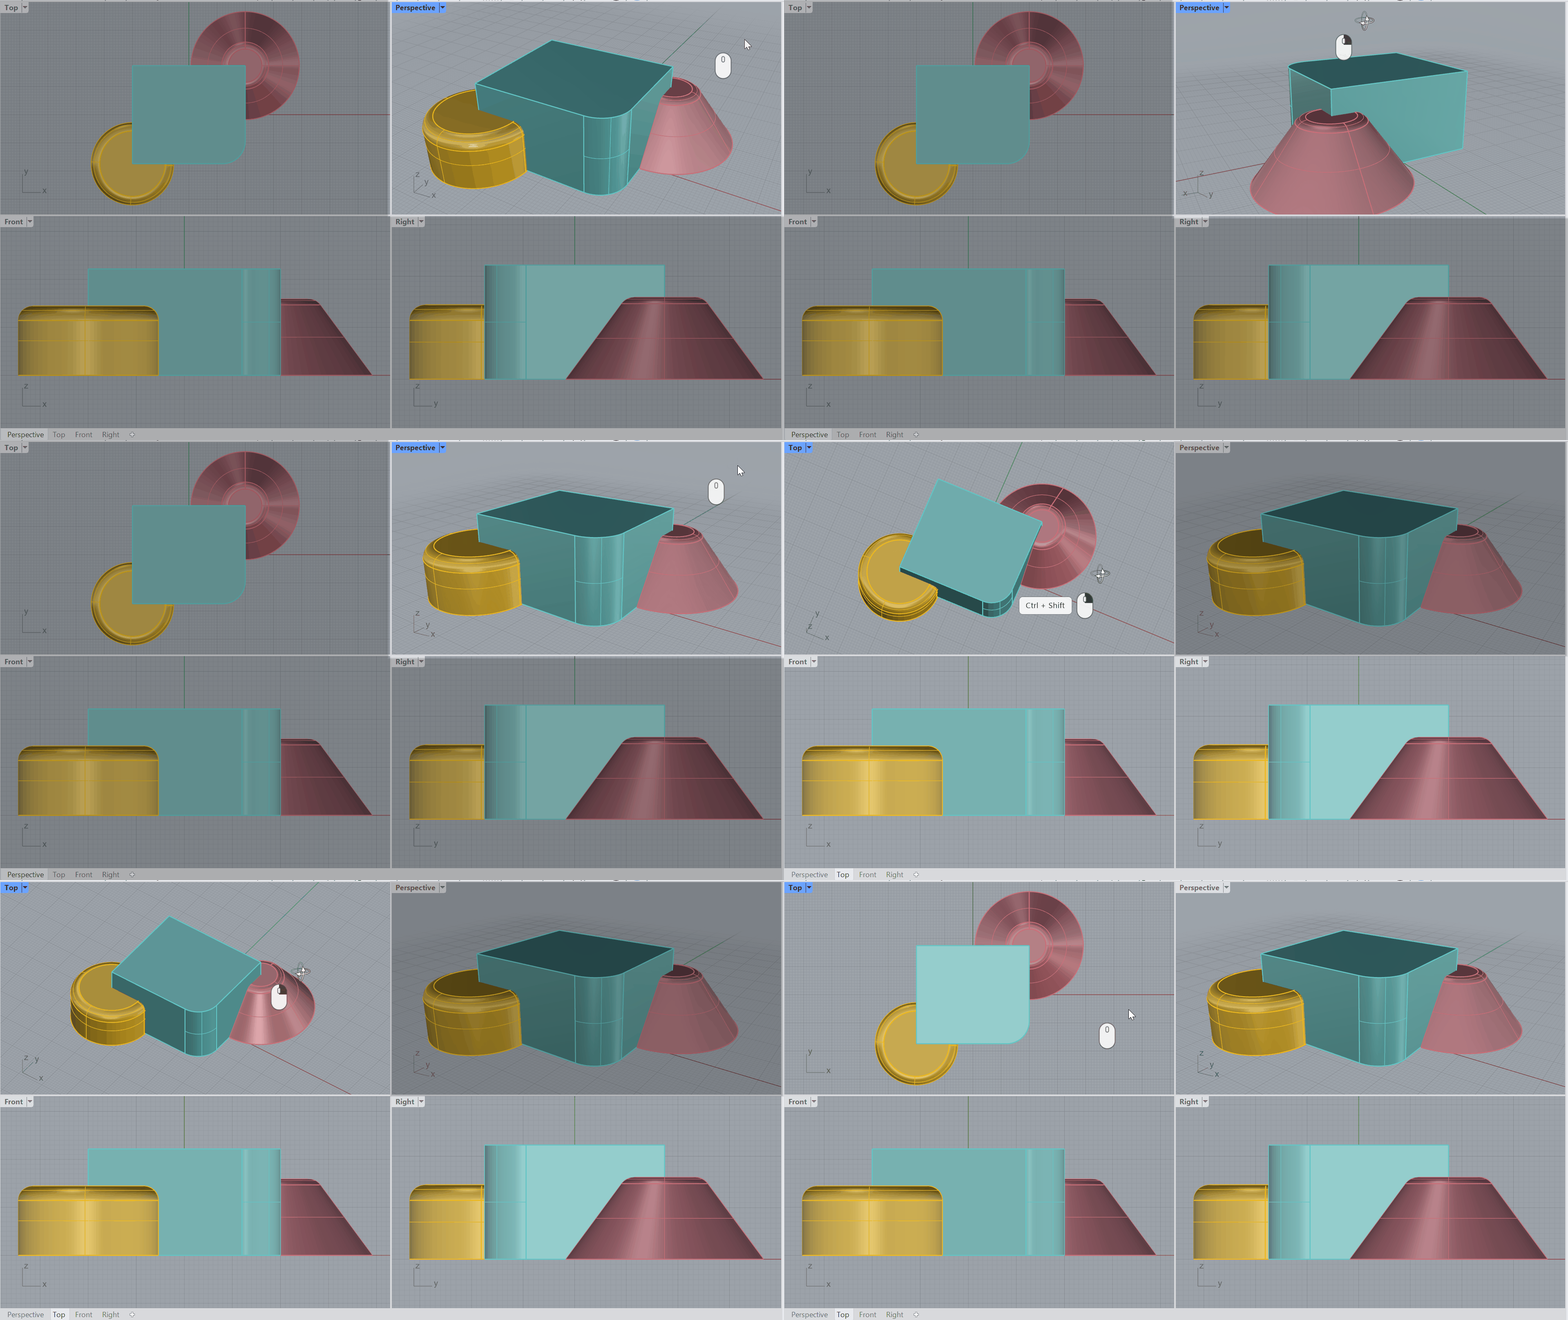
Rotate the camera view by right-clicking in the Perspective or by holding down Ctrl / CMD + Shift + right-click in a Parallel view.
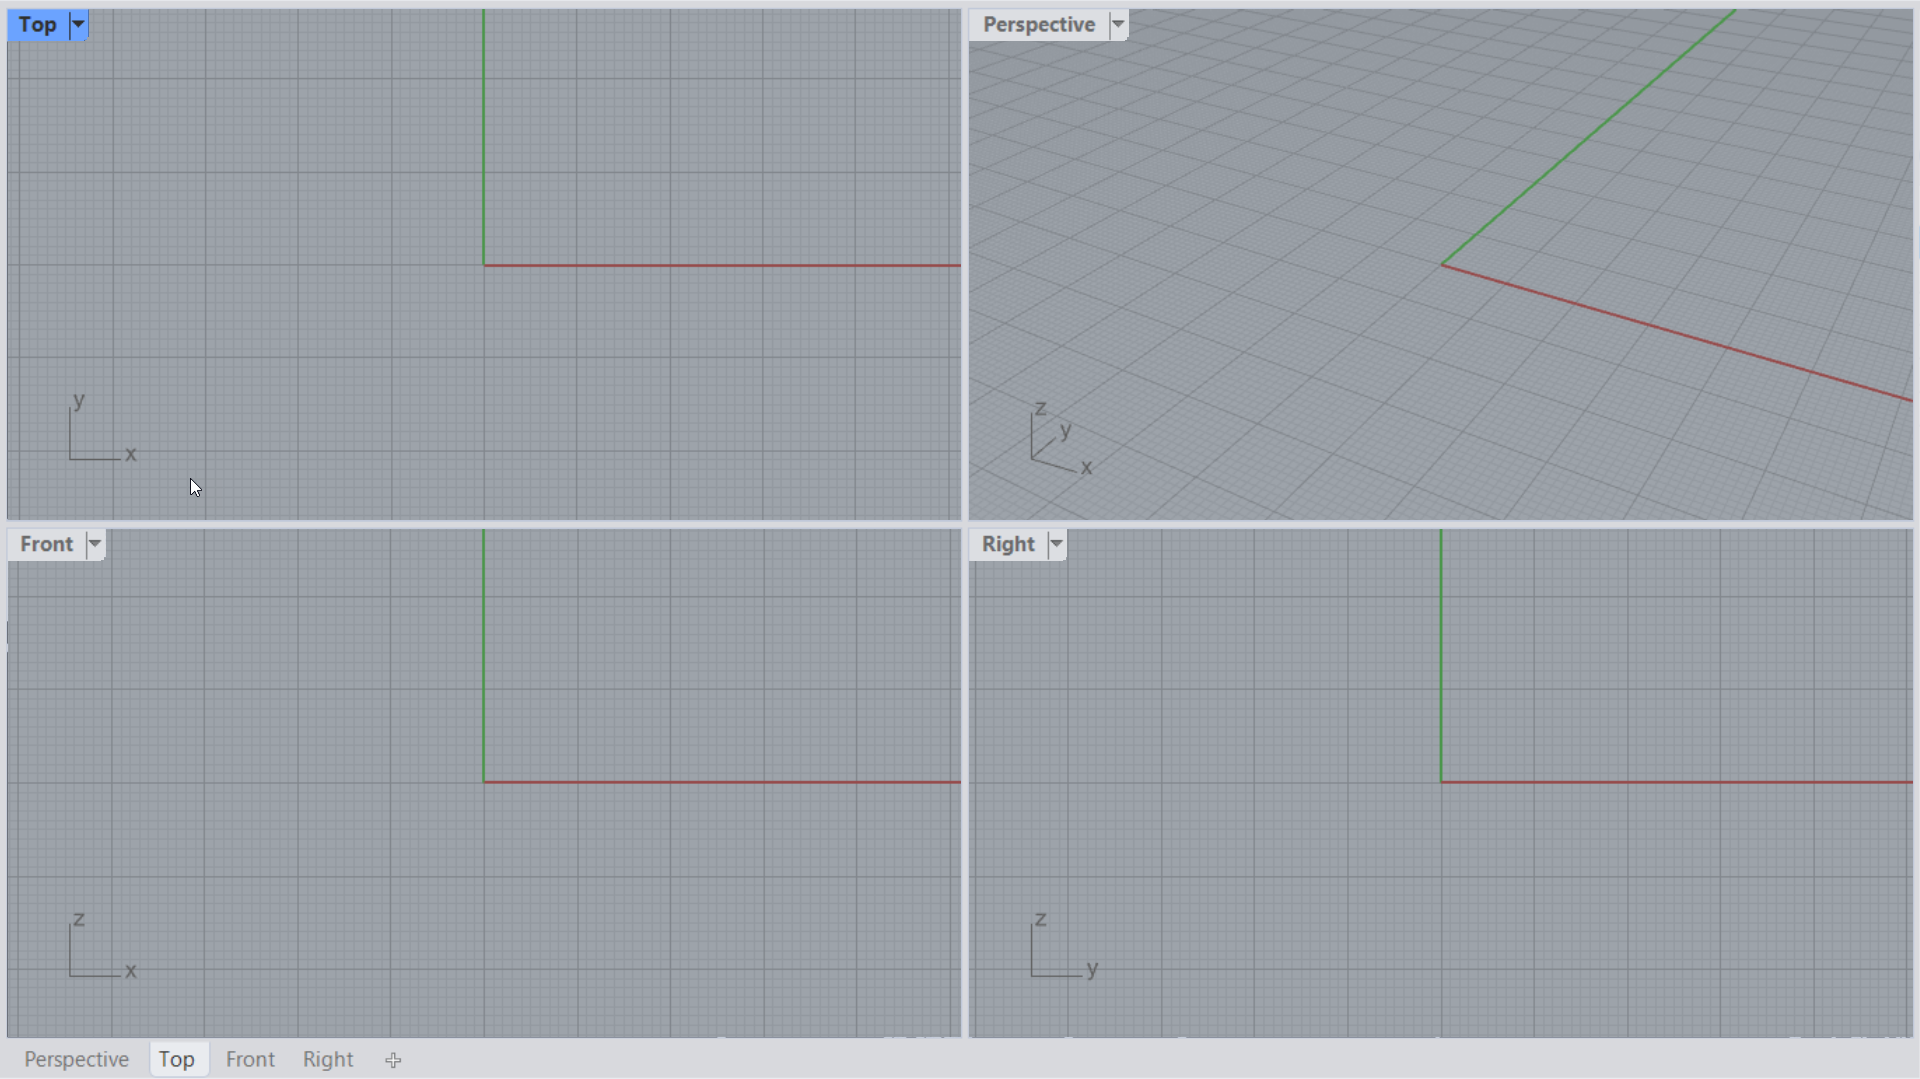
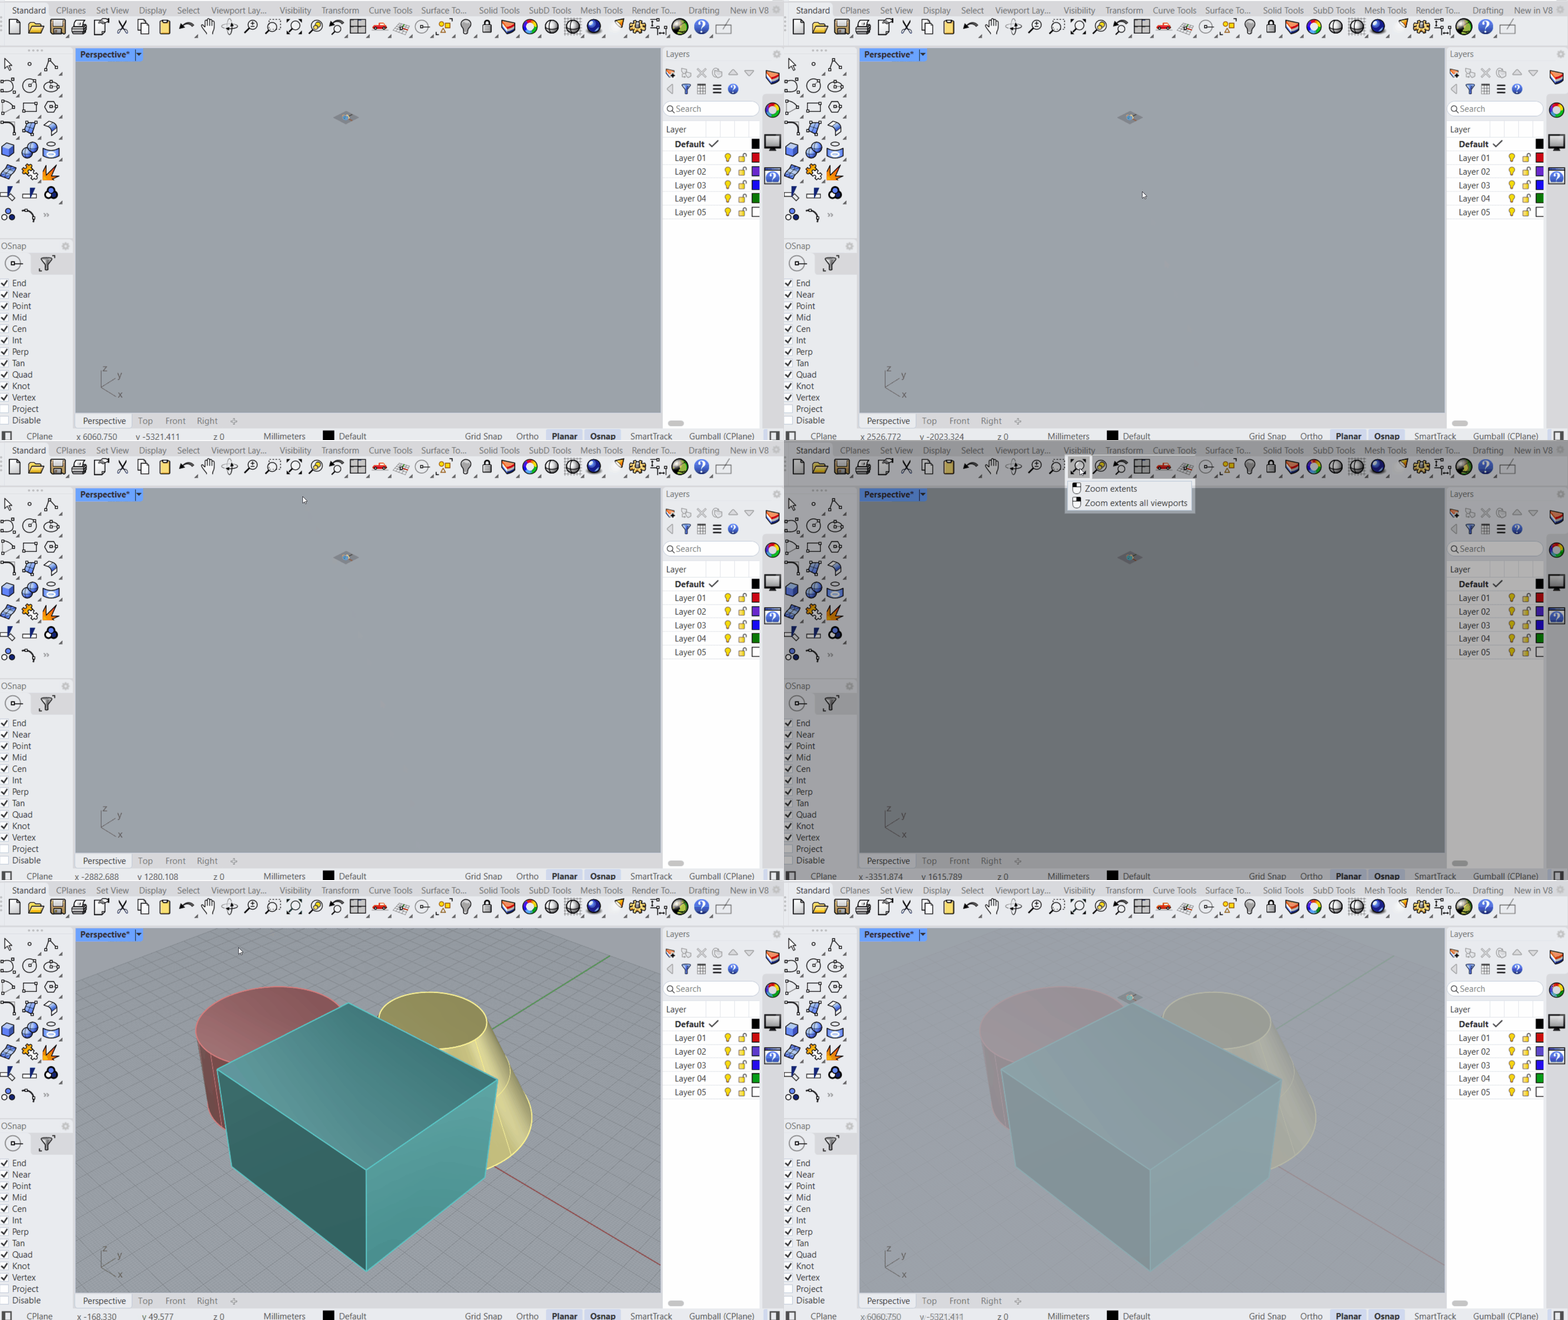
Reset Rhino's 4 default viewports by right-clicking once on the 4View icon, or twice to also reset the view settings.
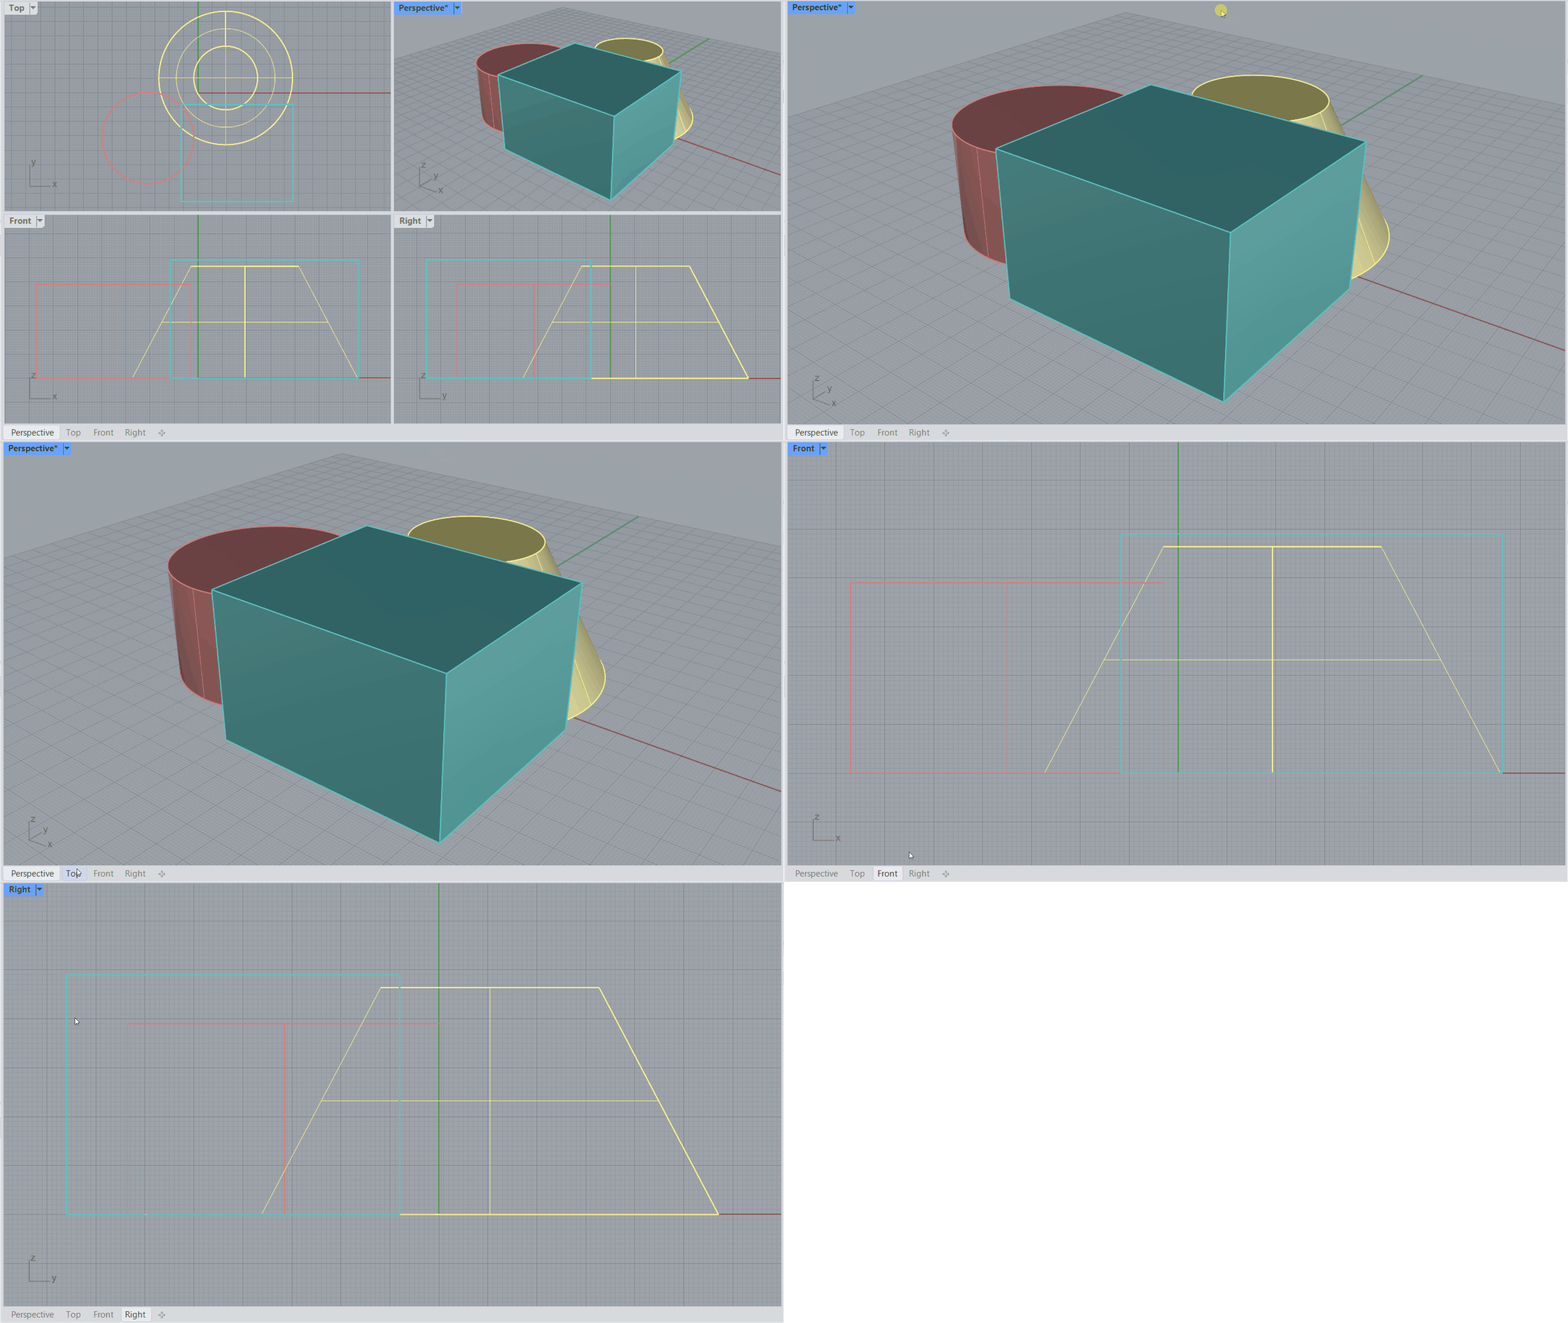
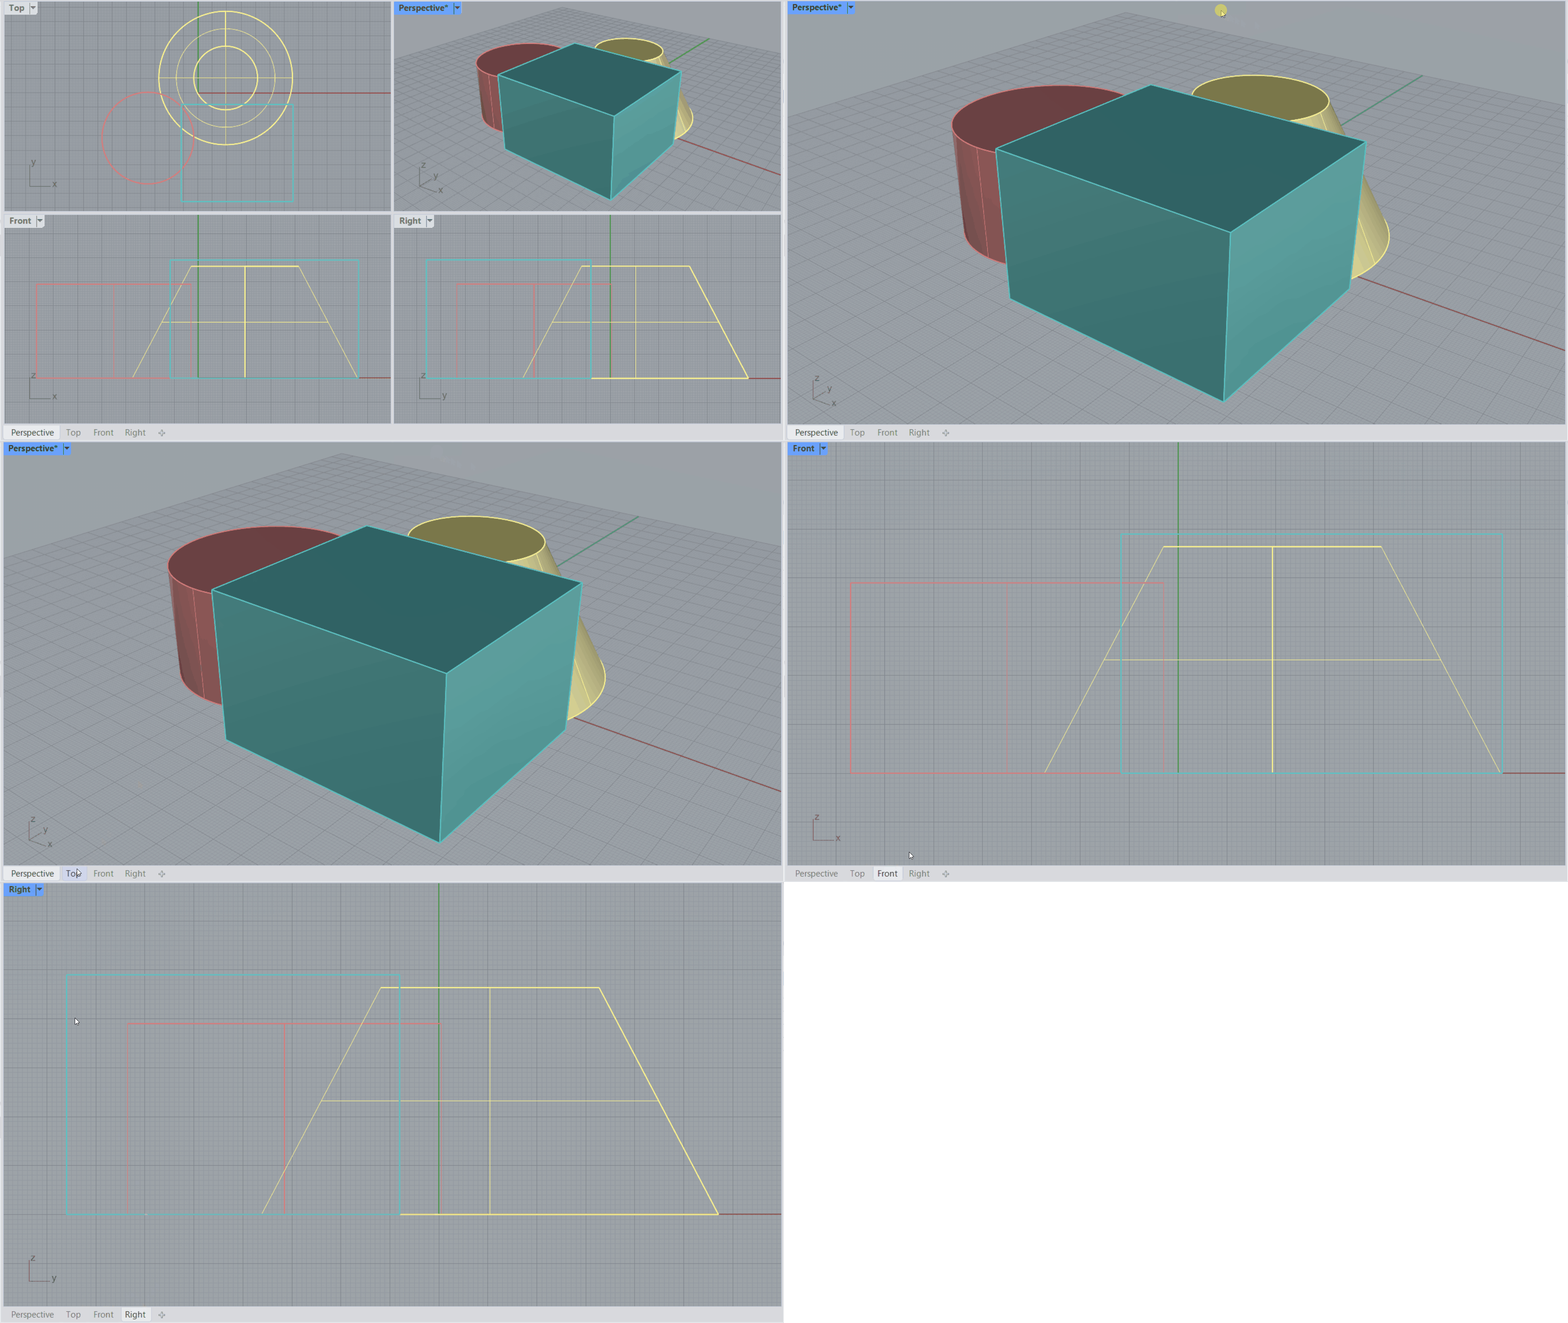
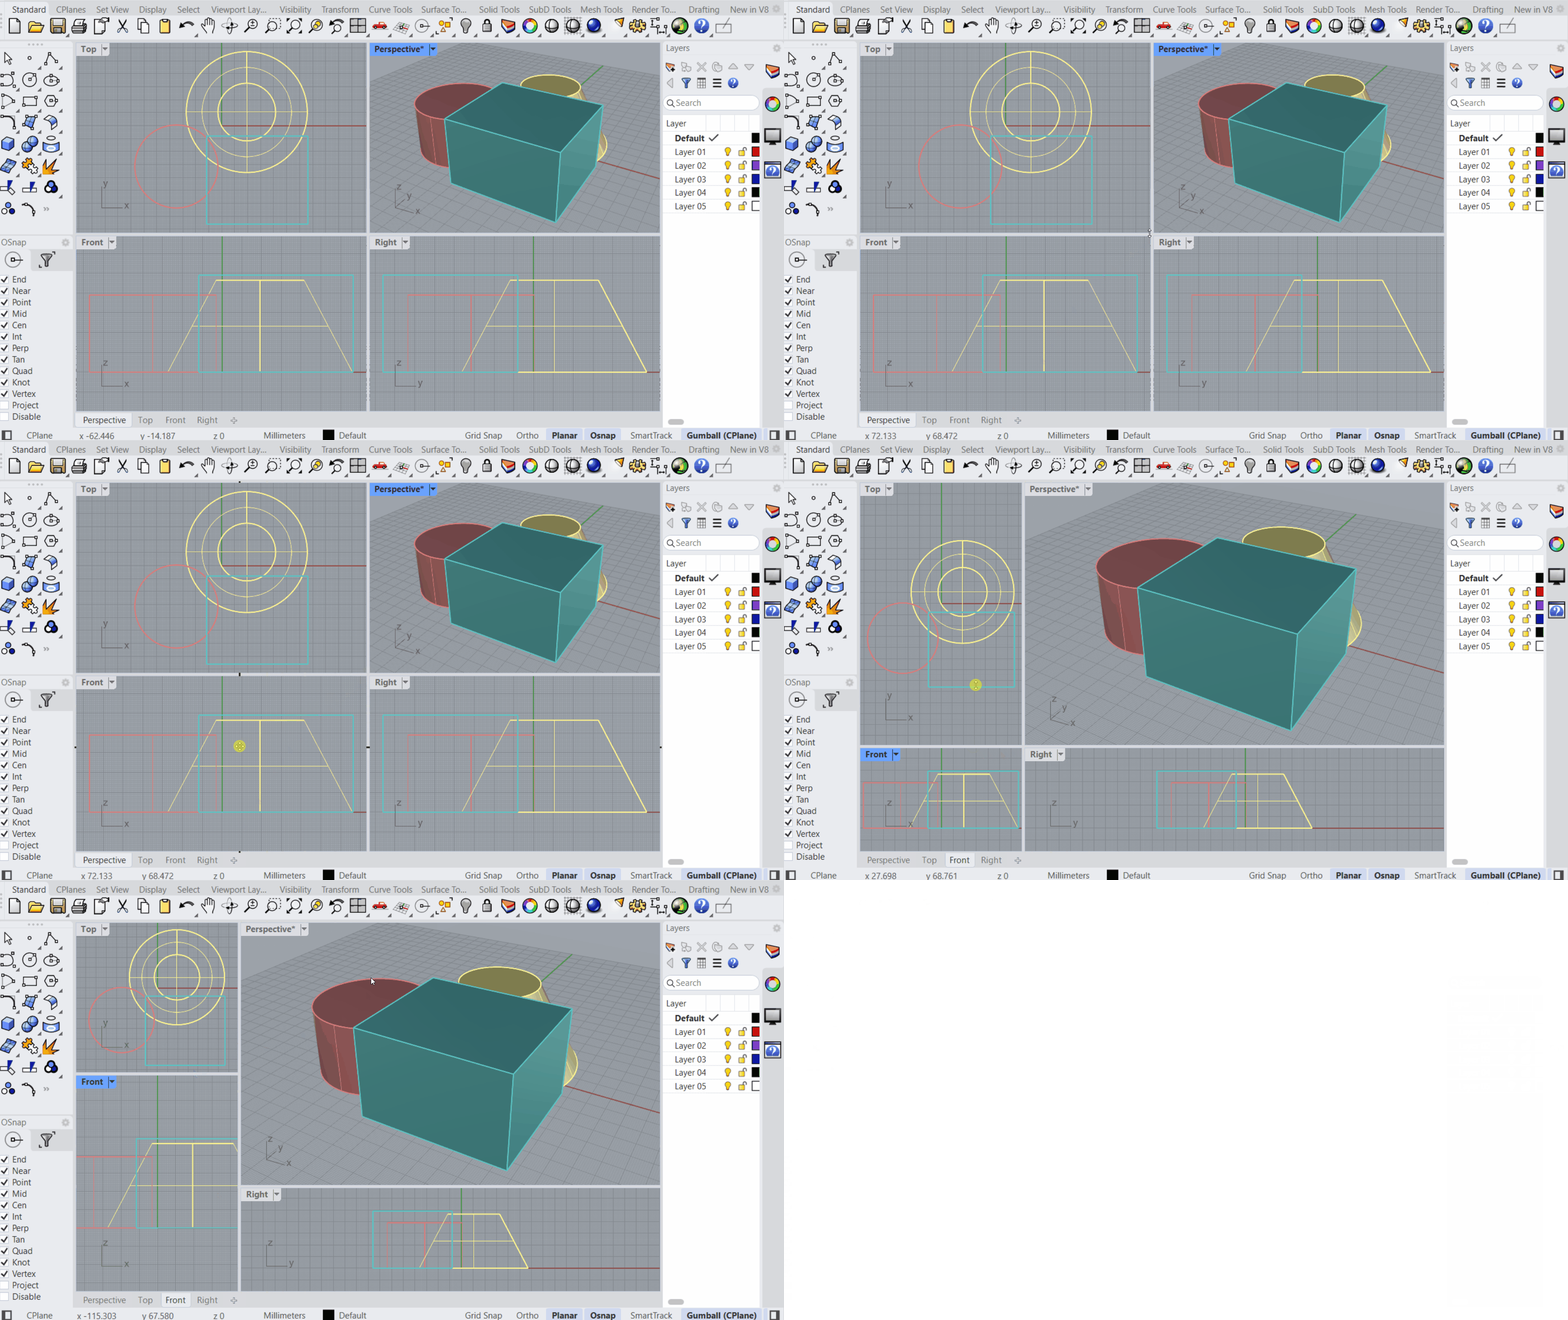
Double-click the viewport title to maximize it and obtain a larger working area.
Click on the tabs or press Ctrl+TAB to switch viewports.
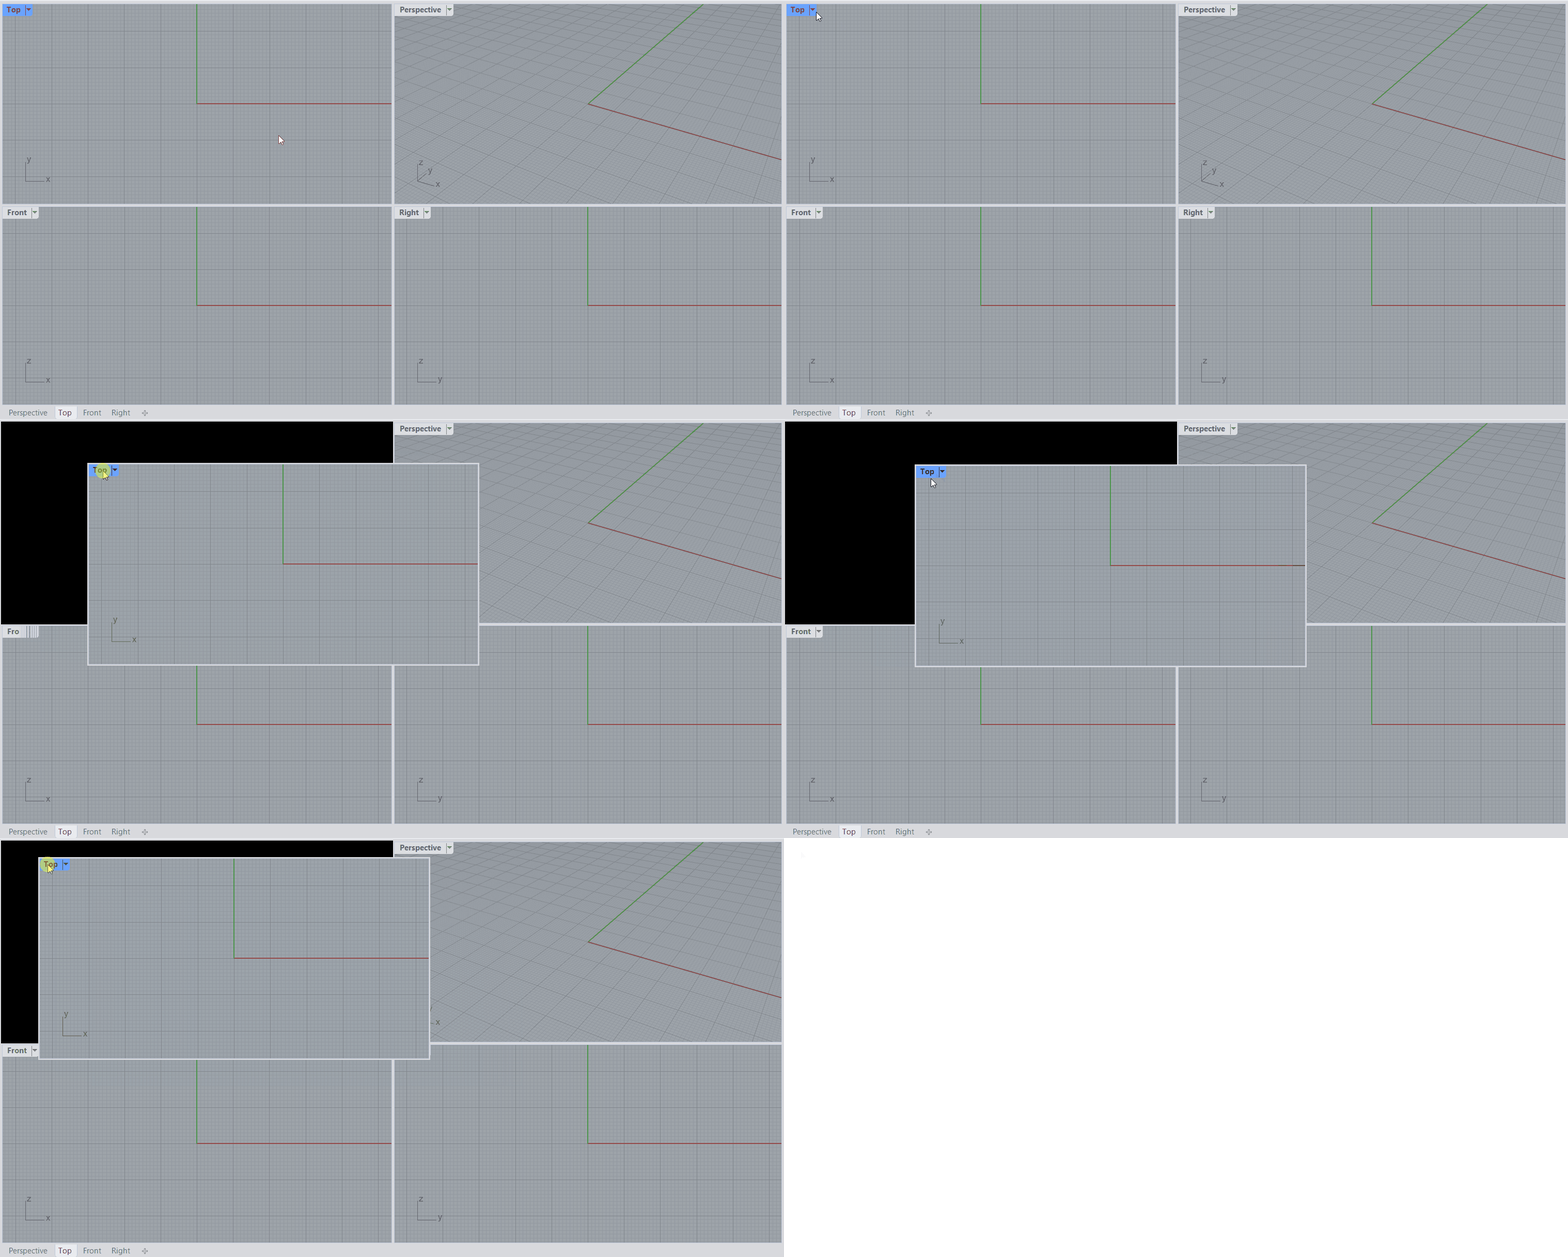
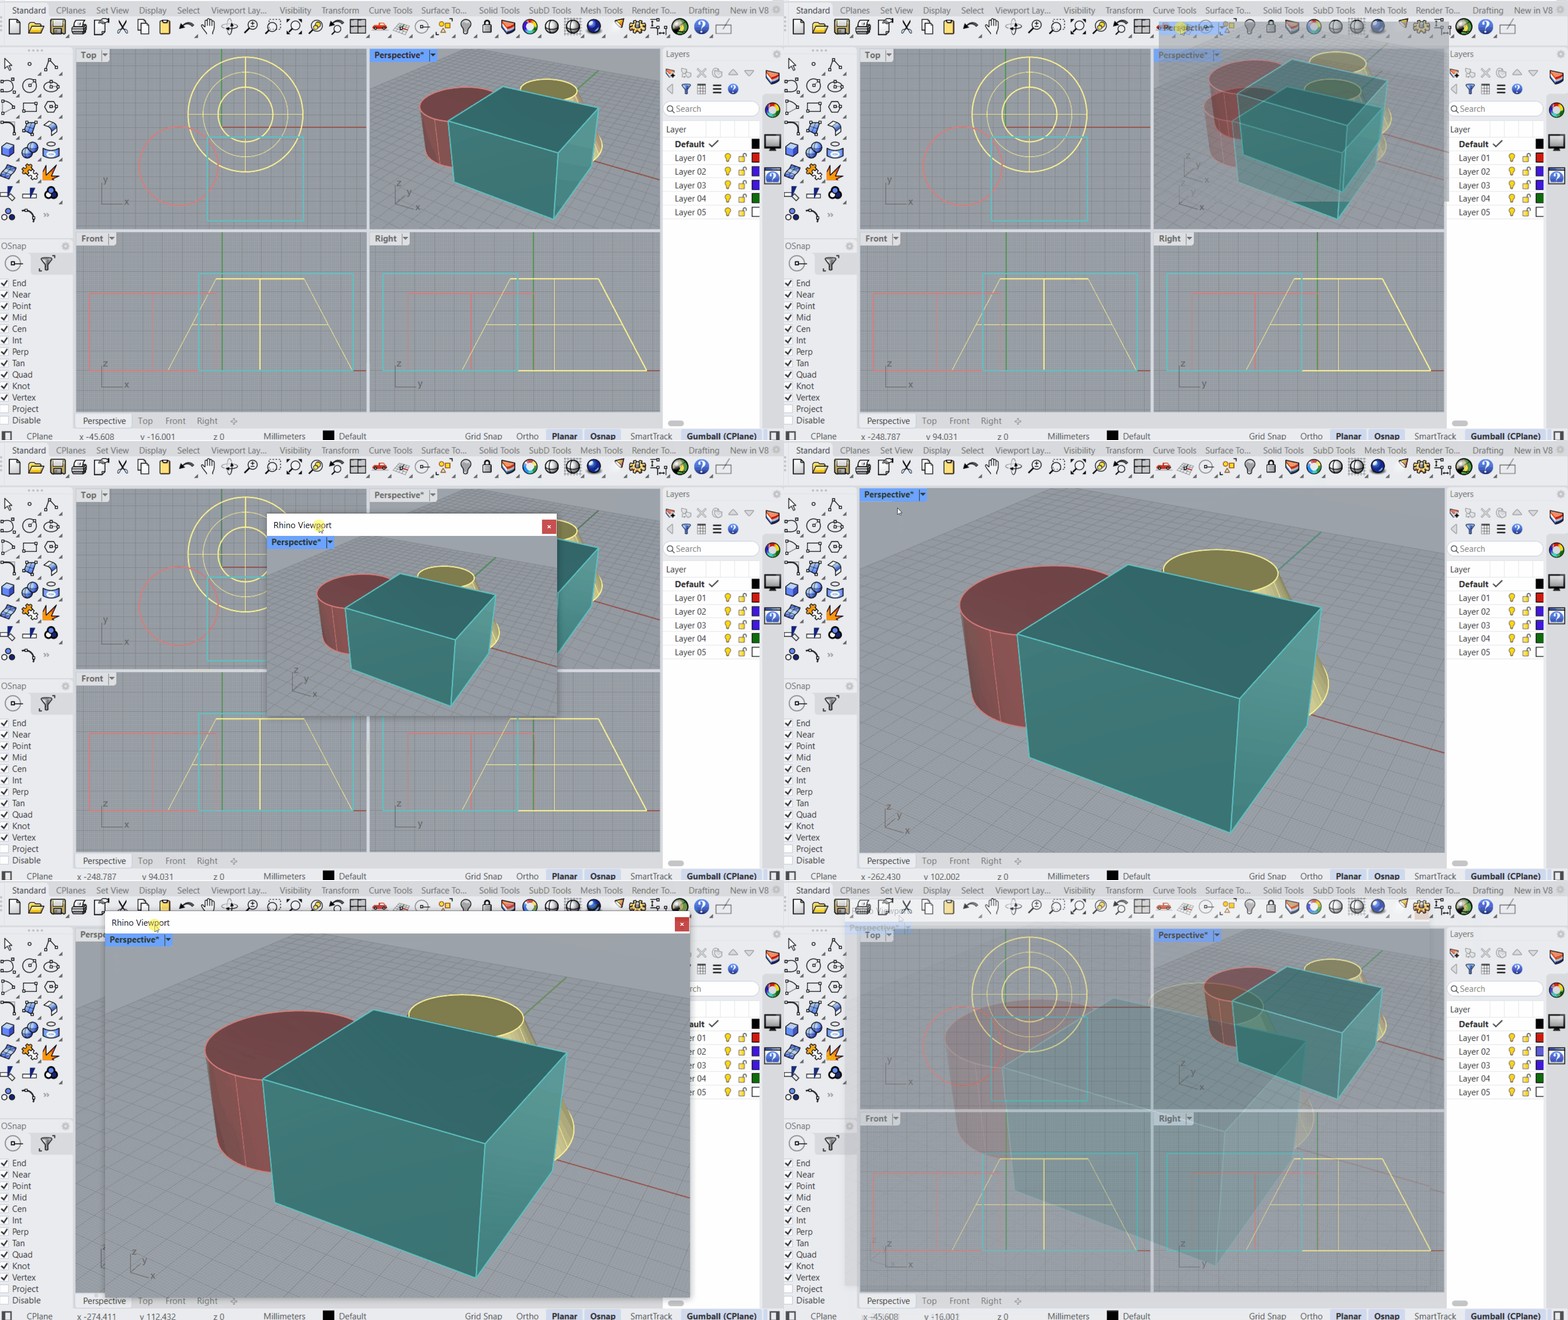
Undock and dock the viewport by dragging its title.
Maximize the viewport and drag it by the title to duplicate it (Windows only).
Drag the viewport splitters to resize each window.
Located at the bottom edge of the viewports, they allow you to switch between Viewports and Layouts.
Are Rhino's modeling windows. It's where drawing takes place.
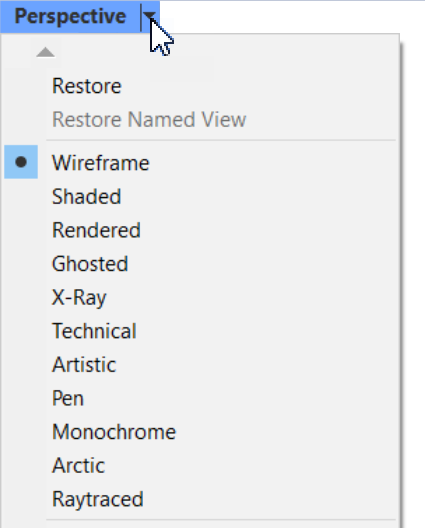
Click in the viewport title to access a variety of display styles for your scene.
The Shaded display mode sets the viewport to opaque shaded mode.
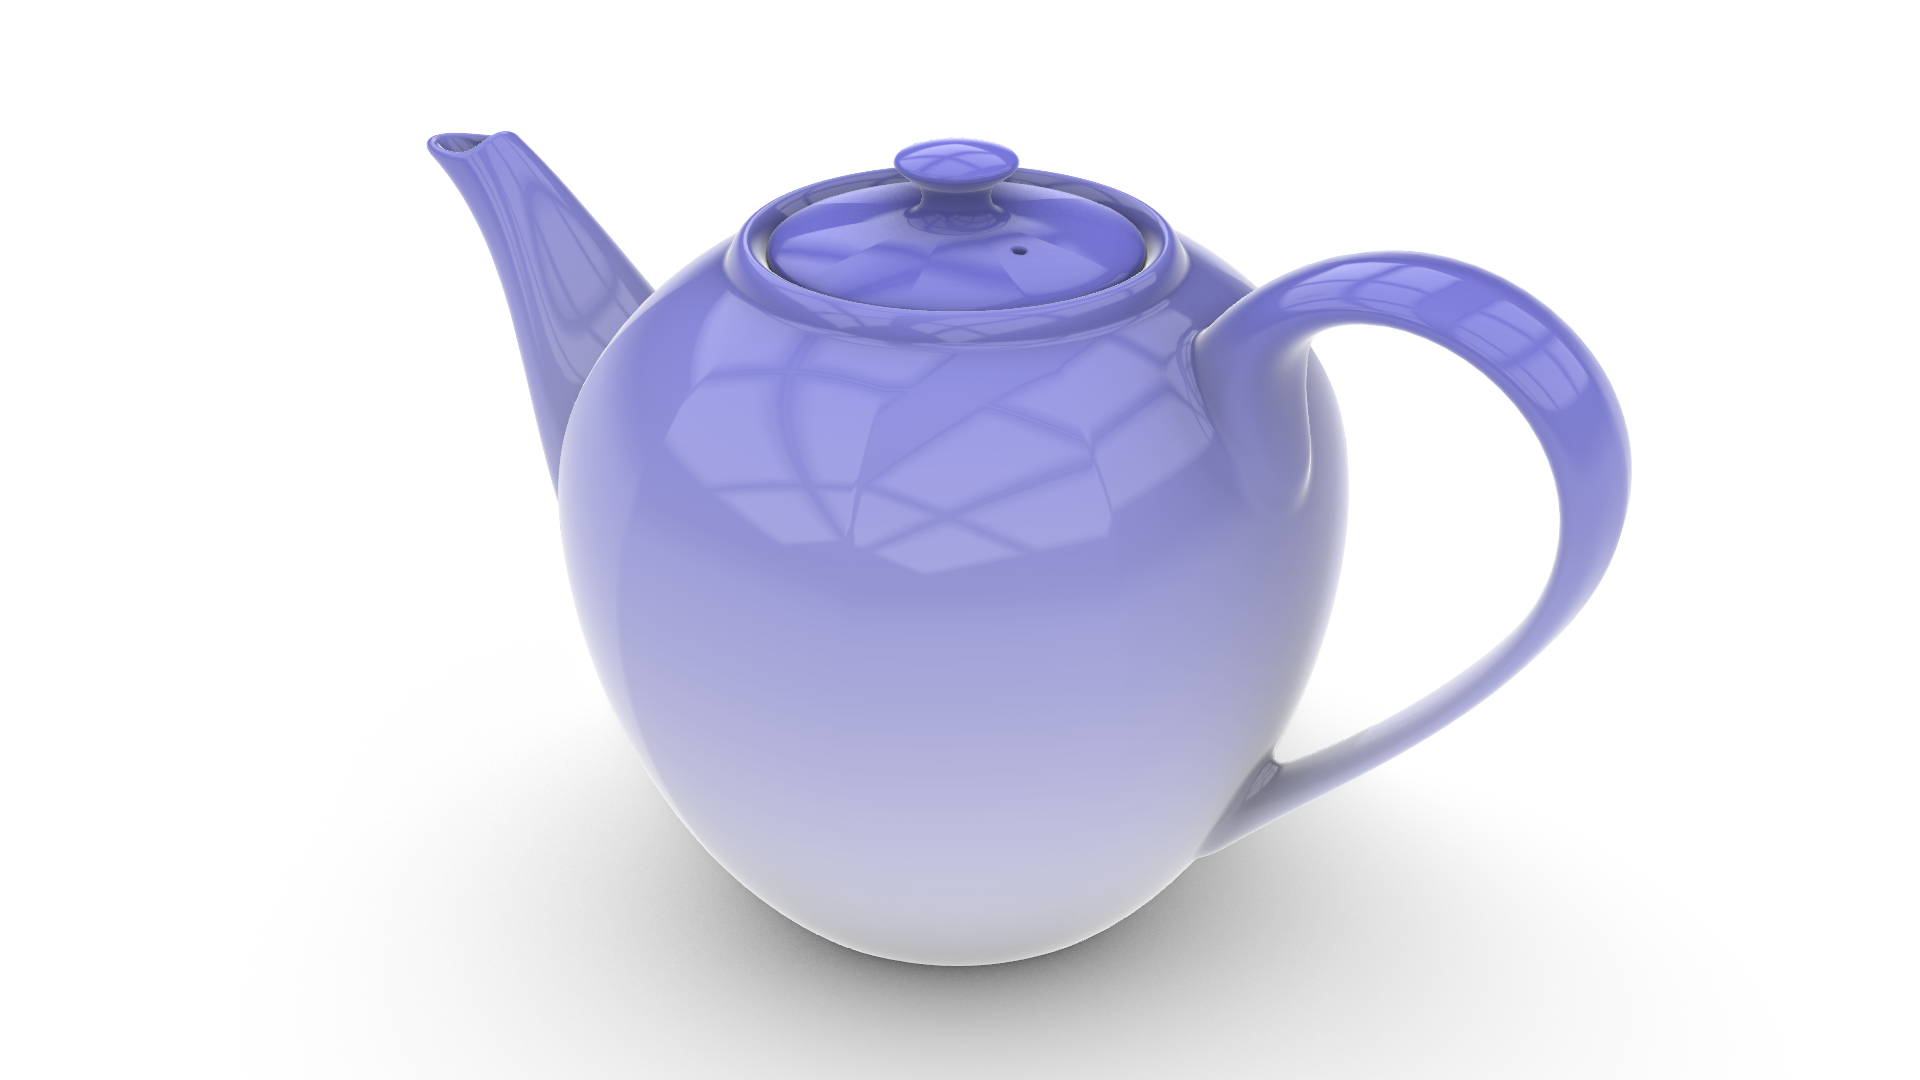
Shades the viewport with a simulation of the rendered view.
The Raytraced display mode sets the viewport to a rendered mode with Cycles, a real-time raytracer.
Click the ZoomExtents icon to maximize your model in the viewport frame.
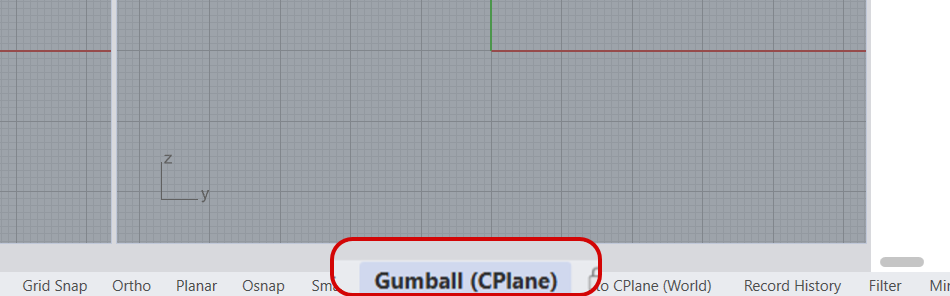
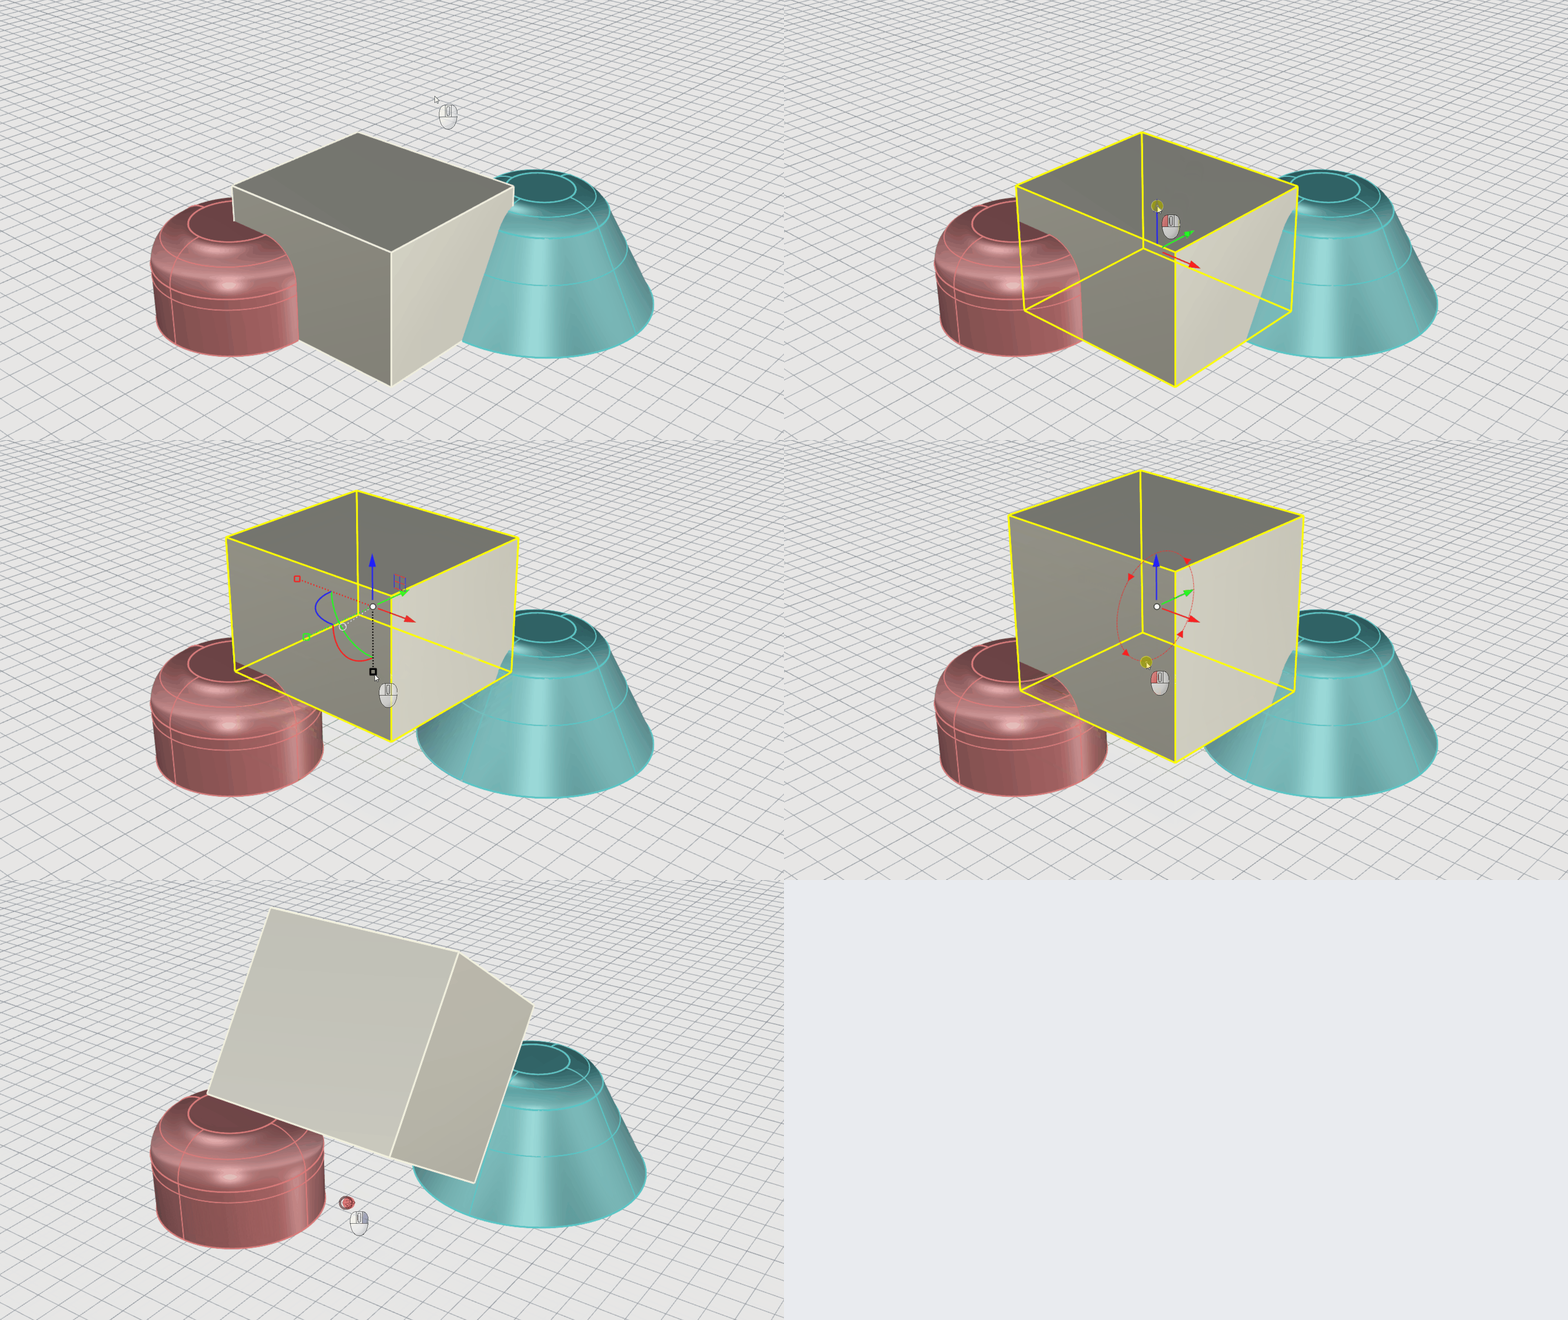
Click Gumball on the Status Bar to make the Gumball appear when making a selection.
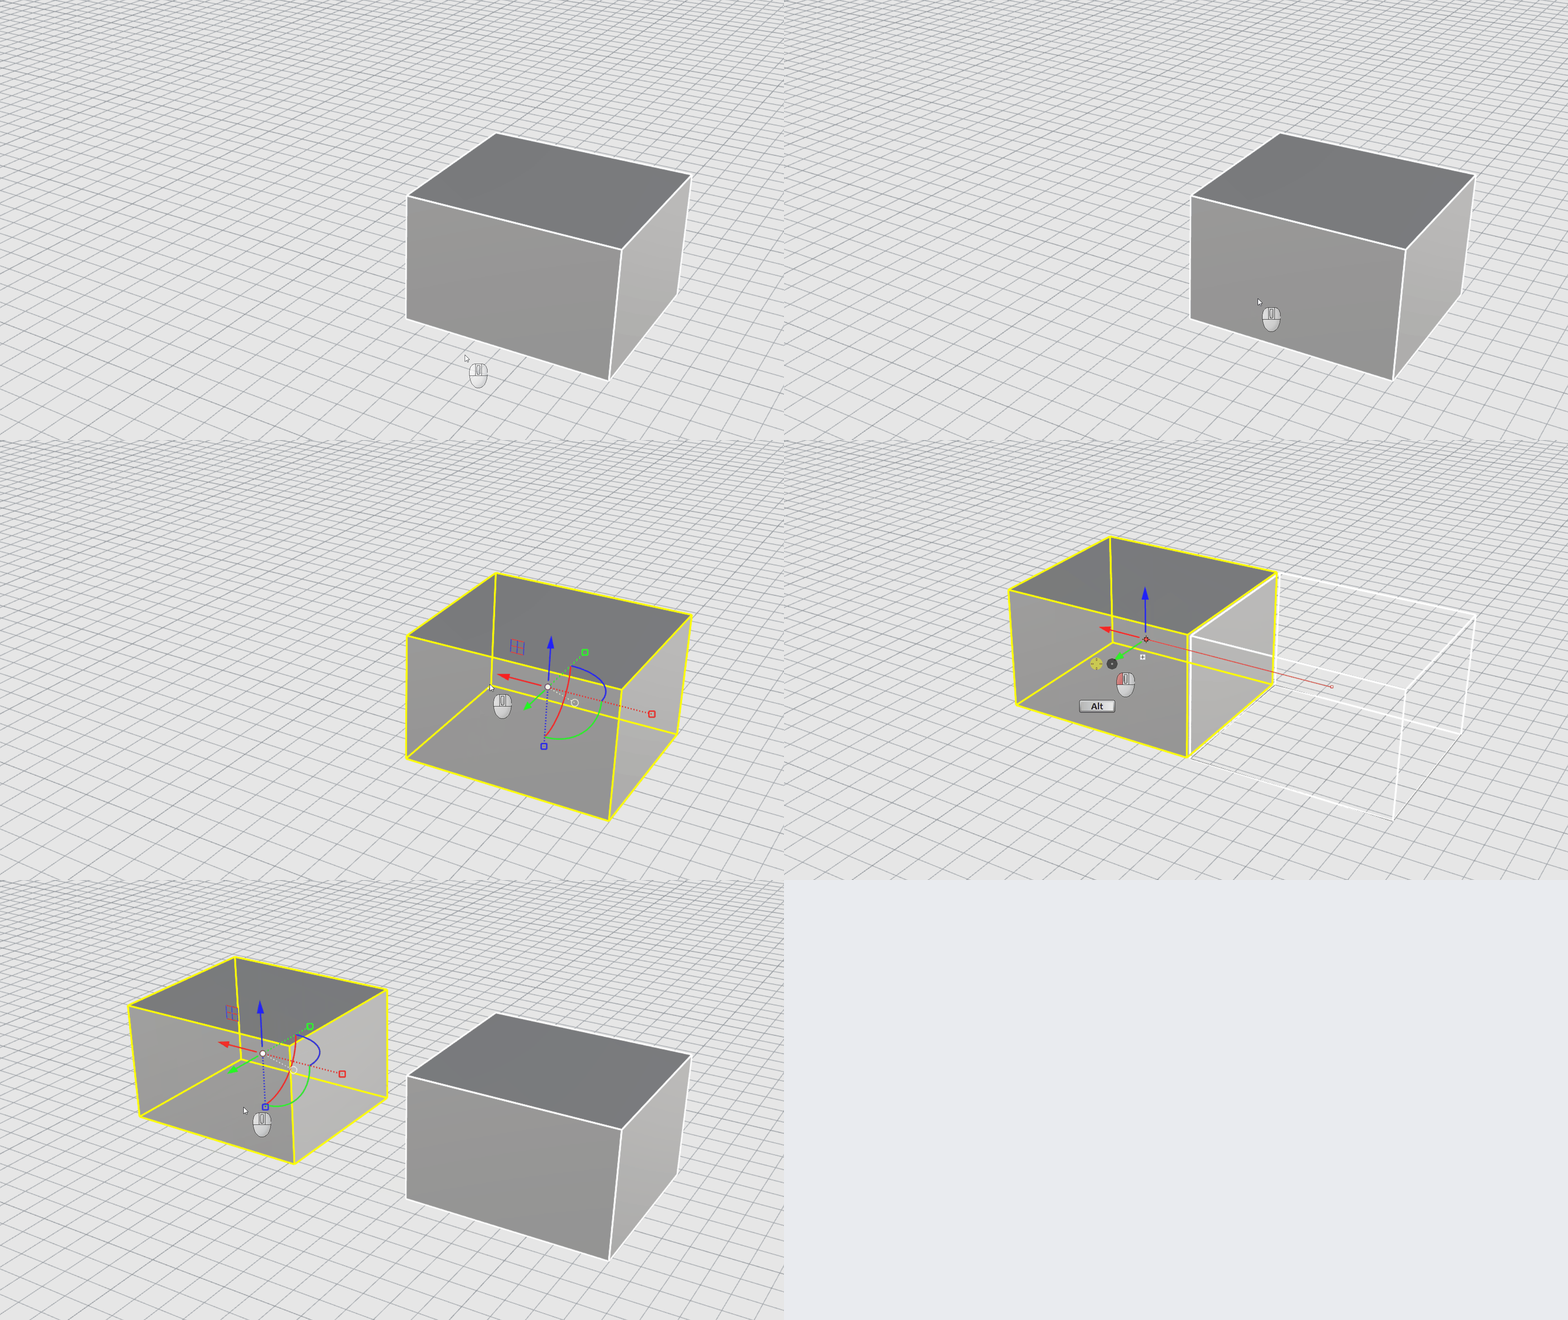
Drag an object with any Gumball handle while pressing Alt to make a copy.
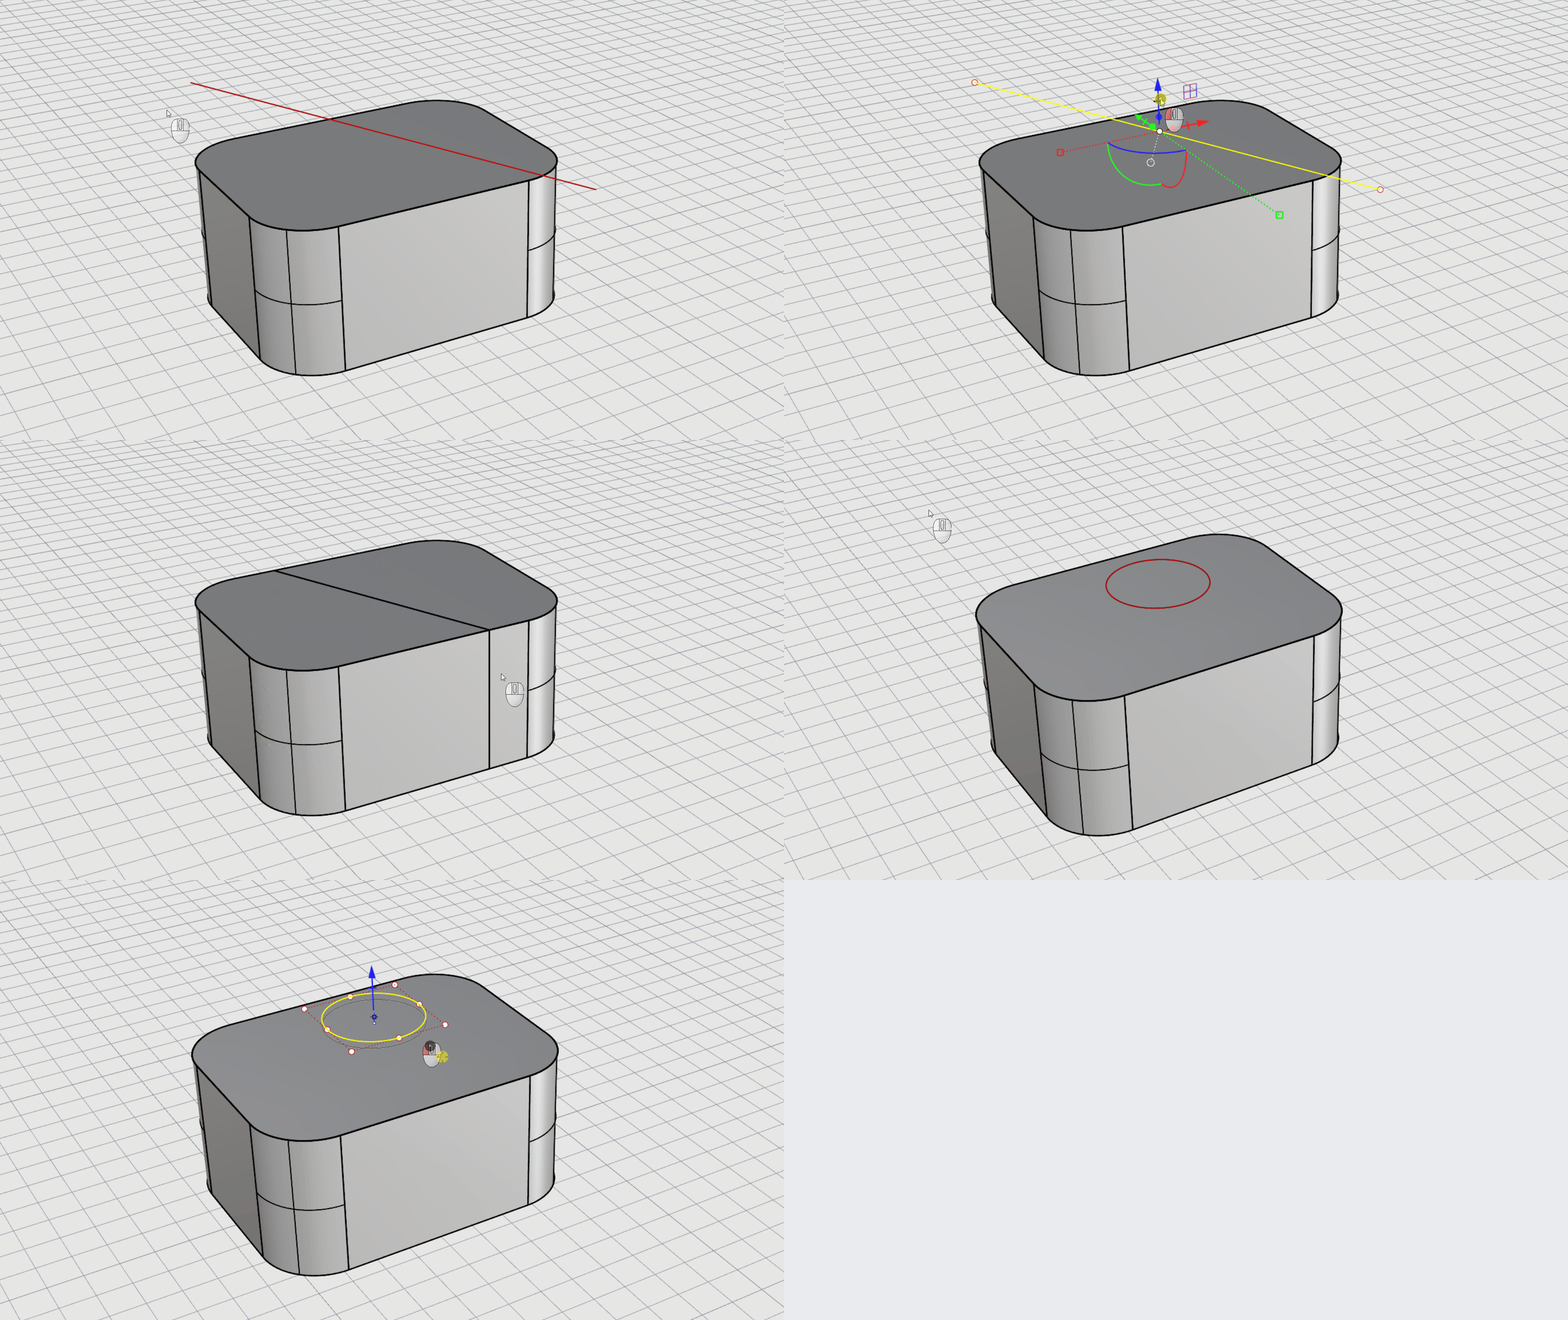
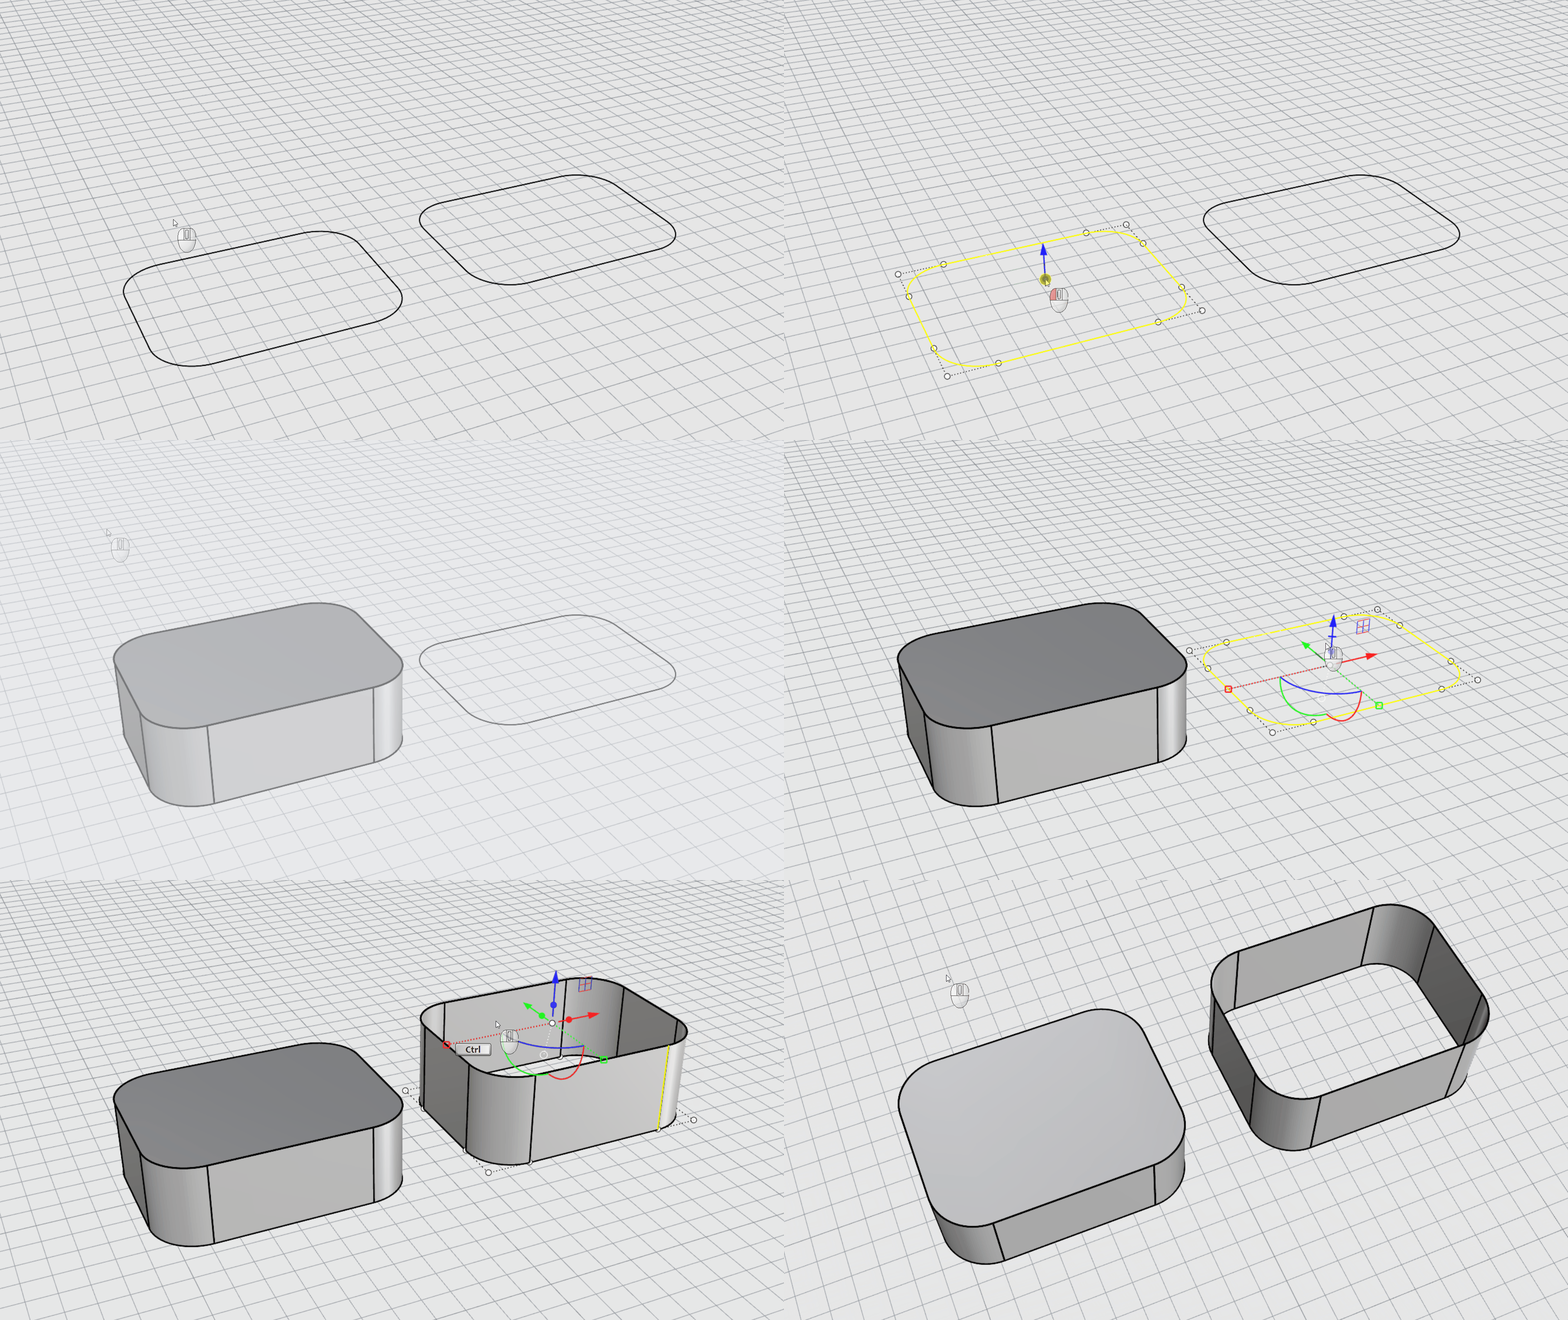
Allows using a curve to cut through an object when possible.
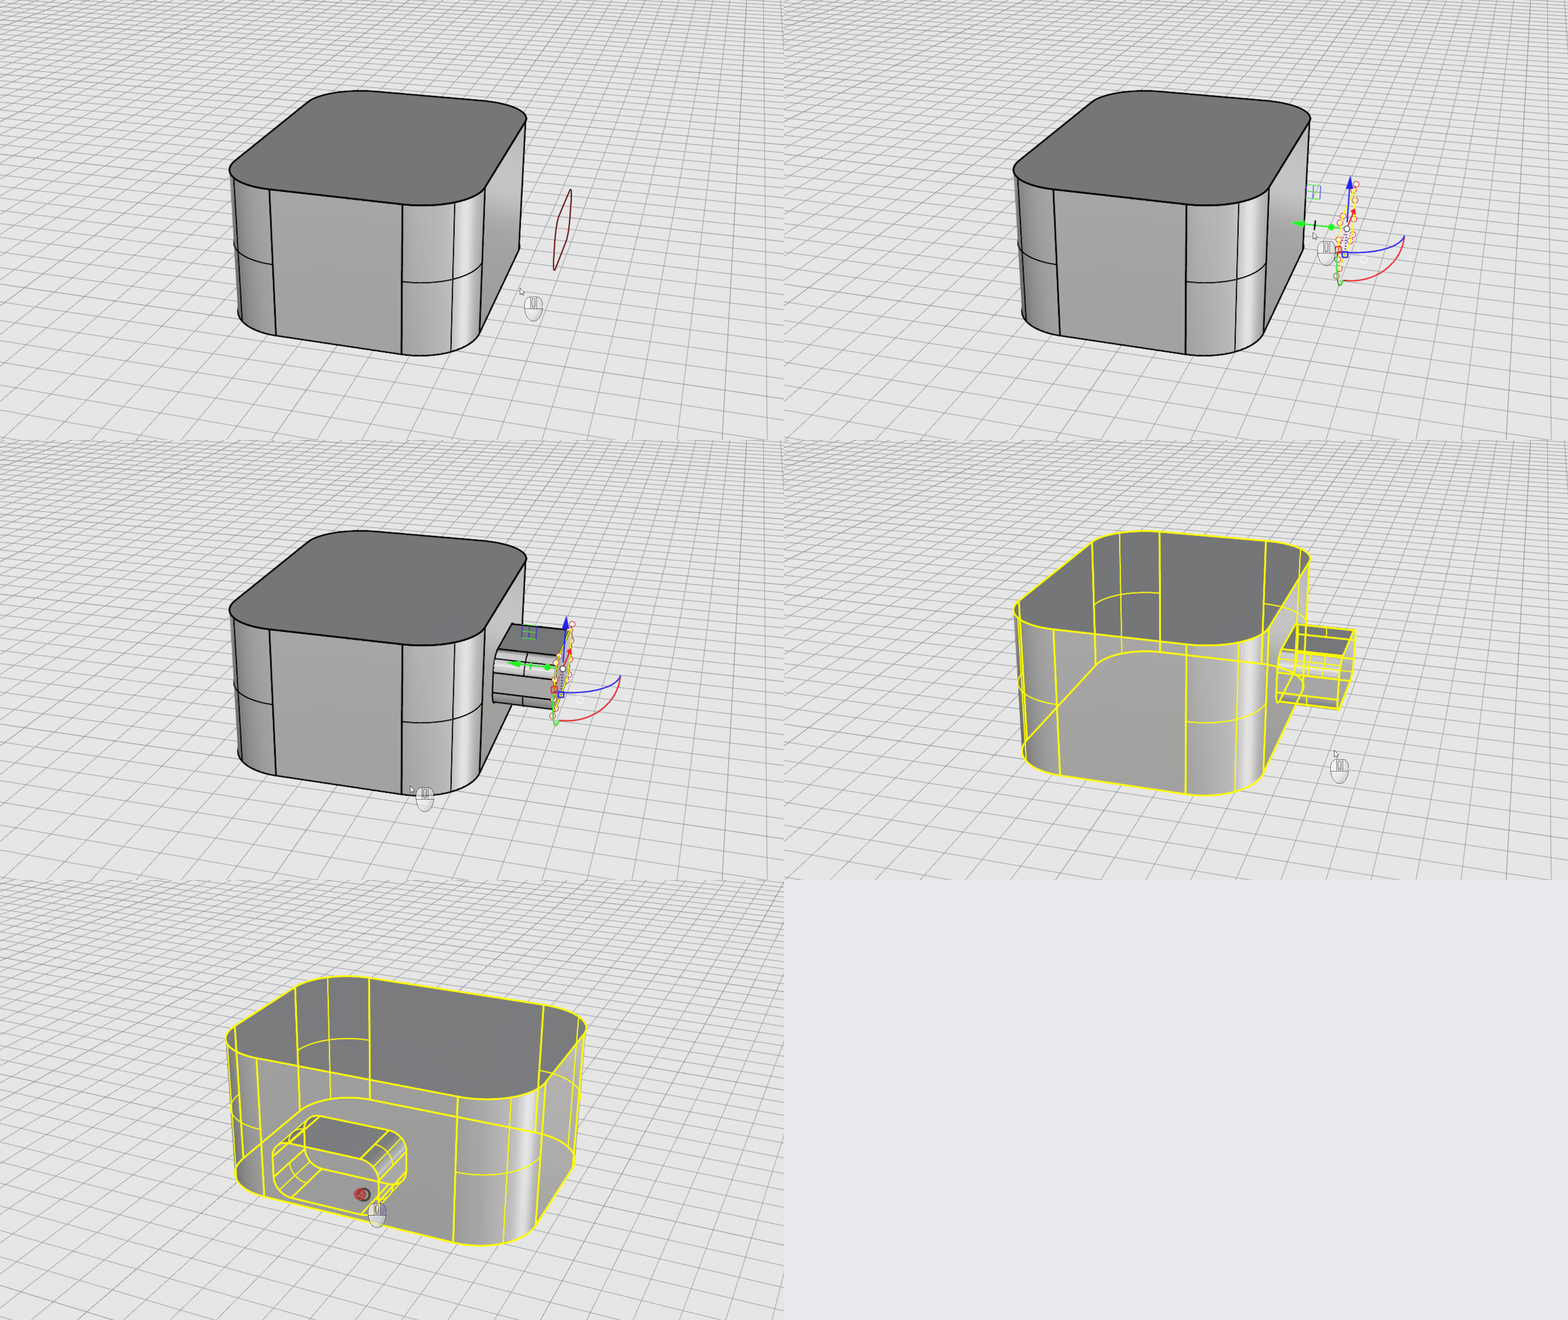
Add a volume to an object with a closed curve and the Cut handle.
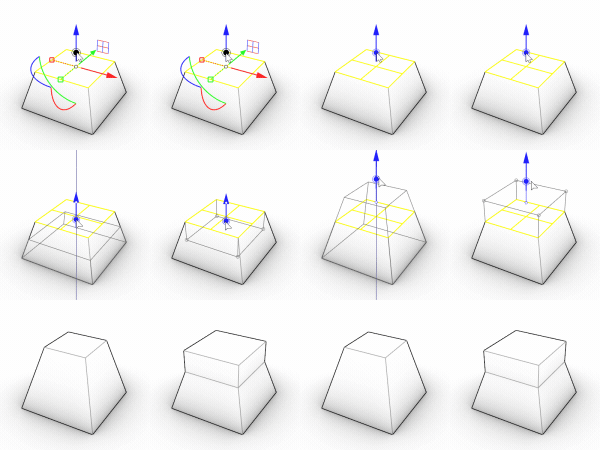
The halo on the Extrude Dot handle indicates the ability to extend a face (taper) if applicable.
When a geometry is extrudable, you'll see a dot on the shaft of the arrow. Drag it to extrude.
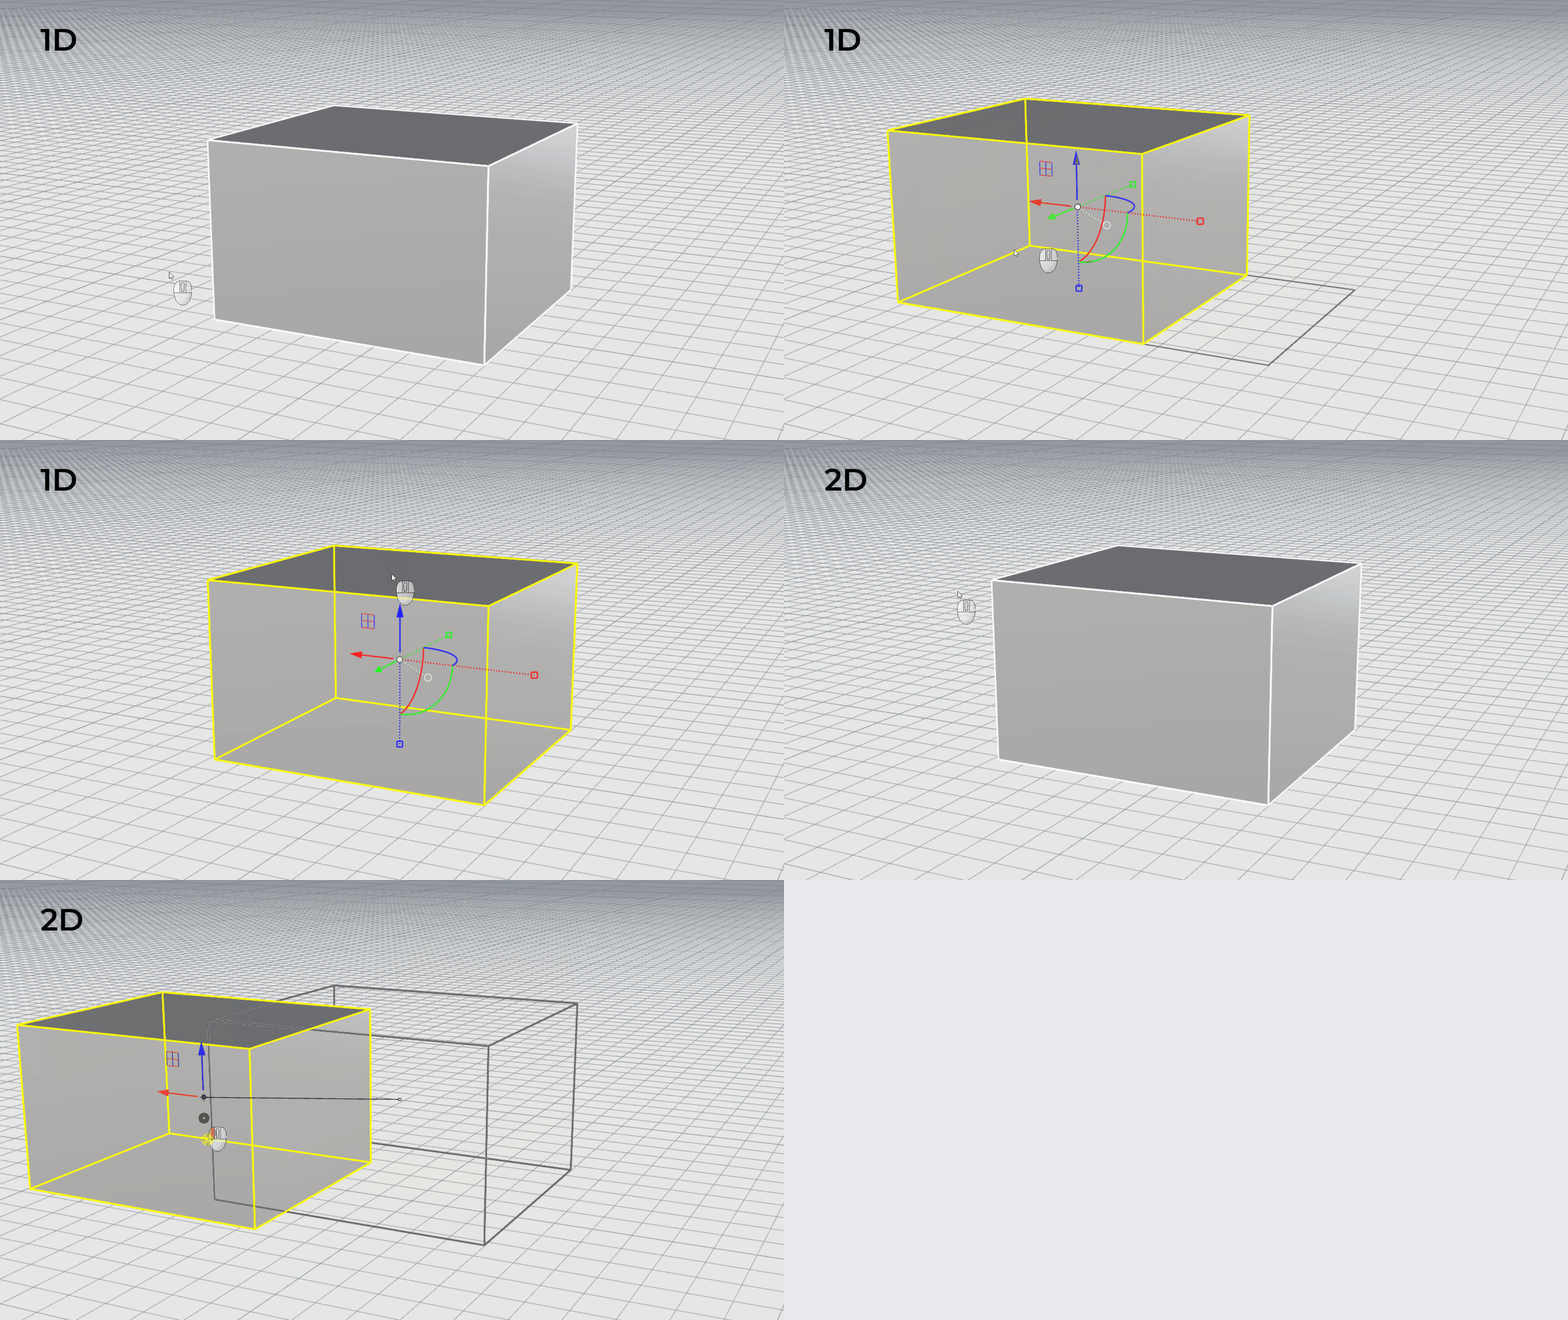
Drag the Gumball's arrows to move an object or click to enter a distance. Drag the plane to move in 2D.
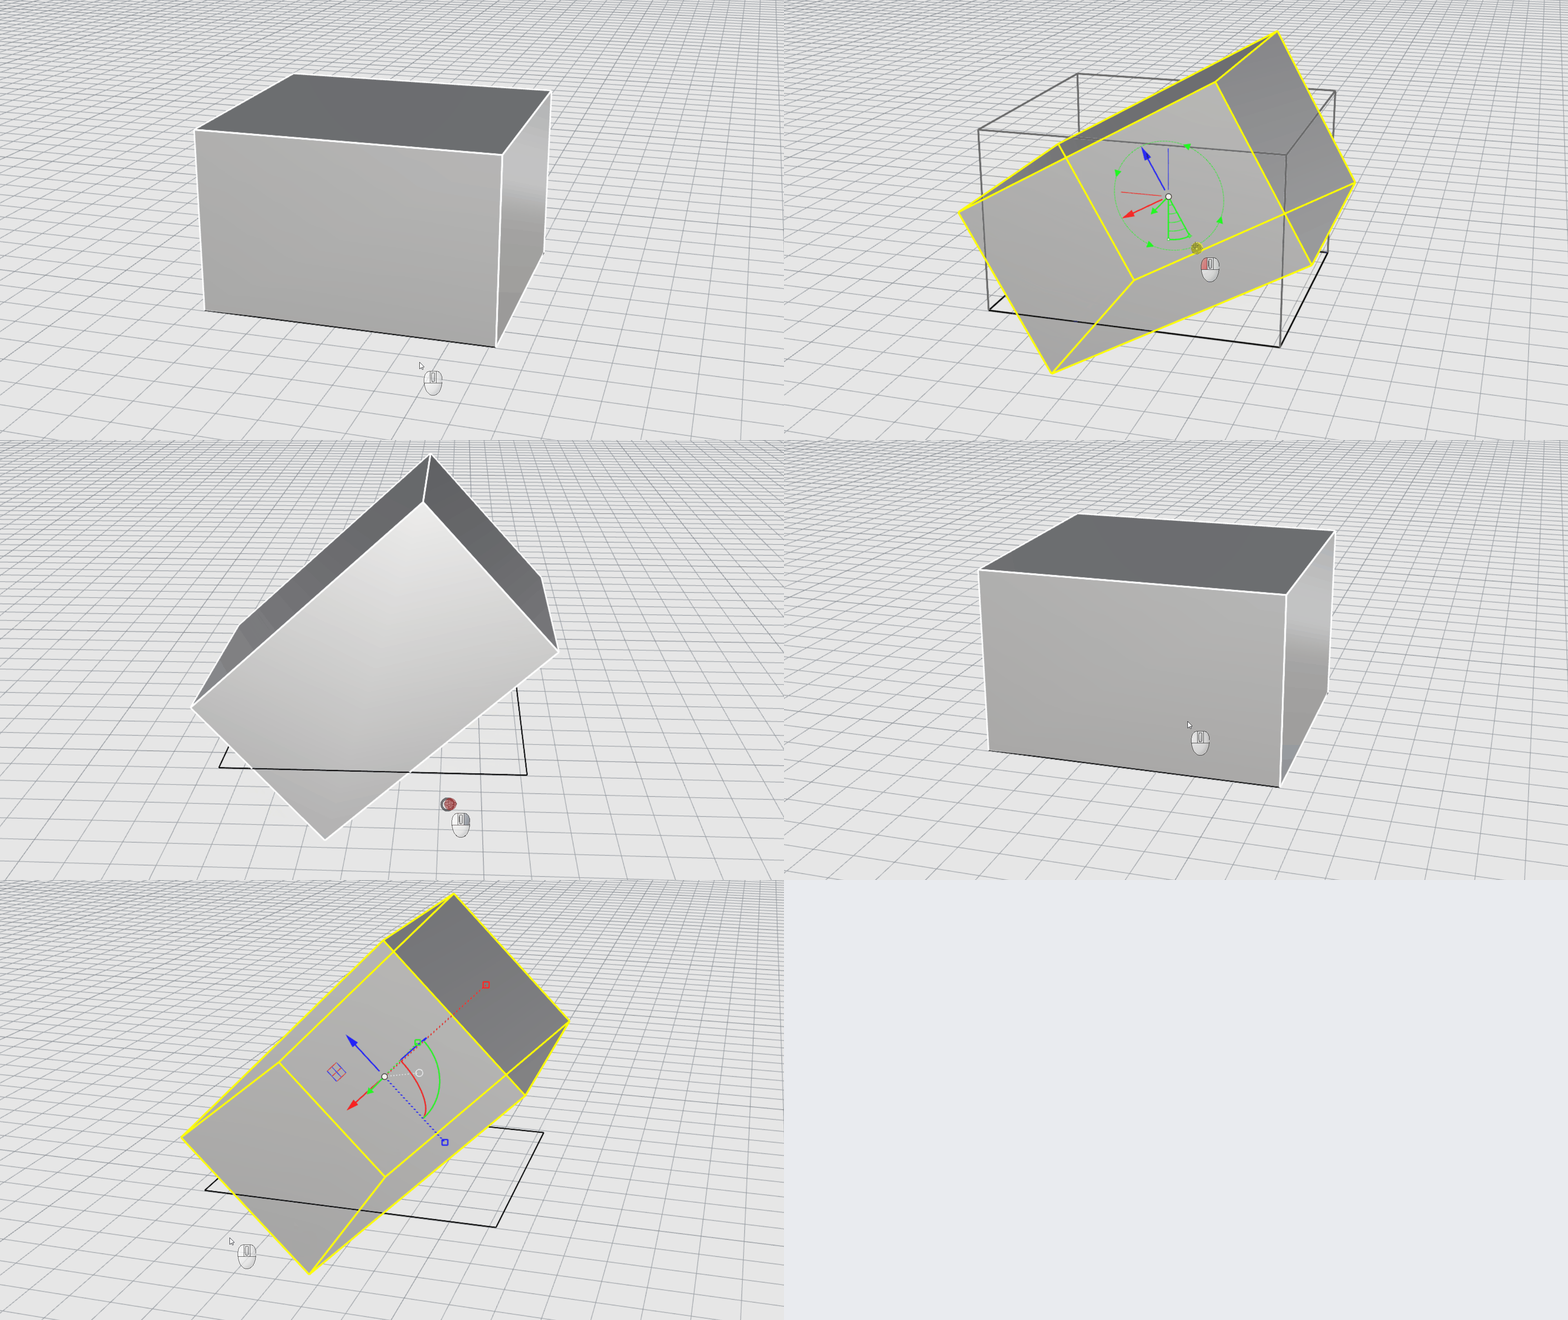
Use the Gumball's arc handles to rotate an object around any of the 3 axis.
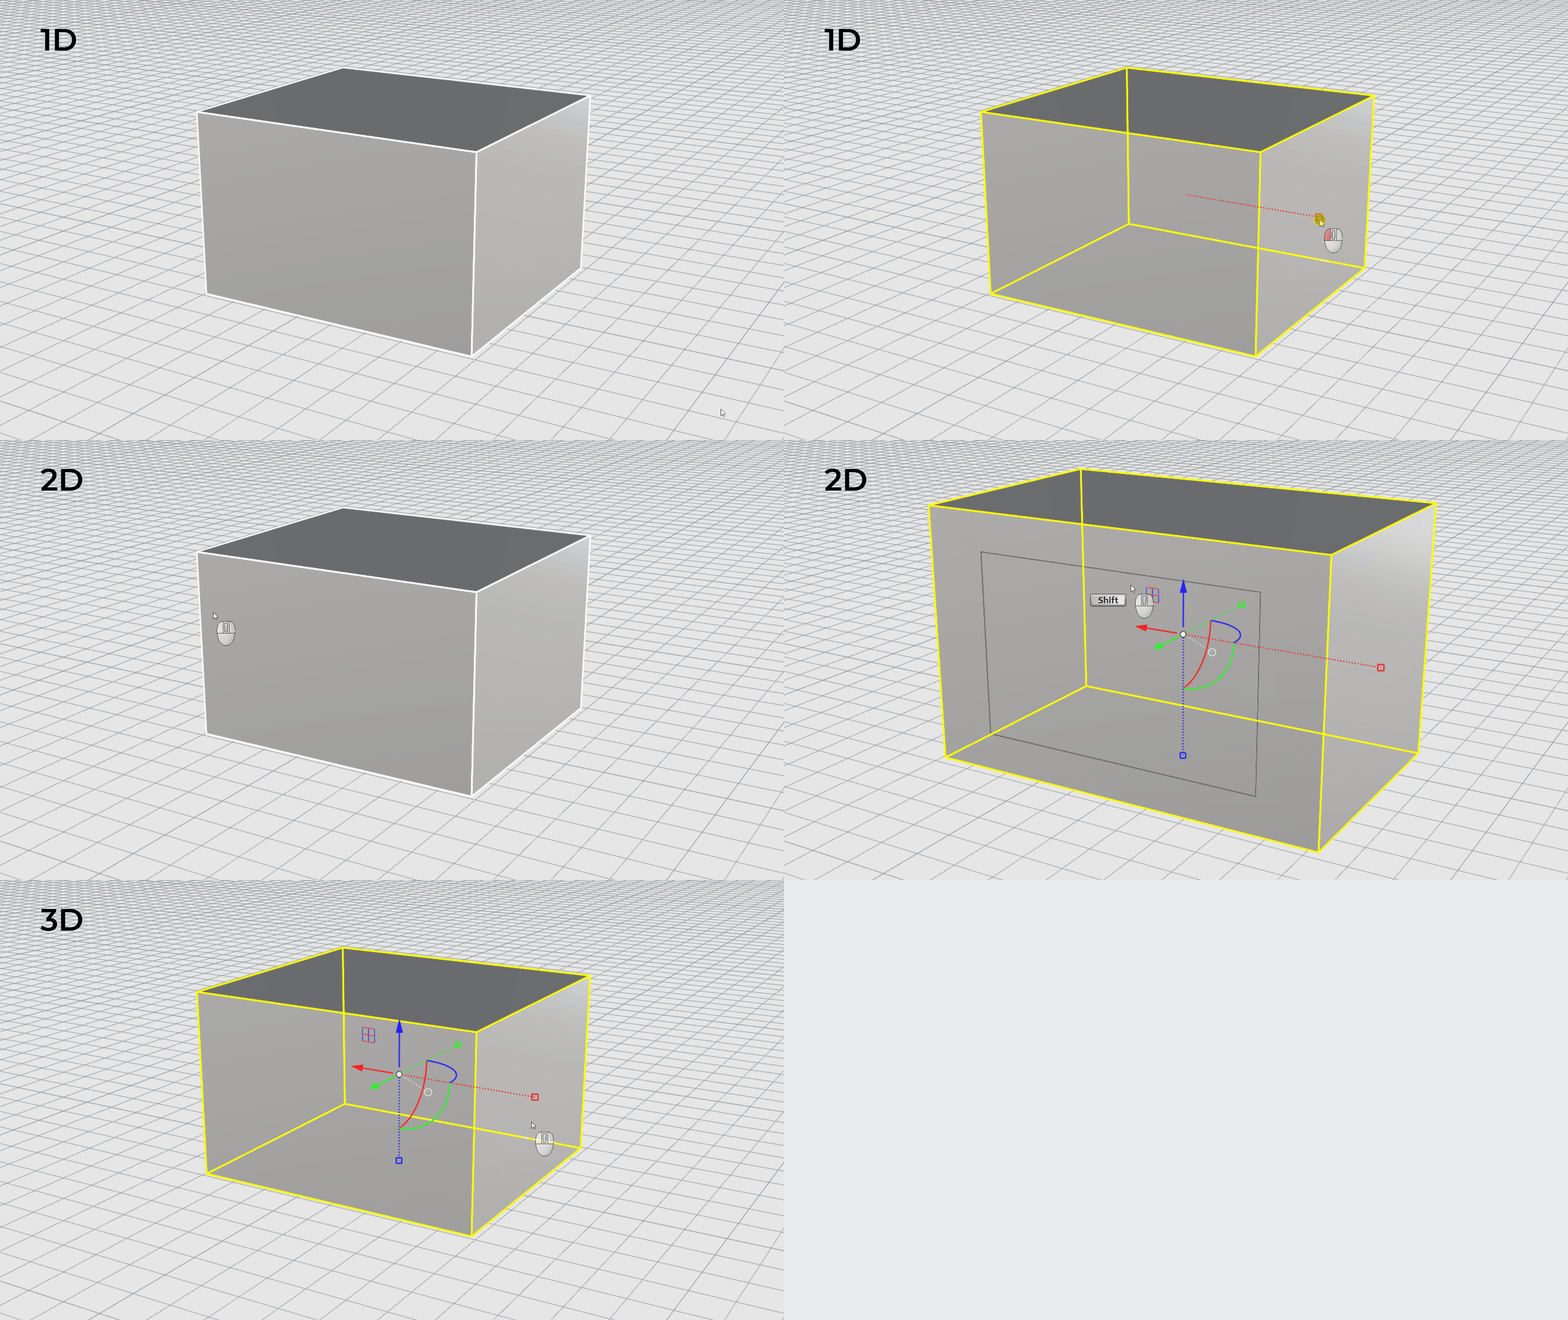
Use the Gumball's square handles to scale in 1D and 3D. Use the plane to scale in 2D.
Use the Gumball's handles to move, rotate, scale and copy objects.
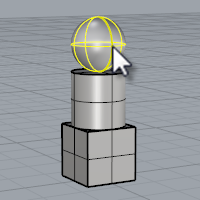
Left-click to select an object. Press Shift to add to selection or Control to remove from selection.
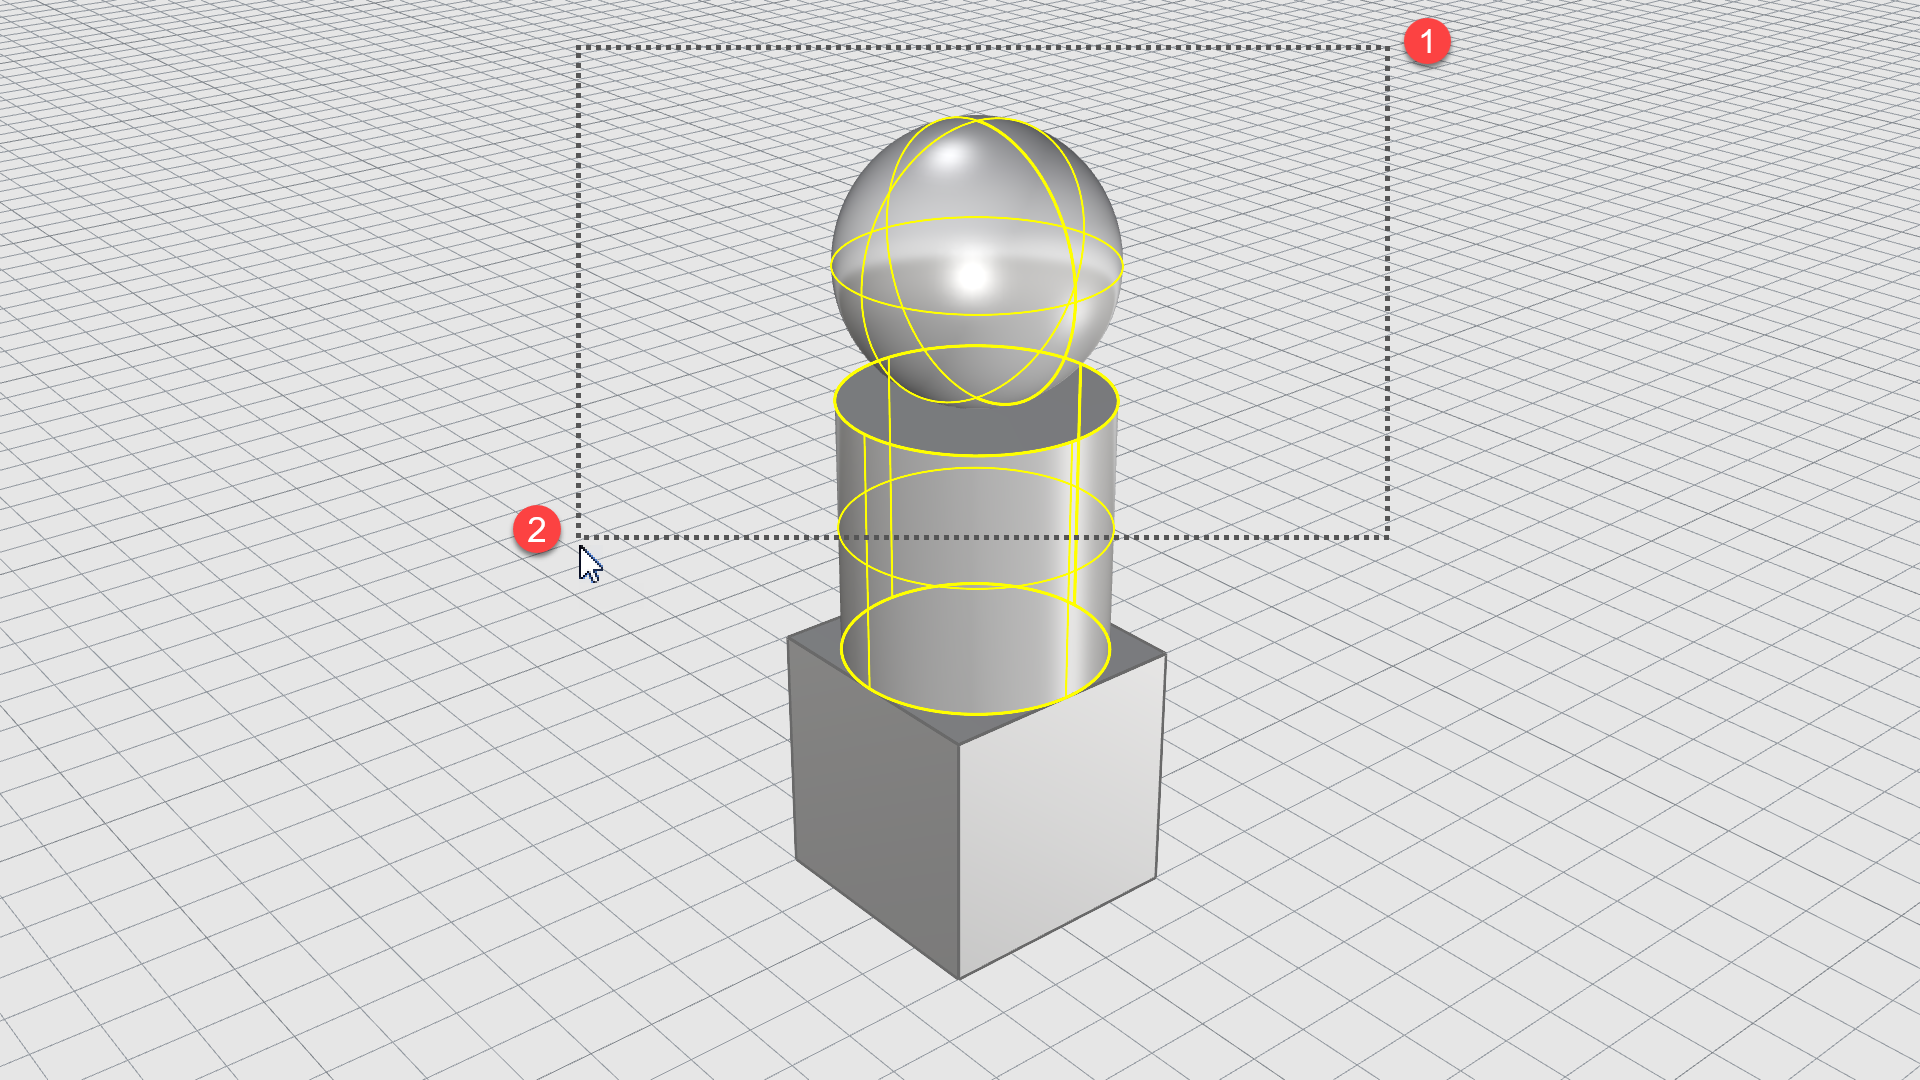
Drag a window from right to left. This will select all objects that cross or touch the window.
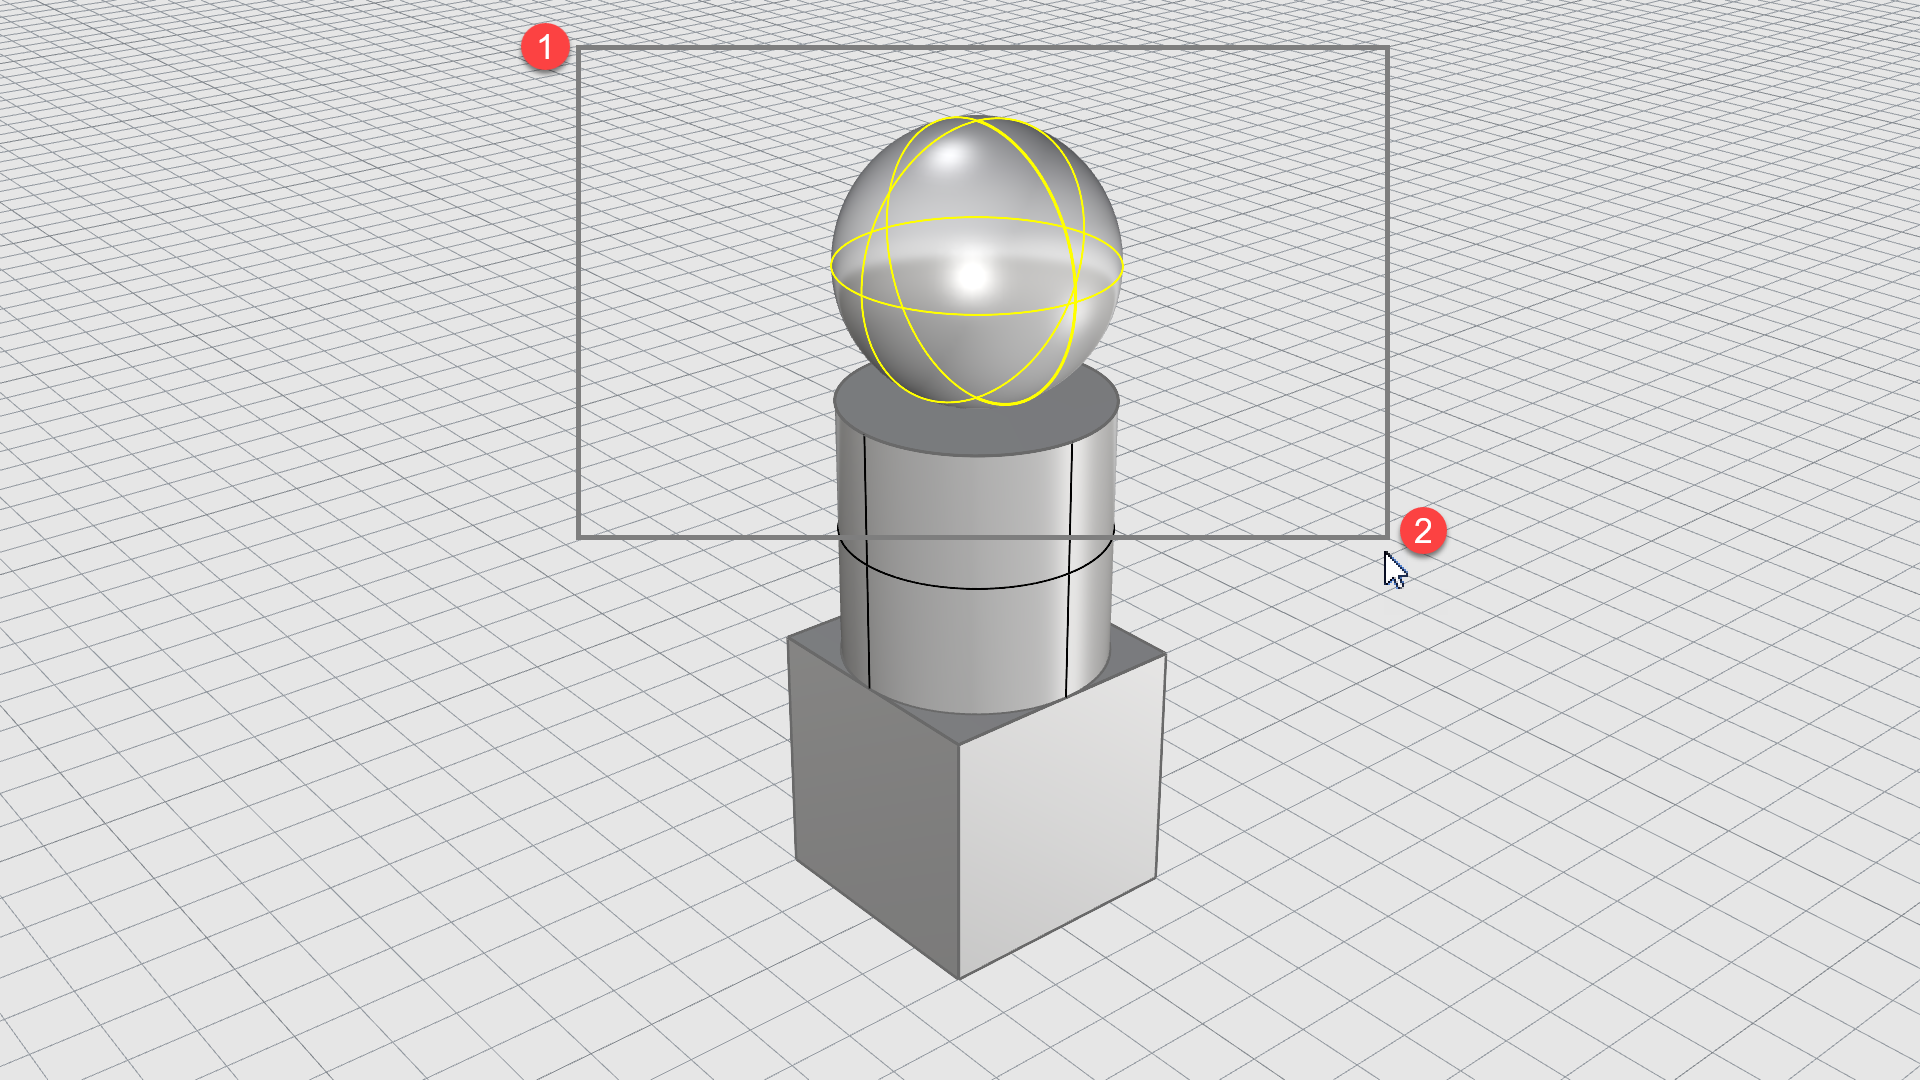
Drag a window from left to right. This will only select objects entirely inside the window.
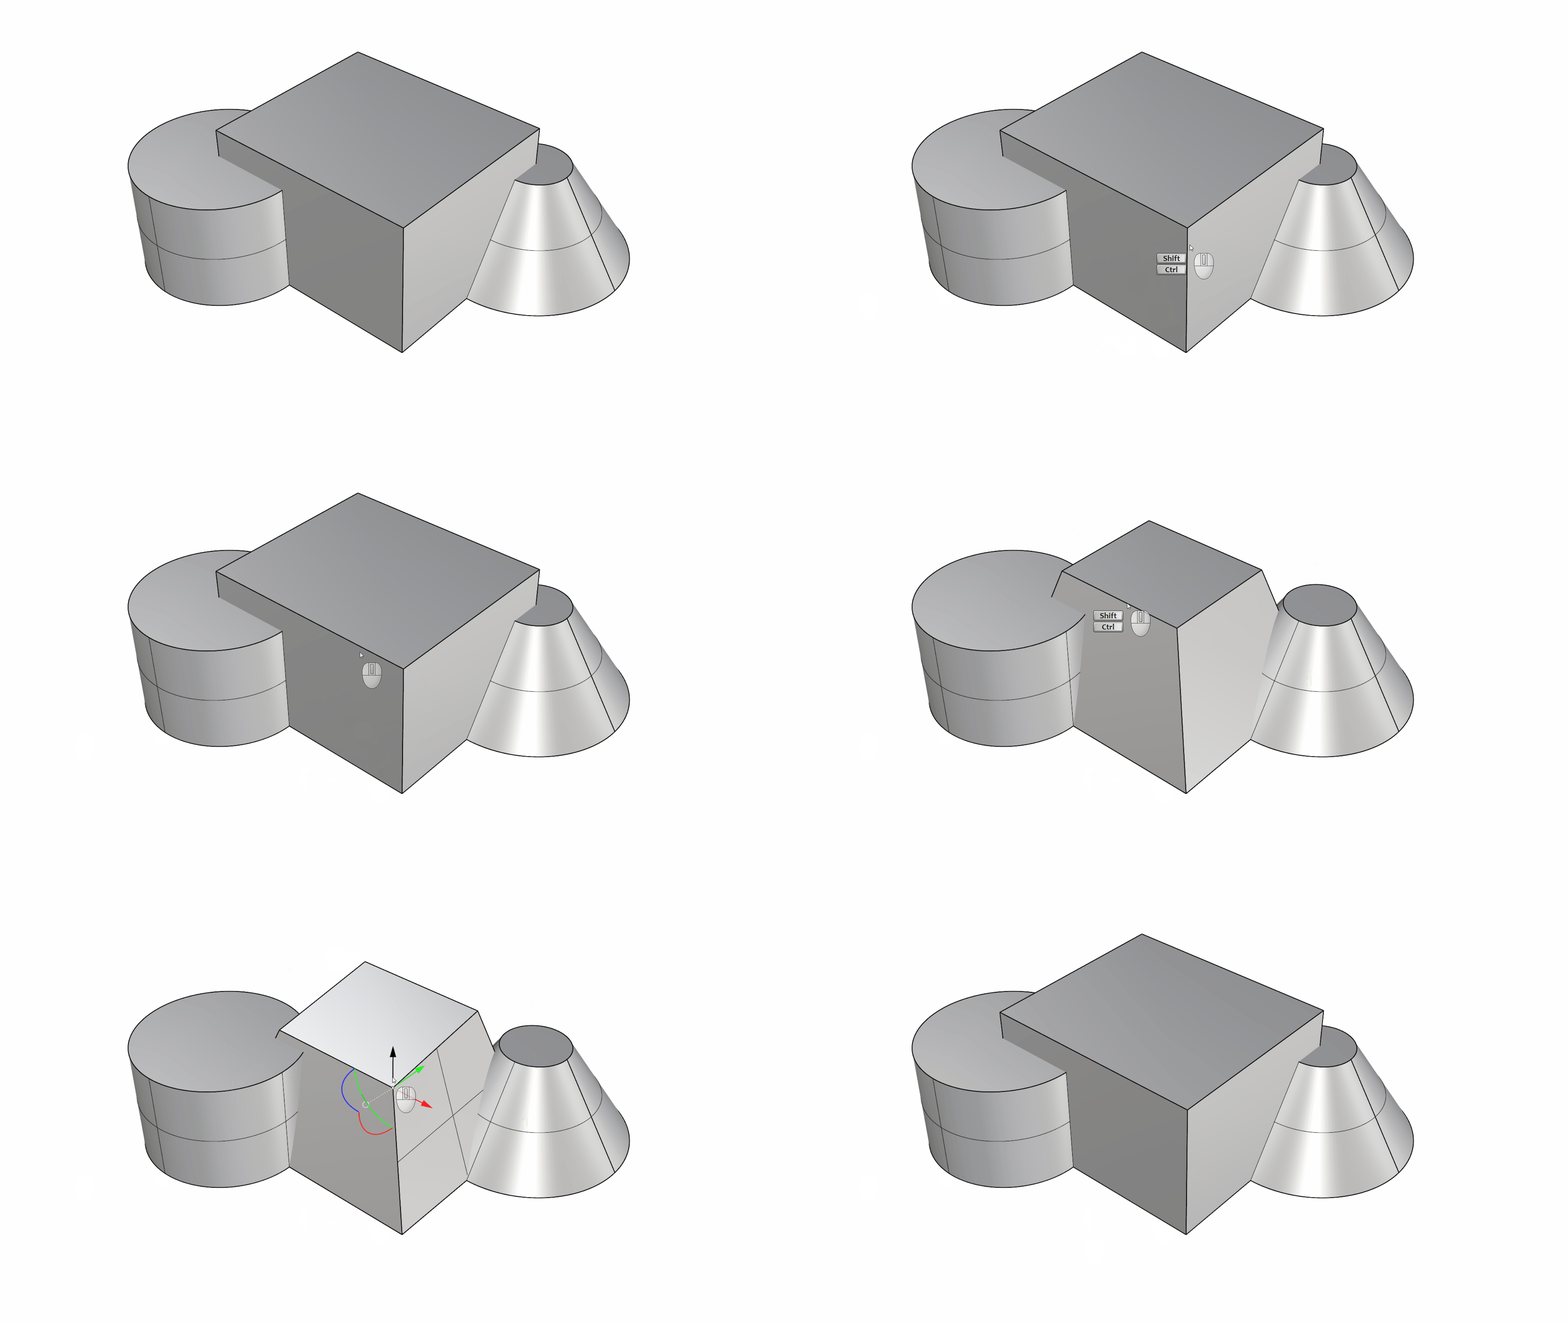
Hold down Ctrl / CMD + Shift and click on a face, edge or vertex to select it.
Limit the selection to certain object types only. The toolbar is located in the lower left of the Rhino UI, by the OSnap toolbar.
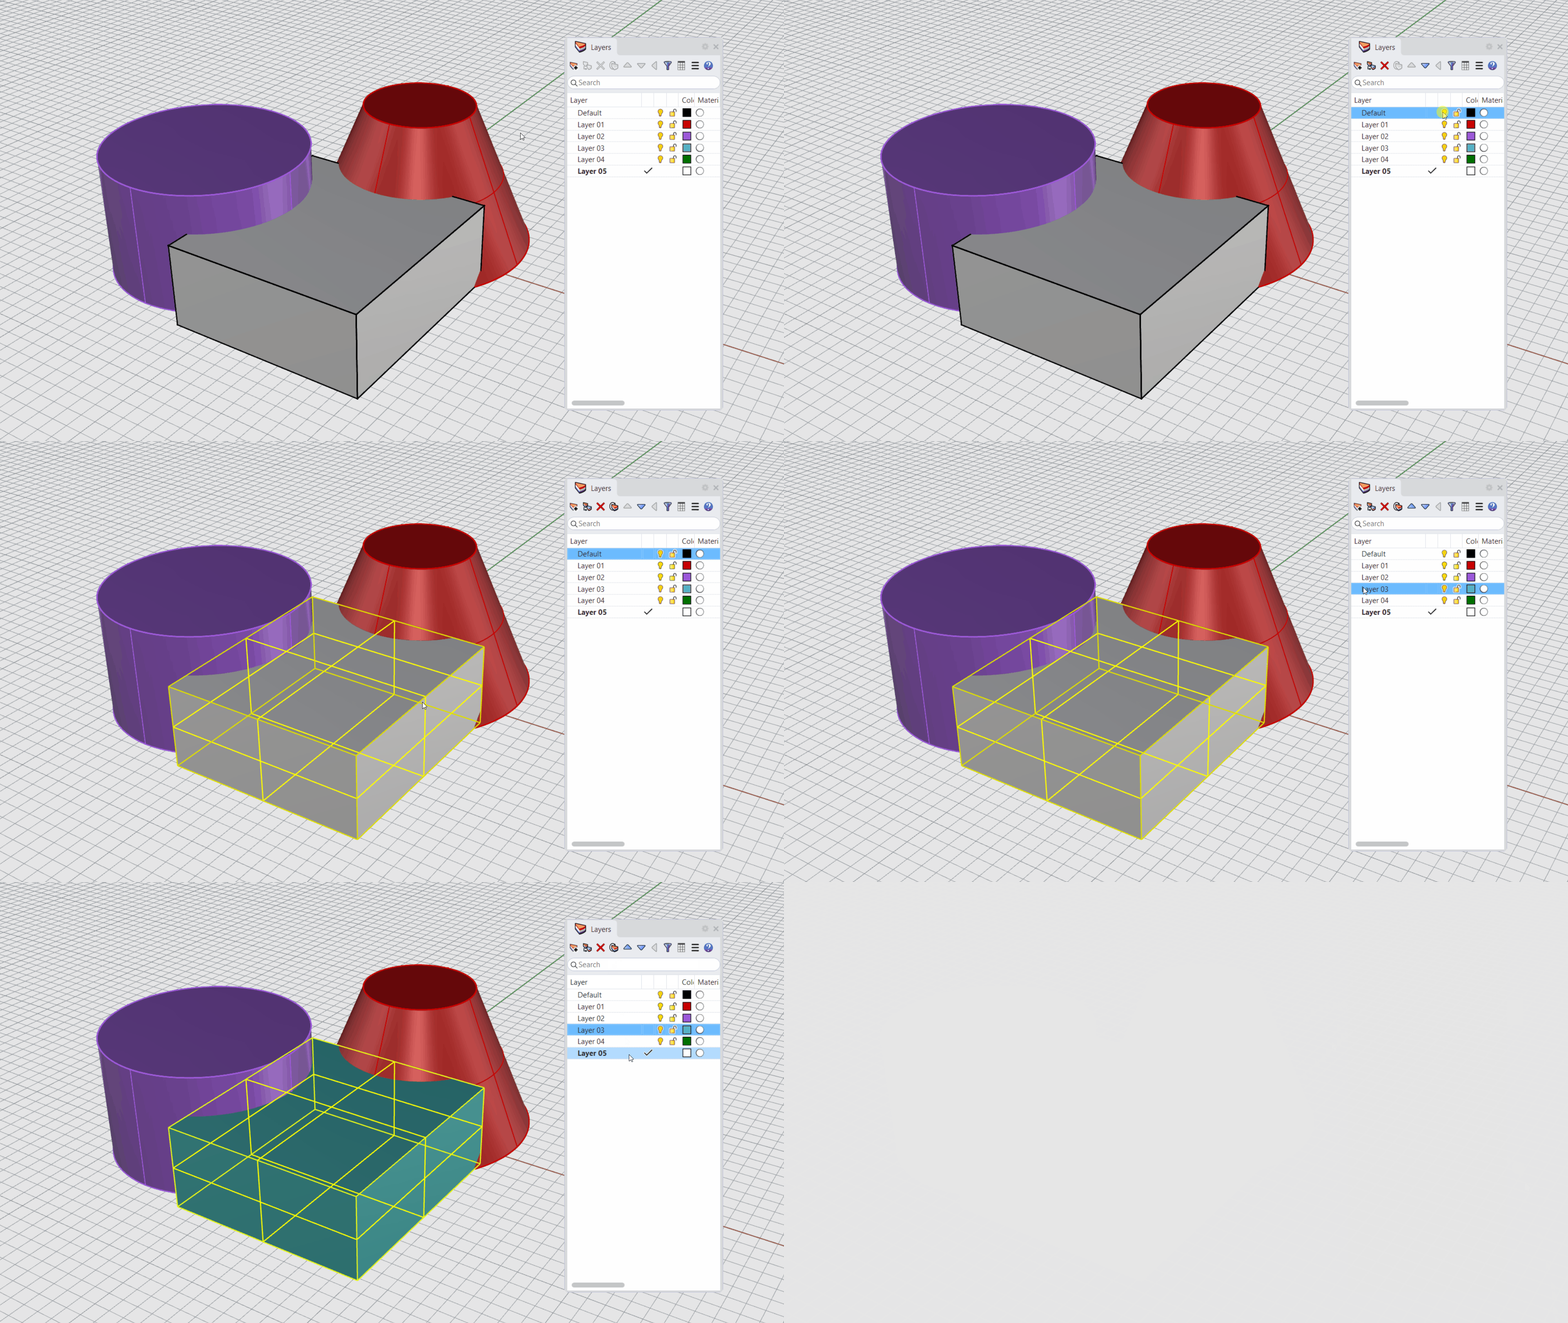
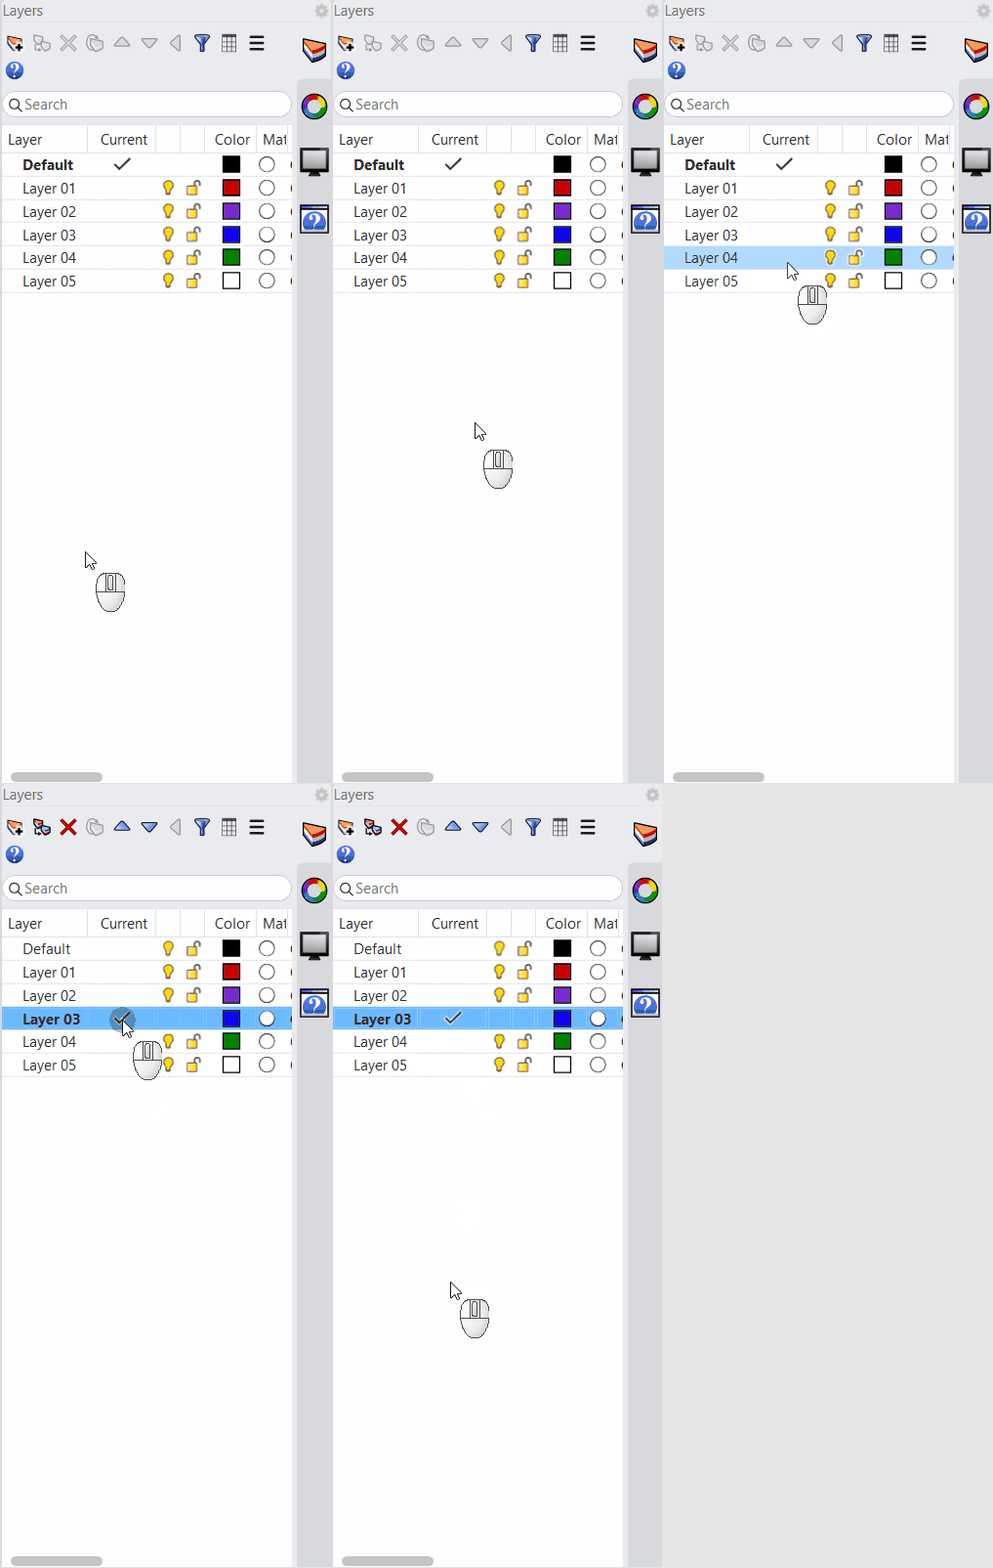
Select an object to change it to a different layer.
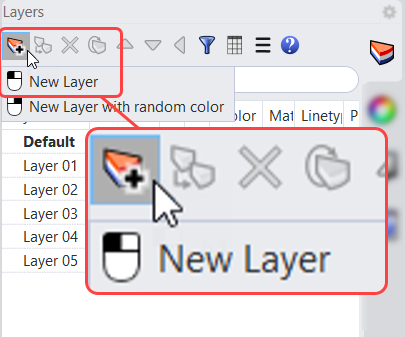
Create a new layer by clicking on the top-left icon of the Layer panel.
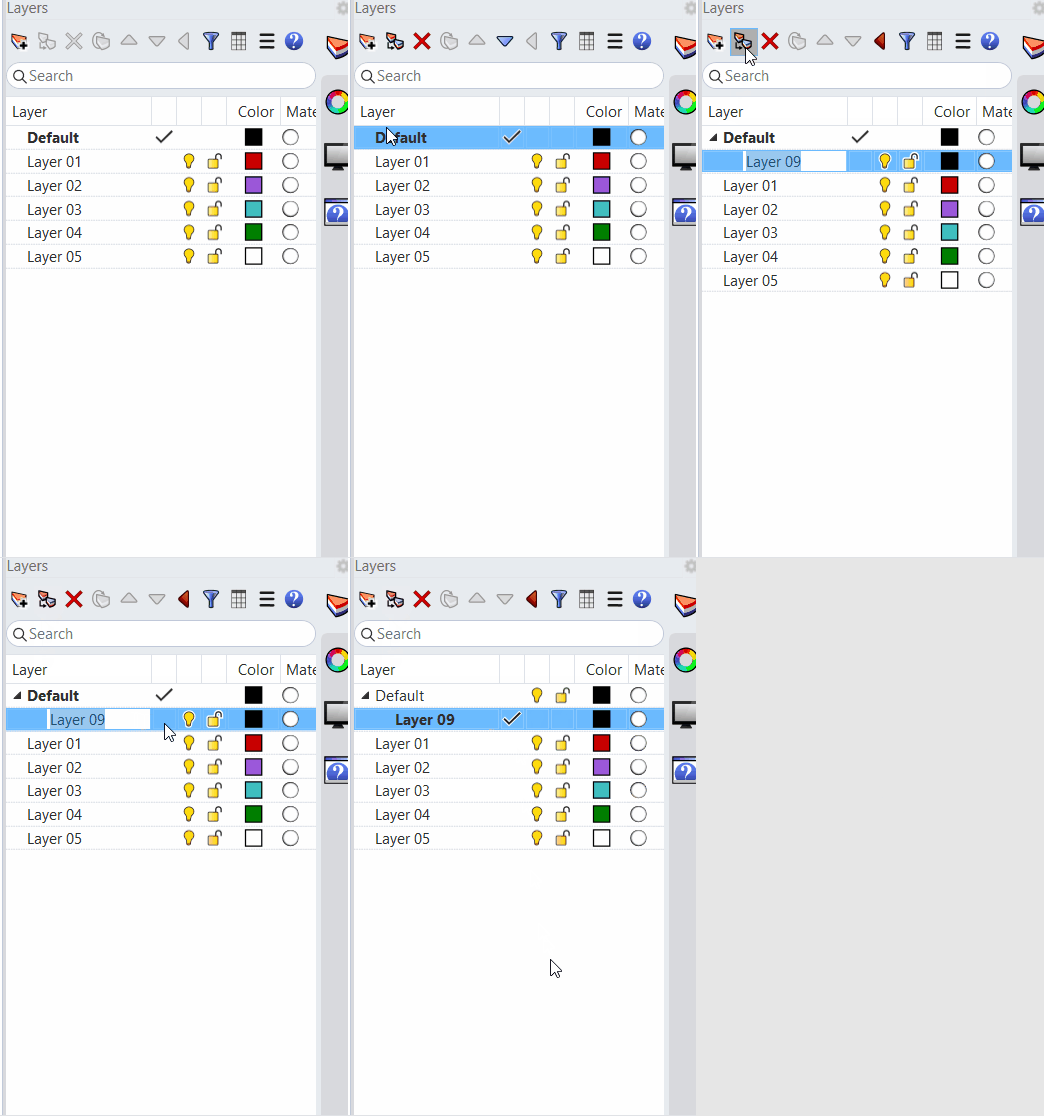
Organize a hierarchical layer structure with Sublayers.
Activate a layer by ticking the Current box. Geometry will now be created in it.
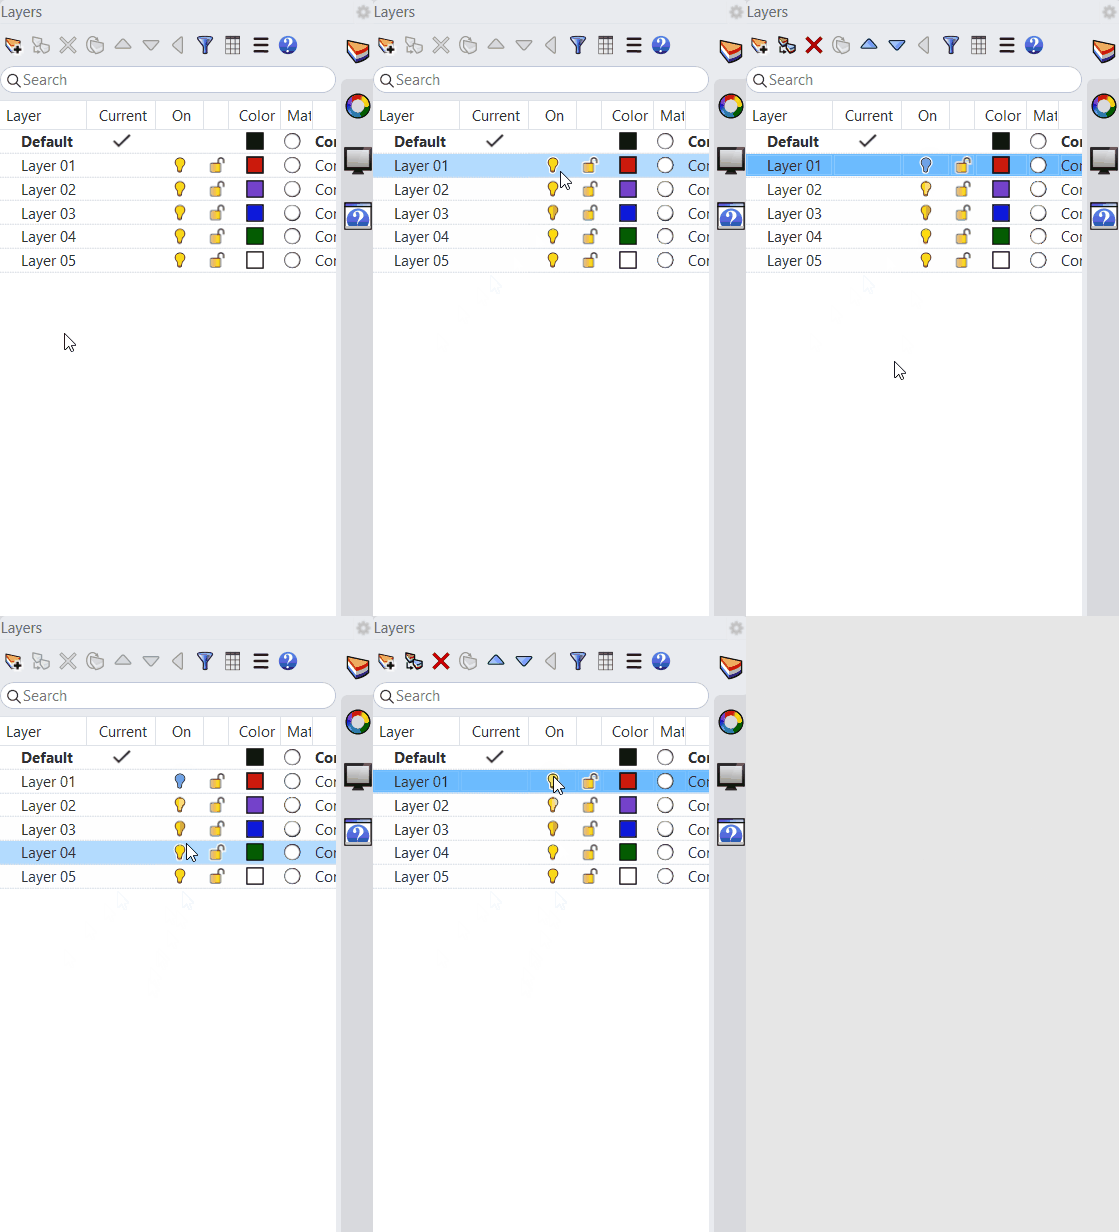
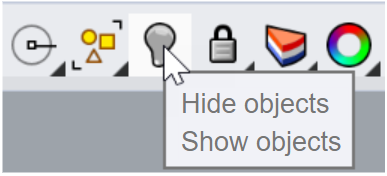
Turn a layer on/off by selecting the light bulb icon in the Layers panel. Manage the visibility of objects in the scene by layer.
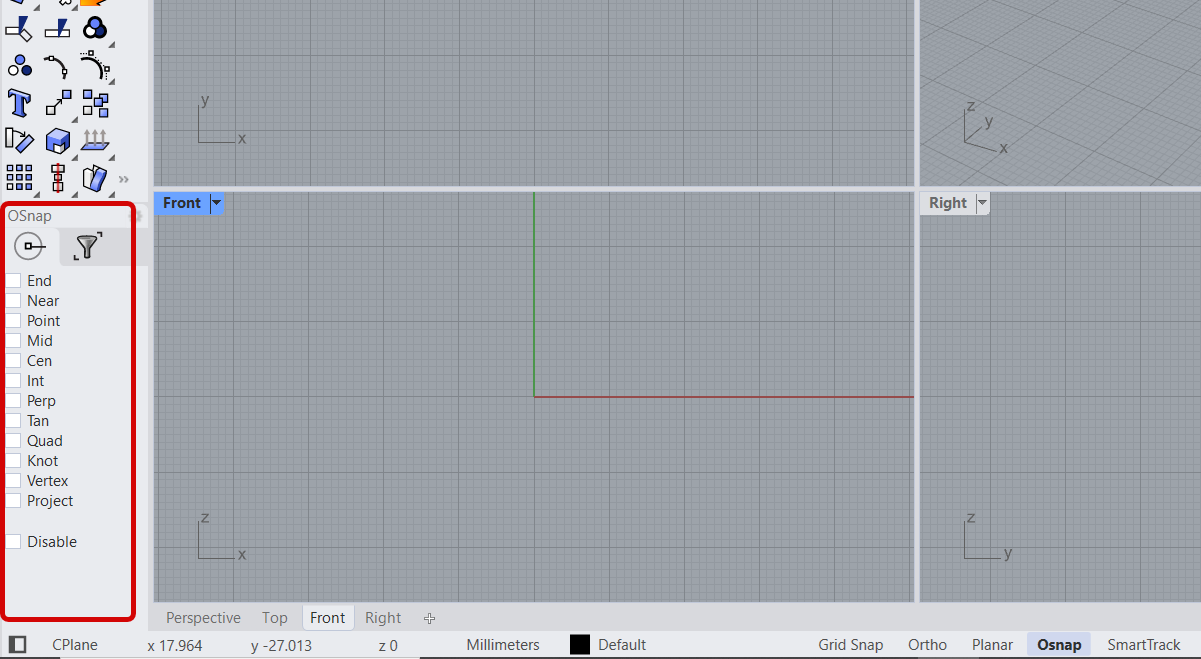
The OSnap toolbar is located in the lower left of the Rhino UI. When in a modeling command, they help us mark precise locations on the geometry.
The OSnap toolbar is located in the lower left of the Rhino UI. When in a modeling command, Object Snaps help mark precise locations on the geometry.
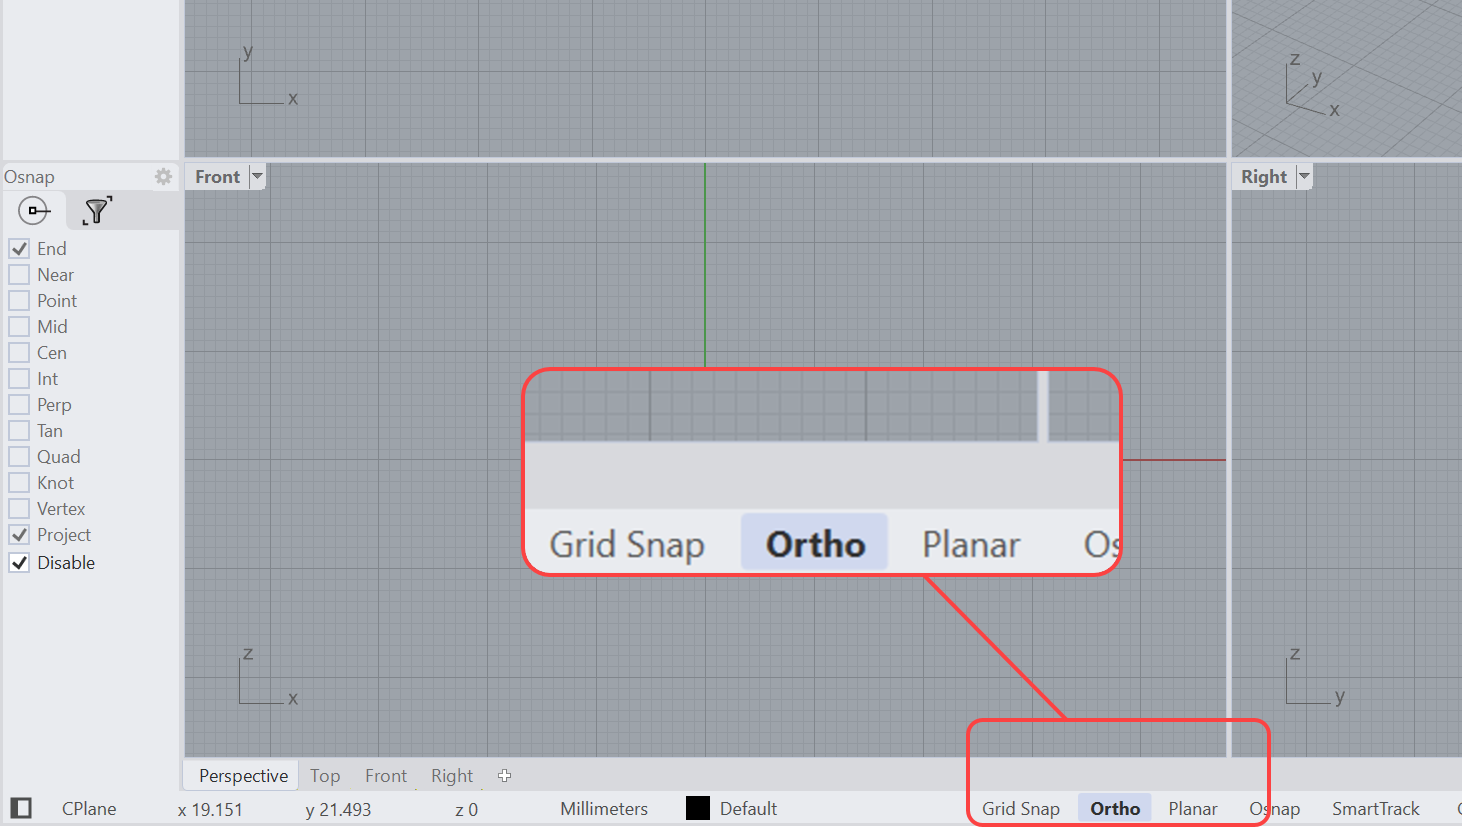
Constrains the Rhino cursor to a specified angle. Click to enable it. Right-click to change Settings.
Constrains the Rhino cursor to the intersections of the grid as you pick points in the viewport.
The area of the Command Window where you type commands in Rhino and their options. This tells Rhino what to do.
The area of the Command Window where Rhino gives and records results.
The Status Bar is located in the lower end of the Rhino UI. It contains the Modeling Aids bar amongst other tools.
The tooltip that appears when you hover over the icon tells you what the left and right mouse button do.
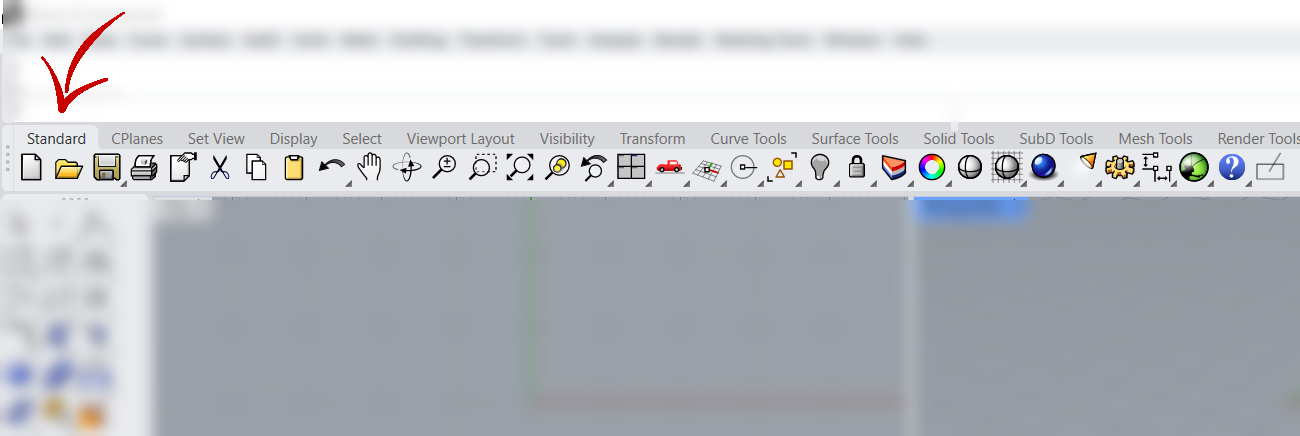
Located under the Command Prompt, in the Standard group, it gives you access to the main dimensions and drafting tools in Rhino.
Located under the Command Prompt, gives you access to navigation, display and object management tools.
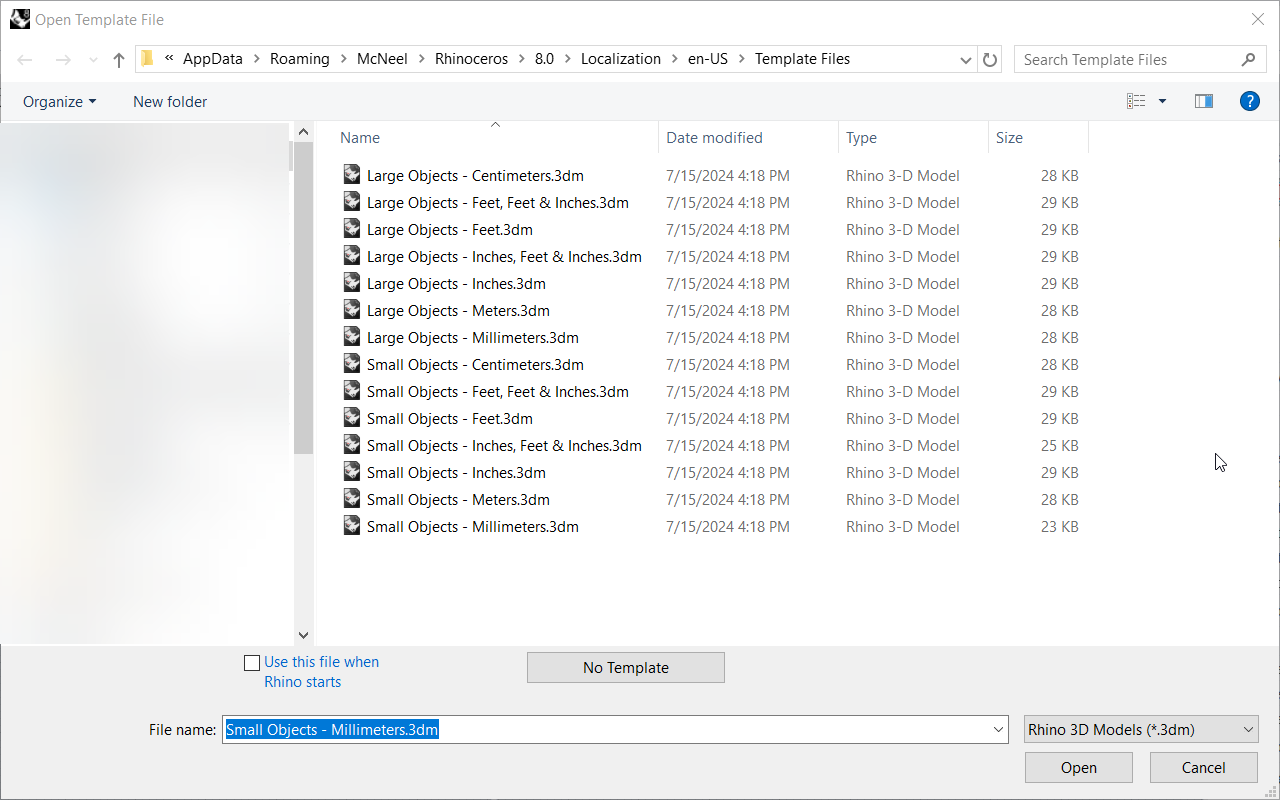
A template is a new Rhino file that contains geometry, grid settings, viewport layout, layers, units, and tolerances.
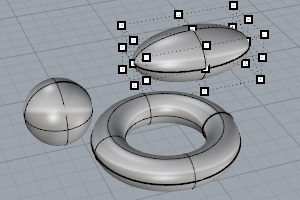
Control points determine the shape of a NURBS curve or a surface
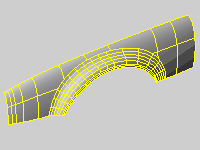
Rhino uses isocurves and surface edge curves to create a wireframe of the shape of a NURBS surface
Light-weight extrusion objects use only a profile curve and a length as input. They use less memory and mesh faster.
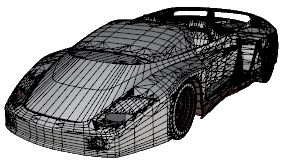
A mesh is a collection of flat polygons that define a shape in 3D space.
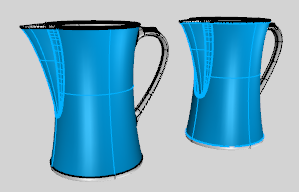
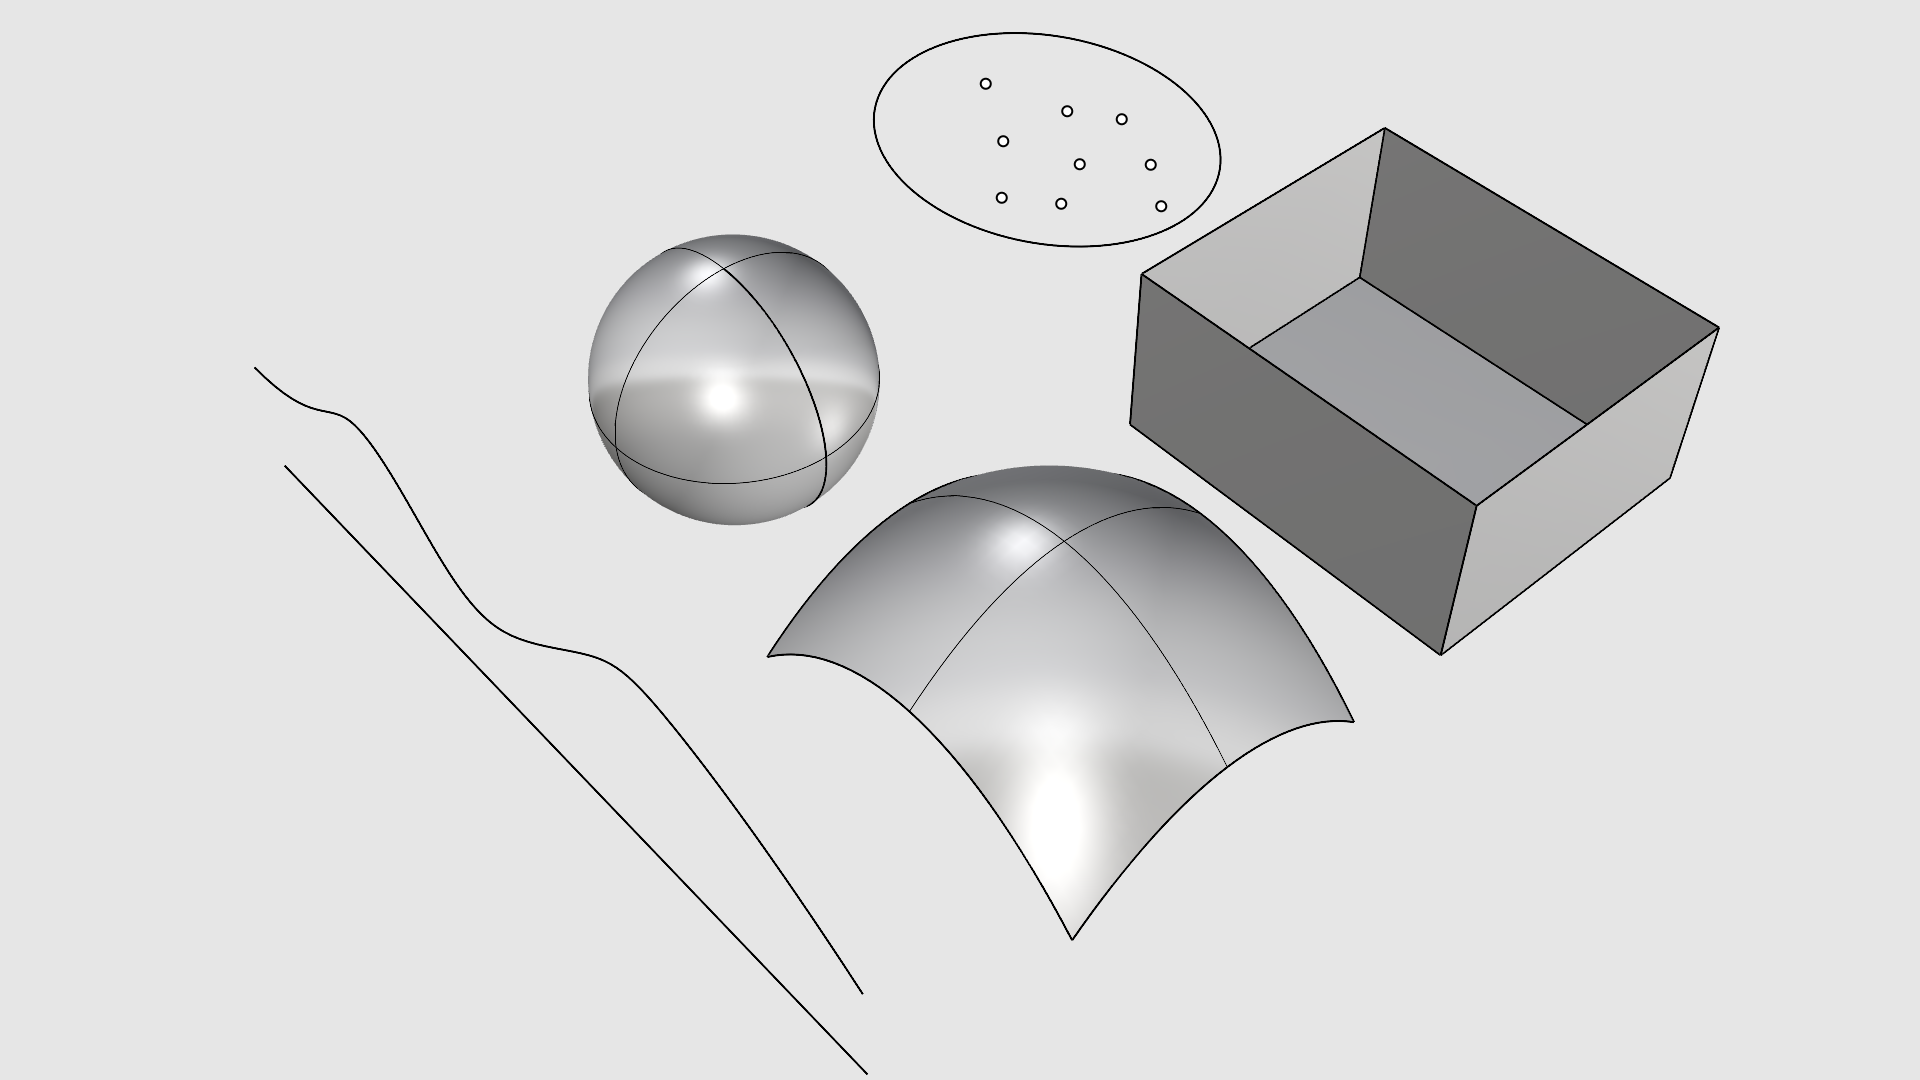
Non-Uniform Rational B-Splines, are mathematical representations of 3D geometry.
A polysurface consists of two or more surfaces joined together at their edges.
A solid is a surface or polysurface that encloses a volume. You can also have a solid mesh or SubD.
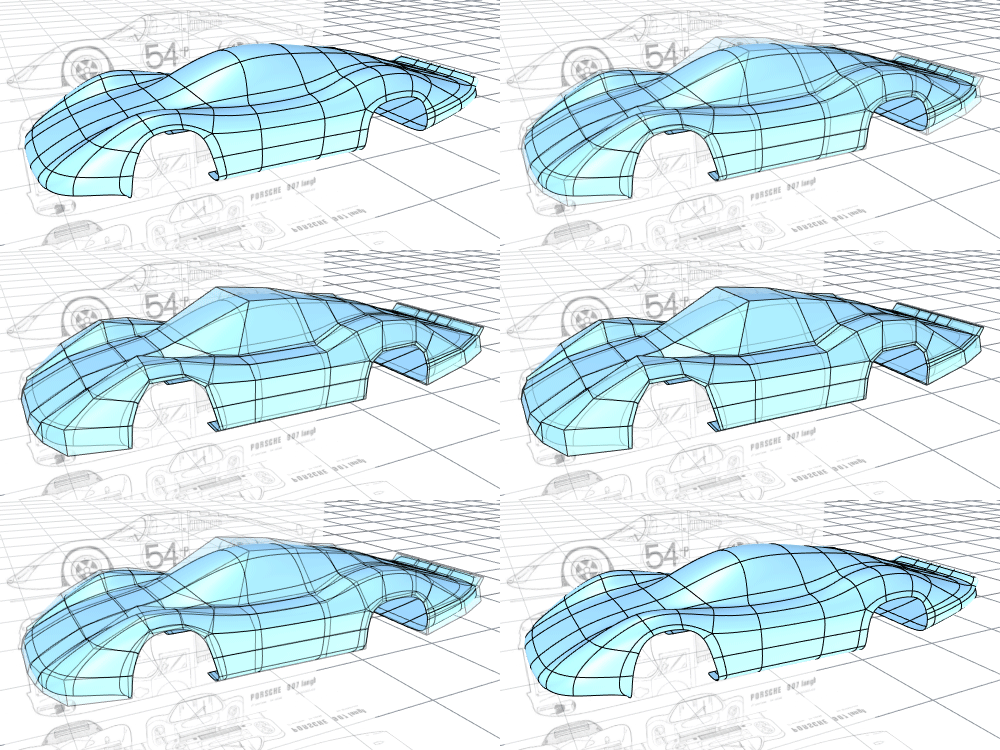
Rhino's SubD lets you create and edit complex shapes quickly. It is measurable and manufacturable geometry.
Press the TAB key to switch SubD Display. Box mode helps identify problem areas on a SubD.
Rhino has many tools for constructing surfaces directly or from existing curves.
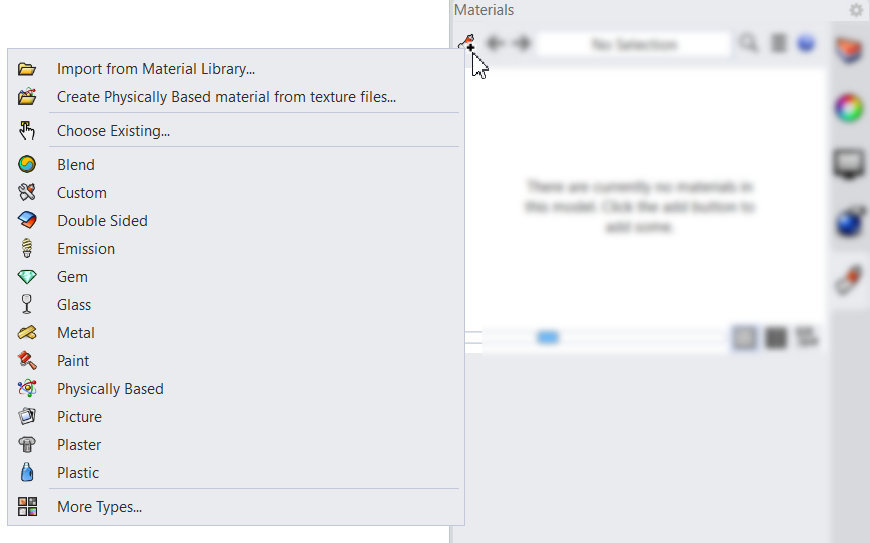
Create a material using the Material Editor in Rhino. Select a type from the Library or from a template.
Groups a set of components into a self-contained unit that behaves like a single component when inserted into the canvas.