Rhino’s interface is centered around four main components:
- Command Access (1, 2, 3)
- Modeling Aids (4, 5)
- Panels (6)
- Viewports (7)
The default arrangement is shown below:
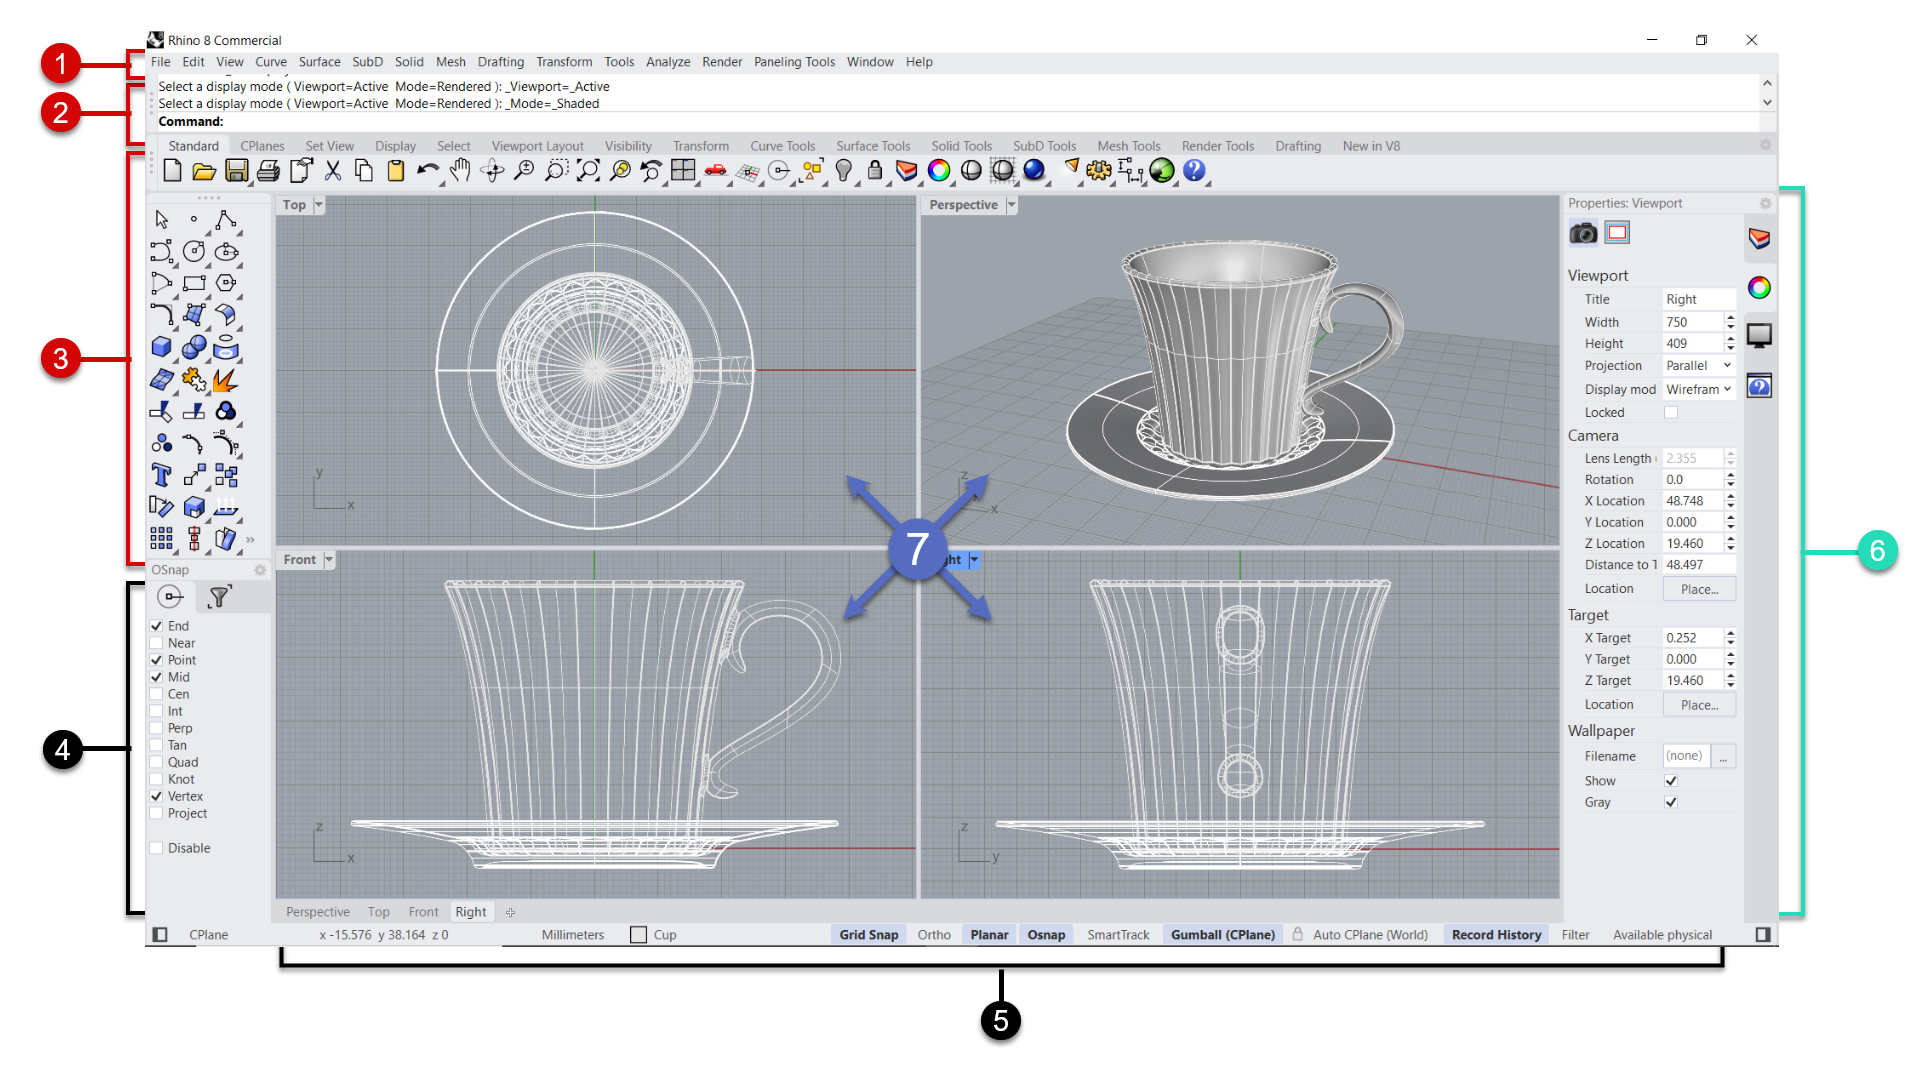
Command Access
Rhino is a command-driven program. In other words, all actions are activated by named commands such as
![]() Line
or
Line
or
![]() Rotate
. Essentially, it is how you instruct Rhino how to build, edit, and analyze geometry. In the image above, it refers to all elements marked in red.
Rotate
. Essentially, it is how you instruct Rhino how to build, edit, and analyze geometry. In the image above, it refers to all elements marked in red.
There are three main ways of running commands in Rhino:
1 Menus
2 Command Window (Prompt)
3 Toolbars
The commands are the same, independent of how you run them. You may find one method easier than another.
Modeling Aids
Modeling Aids facilitate precision modeling in Rhino. There are two main elements:
4 Osnaps
5 Status Bar
The Osnap Control allows you to activate and deactivate Object Snaps. These magnetic points help you snap new geometry to existing geometry at a precise location. They guarantee the precision necessary to create a model for exporting or manufacturing. For example, use the Cen OSnap to snap the start of a line to the center of an existing circle.
The Status Bar displays the current coordinate system, the cursor location, file unit, and quick access to layers and Modeling Aids settings.
Modeling Aids include Grid Snap, Ortho, SmartTrack, and Gumball. These tools activate modes that help you place or edit geometry in the viewport with precision. We will learn more about them in the Accurate Modeling chapter.
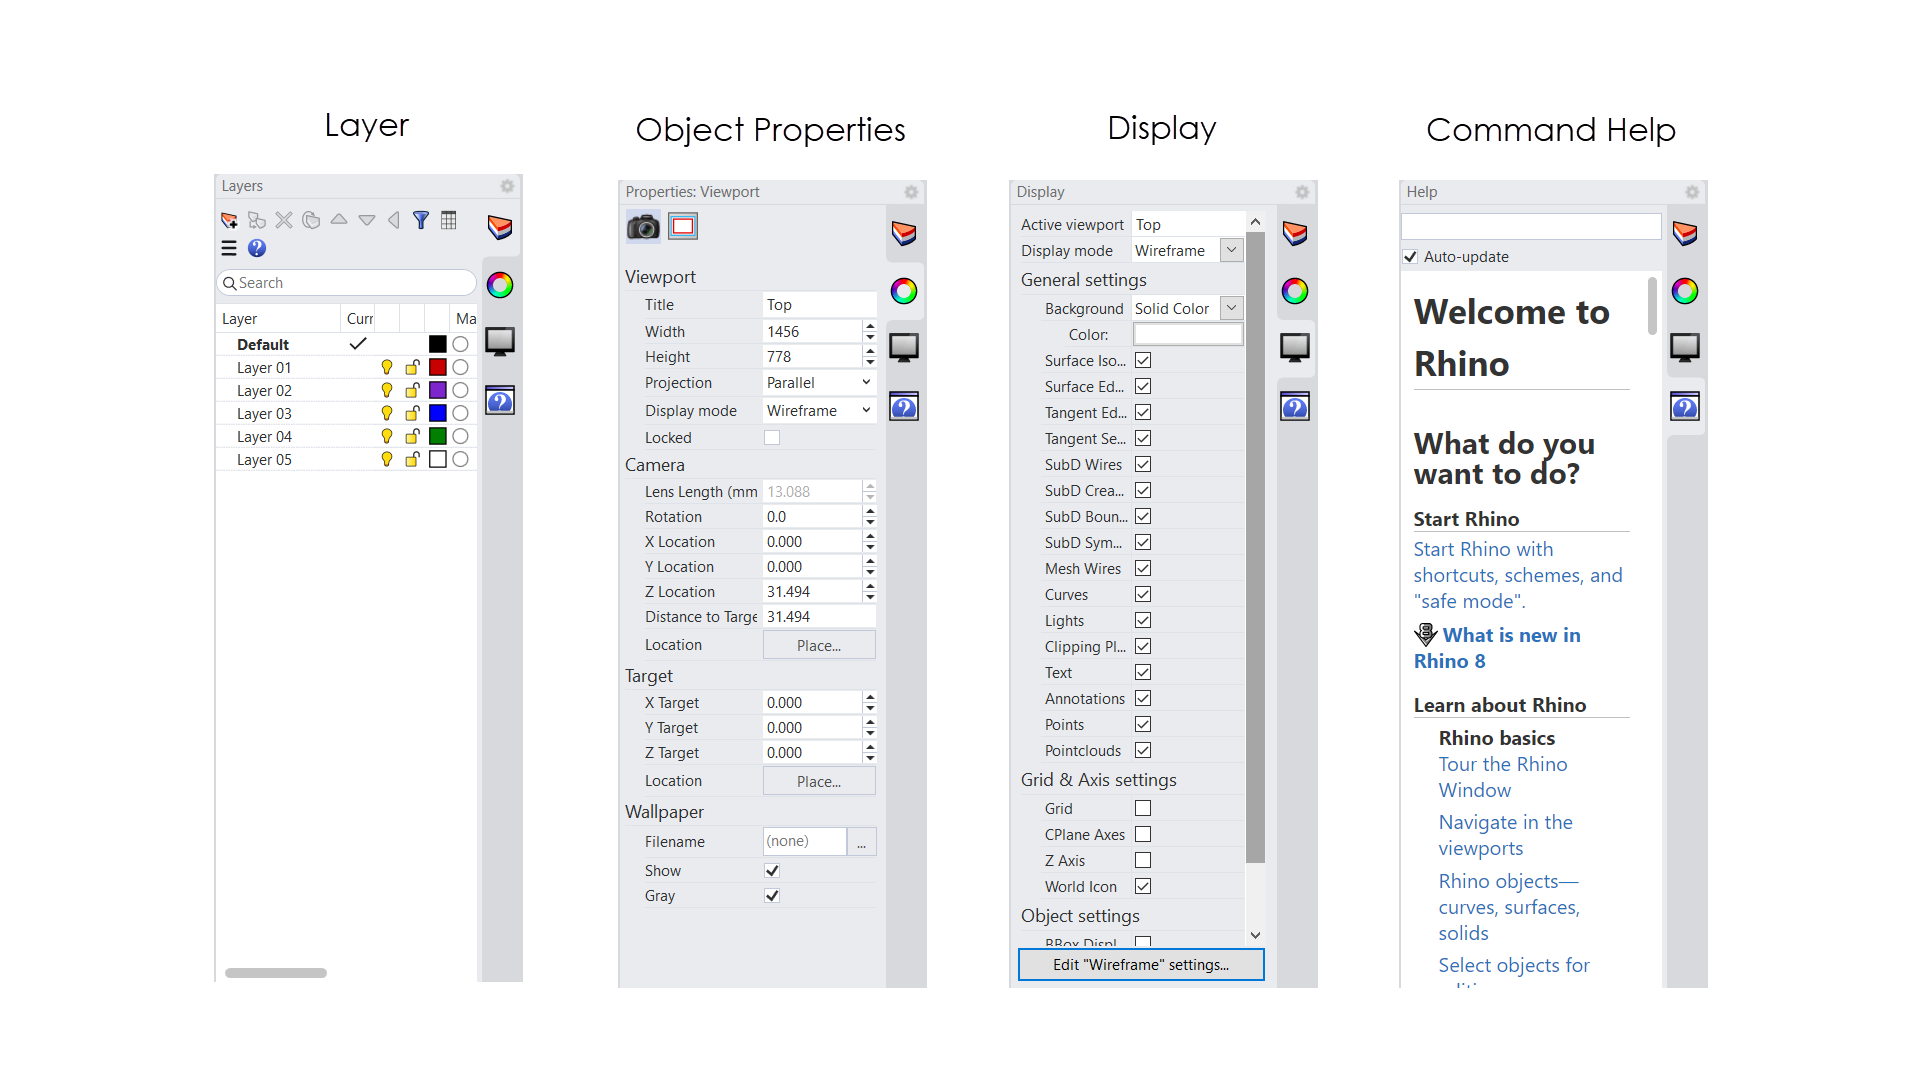
Panels
6 Panels offers various services that help us deal with objects, layers, views, and many other actions. Essentially, they are a management tool. Rhino’s default user interface comes with the following open panels:
Viewports
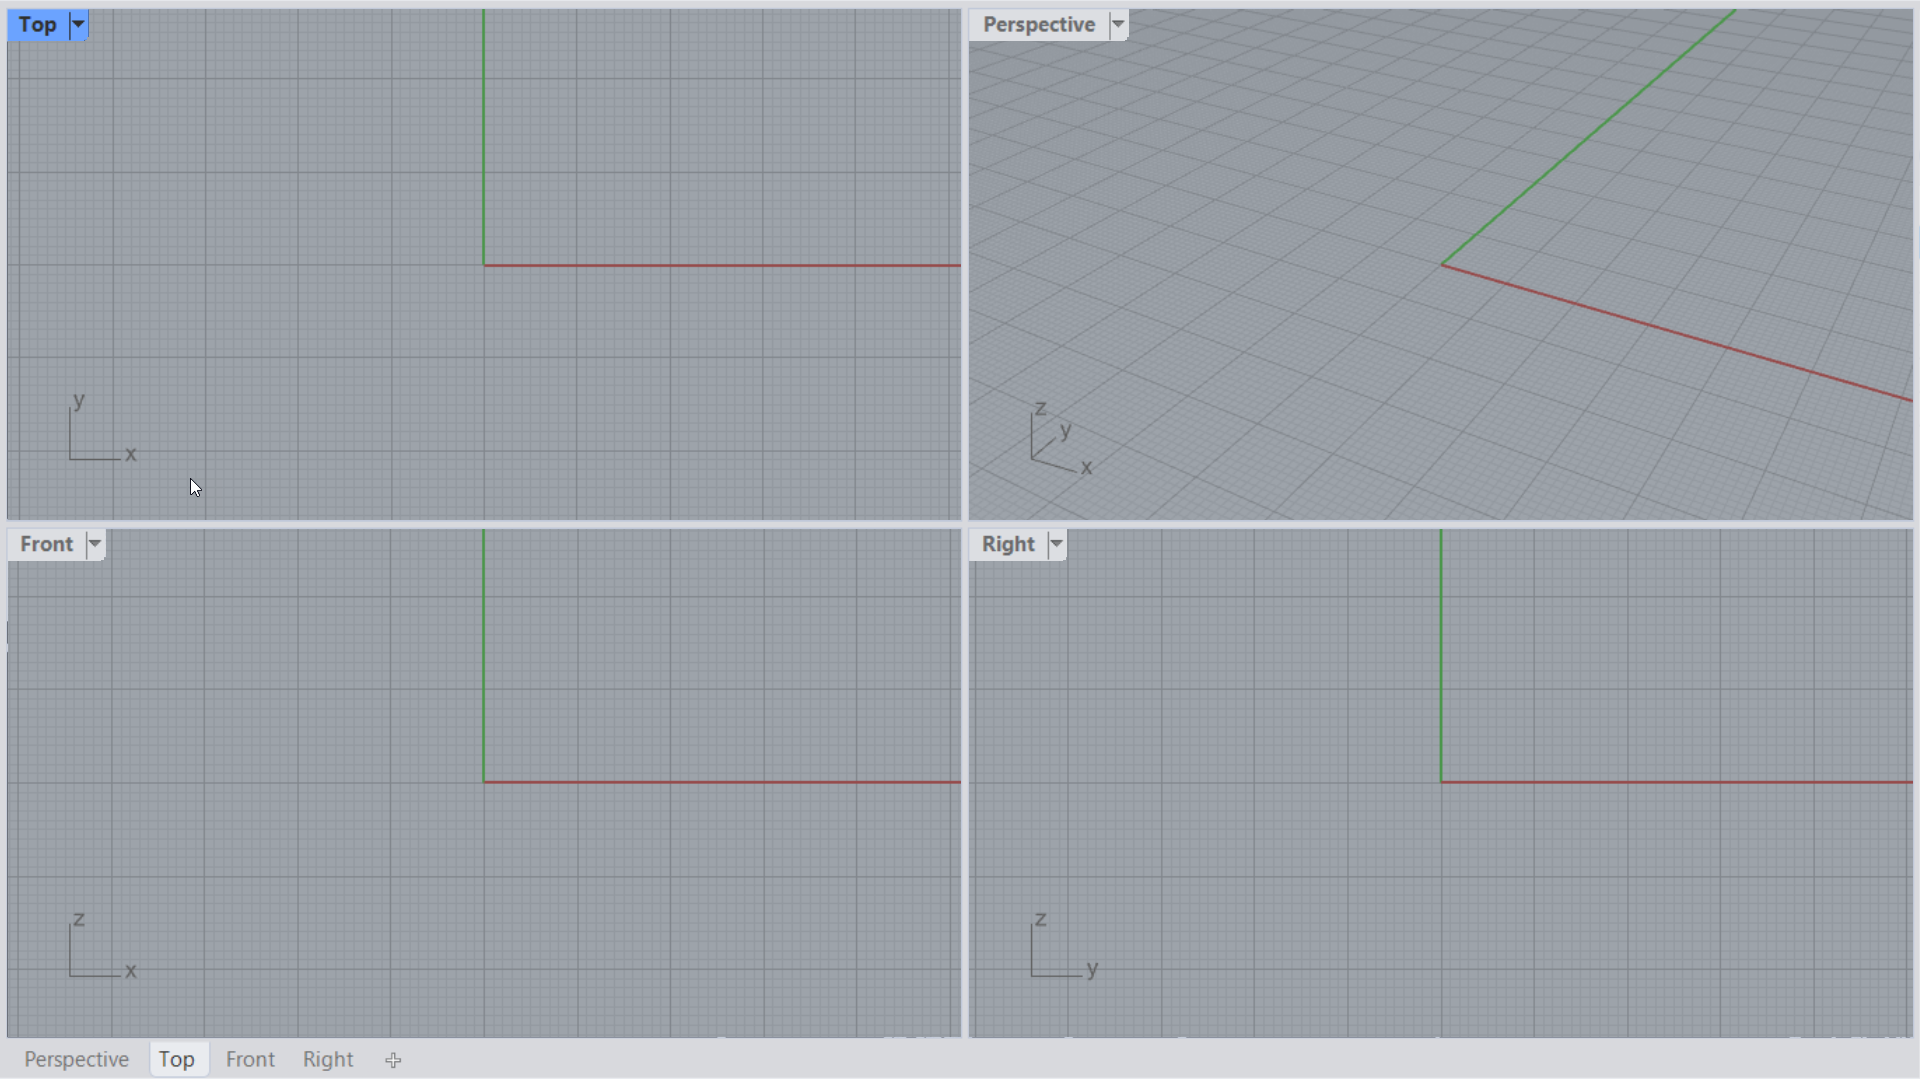
7 Viewports are windows into your model. They let you visualize and navigate around the geometry you create in 3D space. Rhino opens with four viewports by default:
- (orthogonal projection)
- (orthogonal projection)
- (orthogonal projection)
- (perspective projection)
More on the Rhino UI

 |
The Rhino Default User Interface on Windows |
 |
The Rhino Default User Interface on MAC |
Using Templates
A template is a 3DM file that is a starting point for a new Rhino model. Rhino’s default templates have units appropriate for the model size, default layers, and a standard four-viewport layout.
To start a new Rhino document:
- Run the
 New
command.
New
command. - Select an existing 3DM file from the list.
- Click Open.
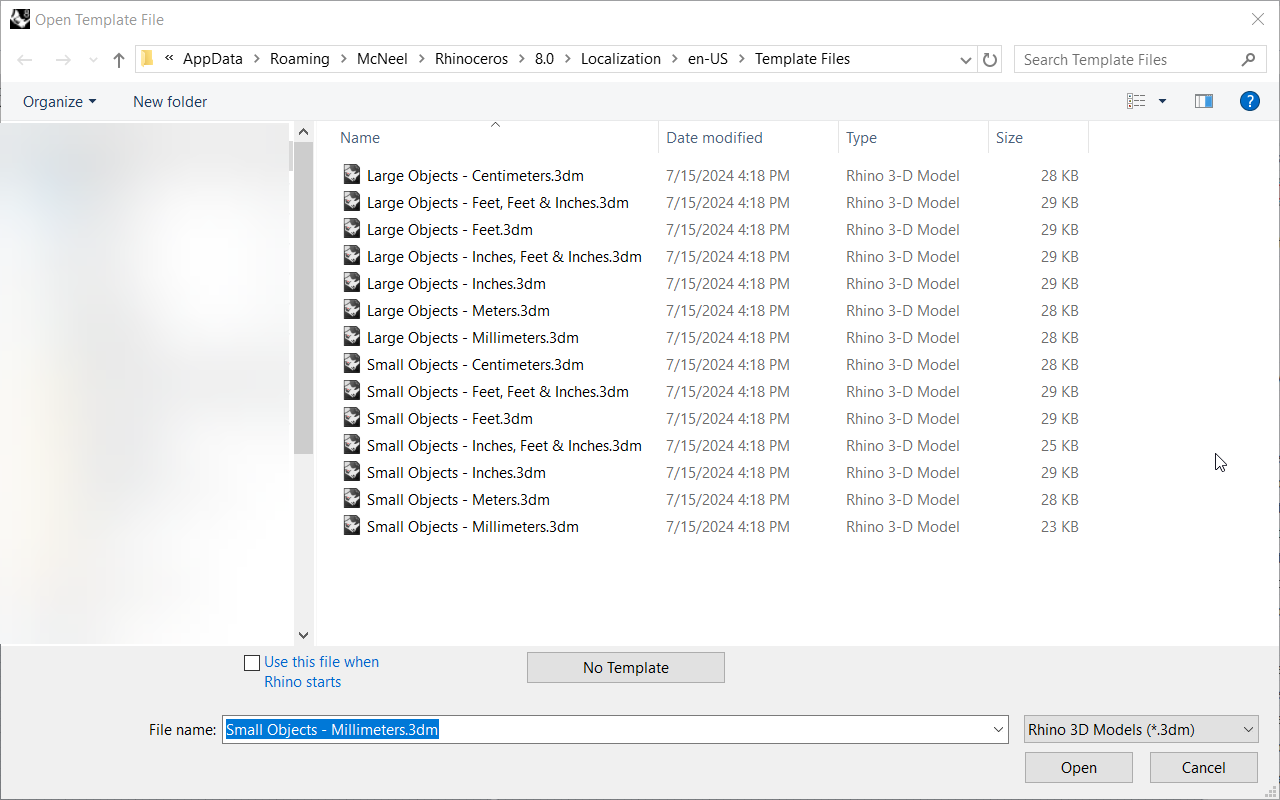
A new file with units and grid spacing defined by the template you chose will be created. For example, if you’re a jeweler based in Europe, you can select the Small Objects - Millimeters.3dm template. If you’re an interior designer based in North America, you might opt for Large Objects - Feet, Feet & Inches.3dm.
Create a custom template containing specific information and settings that you commonly reuse in all projects. You may create a layer hierachy, colors, materials, lights, and even geometry. It’s a shortcut to the start of any project. These templates can be shared across a team.
To create a custom template:
- Run the
New
command and choose a 3DM file best adapted to your modeling needs.
- Modify the
 Layer
structure and properties.
Layer
structure and properties. - Modify any settings in
 DocumentProperties
- Add geometry, materials, lights or any other object type.
- Run the
 SaveAsTemplate
command. It will be available anytime you run the
New
command.
SaveAsTemplate
command. It will be available anytime you run the
New
command.
Your First Rhino Exercise
In this exercise you will start a new file and learn how to run common commands like
![]() Curve
,
Curve
,
![]() Cone
or
Cone
or
![]() Undo
Undo
Run a Command from the Menu
Most Rhino commands are located in the menus. We will create a basic solid, starting the command from the menu.
-
Run the
New
command. -
Select the Small Objects - Millimeters.3dm template.
-
On the Solid menu, start the
 Cone
command.
Cone
command. -
At the Base of cone… prompt, in the , click the left mouse button to pick the center point for the base of the cone anywhere in that view.
-
At the End of cone prompt, drag the mouse up and down. Watch what happens in the different views.
-
Click anywhere in the or to set the tip of the cone.
Run a Command from a Toolbar Icon
Toolbars enable you to run commands by clicking buttons. Most commands have an icon.
Create a freeform curve from an icon:
-
Hover over the
 Curve
command from the Main Toolbar. You’ll notice a
Tooltip
appears. It describes the function of the icon. You can run two commands: One with the mouse’s left-click and a second with the right-click.
Curve
command from the Main Toolbar. You’ll notice a
Tooltip
appears. It describes the function of the icon. You can run two commands: One with the mouse’s left-click and a second with the right-click.
-
Click with the left mouse button to run the
Curve
-
At the Start of curve… prompt, in the viewport, click the mouse to start the curve.
-
At the Next point… prompt, continue clicking a couple more points in the same view.
-
At the Next point… prompt, move the mouse into the viewport and click a few more points along the Y axis (green axis).
-
Right-click, press , or press the spacebar to end the command.
-
Look at the result in the .
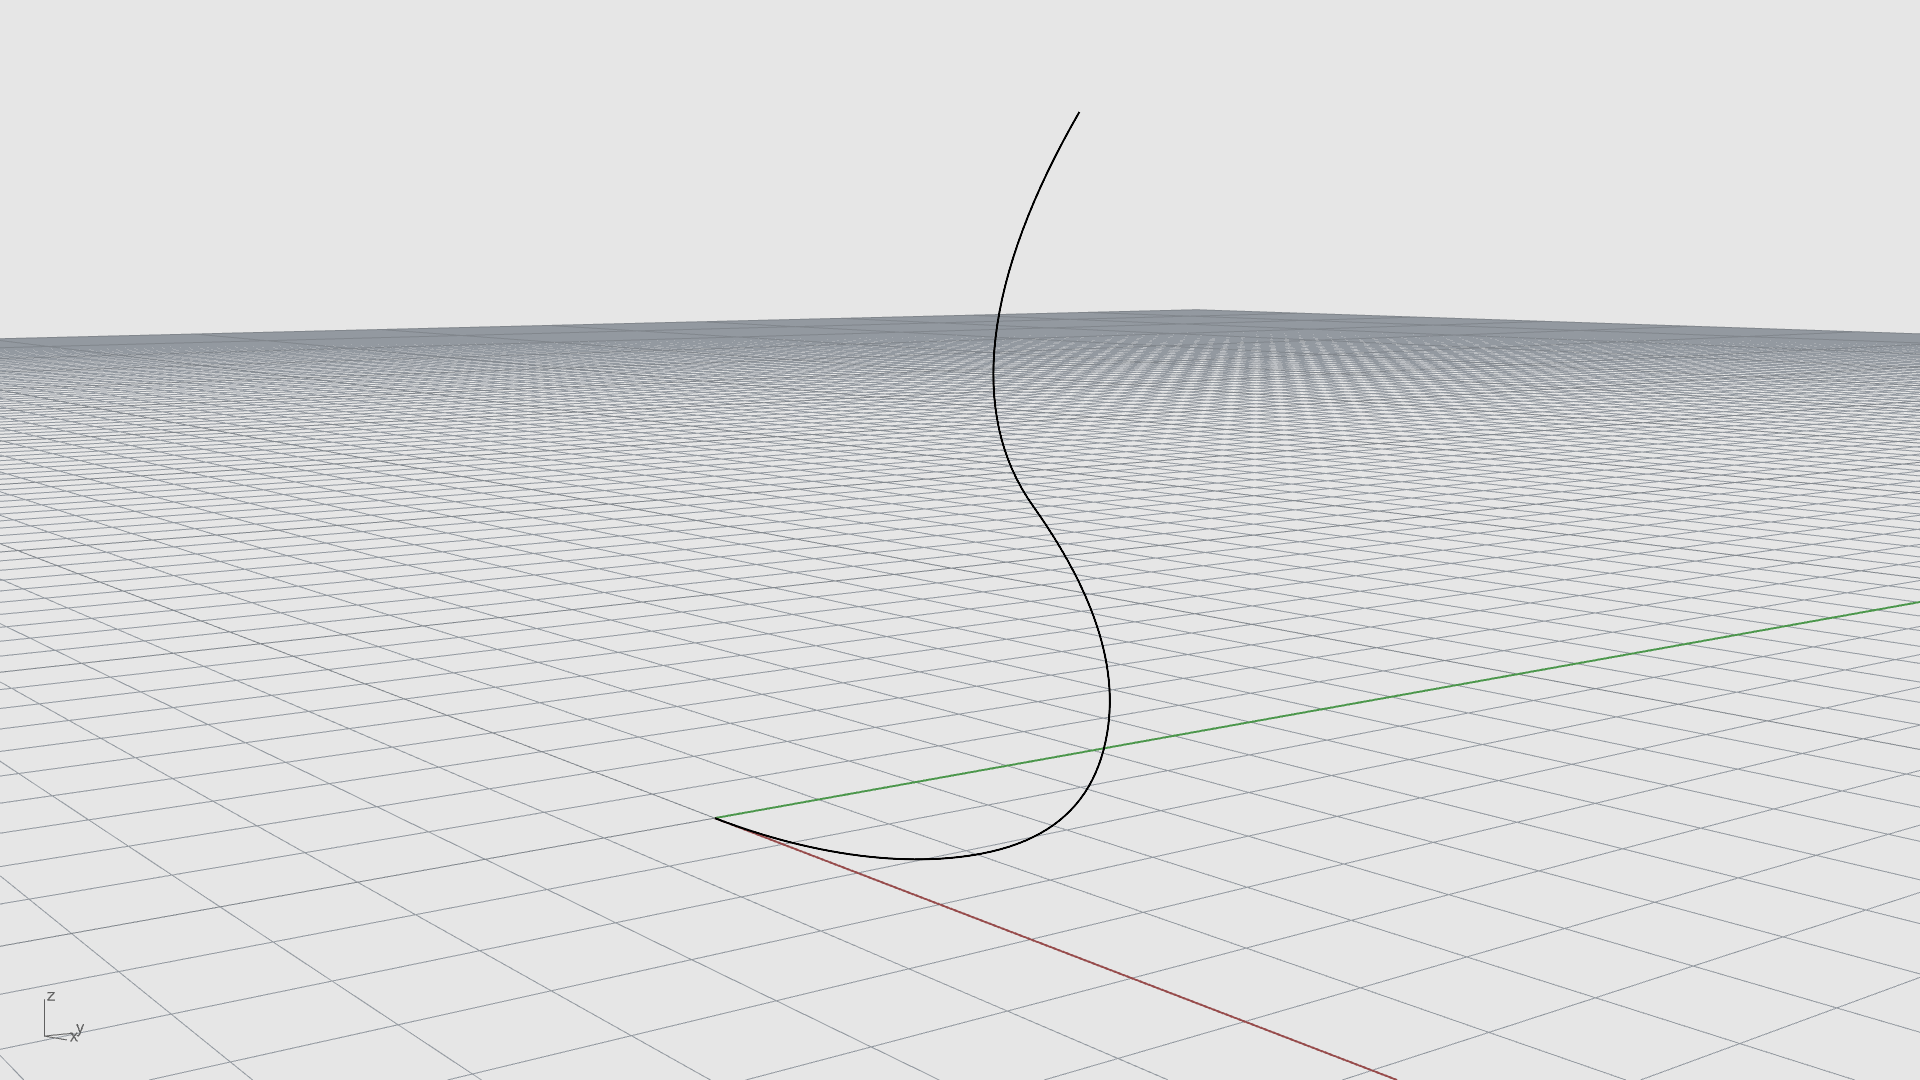
-
Admire your work!! Rotate the view by right-clicking and dragging the mouse.
Run a Command from the Command Line
You can start a command by typing the command name. All commands can be executed by typing them into the Command Prompt .
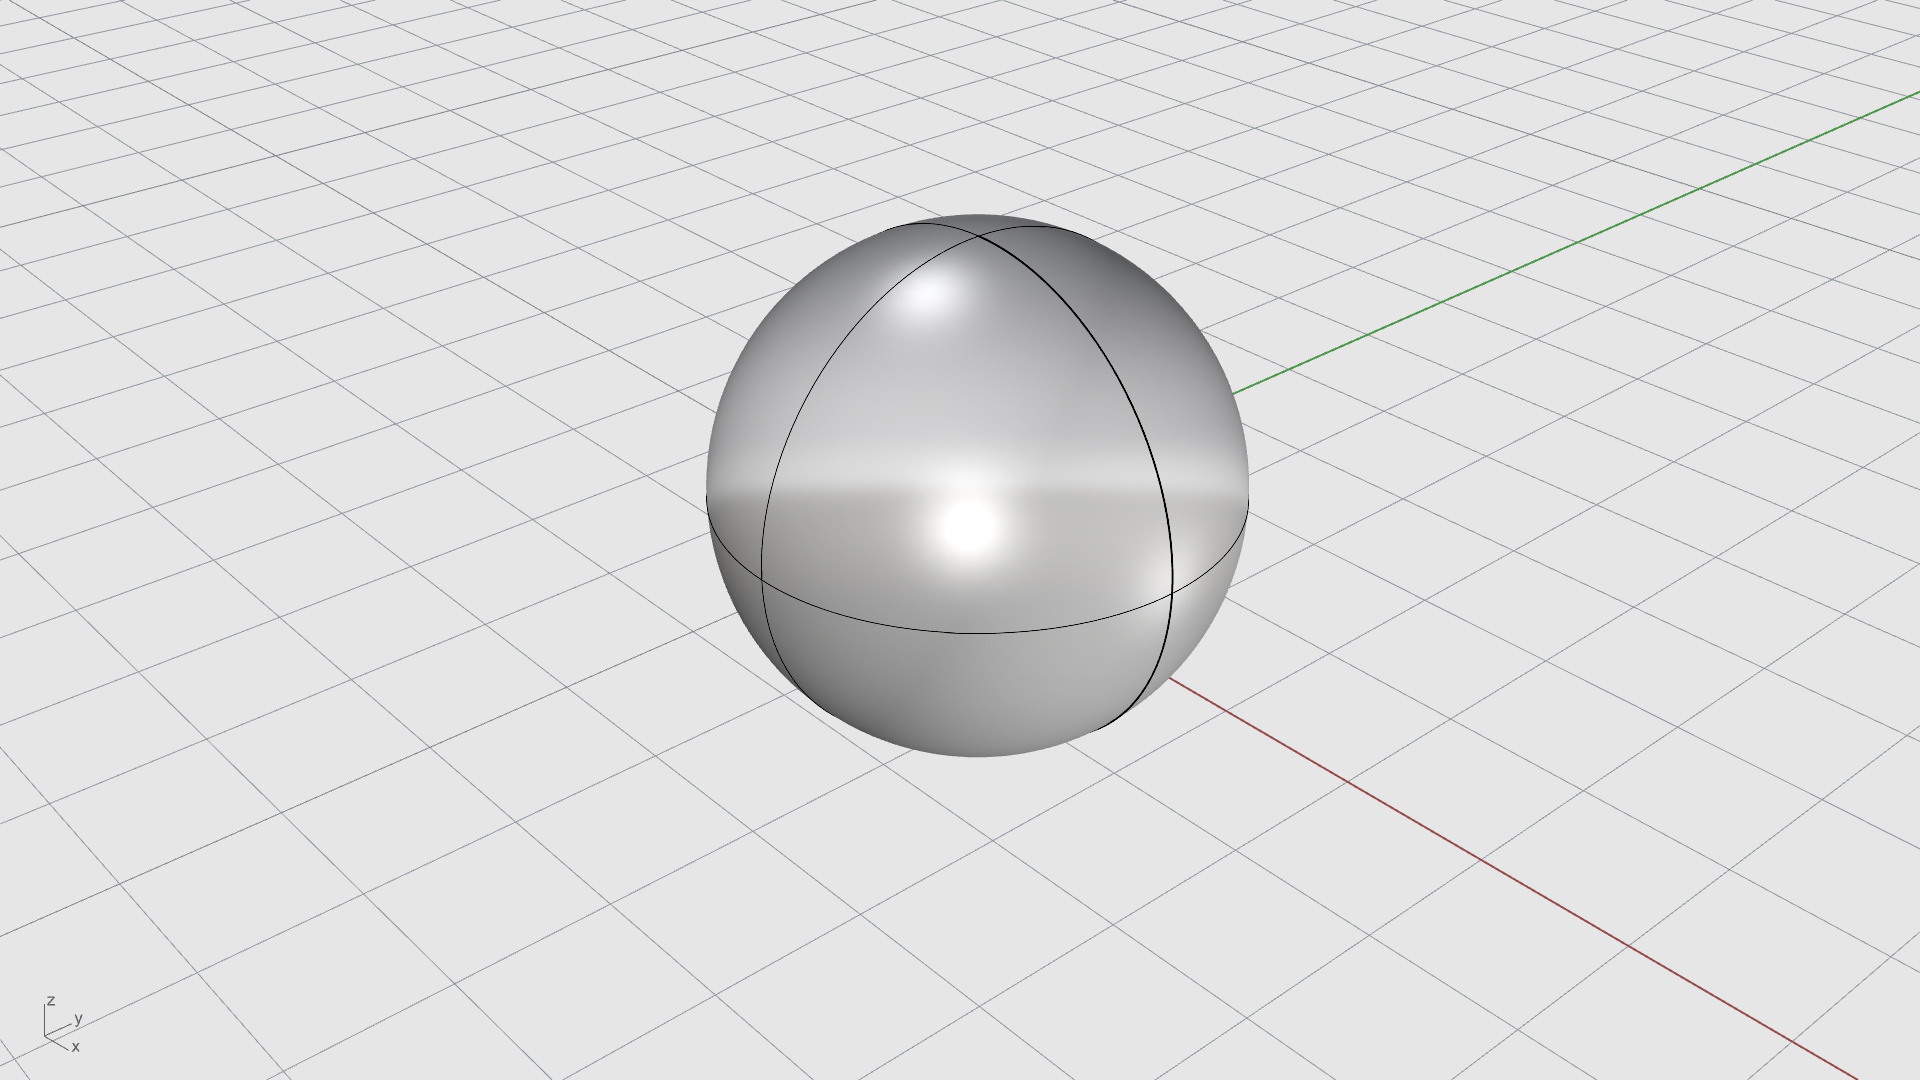
Create a sphere by typing the command name in the Command Line Prompt:
-
With the Command Prompt clear (if there is text at the command prompt, press the key), type Sphere and press .
-
At the Center of sphere… prompt, in the viewport, left-click the mouse anywhere in the viewport to pick the center point for the sphere.
-
At the Radius… prompt, in the viewport, move the mouse away from the center point and click to place a second point. This point determines the radius of the sphere.
Notice how the sphere is shown in Wireframe. This is a display mode that draws objects using wires, called edges and isocurves. The object is completely transparent.
-
In the viewport, click on the arrow of the viewport title and select Shaded. The sphere will now appear colored in grey, along with the edges and isocurve display.
The Command Window
The command window is divided into the Command History and the Command Prompt.

Command Prompt or Command Line
The Command History displays the previous commands and prompts. Essentially it records most of the activity that happens in Rhino. Maximize it by pressing the key. The Command History cannot be edited.
The Command Prompt is where you type command names, set options, enter distances and angles for drawing, and read the prompts for the commands. It is the way Rhino communicates with you. When Rhino needs you to select objects, enter a point or information, it prompts you through the Command Prompt .
As you start to build objects, prompts become increasingly important since they tell you what to do next.
Command Options
Options give you alternate methods for using the command. For example, when you draw a circle, the circle is normally drawn from center to radius. The
![]() Circle
command has several options, such as 2Points, which allow you to draw the circle by clicking two points that determine the diameter instead.
Circle
command has several options, such as 2Points, which allow you to draw the circle by clicking two points that determine the diameter instead.
Command options are displayed in the Command Prompt in parentheses.
To activate an option:
- Type the option name
- Type the underlined letter in the option
- Click the option with the mouse

Repeat the Last Command
Many tasks in Rhino are repetitive. You might want to
![]() Move
several objects or
Move
several objects or
![]() Fillet
multiple corners.
Fillet
multiple corners.
To repeat commands:
- Press when no command is active.
- Press the spacebar.
- Click the right-mouse button in a viewport.
Some commands such as
![]() Undo
and
Undo
and
![]() Delete
do not repeat. Instead, the command prior to these commands is repeated. This prevents you from accidentally undoing too many commands or deleting objects accidentally. Also, you often want to repeat the command you were using before undoing a mistake.
Delete
do not repeat. Instead, the command prior to these commands is repeated. This prevents you from accidentally undoing too many commands or deleting objects accidentally. Also, you often want to repeat the command you were using before undoing a mistake.
To suit your own way of working, you can define the list of commands that do not repeat by running the
![]() Options
command in the General page: Never repeat these commands.
Options
command in the General page: Never repeat these commands.
Undo a Command
If you did something you did not want to do, you can undo your actions by:
- Running the
 Undo
command. Also available through the Edit menu.
Undo
command. Also available through the Edit menu. - Pressing + Z on the keyboard.
If you wish to redo an action, you can:
- Running the
 Redo
command. Also available through the Edit menu.
Redo
command. Also available through the Edit menu. - Pressing + Y on the keyboard.
Cancel a Command
Whenever you run the wrong command or do something wrong in the command procedure, you can cancel the active command in several ways:
- Press the key on your keyboard. The command line is cleared and returns to the Command prompt.
- Click a toolbar button or click another command on a menu. The current command is canceled immediately, and the chosen command runs.
Docking UI Windows
Panels, toolbars, and other UI elements can be moved around in the interface. For example, the Command Window is docked at the top of the interface. To float or undock it, you can drag it by the gripper on the left side. To dock it back, drag the command window title bar around. As you drag it, blue shaded squares appear at locations where the window can be dropped.

Finding Help
If you get stuck on how a command works, the Rhino Help file is the major resource for detailed information on specific commands. You can access it in several ways:
- To get Help for a command, press while the command is running. The Help file will open in your default browser, with the specific command topic visible.
- Run the
 CommandHelp
command. The Help panel will open to the right of the viewport. Select Auto-Update to dynamically display the Help topic for the current command.
CommandHelp
command. The Help panel will open to the right of the viewport. Select Auto-Update to dynamically display the Help topic for the current command.
