There are a few ways you can speed up or make a view animation goes slower. In this article we’ll go though them.
Adding/removing ticks on the timeline
To speed up or slow down an animation, the easiest trick is to just add or remove ticks in between keyframes.
Here is an example of a view animated video:
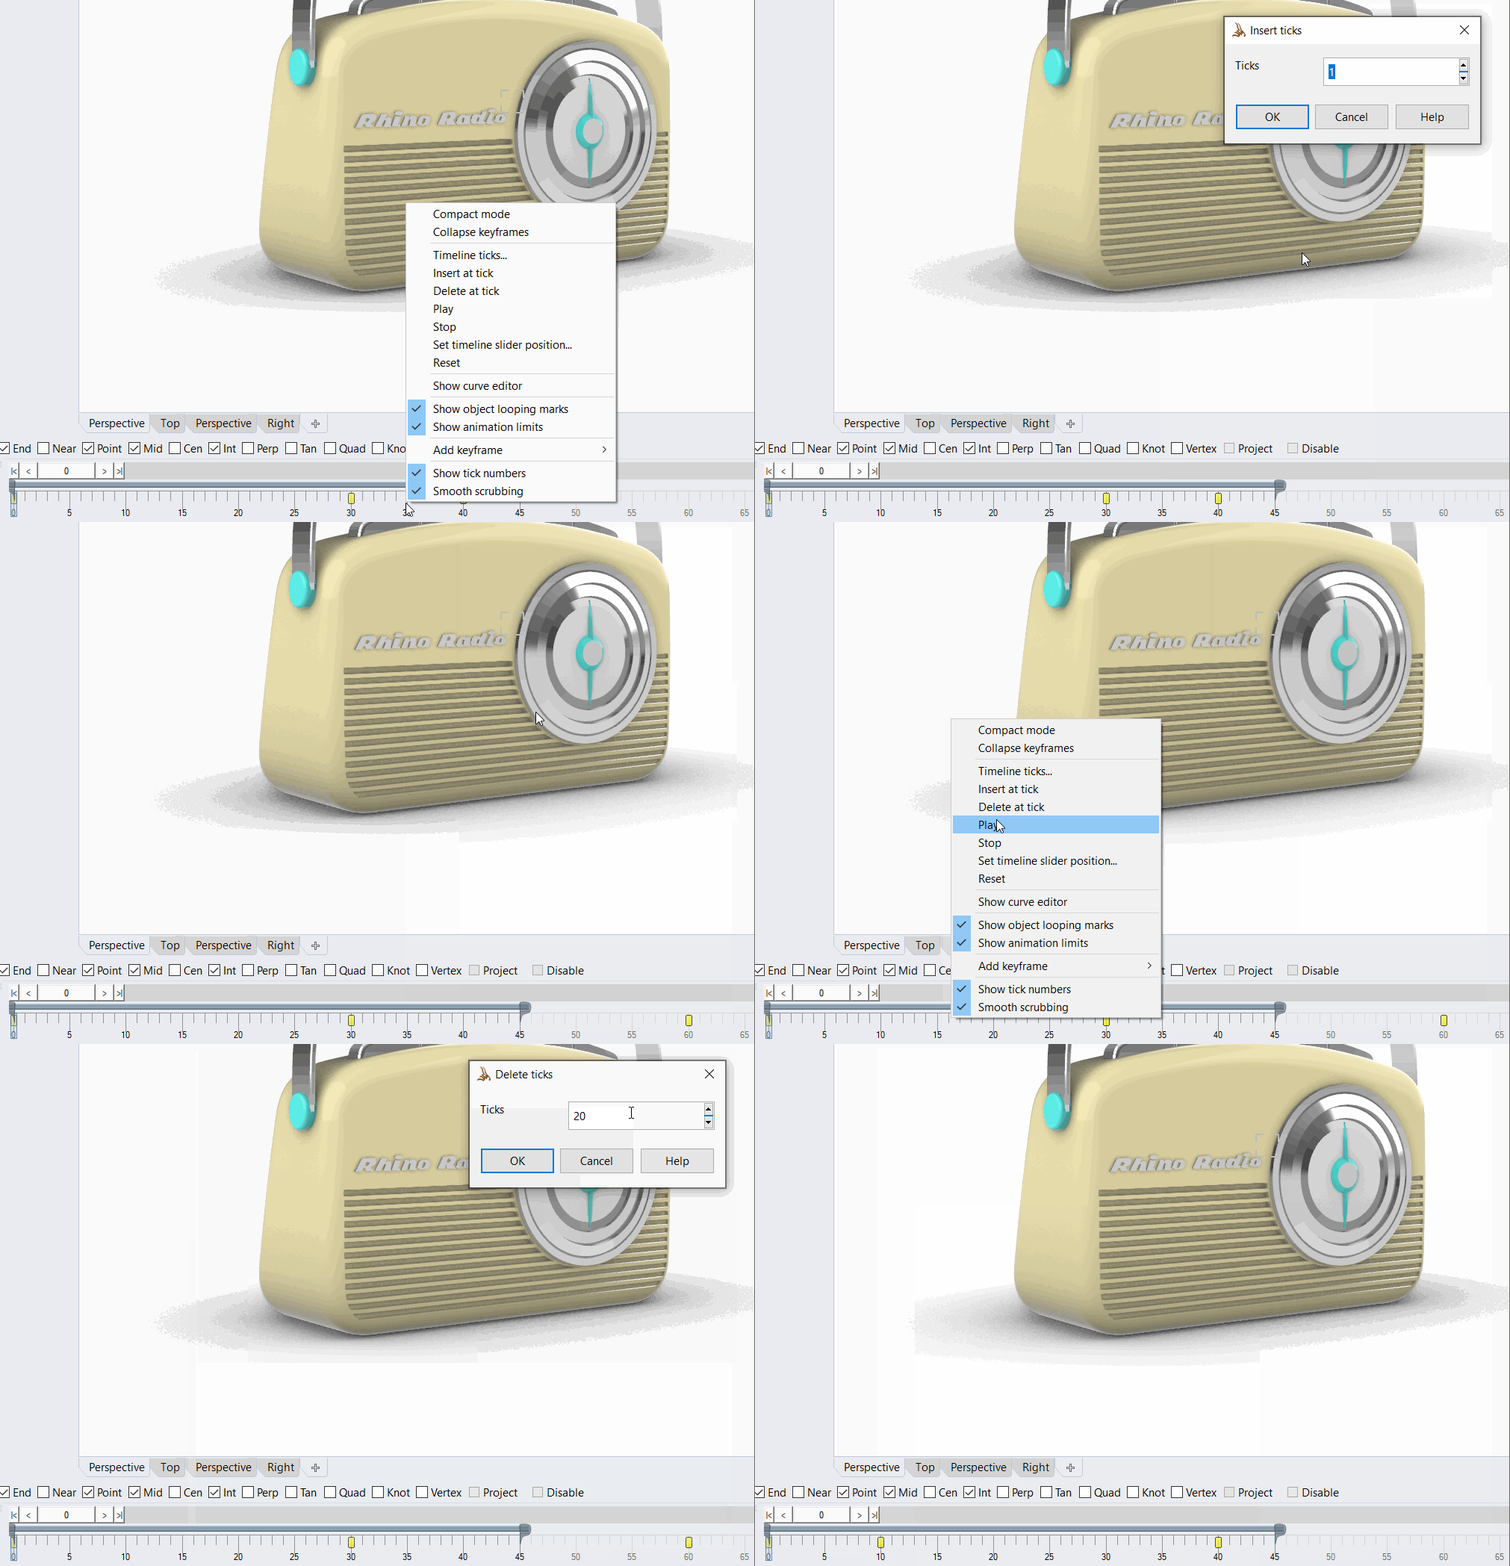
Now if you wanted to make the turn faster and the zoom slower. Go and add ticks between the two last keyframes and remove ticks between the two first keyframes. Like this:

To get the menu up, right click on the timeline. The ticks will be inserted at the point where you click on the timeline.
One you’ve done the change, then you end up with this result:
Tweening - Easing
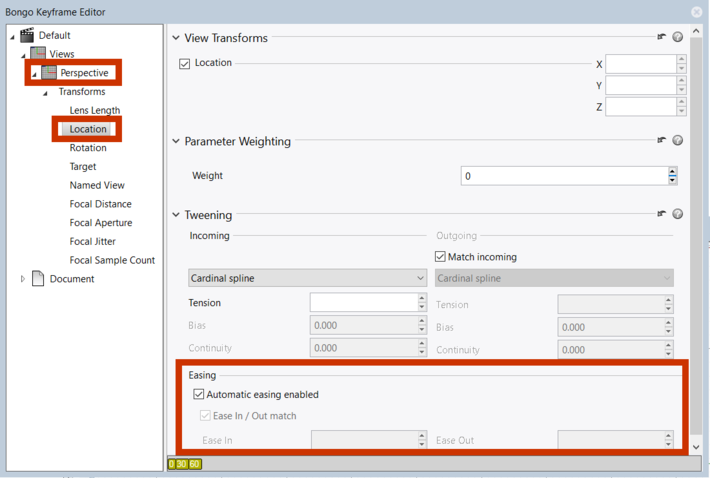
In the Keyframe Editor under Views > The Animated View > Location, you control the camera movement. Here under the Tweening settings you’ll find Easing.
Easing levels the curve before keyframe. Easing can be used to stop motion smoothly and to keep the view still between identical keyframe points.

Easing can be controlled manually or it can be set to happen automatically when two keyframe points are aligned. When controlled manually easing is a value between 0 and 1. Easing of 0 means no easing at all and 1 means full easing.
For more information about tweening, please read this page.

