3D Model to 2D Drawing
Generate faithful 2D technical drawings from your 3D models! Place  ClippingSections
on the model where you need floor plans, elevations, and sections, then extract
ClippingSections
on the model where you need floor plans, elevations, and sections, then extract  ClippingDrawings
directly in Rhino.
ClippingDrawings
directly in Rhino.
Live Connection
Modify the 3D model and update the 2D drawing at will! A simple double-click on ClippingDrawings
to change its settings. Redefine hatches and section styles, modify the 3D model, remove or add elements, and update the drawing on demand.
Project in 3D Space
ClippingDrawings
can now be projected in their true 3D location. This helps organize drawings, reference their location, and view the 3D model behind them using different display modes. Create visually compelling architectural presentations!
Stack Your Drawings
Do you need to generate a drawing for each floor level in a multi-story building?  AlignClippingDrawings
lets you stack your drawings or place them relative to each other, keeping your model organized and tidy.
AlignClippingDrawings
lets you stack your drawings or place them relative to each other, keeping your model organized and tidy.
Curves Included
For models that include curves as background objects, these will now be added as part of the ClippingDrawings
.
Background option in the dialog.
Manage Properties
Manage the properties of your ClippingDrawings
through the different layer options:
Create from Template Layers
Create ClippingDrawings
that inherit properties from a set of user-defined layers. Set properties such as color, linetype, and print width once. It will apply to all your drawings thereafter. All you need to do is set the Properties in the dialog to By output layers. An easy way to ensure project standards throughout a team!
Inherit from 3D Model
Keep a unique layer structure for both 2D linework and its 3D object. This makes it trivial to maintain the same properties between the 3D model and the ClippingDrawings
. All you need to do is set the Properties in the dialog to Use source layers. Keep the model clean and tidy without duplicate layers!
Try It
- Download Rhino 9 WIP for Windows or Mac.
- Download and open the ClippingDrawing.3dm model.
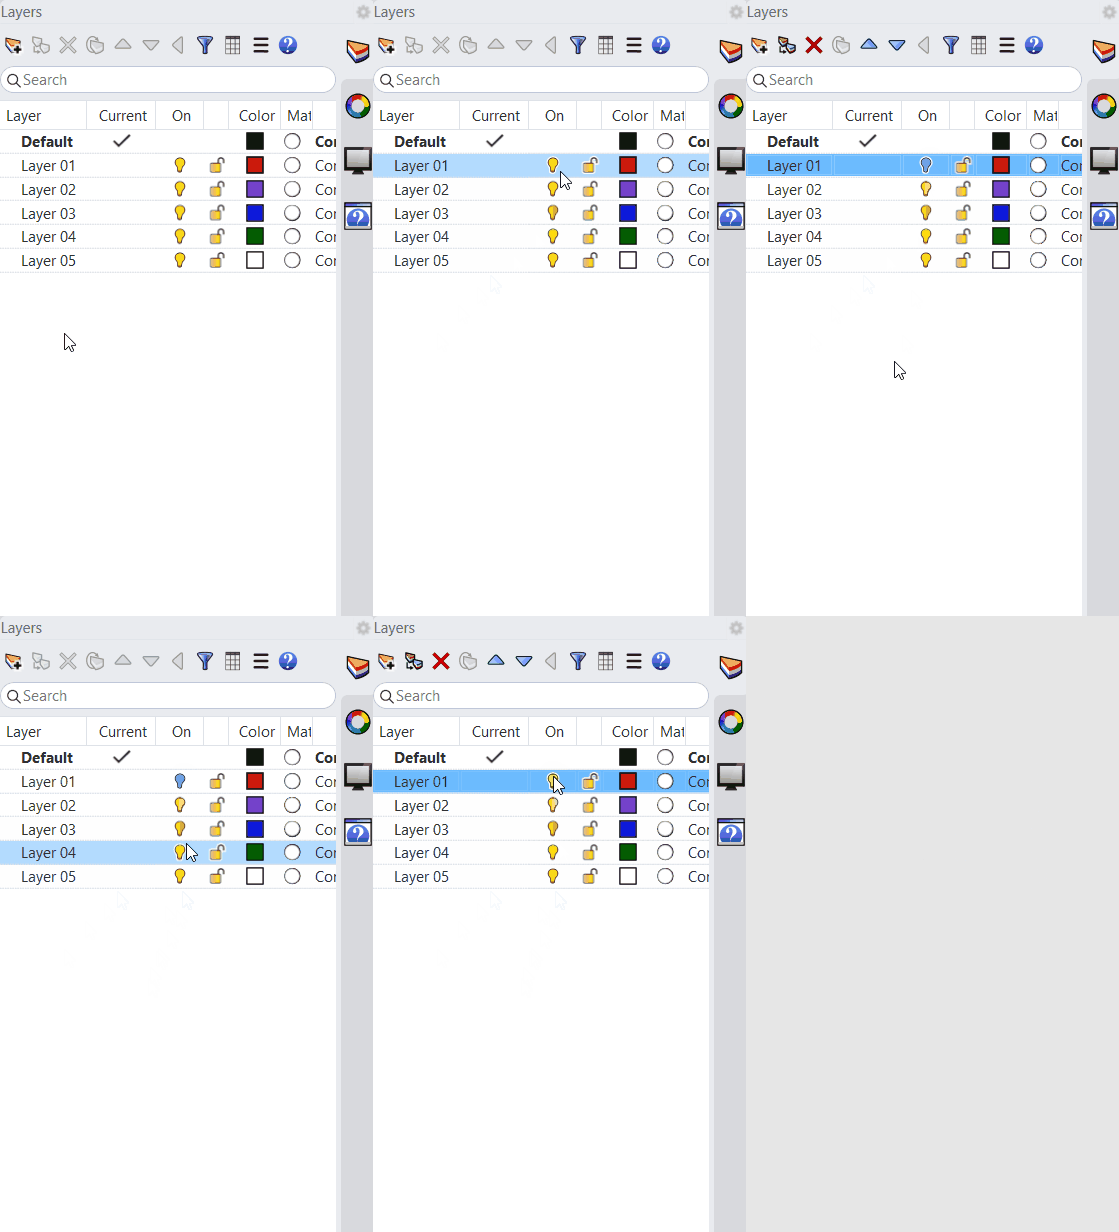
- From the Layers panel:
- Make sure the
Site3Dlayer is OFF . - Make sure the
ClippingSectionslayer is ON.
- Make sure the
- Maximize the viewport.
- Turn on the
PointOsnap . - Run the ClippingDrawings
command.
- At the
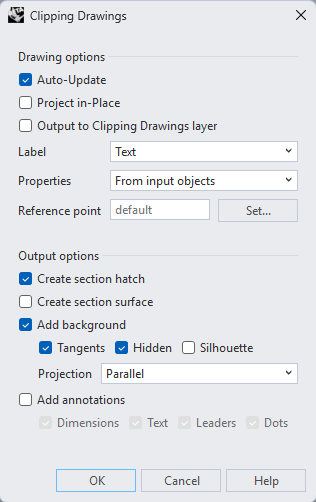
Select clipping sectionsprompt , select the Section Looking South clipping plane. Press Enter. - In the Clipping Drawings dialog, select :
- In Properties:
From Input Object Add BackgroundwithTangentsandHiddenoptions.- Click
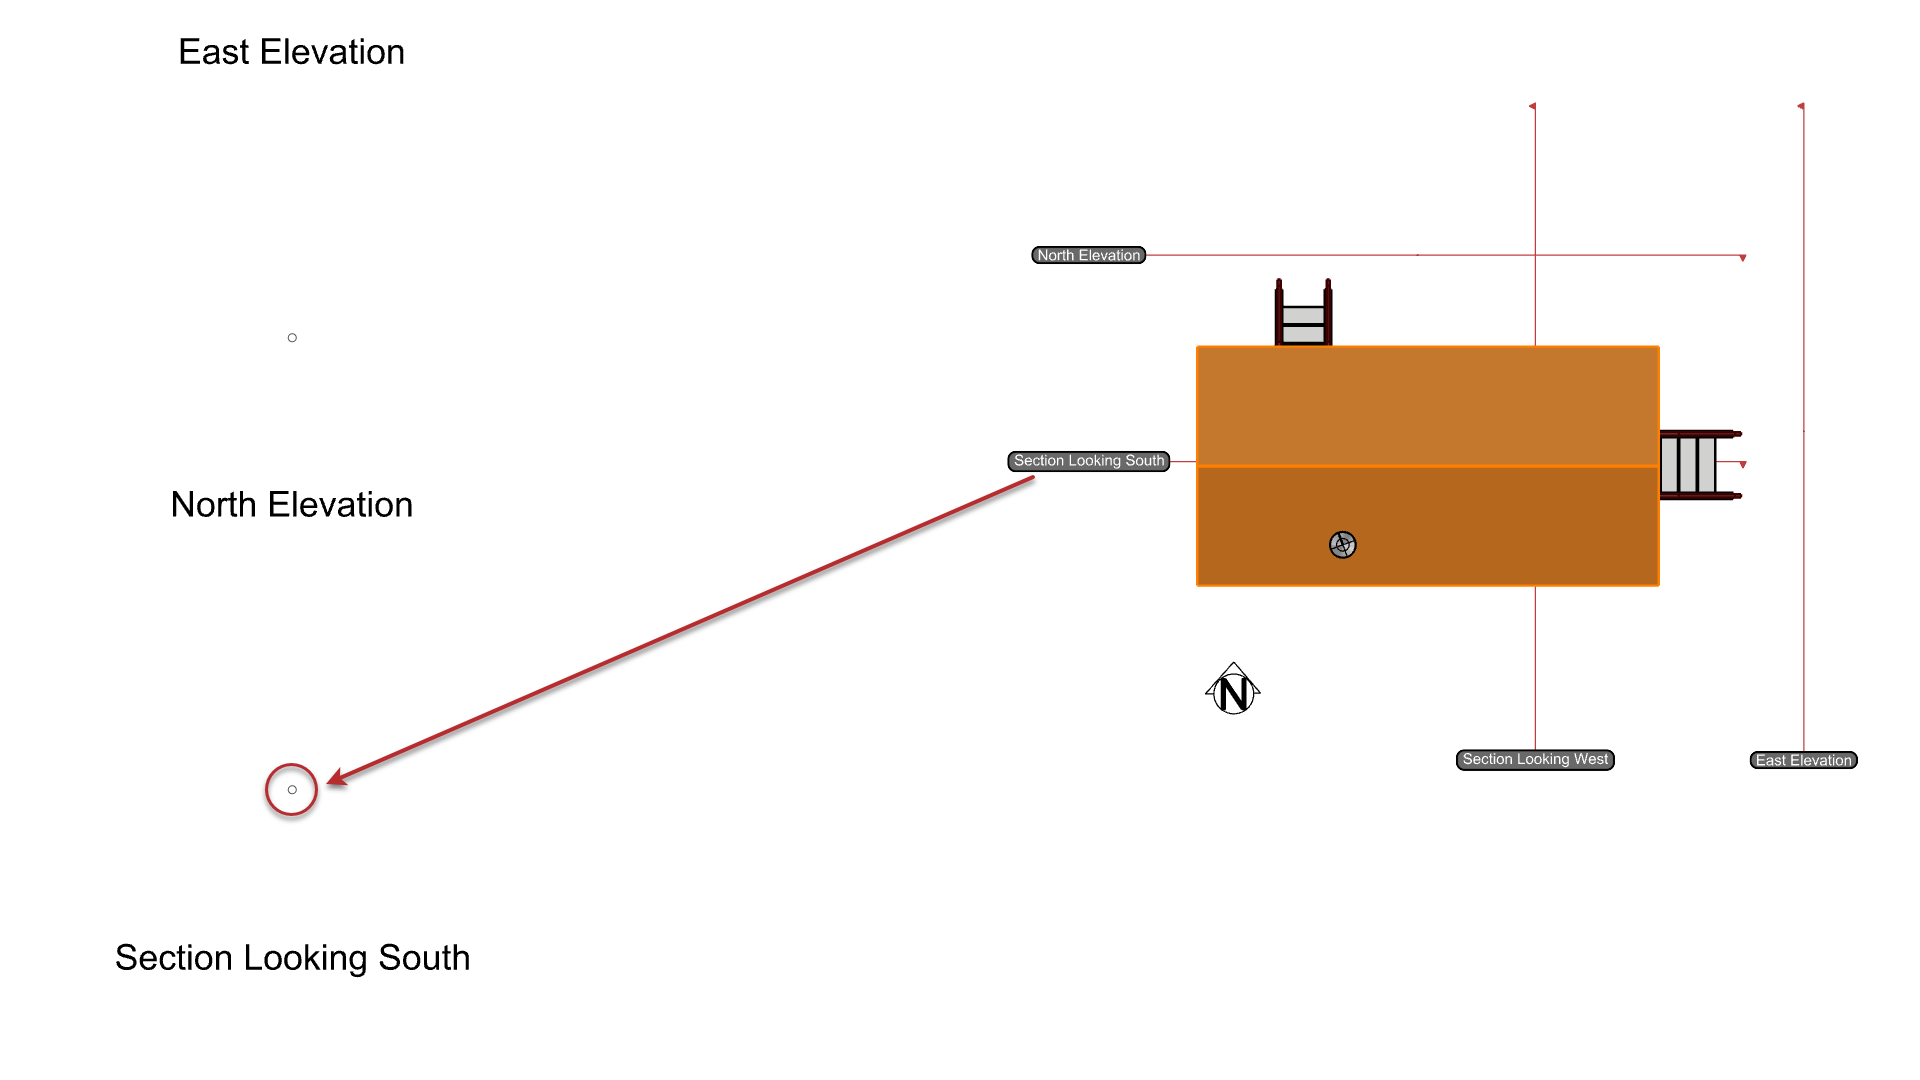
OKand place the clipping drawing in its corresponding location to the left.
- In Properties:
- At the
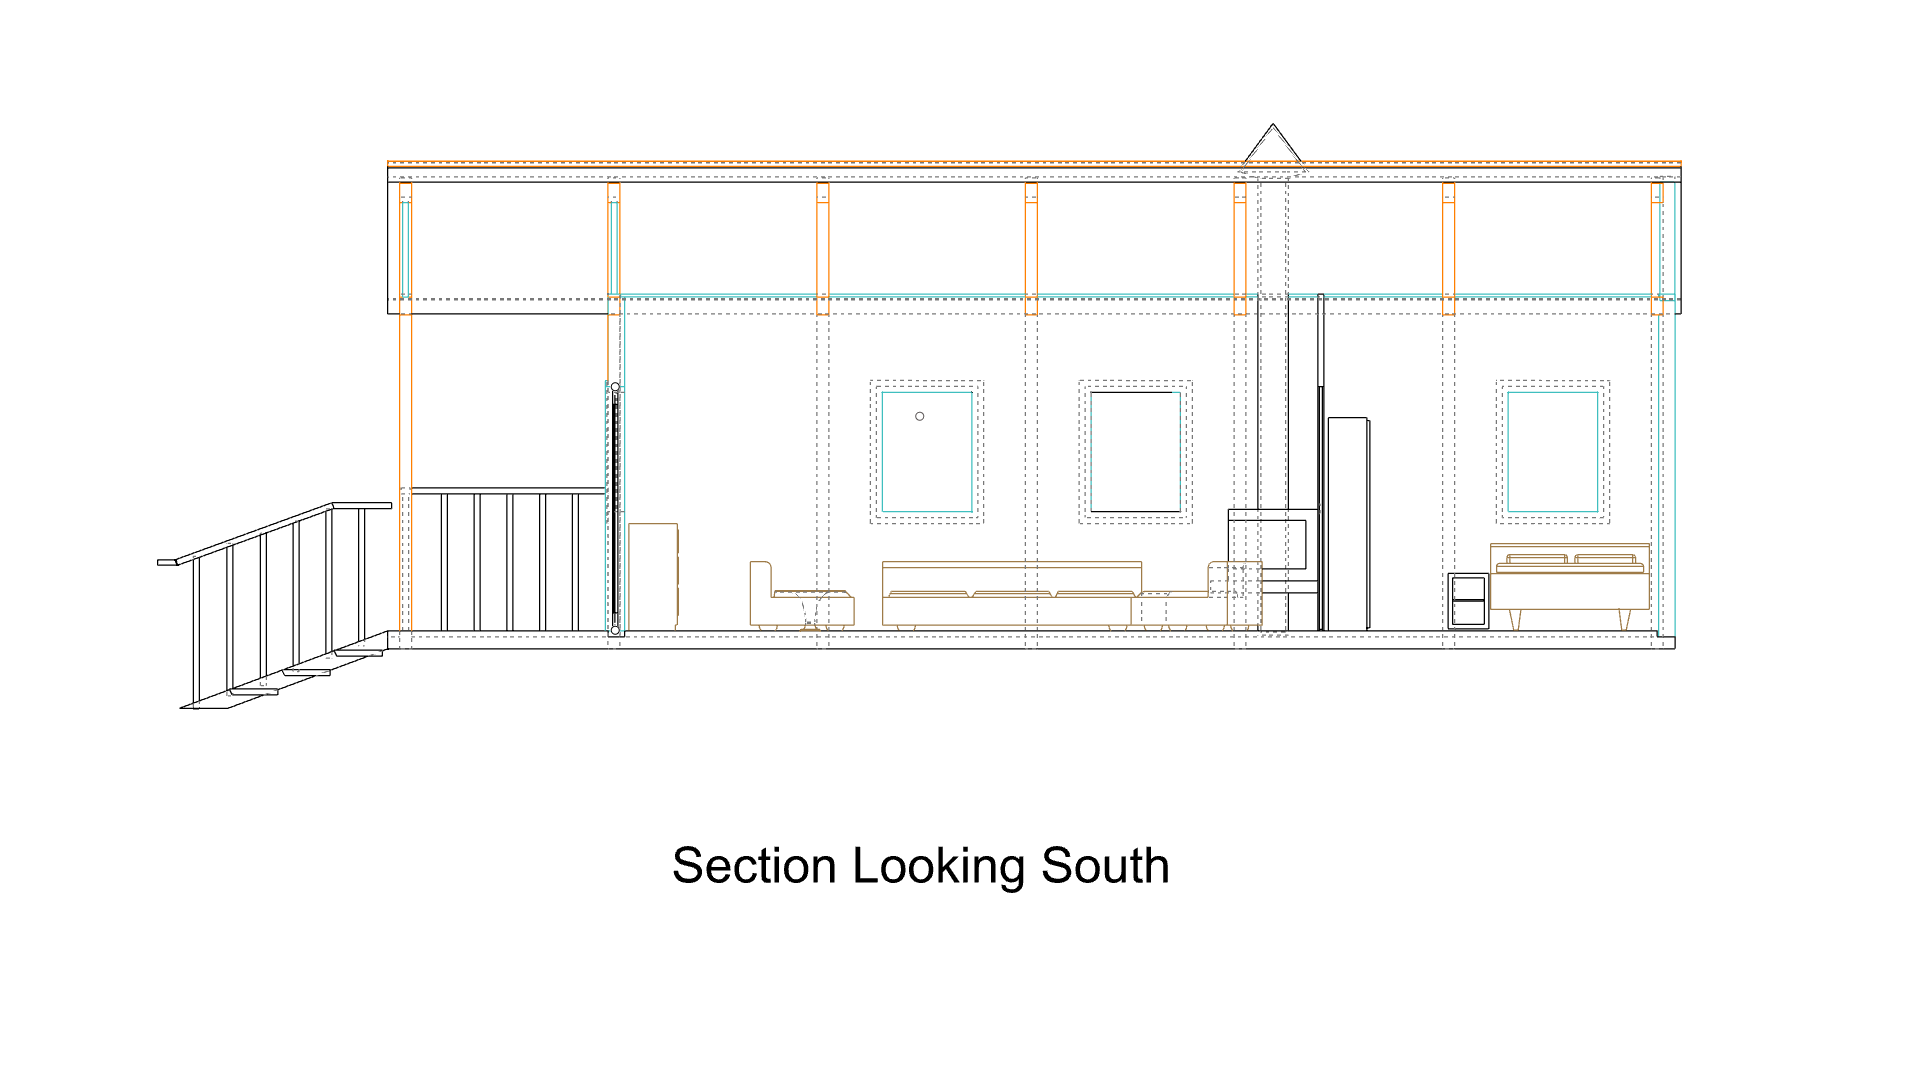
Placement pointprompt, snap to the point above Section Looking South. - The section has been created:
- Try it on your own! Create the Section Looking West and the Elevations.
- Share comments and feedback on the Rhino Forum.