What are SubDs in Rhino?
Rhino SubD Objects are high-precision Catmull-Clark subdivision surfaces designed to quickly model and edit complex organic shapes. SubD Objects in Rhino are composed of vertices, edges and faces. You can push or pull these to shape the object. Think of SubD as clay material.
SubD creation and editing tools are intricately connected. In this chapter, we will start from a SubD creation tool and modify the object to add features to the model.
Starting from 3DFace
The
![]() 3DFace
is the simplest form of SubD geometry. It is an excellent starting point for many projects.
3DFace
is the simplest form of SubD geometry. It is an excellent starting point for many projects.
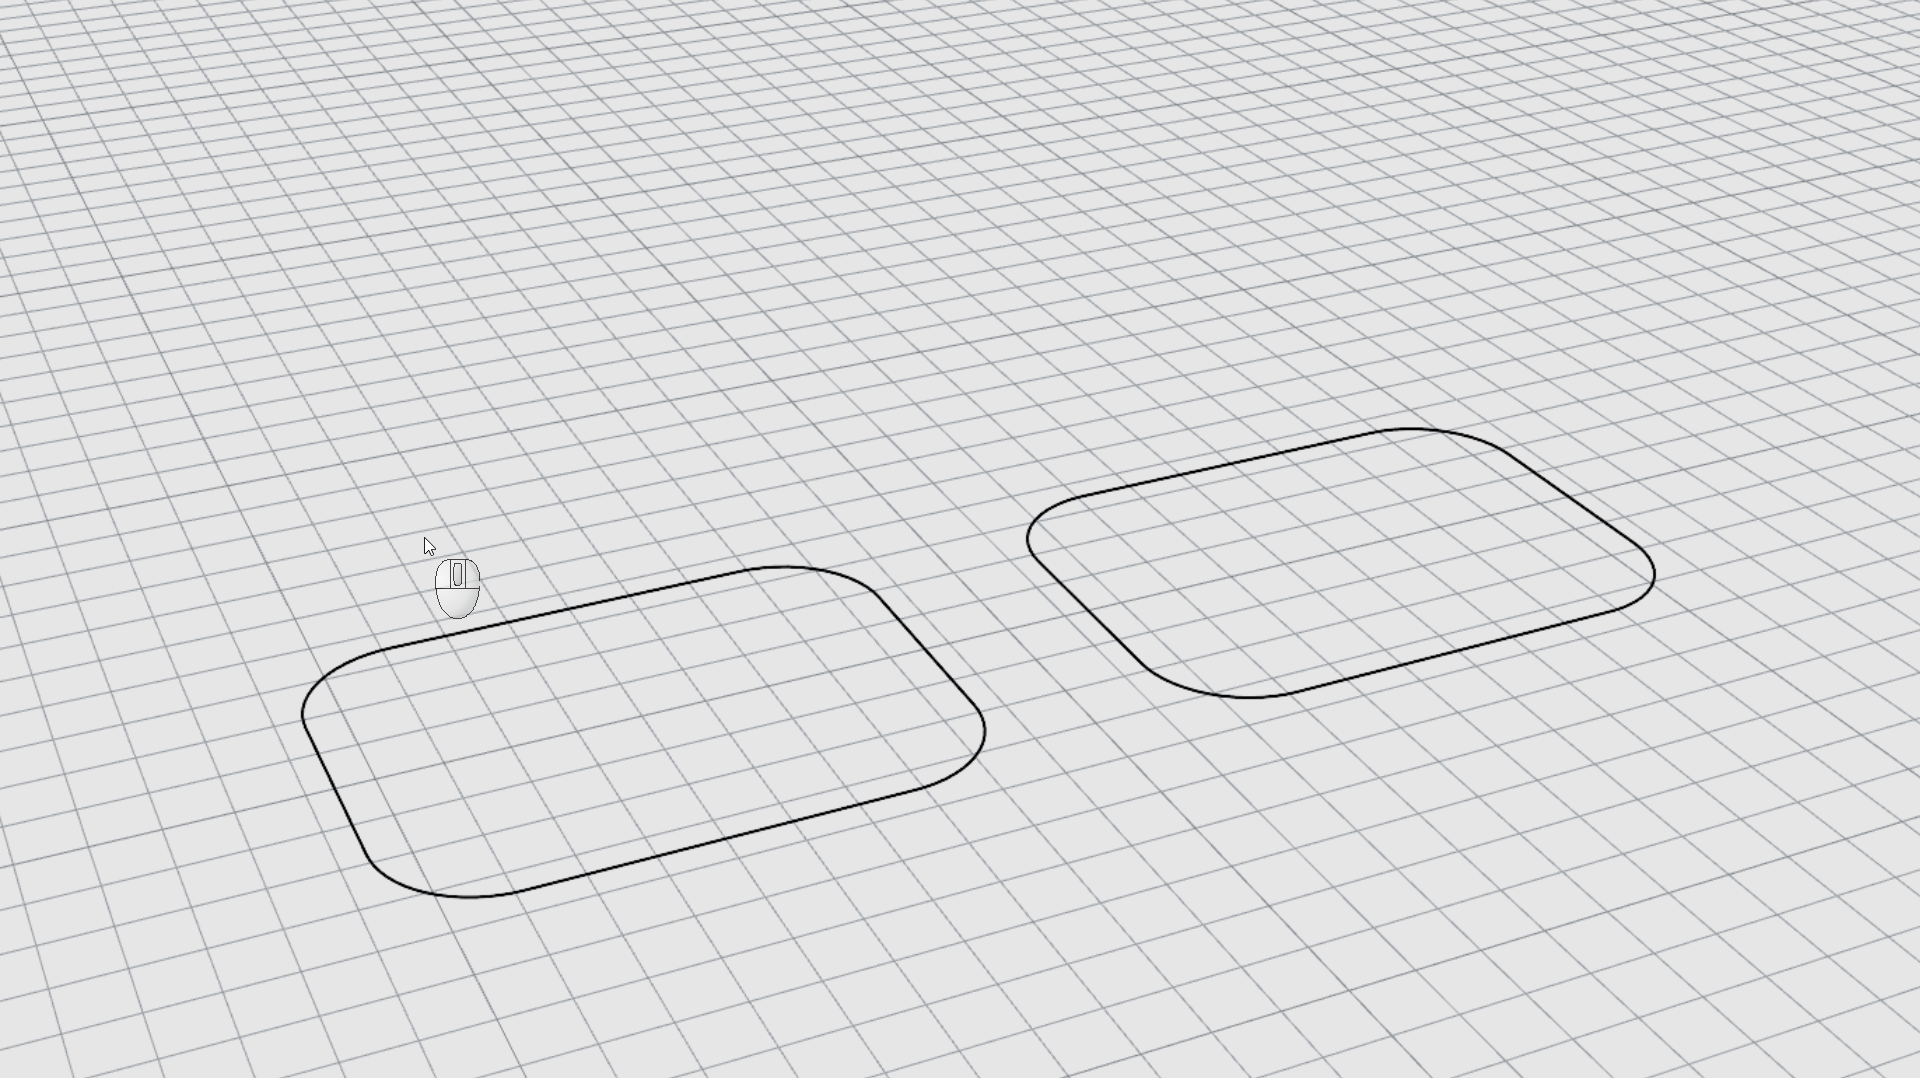
To create a single SubD face:
- Open 3DFace.3dm in Rhino .
- Turn ON Ortho .
- From the SubD menu > Primitives, select the
 3DFace
command. Make sure the
Command Line
options are as follows:
3DFace
command. Make sure the
Command Line
options are as follows:
Pick point ( Output=SubD Interpolated=No Append PolygonType=Quad FromEdge=No InPlane=No Mode=MultipleFaces )
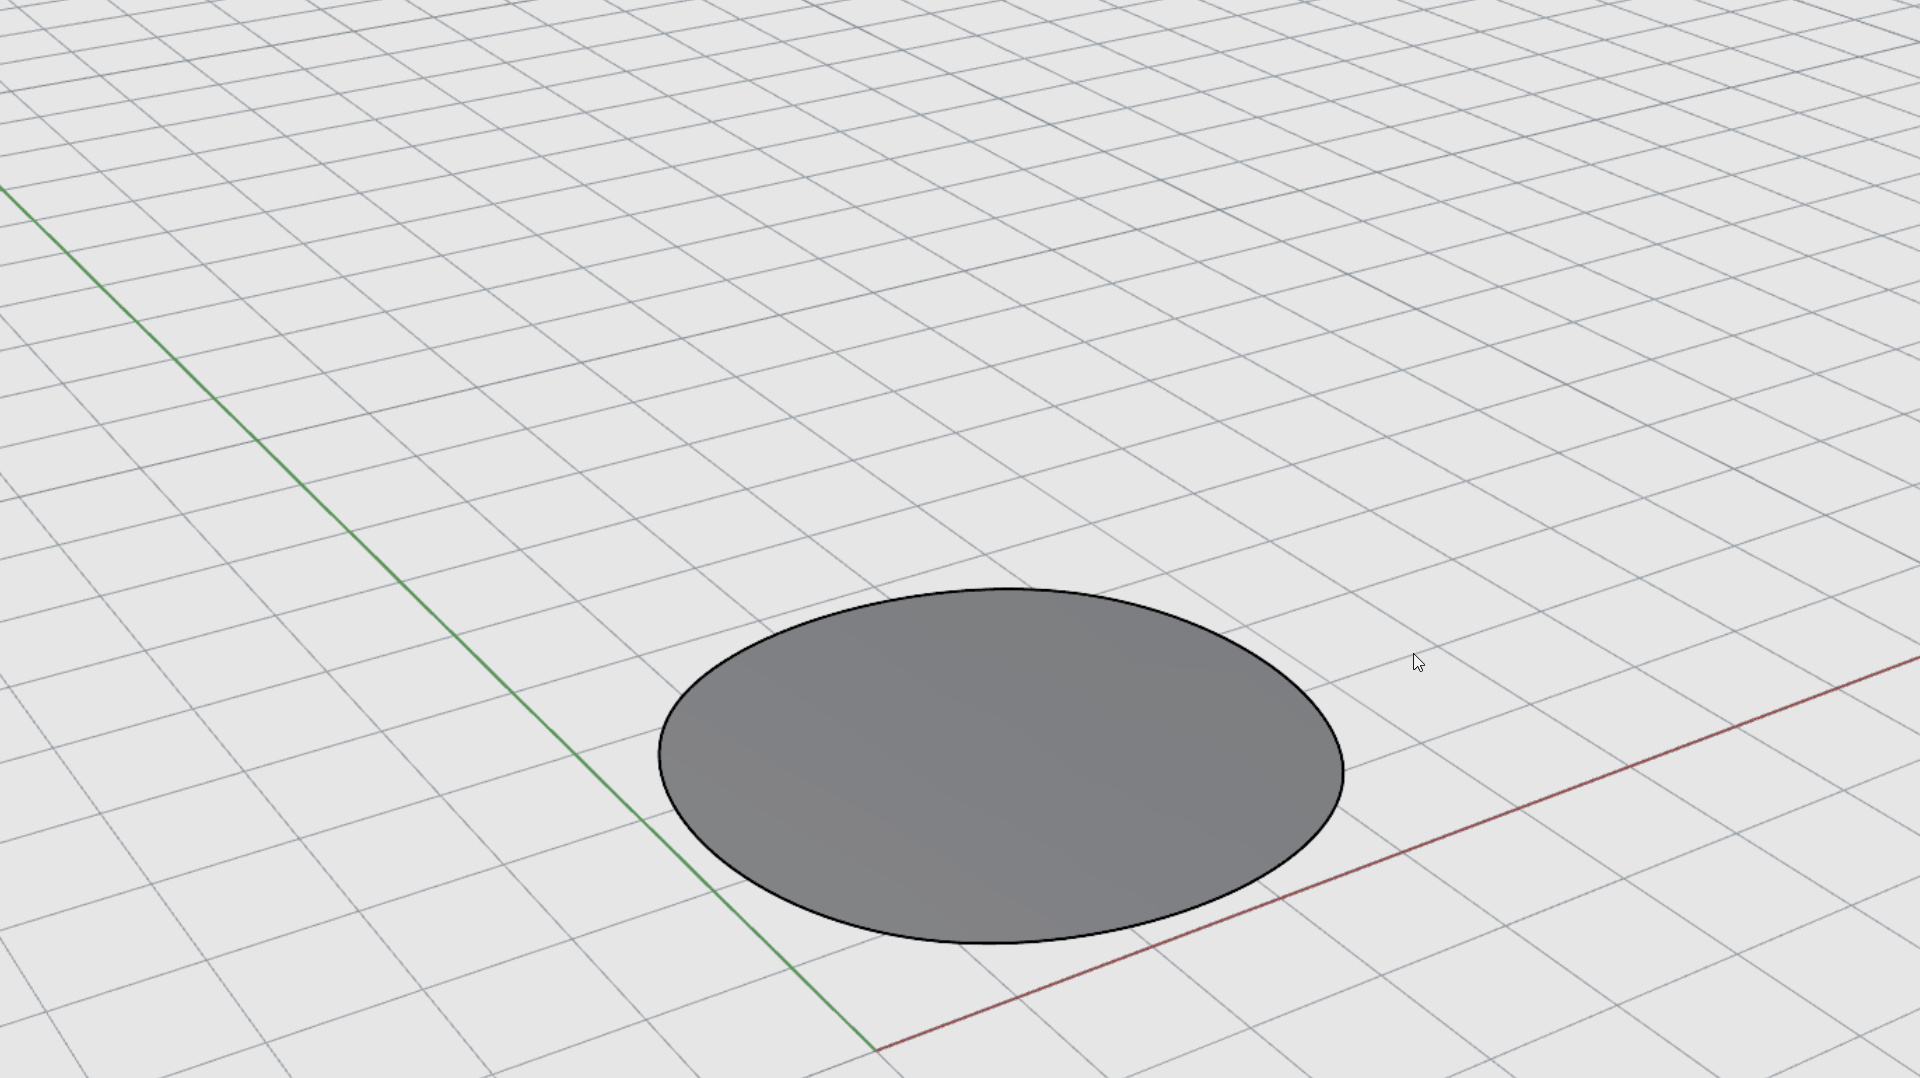
- Type 0 in the Command Line for the first Pick point. It will snap to the center of the Grid.
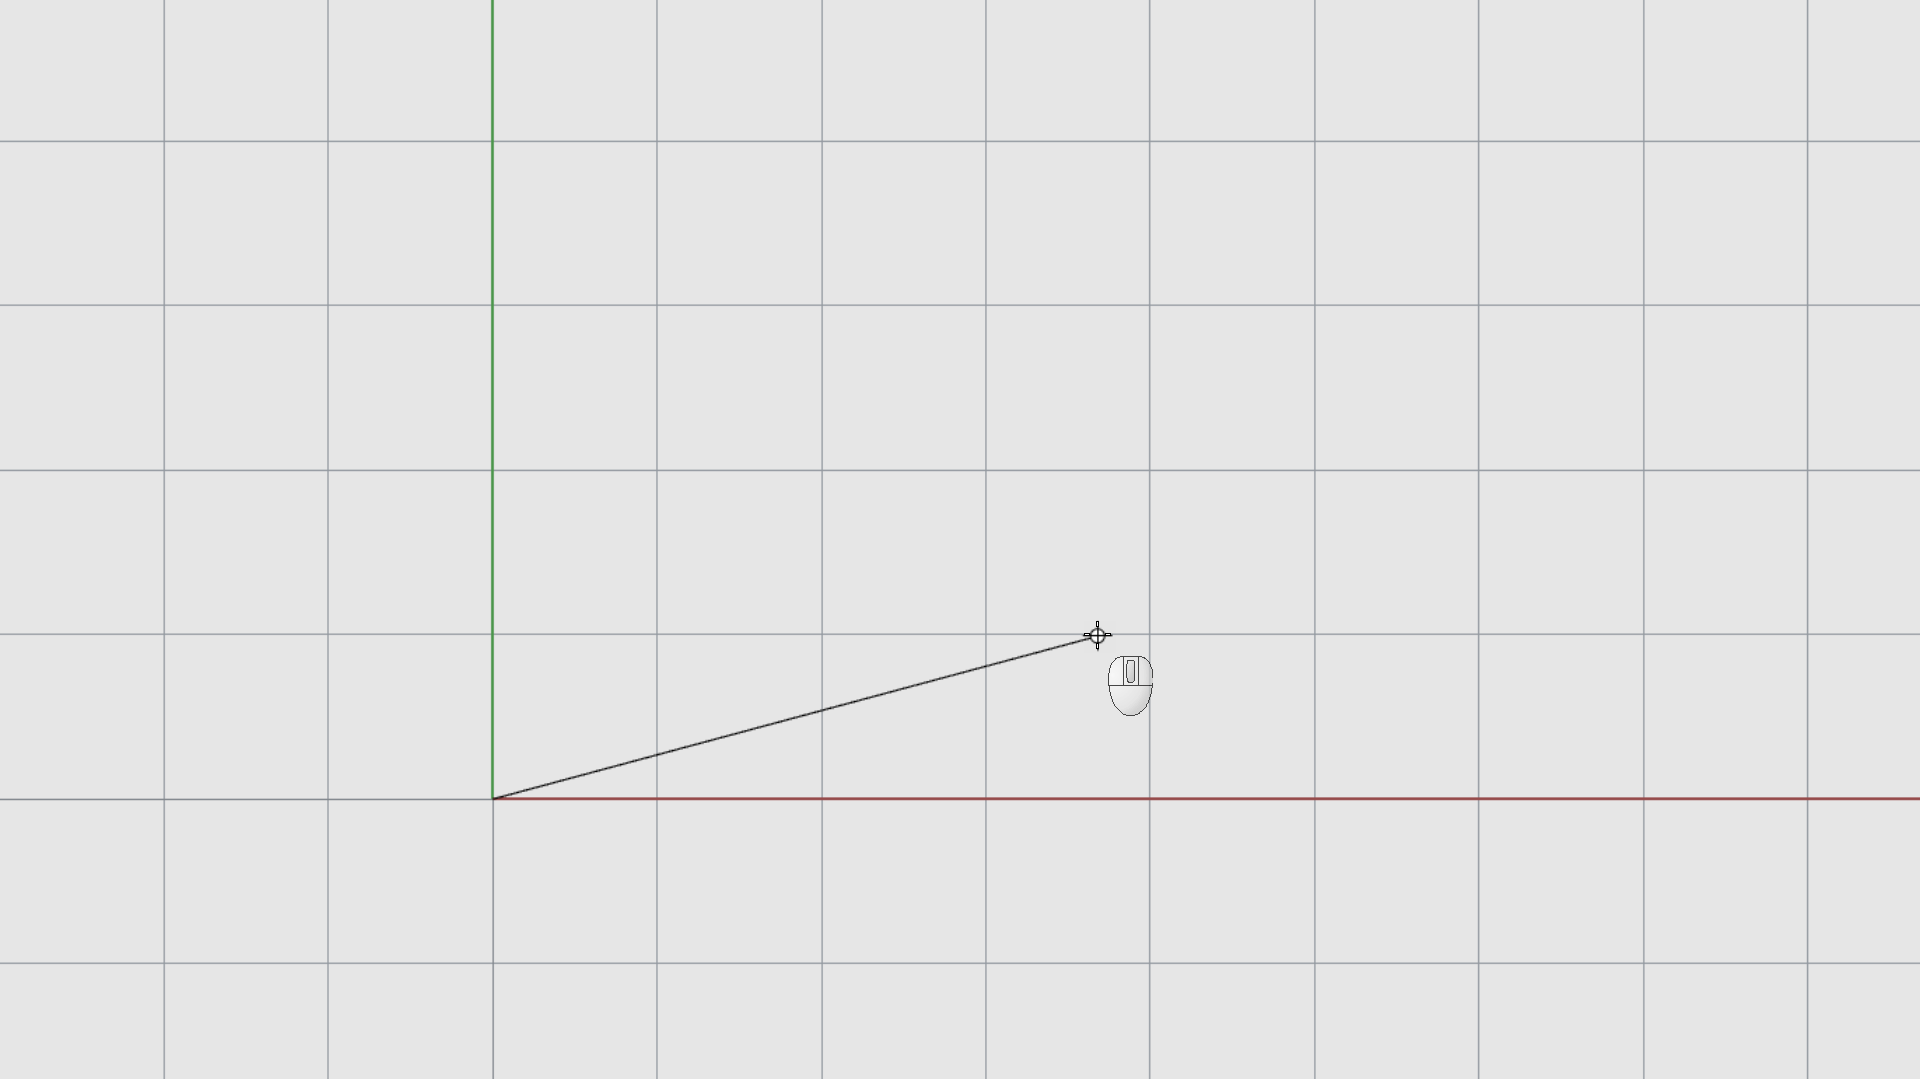
- Type 50 and pick the second point along the X axis (red).
- Type 50 again and pick a point along the Y axis.
- Continue until you complete a square. Press or right-click twice to end the command.

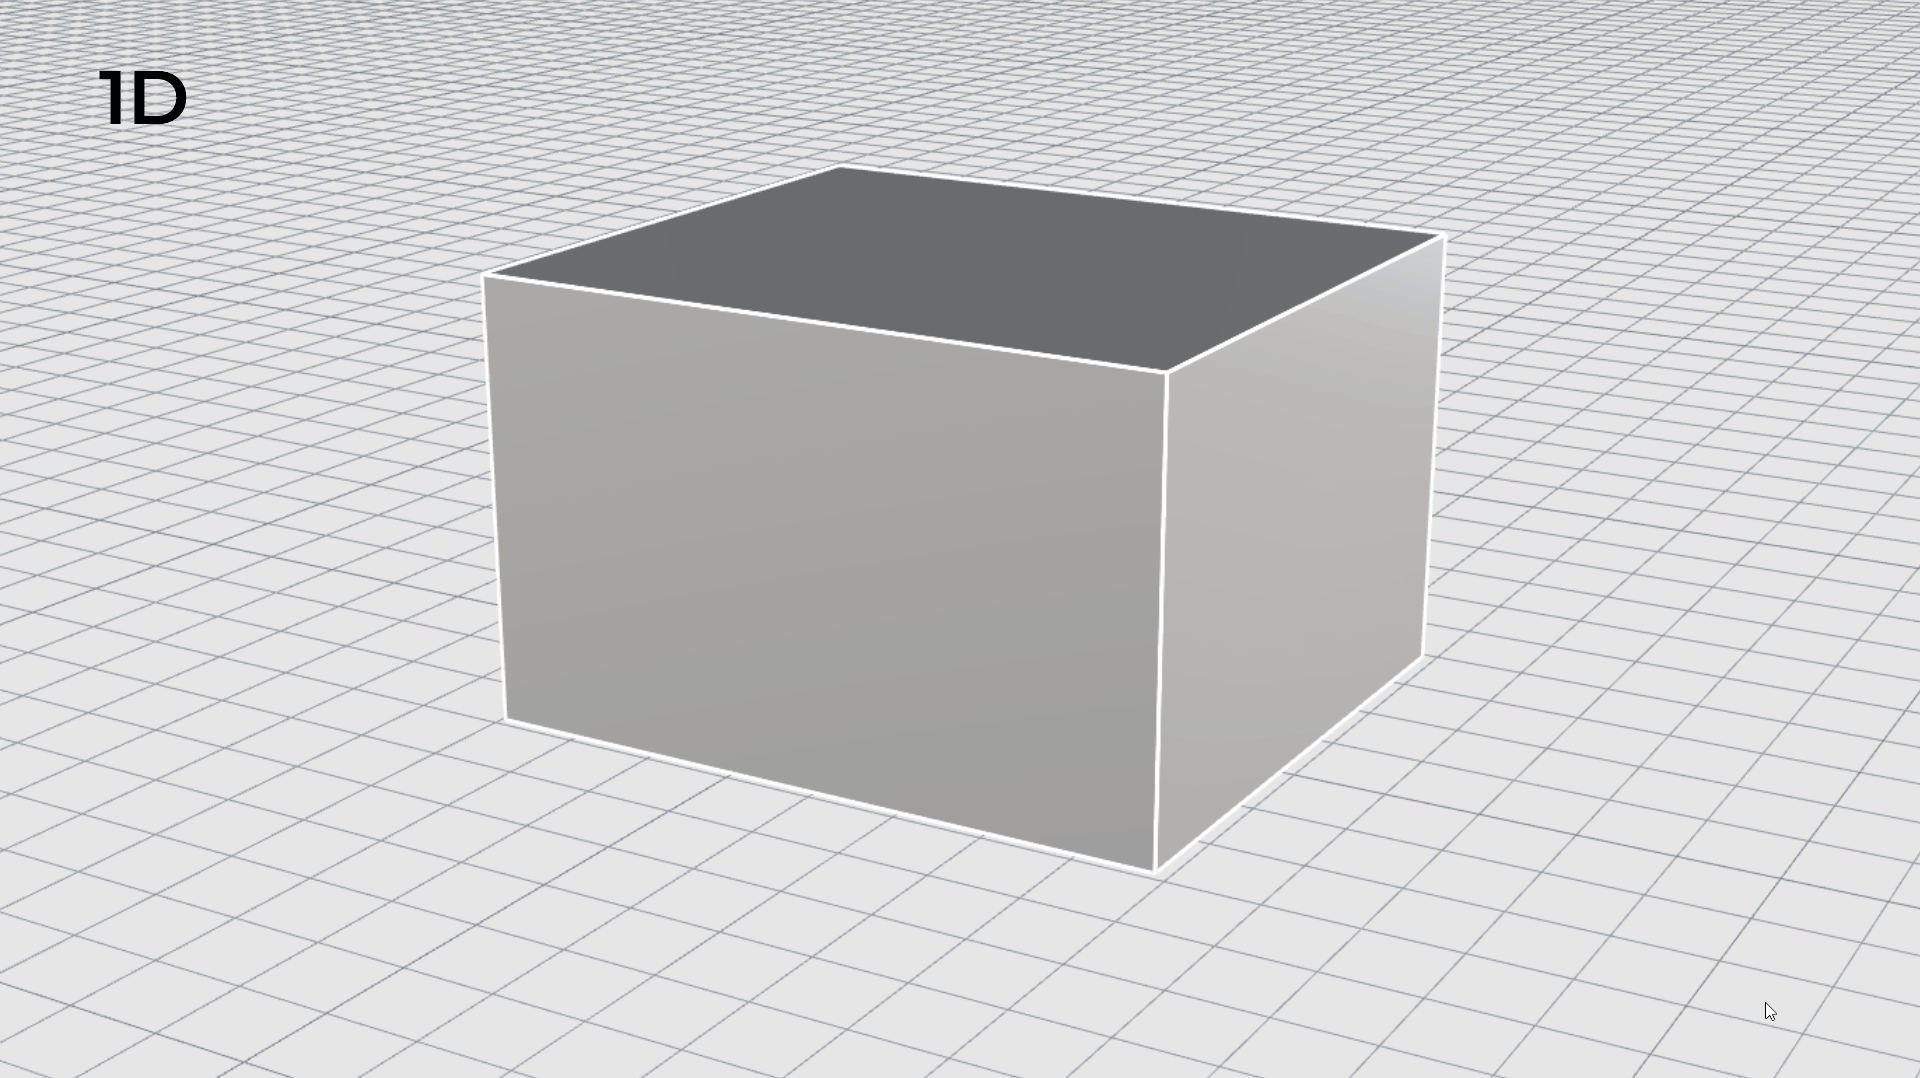
- Switch viewports to the .
- Activate the Gumball .
- Select the SubD Face.
- Click on the Gumball Extrude Dot and type 5 to extrude the face into a 3D object.
- Repeat the extrusion, this time type 30.
- Sub-object select the top face.
- Use the Gumball Scale Handle to scale it outward.
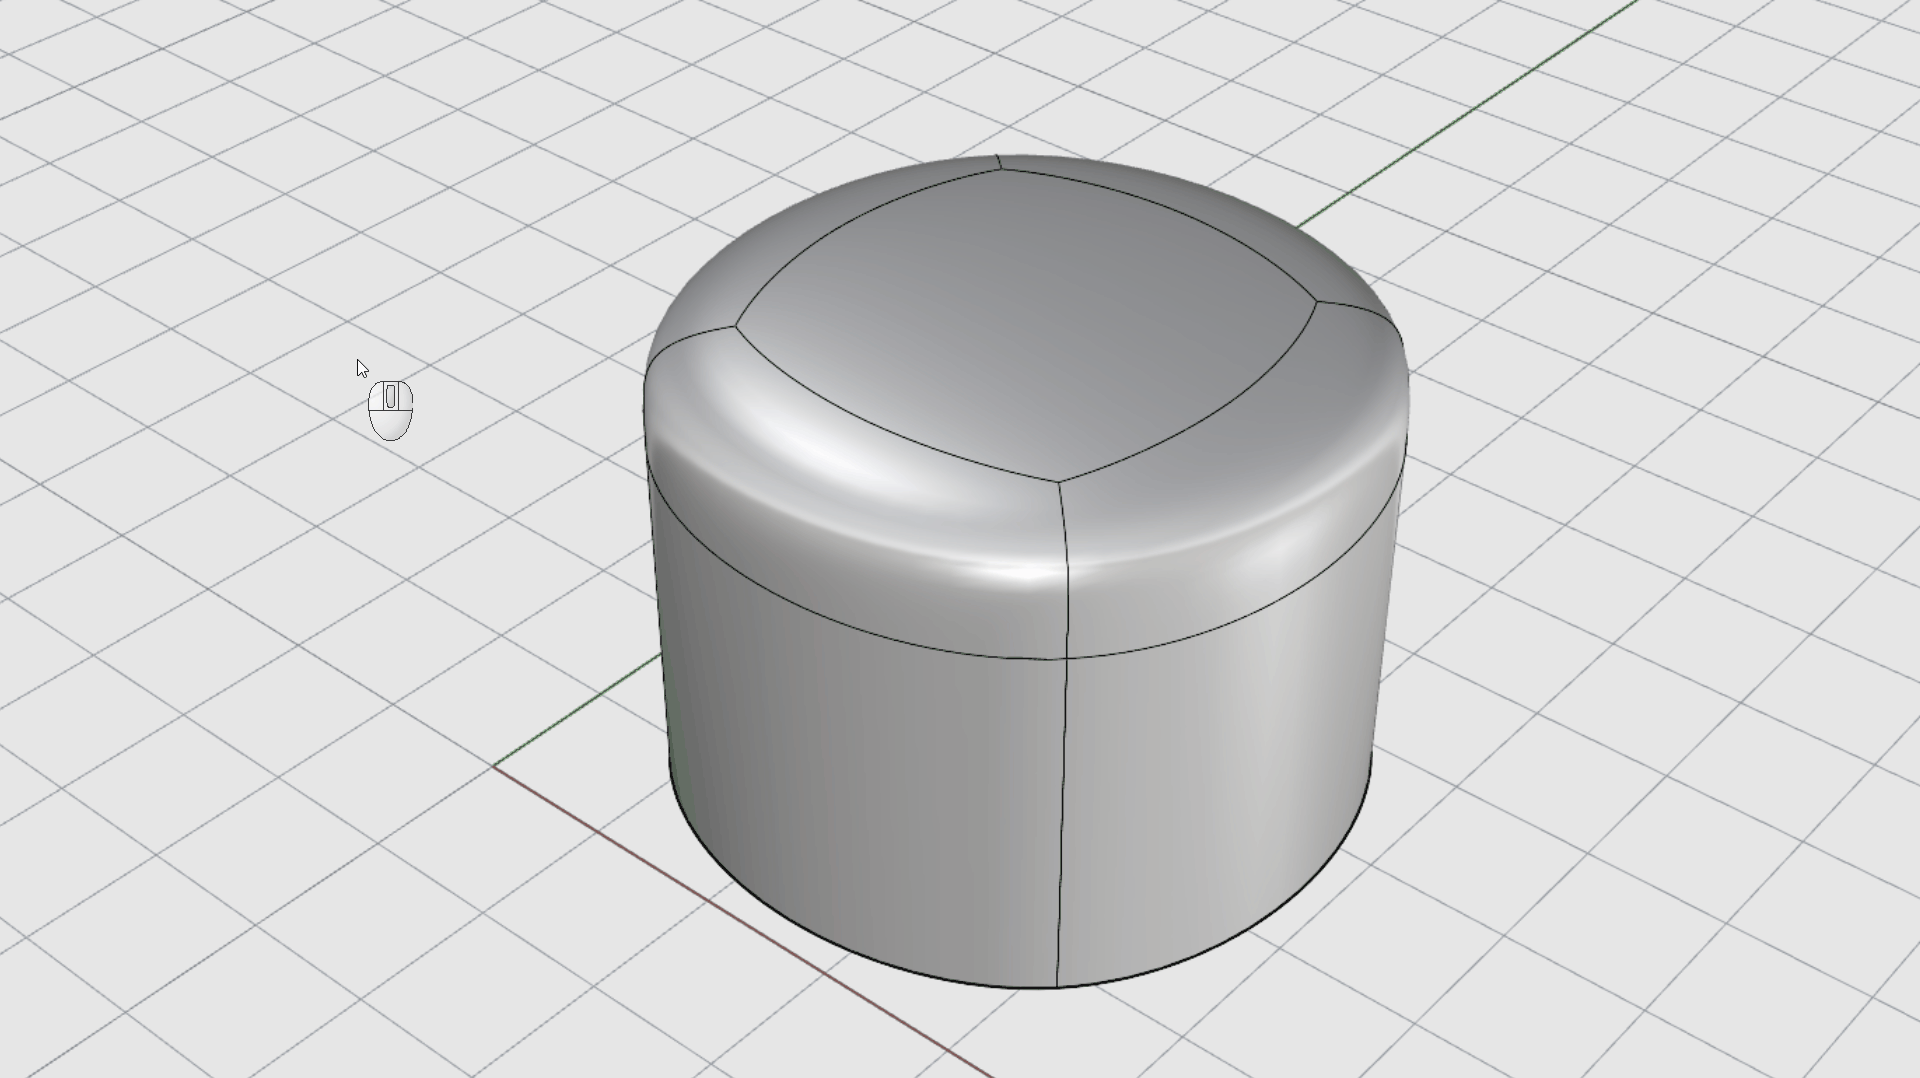
- Try it on your own! Continue sub-object selecting and modifying faces with the Gumball!
Starting from MultiPipe
The
![]() MultiPipe
command takes a network of curves and produces a pipe with smooth transitions throughout the intersection points of the curves.
MultiPipe
command takes a network of curves and produces a pipe with smooth transitions throughout the intersection points of the curves.
To create a MultiPipe object:
- Open SubD-MultiPipe.3dm in Rhino .
- Window select all curves.
- From the SubD menu, select the
 MultiPipe
command.
MultiPipe
command. - Make sure the Command Line option: Struts=1 (click on it to change), then press .
- At the Radius prompt , type 5. Press . It should look similar to this:
- Turn off
 Layer
Curves.
Layer
Curves. - Turn on
Layer
Prism.
- Change the Display Mode to Rendered. Play with the objects by applying materials and changing the settings in the scene!
Starting from SubD Loft
![]() SubDLoft
creates a smooth SubD that blends between selected curves. The curves define “ribs” for the object you are creating.
SubDLoft
creates a smooth SubD that blends between selected curves. The curves define “ribs” for the object you are creating.
To create a lofted SubD:
- Open SubDLoft.3dm in Rhino .
- Run the
 SubDLoft
command.
SubDLoft
command. - At the Select curves and boundary chain edges… prompt , select curves one by one. Press or right-click twice.
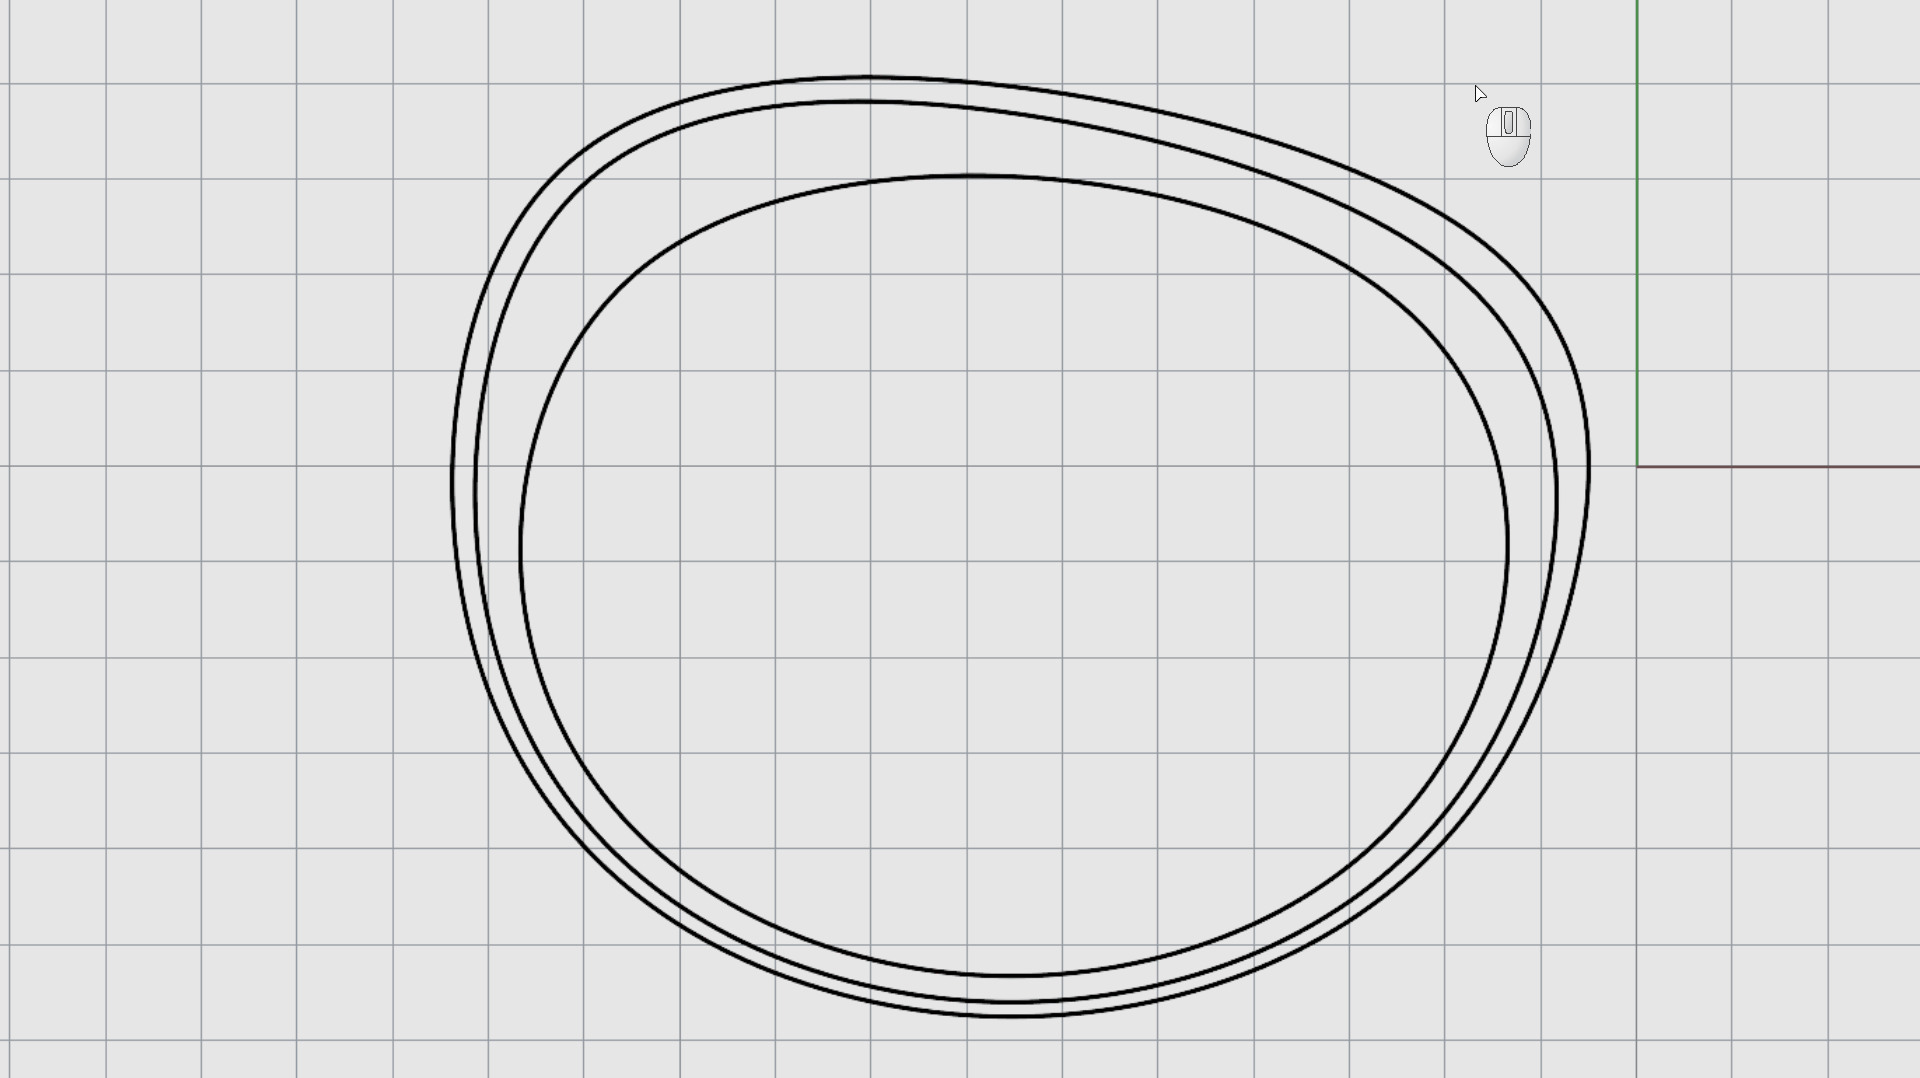
- In the
SubDLoft
dialog box, press OK to validate. You’ve obtained the base SubD object!
- Turn off
Layer
Curves.
- Select the SubDLoft object.
- Run the
 Reflect
command.
Reflect
command. - At the Start of reflection plane prompt, click on the YAxis Command Prompt option. Make sure the arrows of the reflection plane point towards the SubDLoft object. Select the Flip Command Prompt option otherwise. Press or right-click to end the command.
- Run the
 Slide
command.
Slide
command. - At the Select SubD or Mesh edges… prompt , double-click to select the top short edge of the original loft. Press or right-click.
- At the Slide amount prompt , drag the mouse over the edge to adjust the shape at will. Press or right-click to end the command. Notice how the reflected SubDLoft updates.
- From the SubD menu, select the
 Bridge
.
Bridge
. - At the Select first set of edges or faces to bridge prompt , select the top-right face of the original loft. Press or right-click.
- At the Select second set of faces to bridge prompt , select the opposite face of the reflected loft. Press or right-click.
- In the
Bridge
Options dialog box, press OK to validate.
- Congratulations! This is a great base model to continue modifying or sub-object editing to your needs.
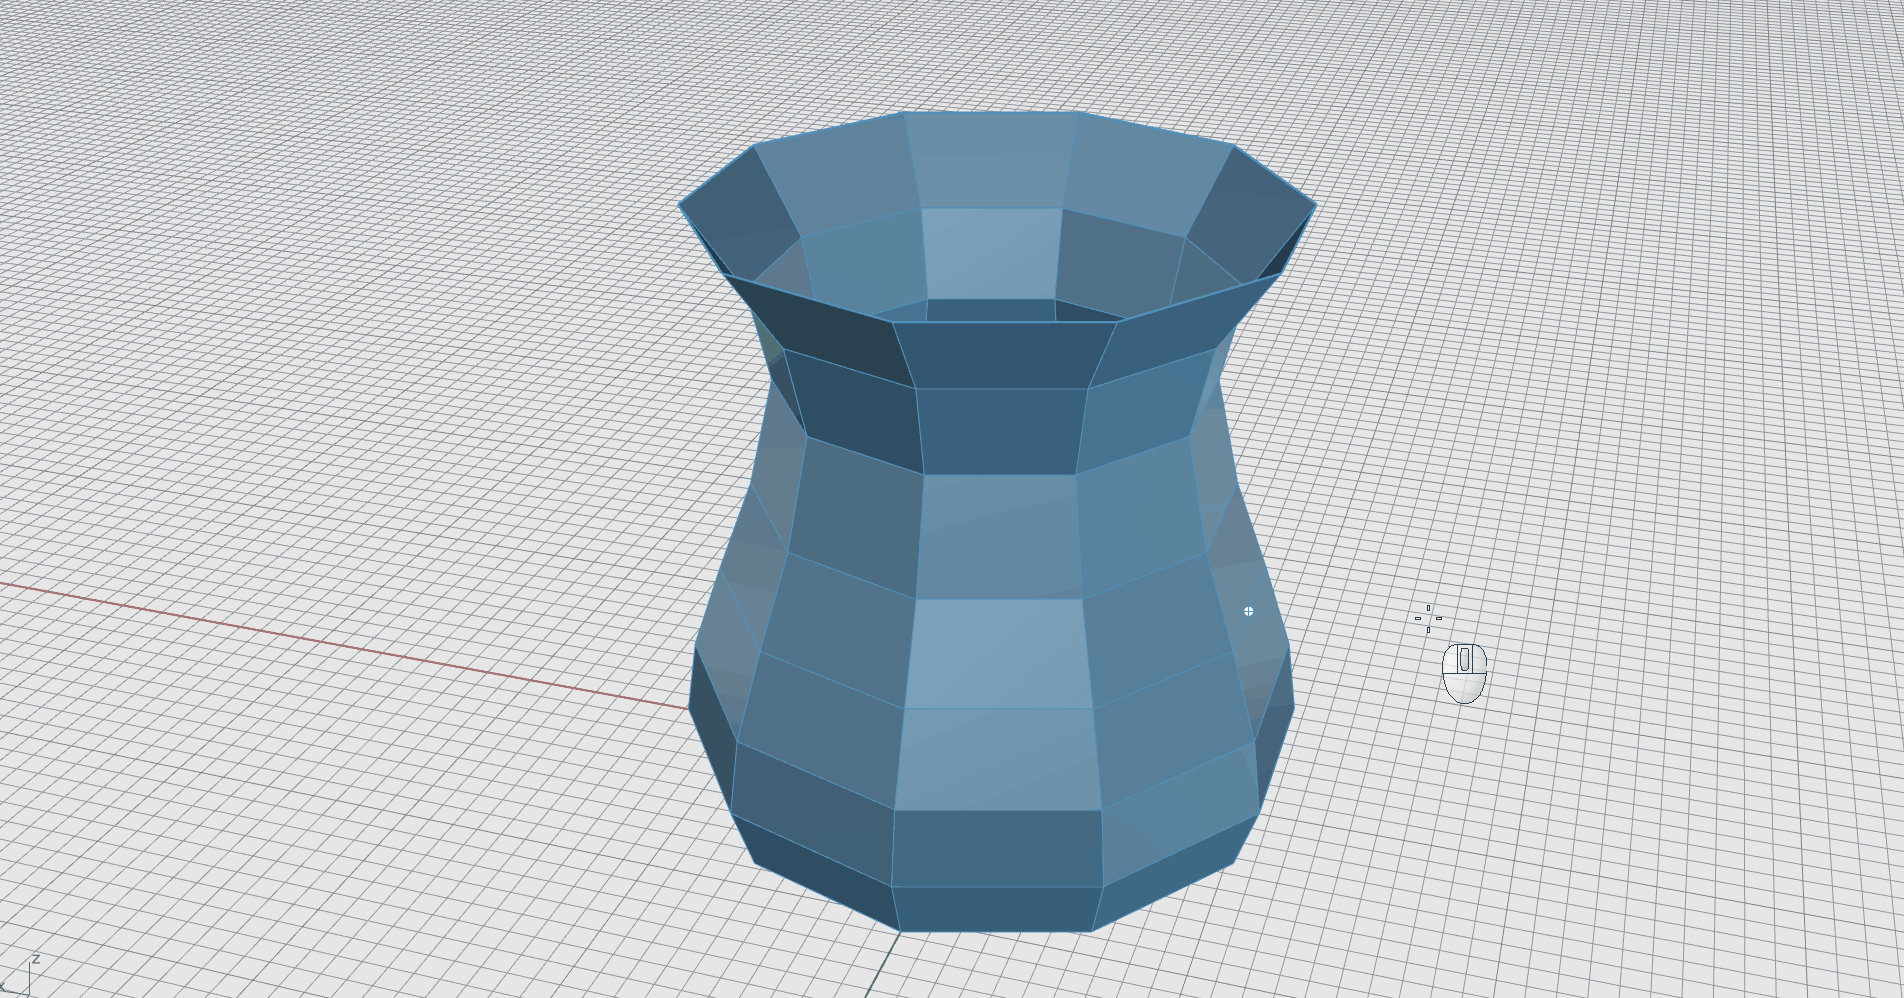
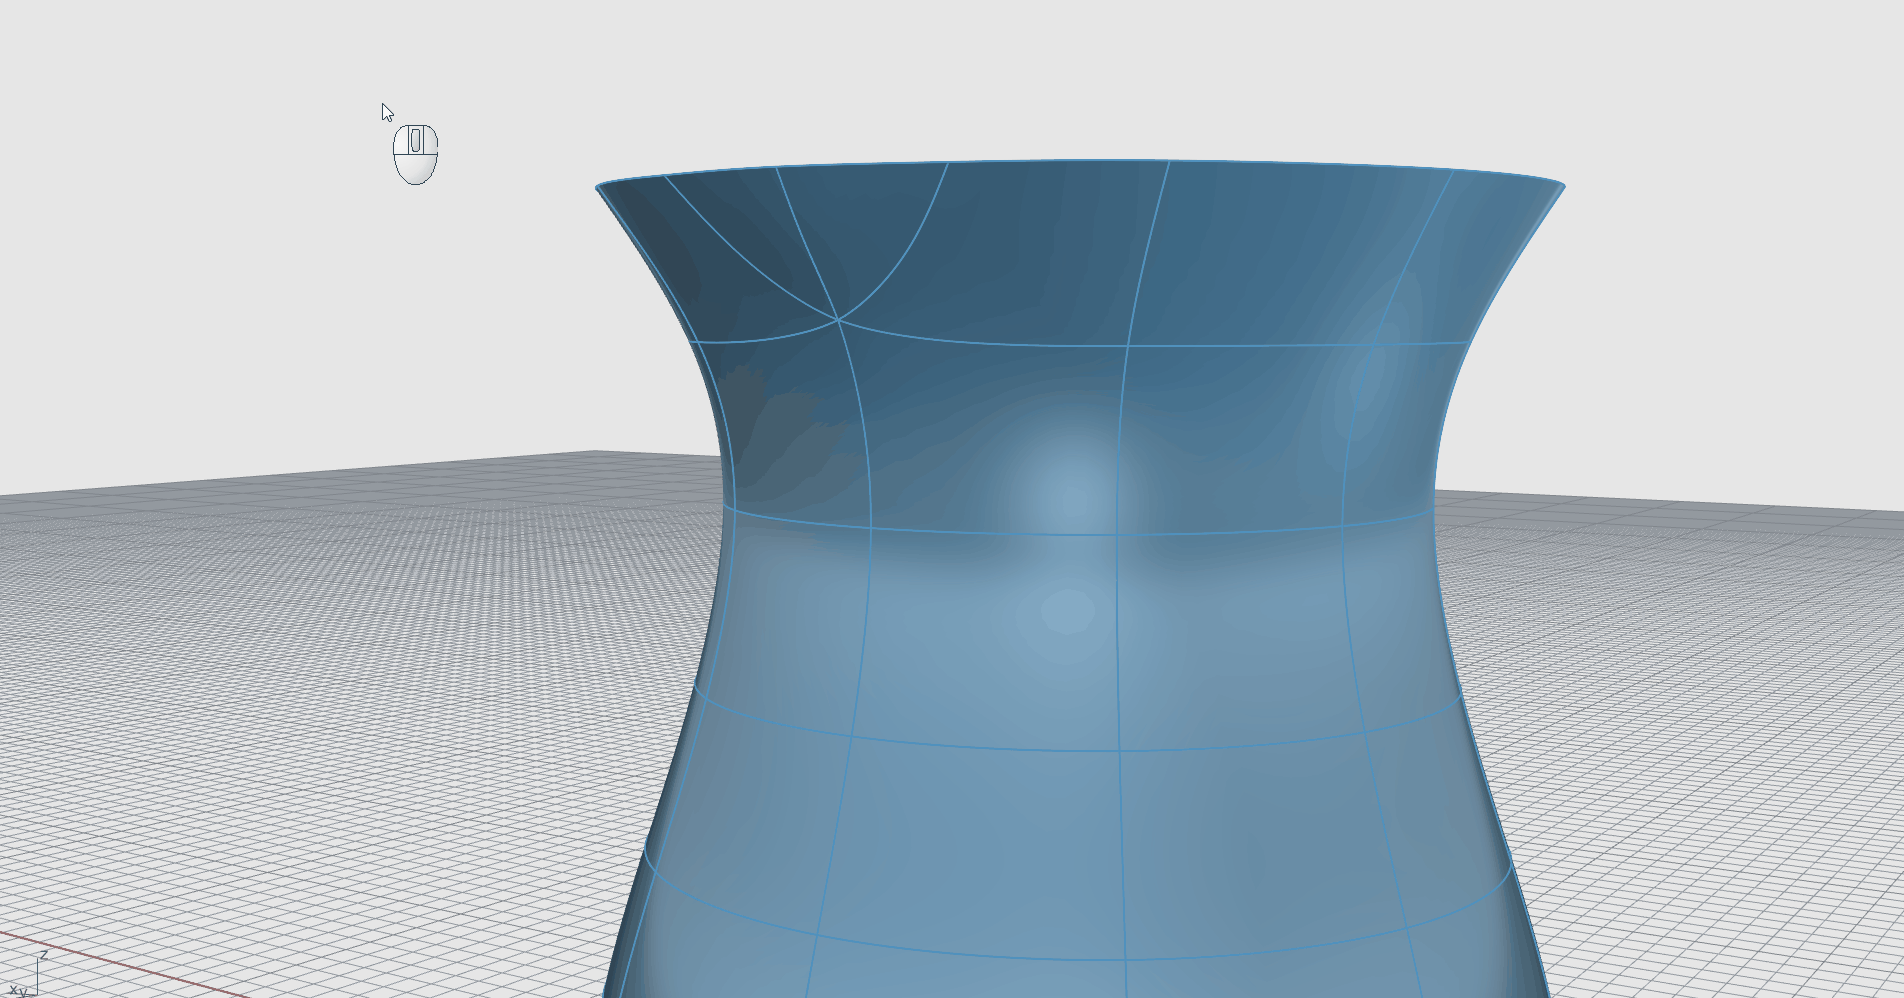
Starting from SubD Revolve
The
![]() Revolve
creates an object by revolving curves about a revolve axis. The curve defines the silhouette of the revolved surface. This action is sometimes called lathing in other programs.
Revolve
creates an object by revolving curves about a revolve axis. The curve defines the silhouette of the revolved surface. This action is sometimes called lathing in other programs.
It can generate a NURBS object or SubD Objects . We recommend starting the command from the SubD menu or SubD tab to obtain a SubD object.
To create a revolved SubD:
- Open SubD-Revolve.3dm in Rhino .
- From the SubD menu, select the
 Revolve
command.
Revolve
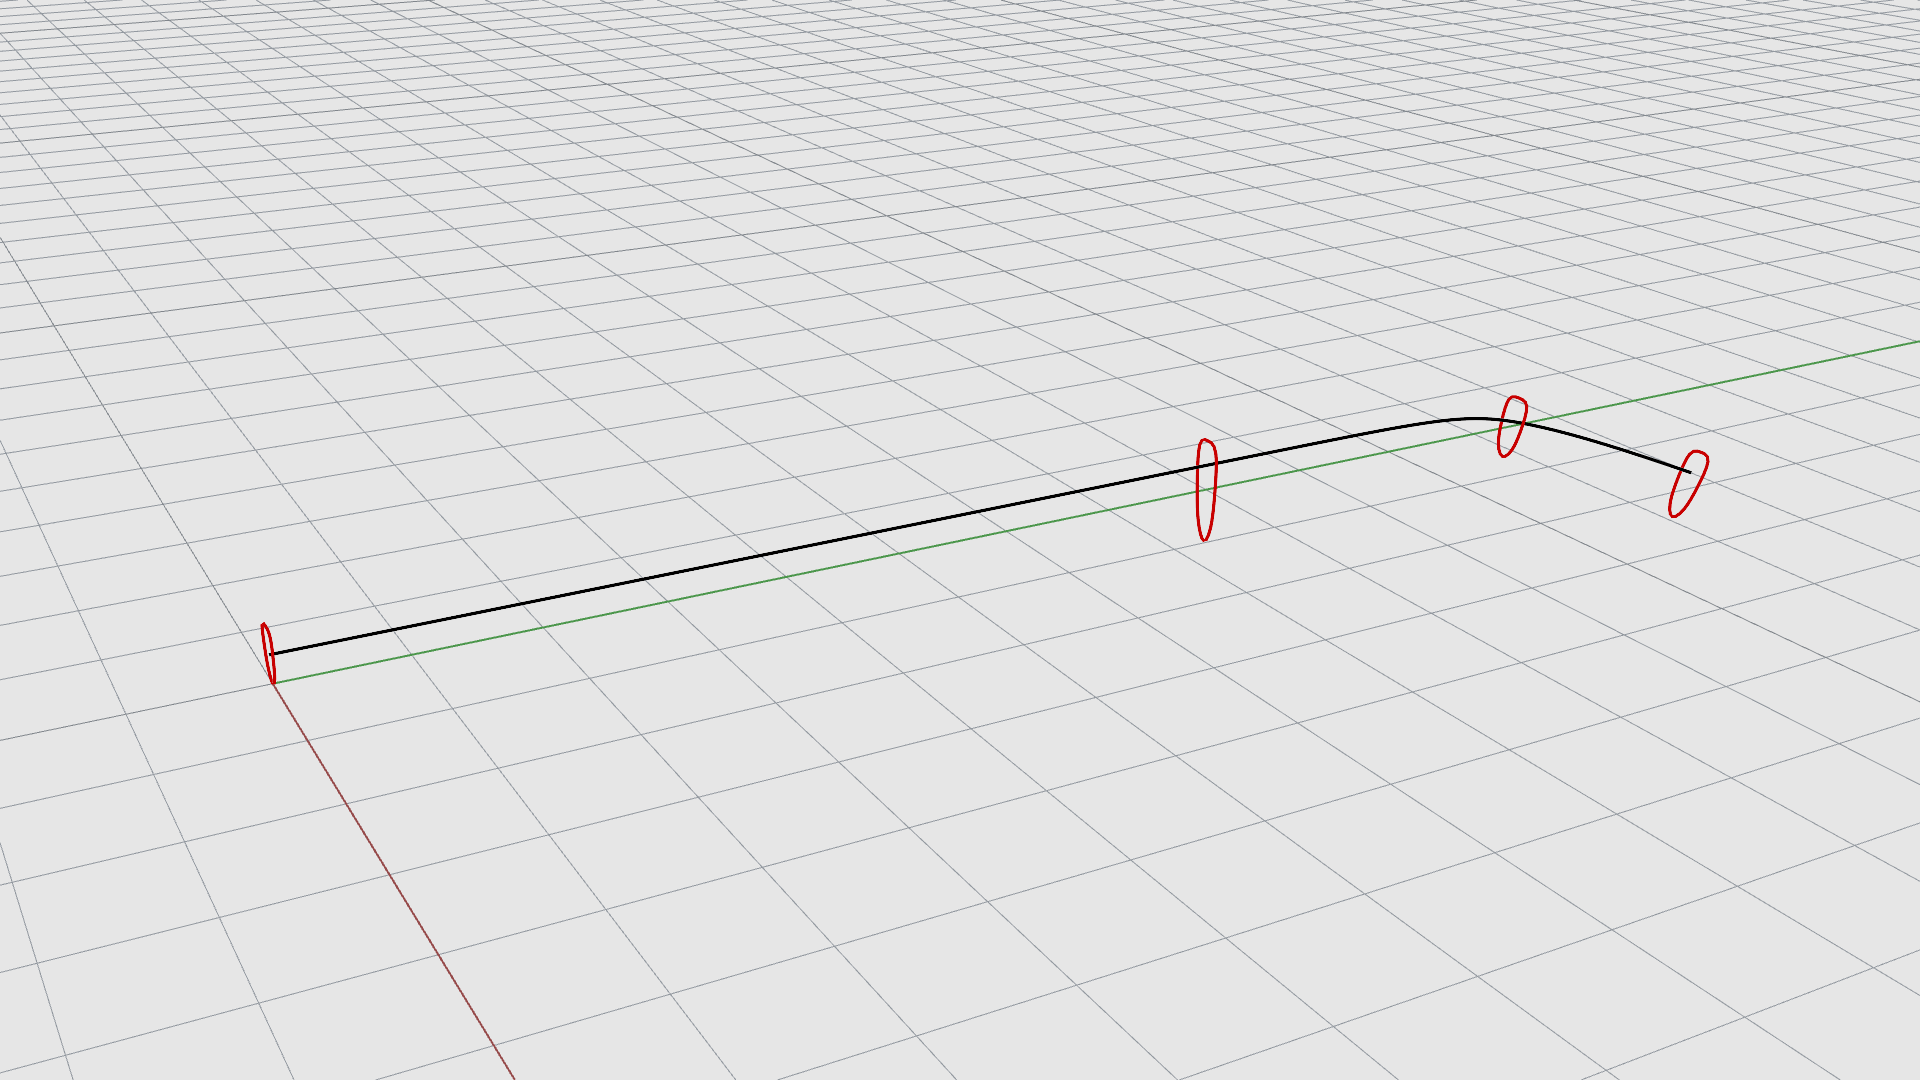
command. - At the Select curves to revolve prompt , select the black curve and press .
- At the Start of revolve axis prompt , type 0 and press . It will snap to the center of the grid.
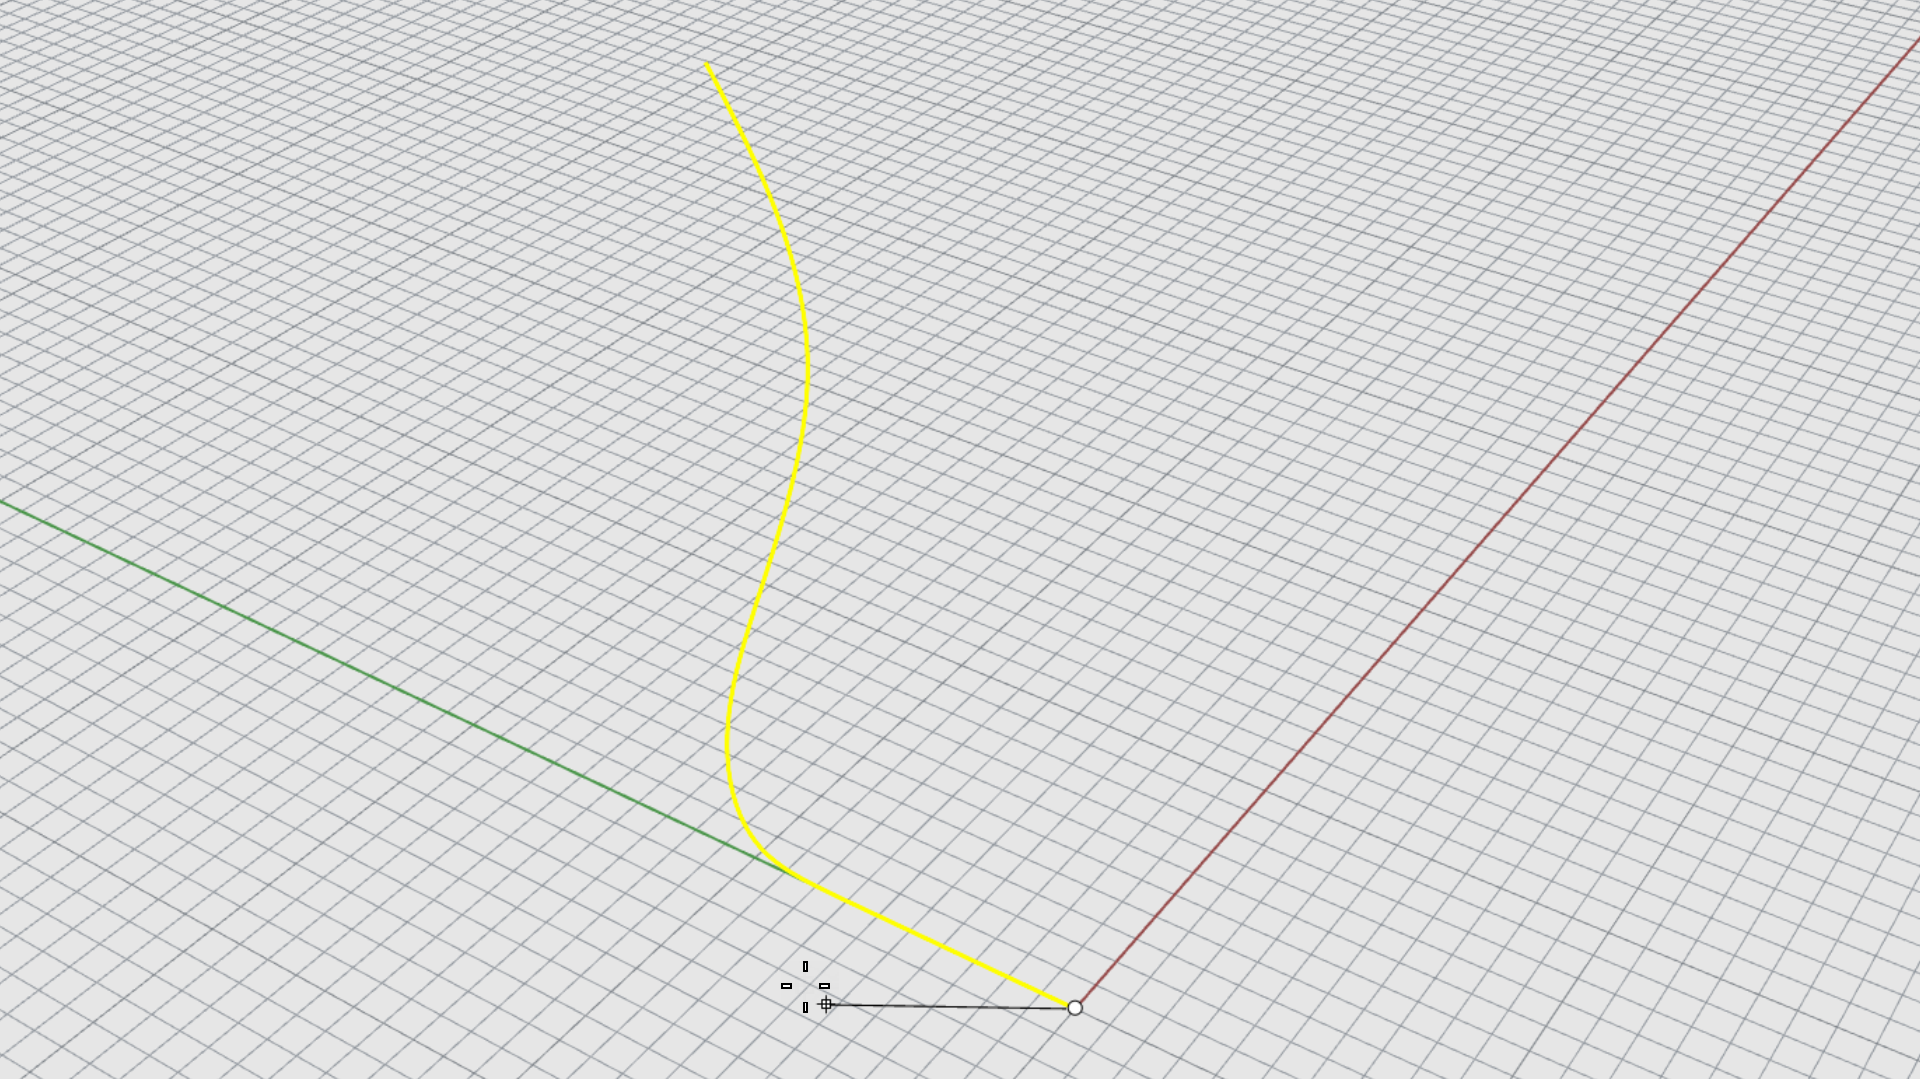
- At the End of revolve axis prompt , press to use the Cplane z-axis direction as an axis.
- At the Start angle make sure the Command Line option SegmentCount=10. Otherwise, click on it to change it.
- At the Start angle prompt click on the FullCircle Command Line option. You’ve obtained the revolved object!
- Select Vertex and Mid Osnap Control .
- Run the
 InsertPoint
command.
InsertPoint
command. - At the Select mesh or SubD, select the revolved object. The display switches to Box Mode .
- At the Select mesh or SubD, click on the vertex of one of the top quad faces and then pick the mid point of the top edge for that face. Repeat on the opposite face. These extra edges will help us create the spout.
- Sub-object select the middle vertex in between the two extra edges.
- Move with the Gumball outward to create the spout.
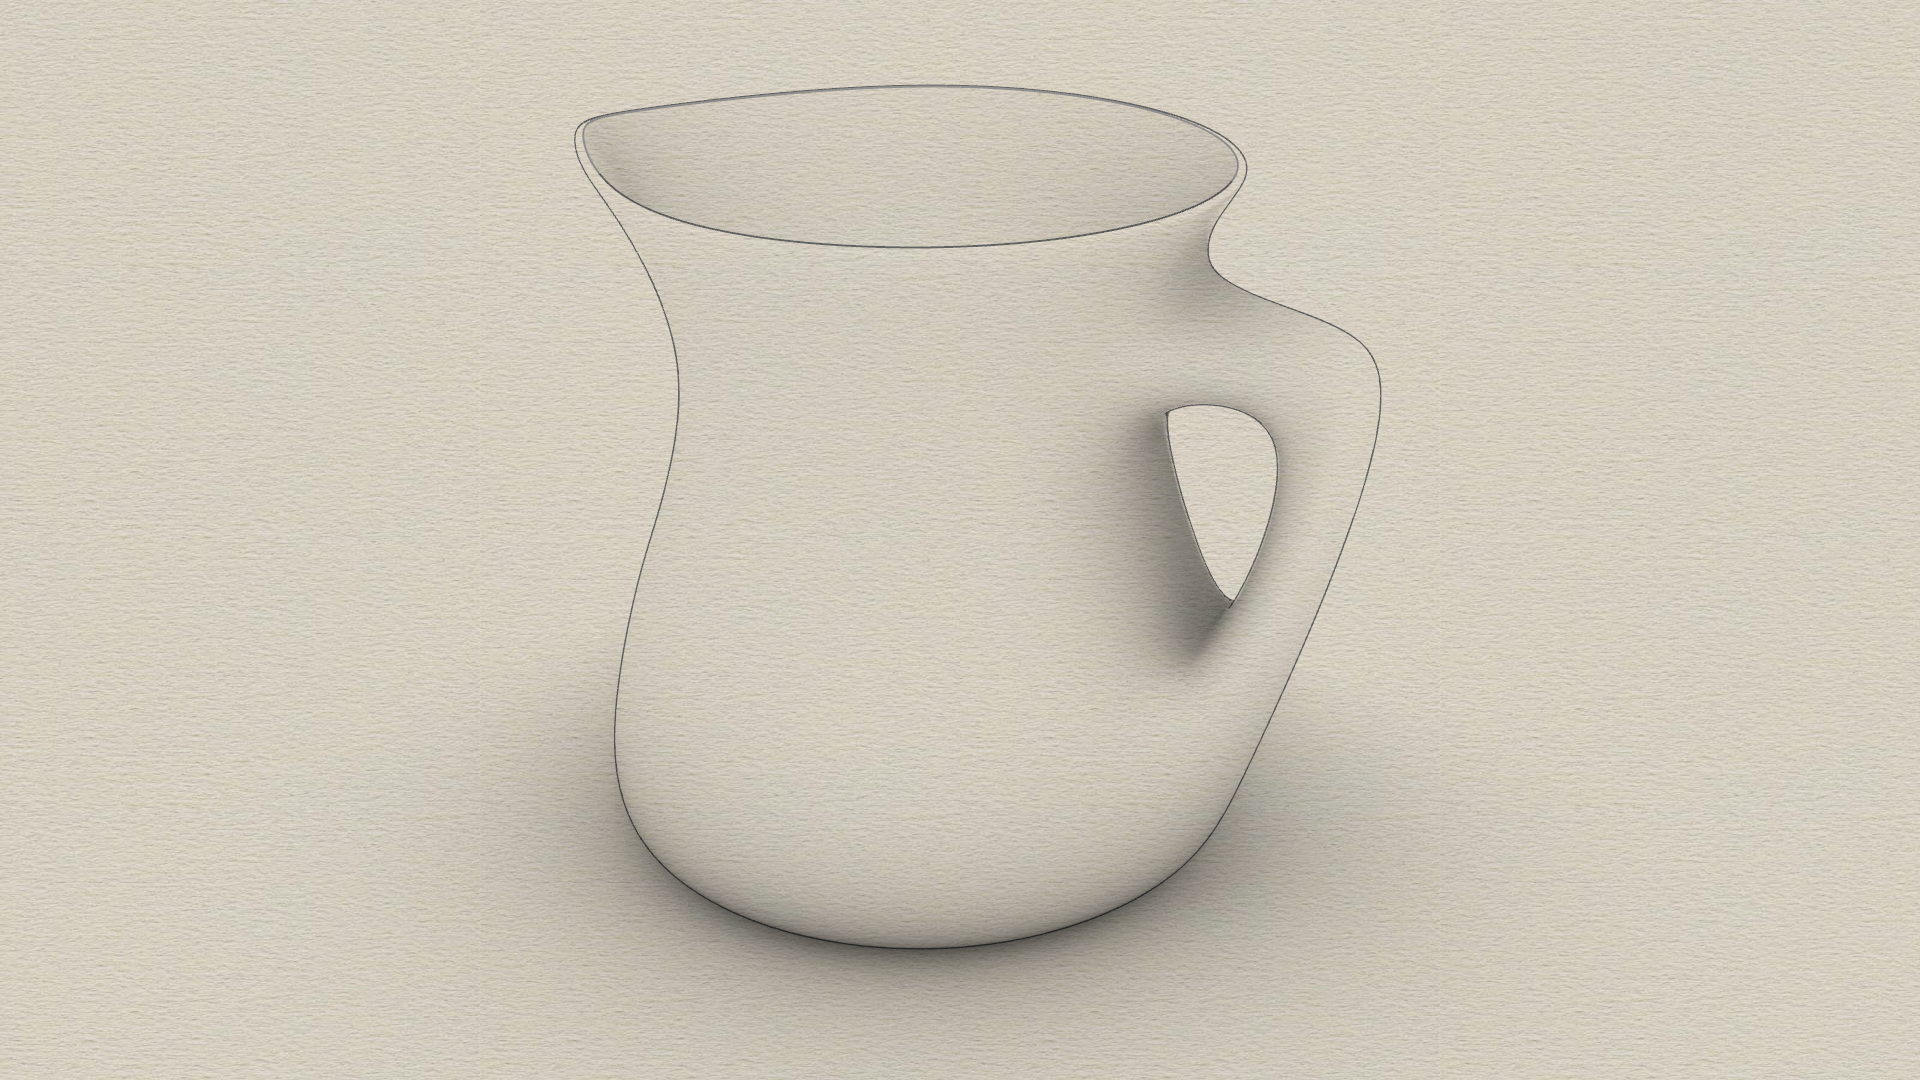
Do you want to continue? Learn how to add a handle using the Bridge command…
Starting from SubDSweep1
![]() SubDSweep1
creates a SubD surface from one or multiple cross-section curves and a single rail curve. The cross-section curves define the SubD shape, and the rail curve defines the path the SubD will follow.
SubDSweep1
creates a SubD surface from one or multiple cross-section curves and a single rail curve. The cross-section curves define the SubD shape, and the rail curve defines the path the SubD will follow.
To create a sweep SubD with a rail curve:
- Run the
 Sweep1
command.
Sweep1
command. - At the Select rail prompt , select the black curve.
- At the Select sweep shapes prompt , select the red curves one by one and press when done.
- In the SubDSweep1 dialog box, click OK. The default Freeform will be used. You now have the sweep object!
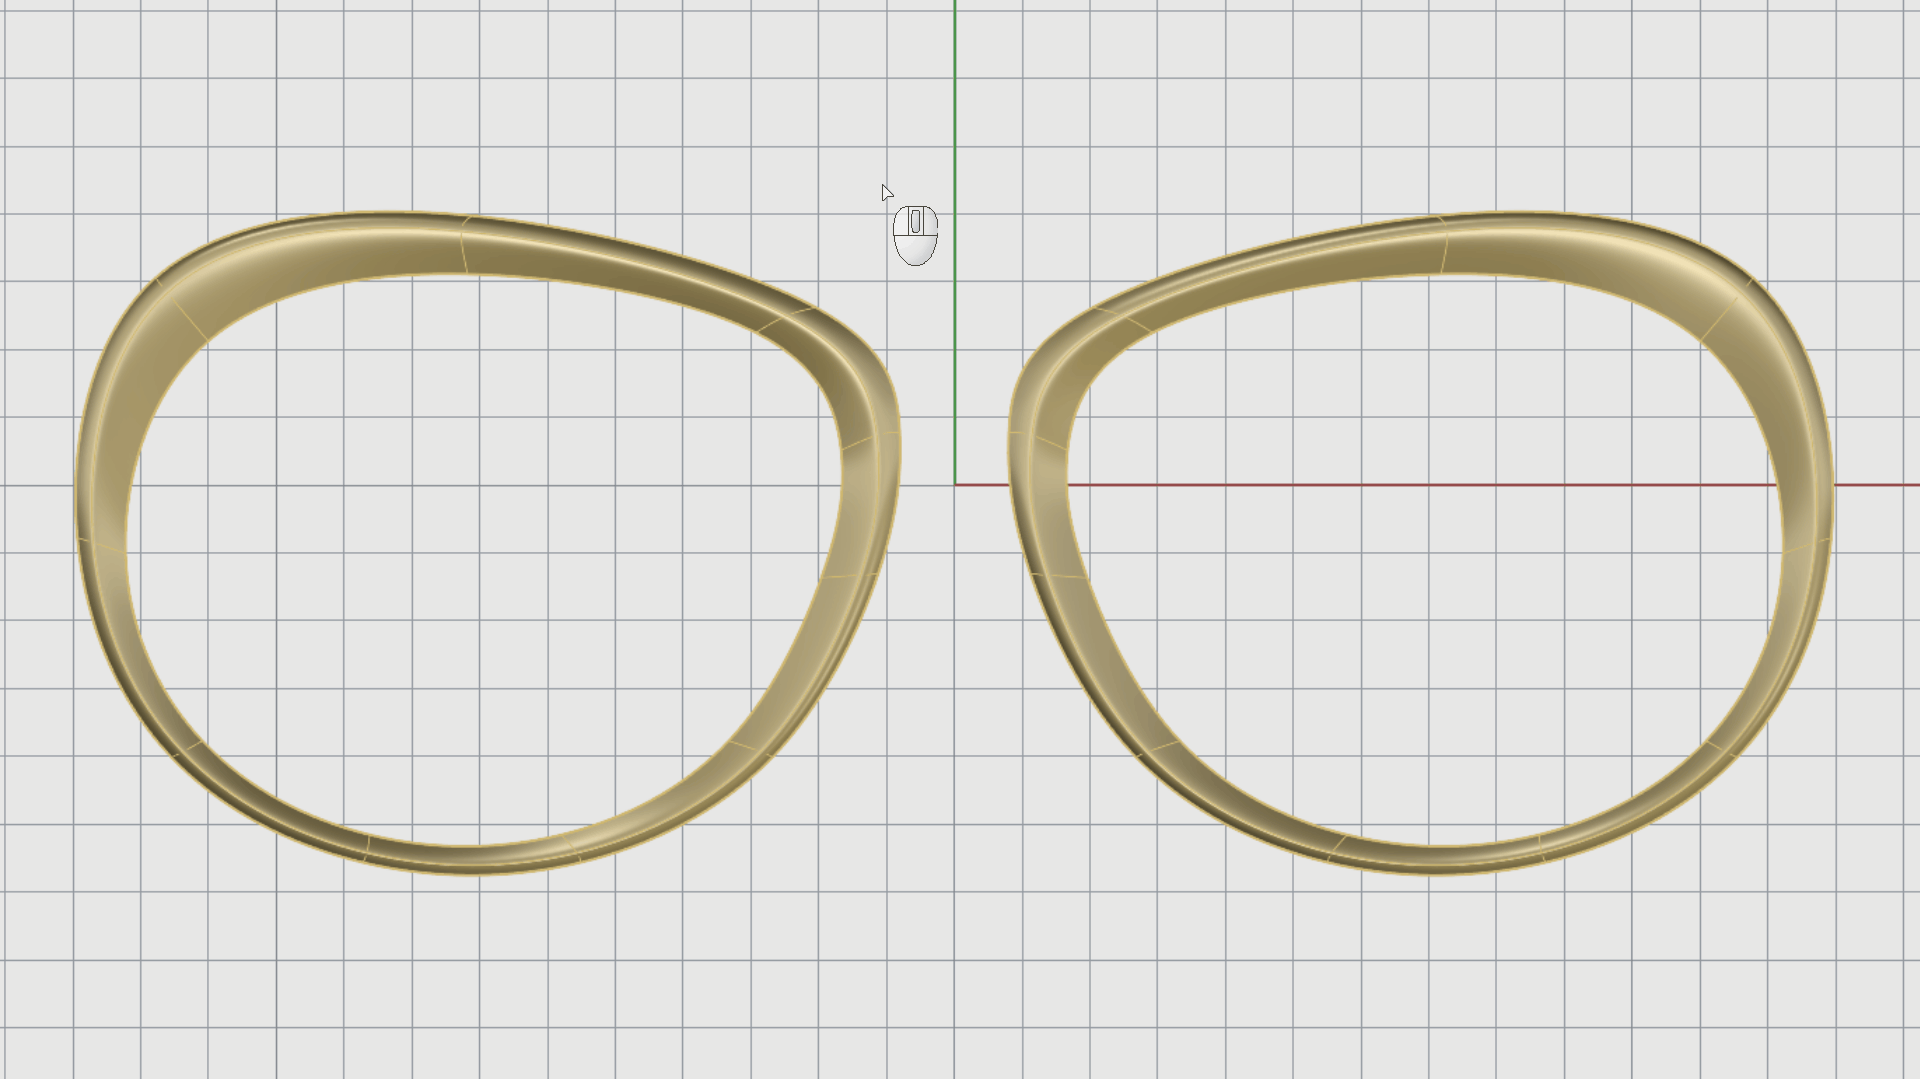
- Turn off
Layer
Curves.
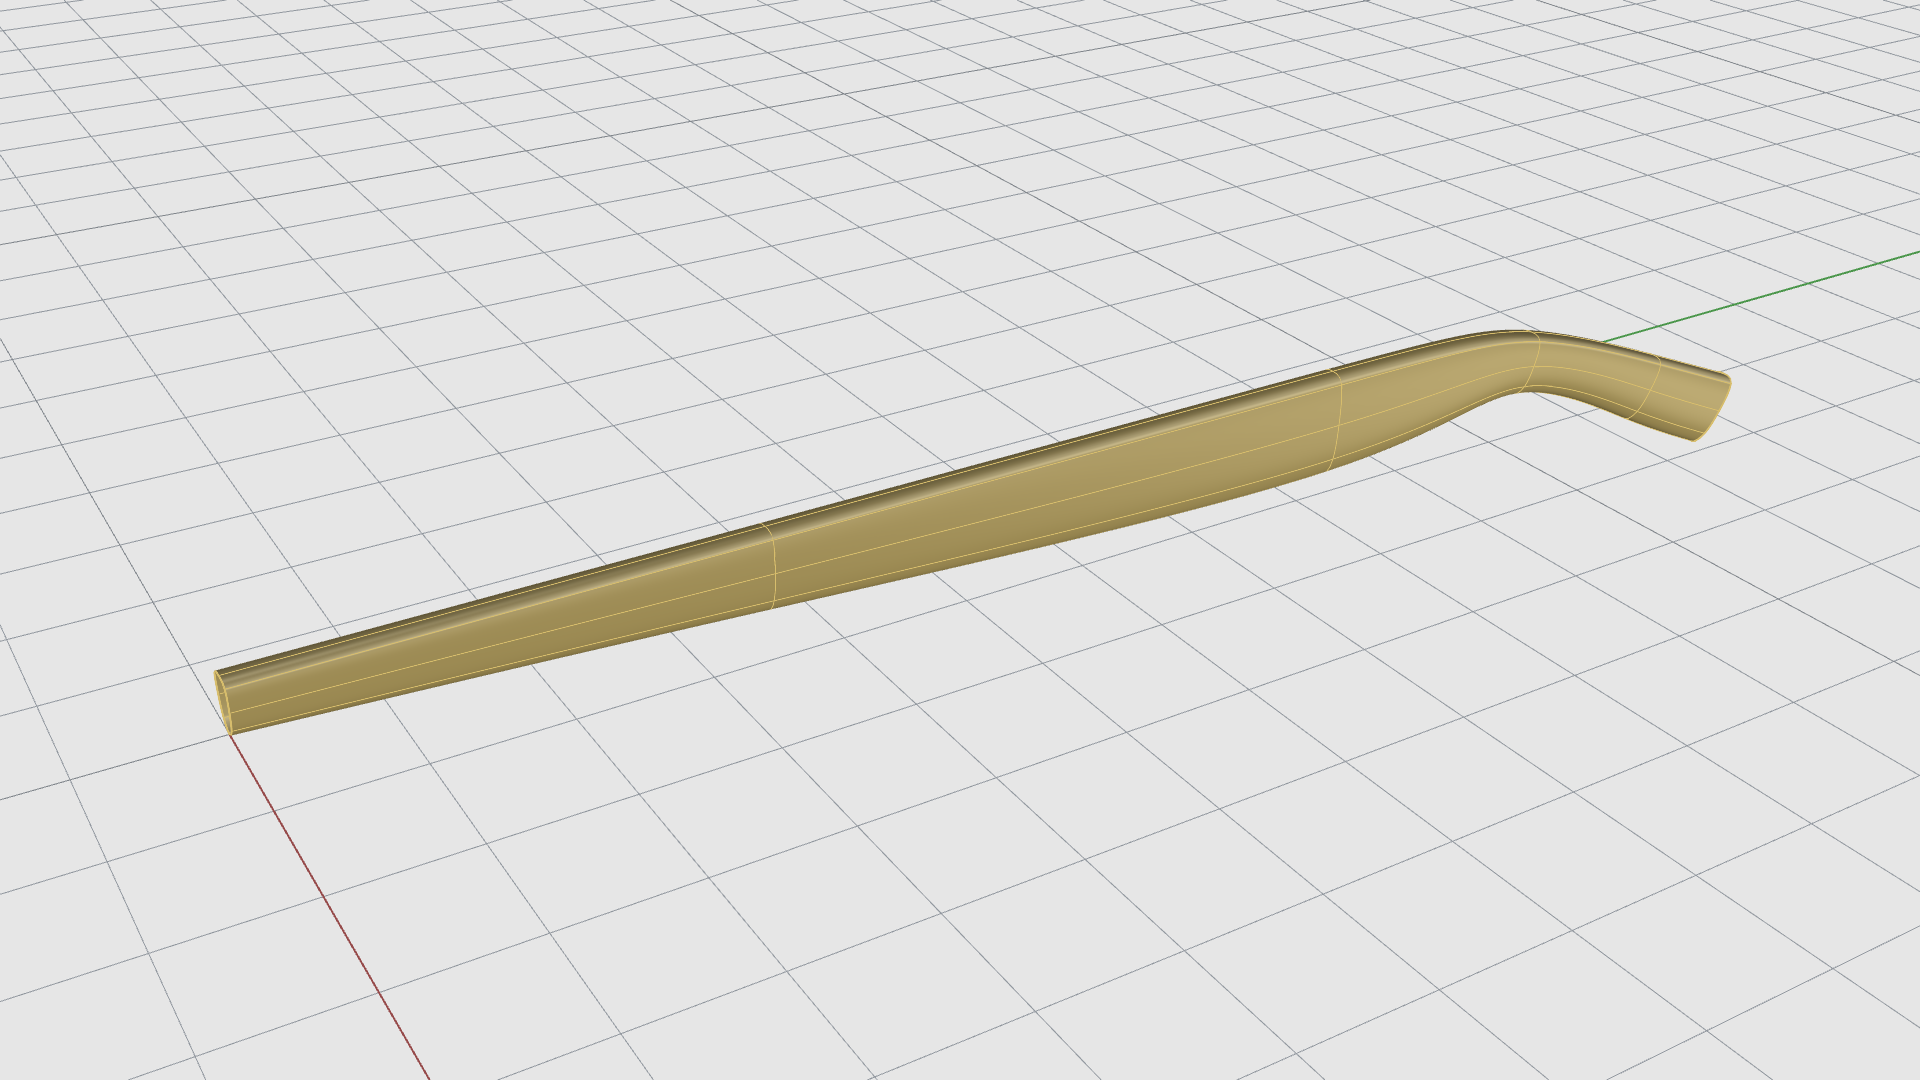
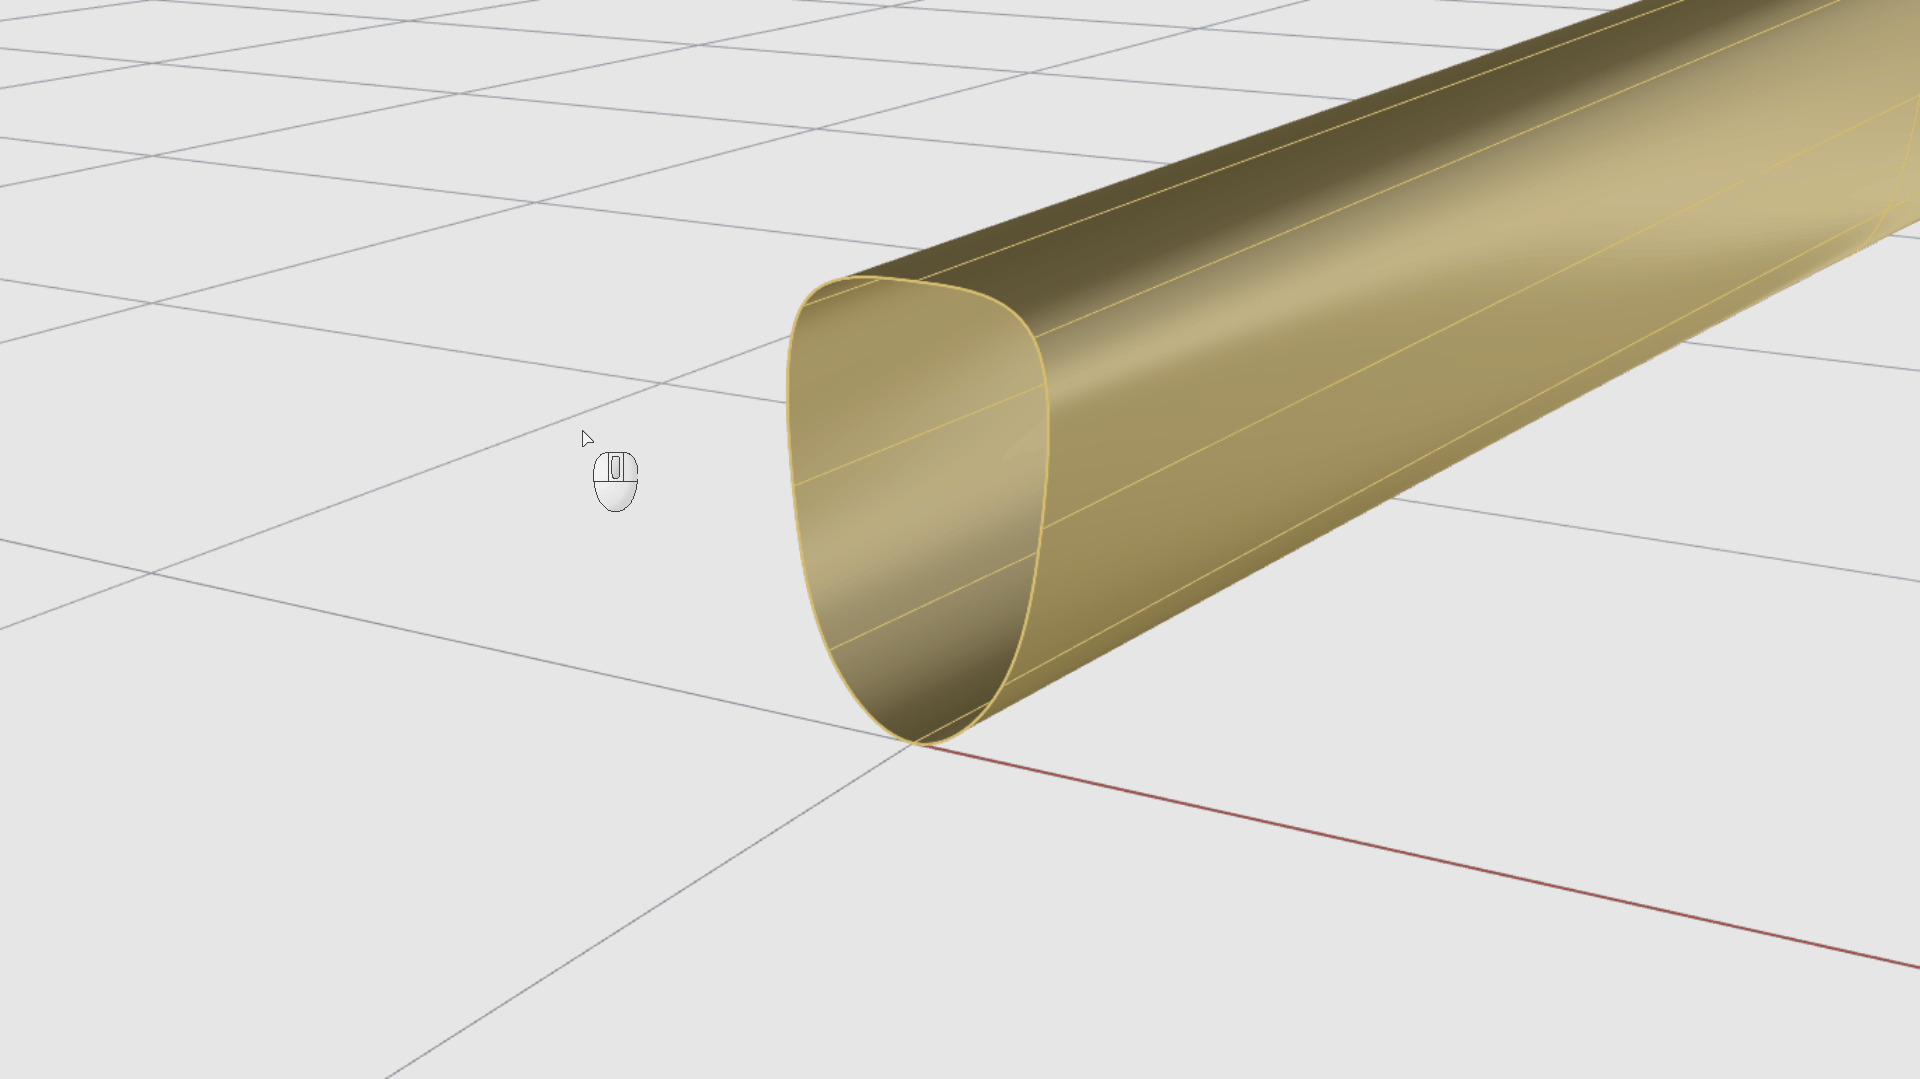
- Zoom-in to the front part of the temple.
- Run the
 Fill
command.
Fill
command. - At the Select SubD and mesh boundary edges prompt , double-click to select the entire open edge boundary. Press or right-click.
- At the Patch style prompt, click on the SingleFace Command Line option .
- With the face still selected, run the
 SubDFaceEdgeVertexToggle
command. This will swap the selected face for its edges.
SubDFaceEdgeVertexToggle
command. This will swap the selected face for its edges. - Now run the
 SubDExpandEdges
command. Press
to accept the defaults.
SubDExpandEdges
command. Press
to accept the defaults.
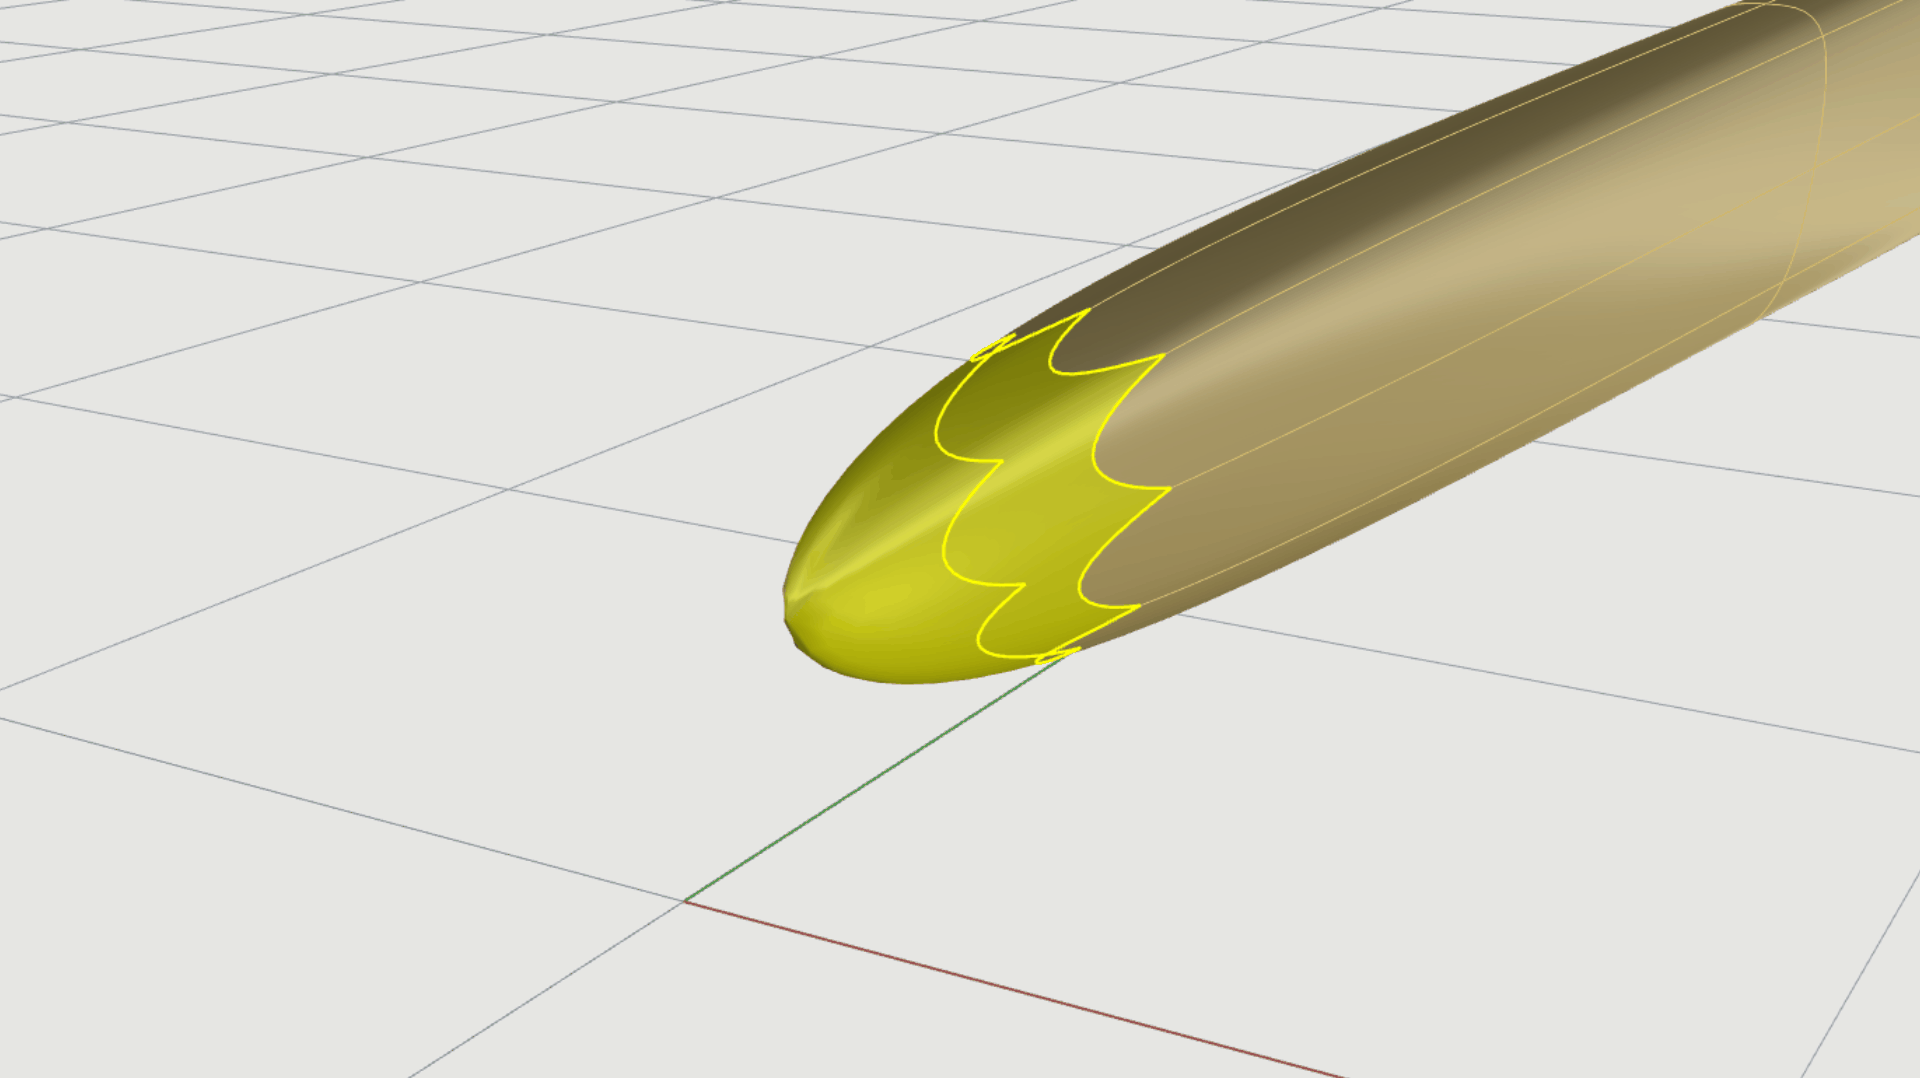
- Try it on your own! Fill the back opening of the temple.
