Surfaces are like a thin sheet of paper that define any shape in 3D space. They are
NURBS
objects and are great when the end goal is manufacturing. You can create surfaces from primitives such as the
![]() Plane
or
Plane
or
![]() Sphere
or from a freeform surface command. In this chapter, we will explore the surfacing commands that require curves as input.
Sphere
or from a freeform surface command. In this chapter, we will explore the surfacing commands that require curves as input.
Surface from Edge Curves
You can create a surface from three or four curves that define the edges of the surface.
To create a surface from edge curves:
- Open EdgeSrf.3dm in Rhino .
- From the Surface menu, run the
 EdgeSrf
command.
EdgeSrf
command. - At the Select 2, 3, or 4 open curves prompt , select the four curves as shown in the illustration below.
Extrude Curves
Surfaces can be created by extruding curves in a straight line perpendicular to the construction plane.
To create an extruded surface:
- Open ExtrudeCrv.3dm in Rhino .
- Run the
 ExtrudeCrv
command.
ExtrudeCrv
command. - At the Select curves to Extrude prompt , select all black curves and press or right-click.
- At the Extrusion distance prompt , type 30.
Loft Curves
![]() Loft
creates a smooth surface that blends between selected curves. The curves define “ribs” for the surface you are creating.
Loft
creates a smooth surface that blends between selected curves. The curves define “ribs” for the surface you are creating.
To create a lofted surface:
- Open Loft.3dm in Rhino .
- From the Surface menu, run the
 Loft
command.
Loft
command. - At the Select curves to loft prompt , window-select all curves and press .
- In the
Loft
dialog box, click the drop-down menu under Style. The default is Normal. Try Loose or Straight Sections to see the different results. Click OK when done.
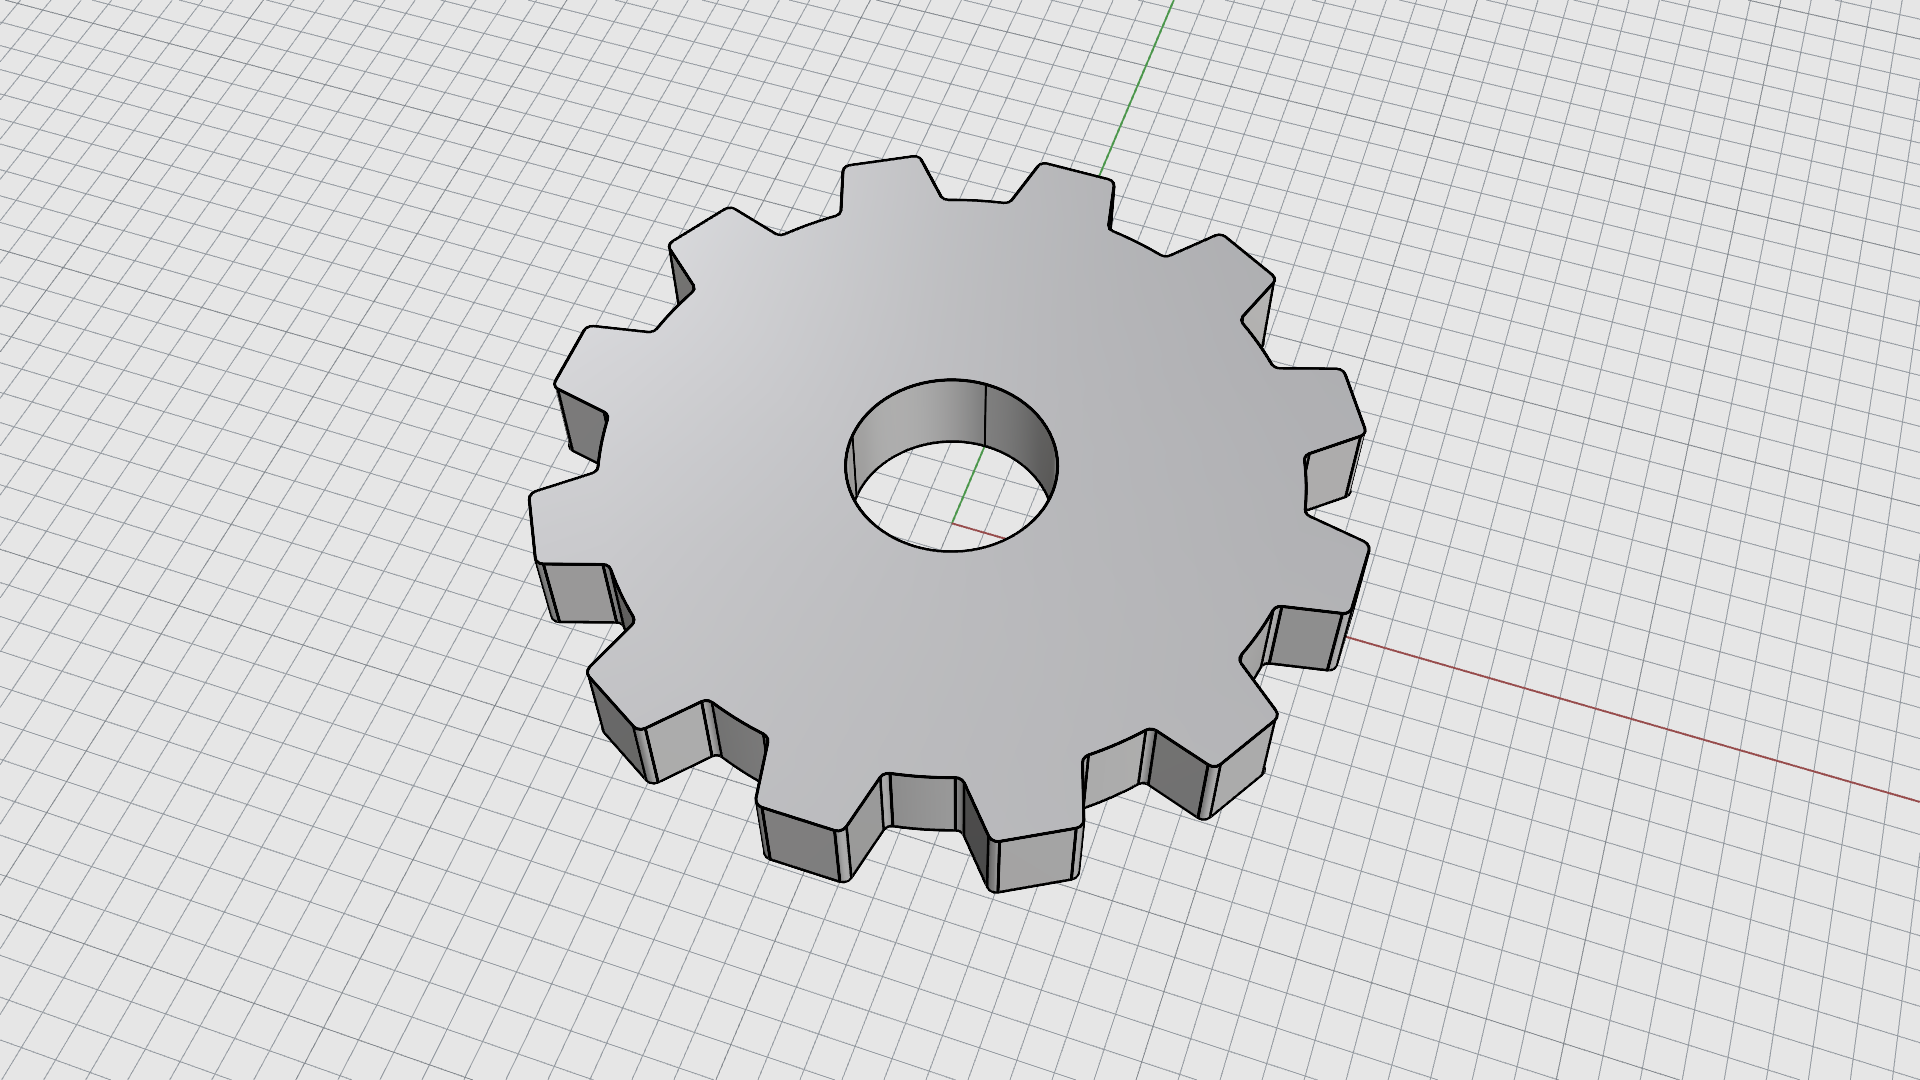
Revolve Curves
![]() Revolve
creates a surface by revolving curves about a revolve axis. The curve defines the silhouette of the revolved surface. This action is sometimes called lathing in other programs.
Revolve
creates a surface by revolving curves about a revolve axis. The curve defines the silhouette of the revolved surface. This action is sometimes called lathing in other programs.
To create a revolved surface:
- Open Revolve.3dm in Rhino .
- From the Surface menu, run the
 Revolve
command.
Revolve
command. - At the Select curves to revolve prompt , select the red curve and press .
- At the Start of revolve axis prompt , type 0 and press . It will snap to the center of the grid.
- At the End of revolve axis prompt , press to use the Cplane z-axis direction as an axis.
- At the Start angle prompt click on the FullCircle Command Line option.
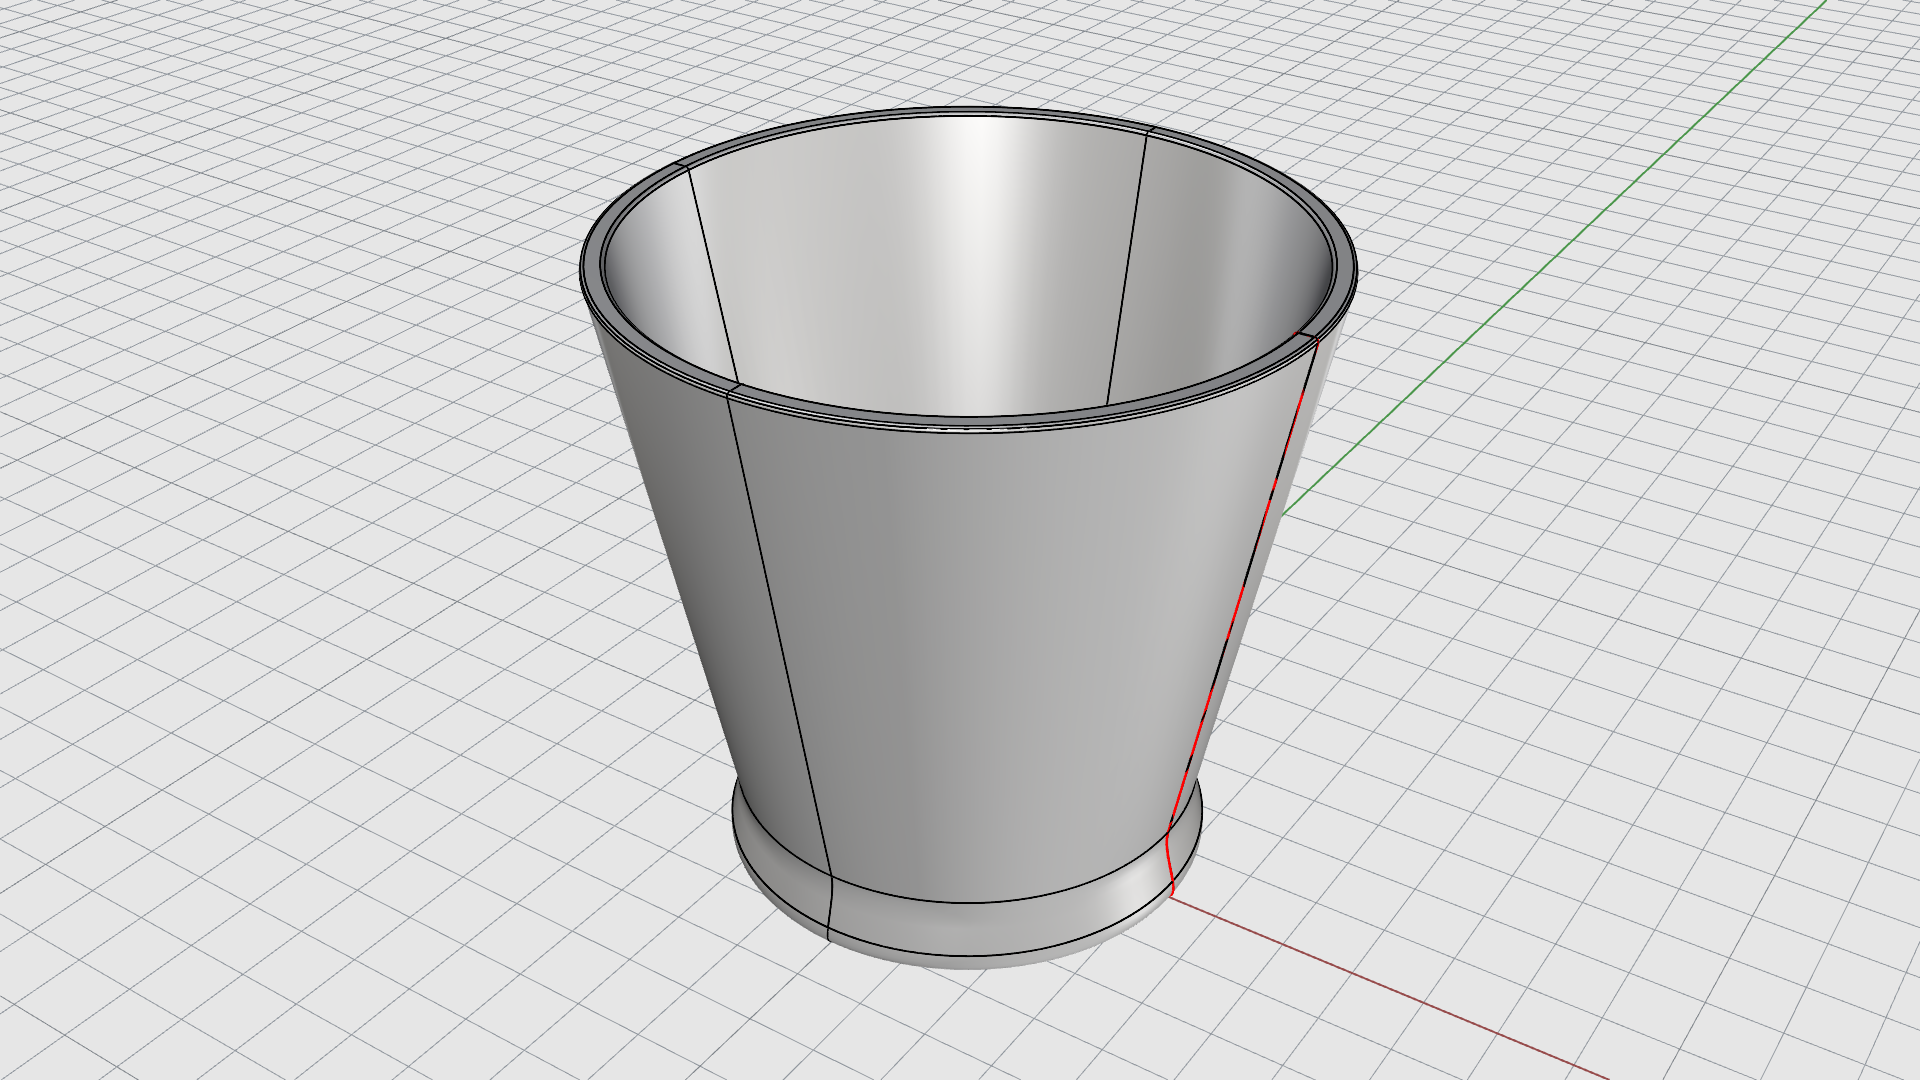
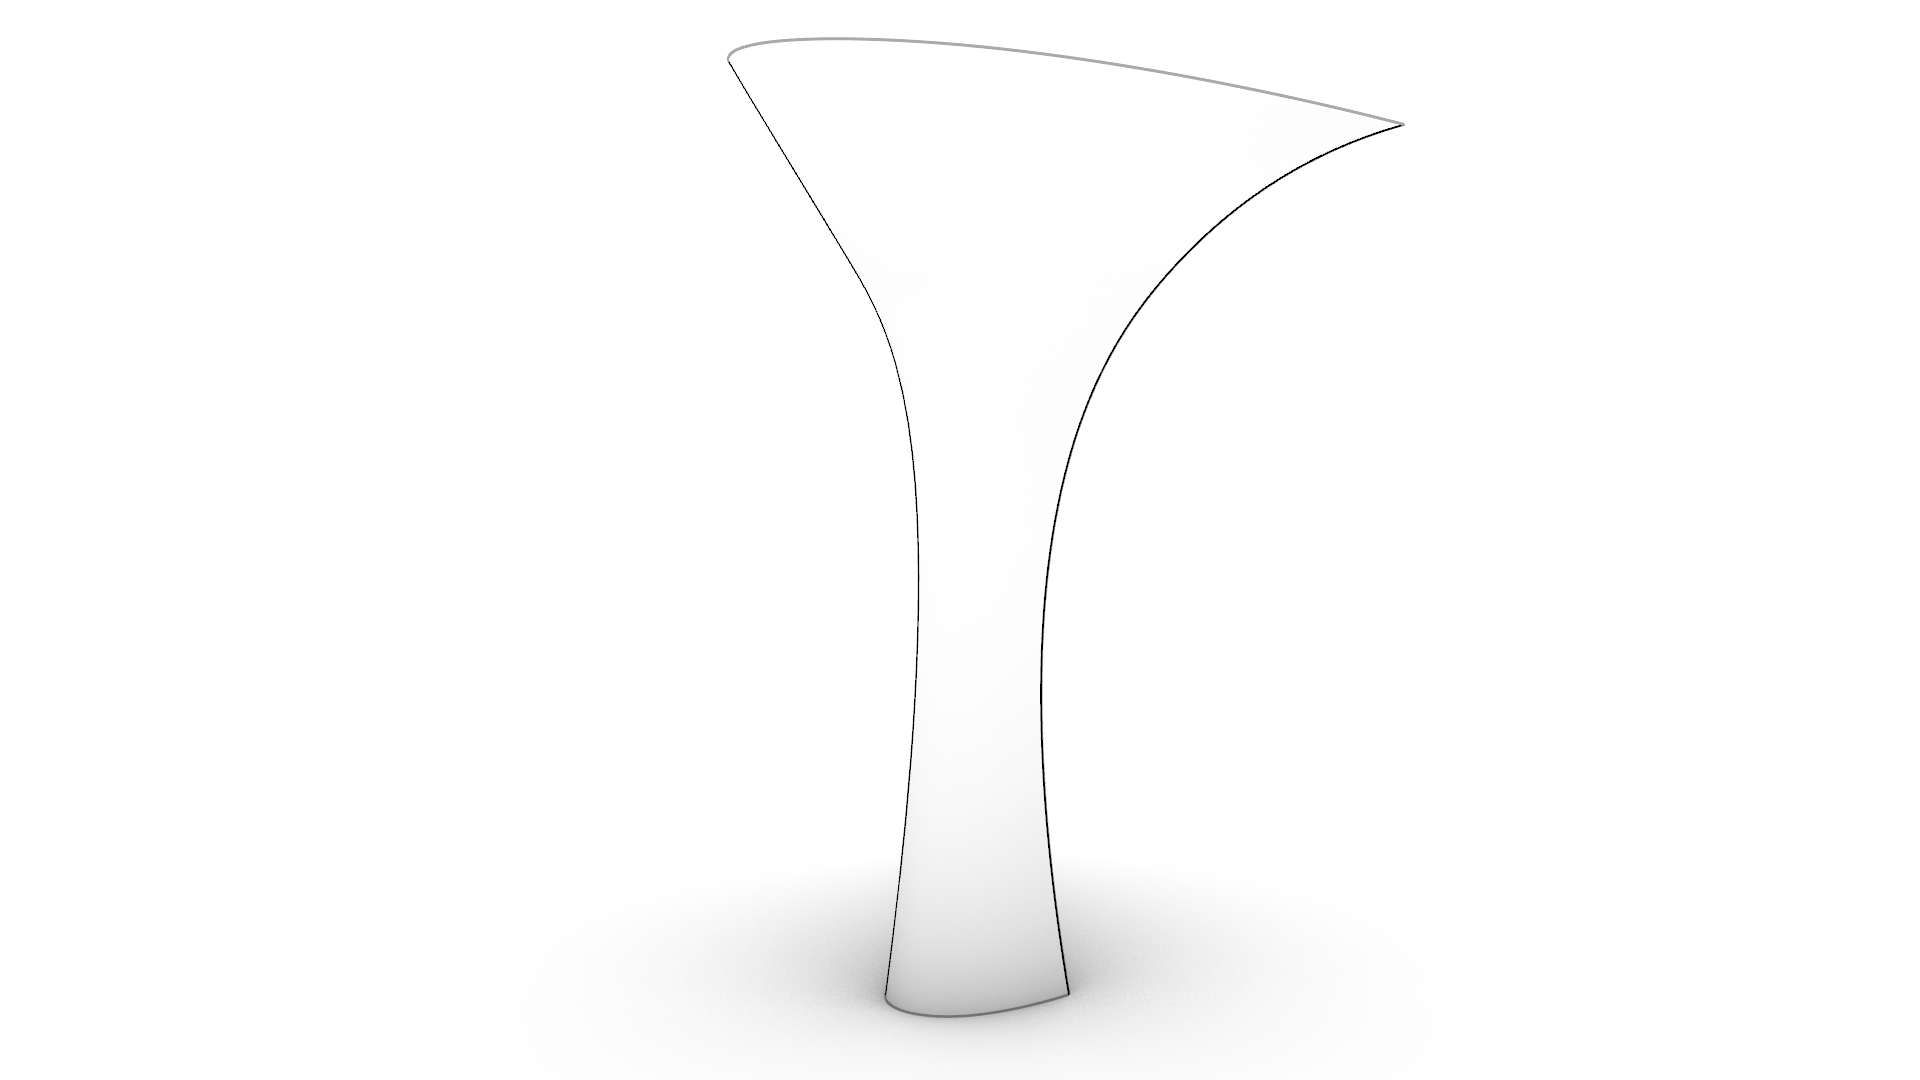
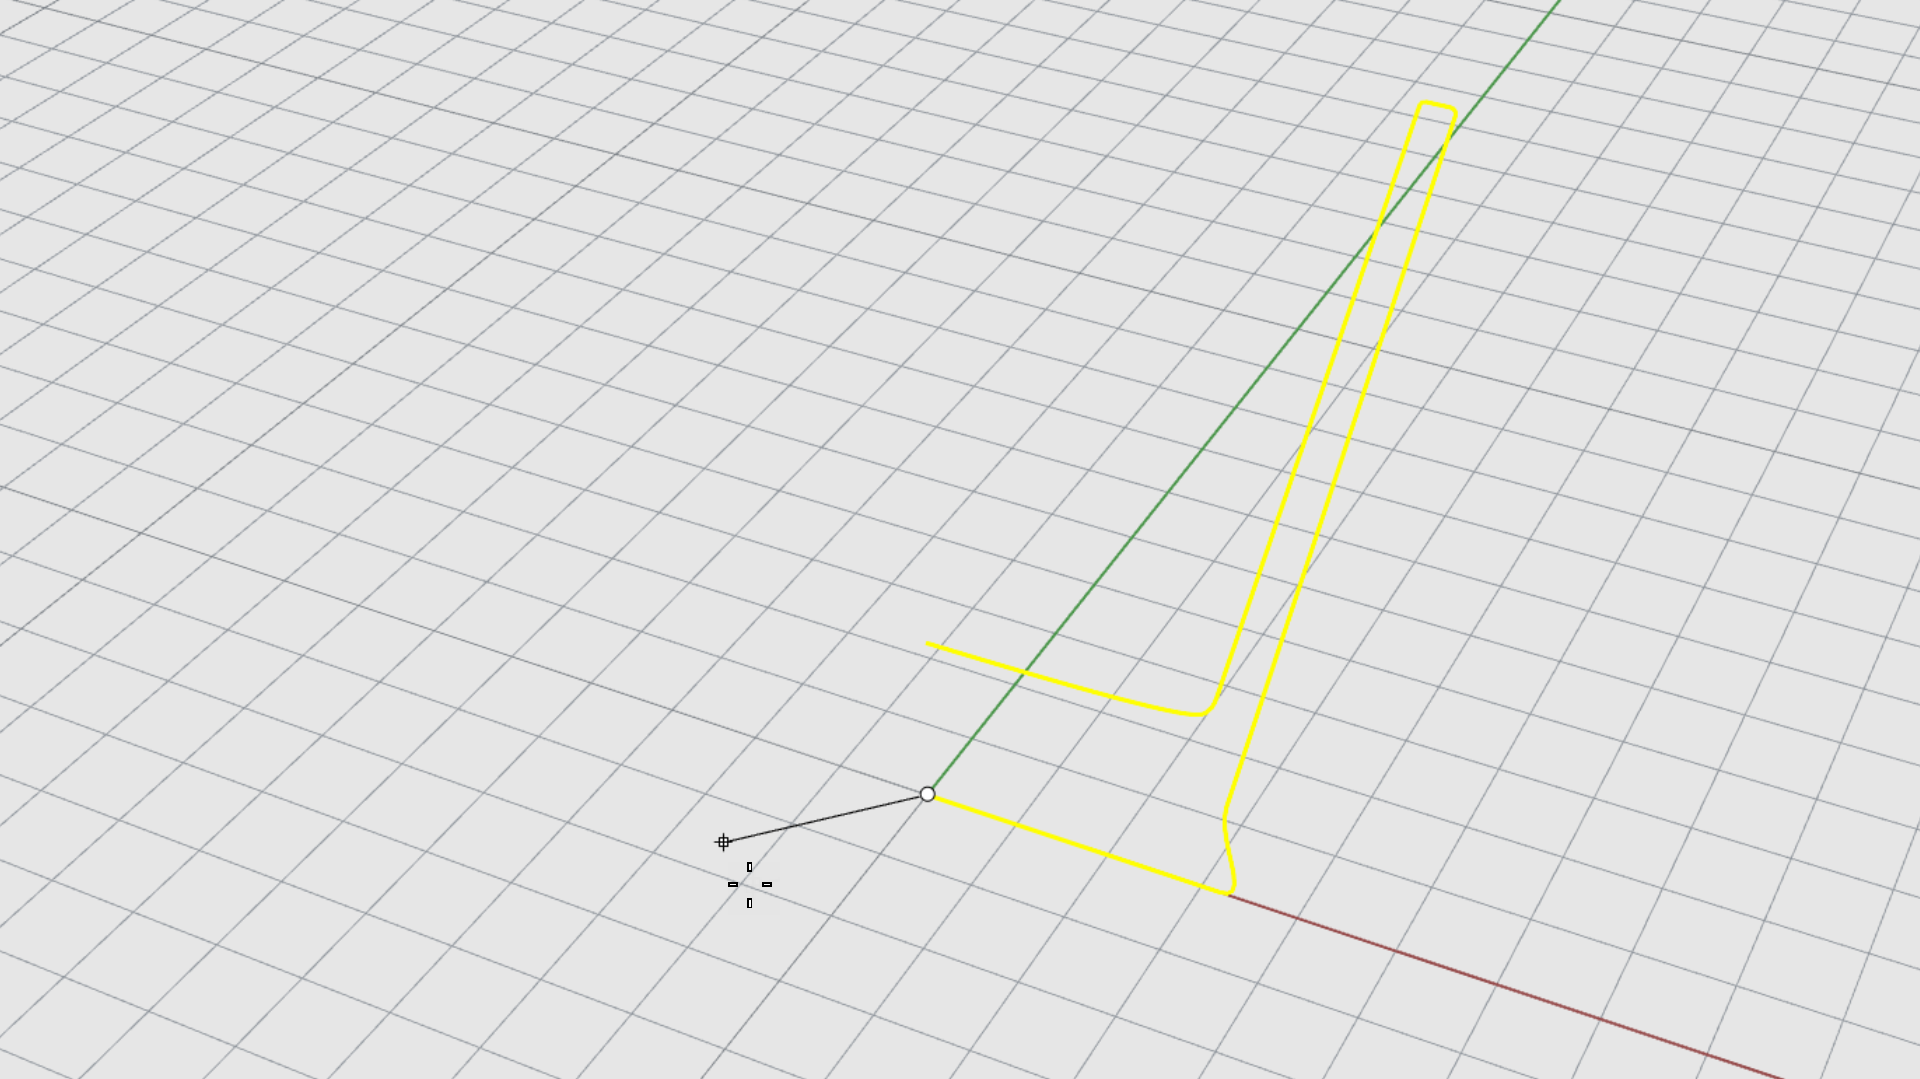
Revolve Curves with a Rail
![]() RailRevolve
creates a surface by revolving a profile curve while following a rail curve as closely as possible. The profile curve defines the silhouette of the surface, and the rail curve defines a path the profile curve will try to follow.
RailRevolve
creates a surface by revolving a profile curve while following a rail curve as closely as possible. The profile curve defines the silhouette of the surface, and the rail curve defines a path the profile curve will try to follow.
To create a revolved surface around a rail curve:
- From the Surface menu, run the
 RailRevolve
command.
RailRevolve
command. - At the Select profile curve prompt , select the red curve.
- At the Select rail curve prompt , select the black curve.
- At the Start of RailRevolve axis prompt , type 0.
- At the End of RailRevolve axis prompt , press to use the Cplane z-axis direction as an axis.
- Select the resulting object.
- Run the
 Cap
command to close it.
Cap
command to close it.
Sweep Along One Rail
![]() Sweep1
creates a smooth surface from one or multiple cross-section curves and a single rail curve. The cross-section curves define the surface shape, and the rail curve defines the path the surface will follow.
Sweep1
creates a smooth surface from one or multiple cross-section curves and a single rail curve. The cross-section curves define the surface shape, and the rail curve defines the path the surface will follow.
To create a sweep surface with a rail curve:
- Open Sweep1.3dm in Rhino
- From the Surface menu, run the
 Sweep1
command.
Sweep1
command. - At the Select rail prompt , select the black curve.
- At the Select sweep shapes prompt , select the red curves one by one and press when done.
- At the Drag seam point to adjust… prompt click the Natural option in the Command Prompt . This will align the arrows on the same starting point for all the sections. Press .
- In the Sweep 1 Rail Options dialog box, click OK. The default Freeform will be used.
- Change the Display Mode to Monochrome.
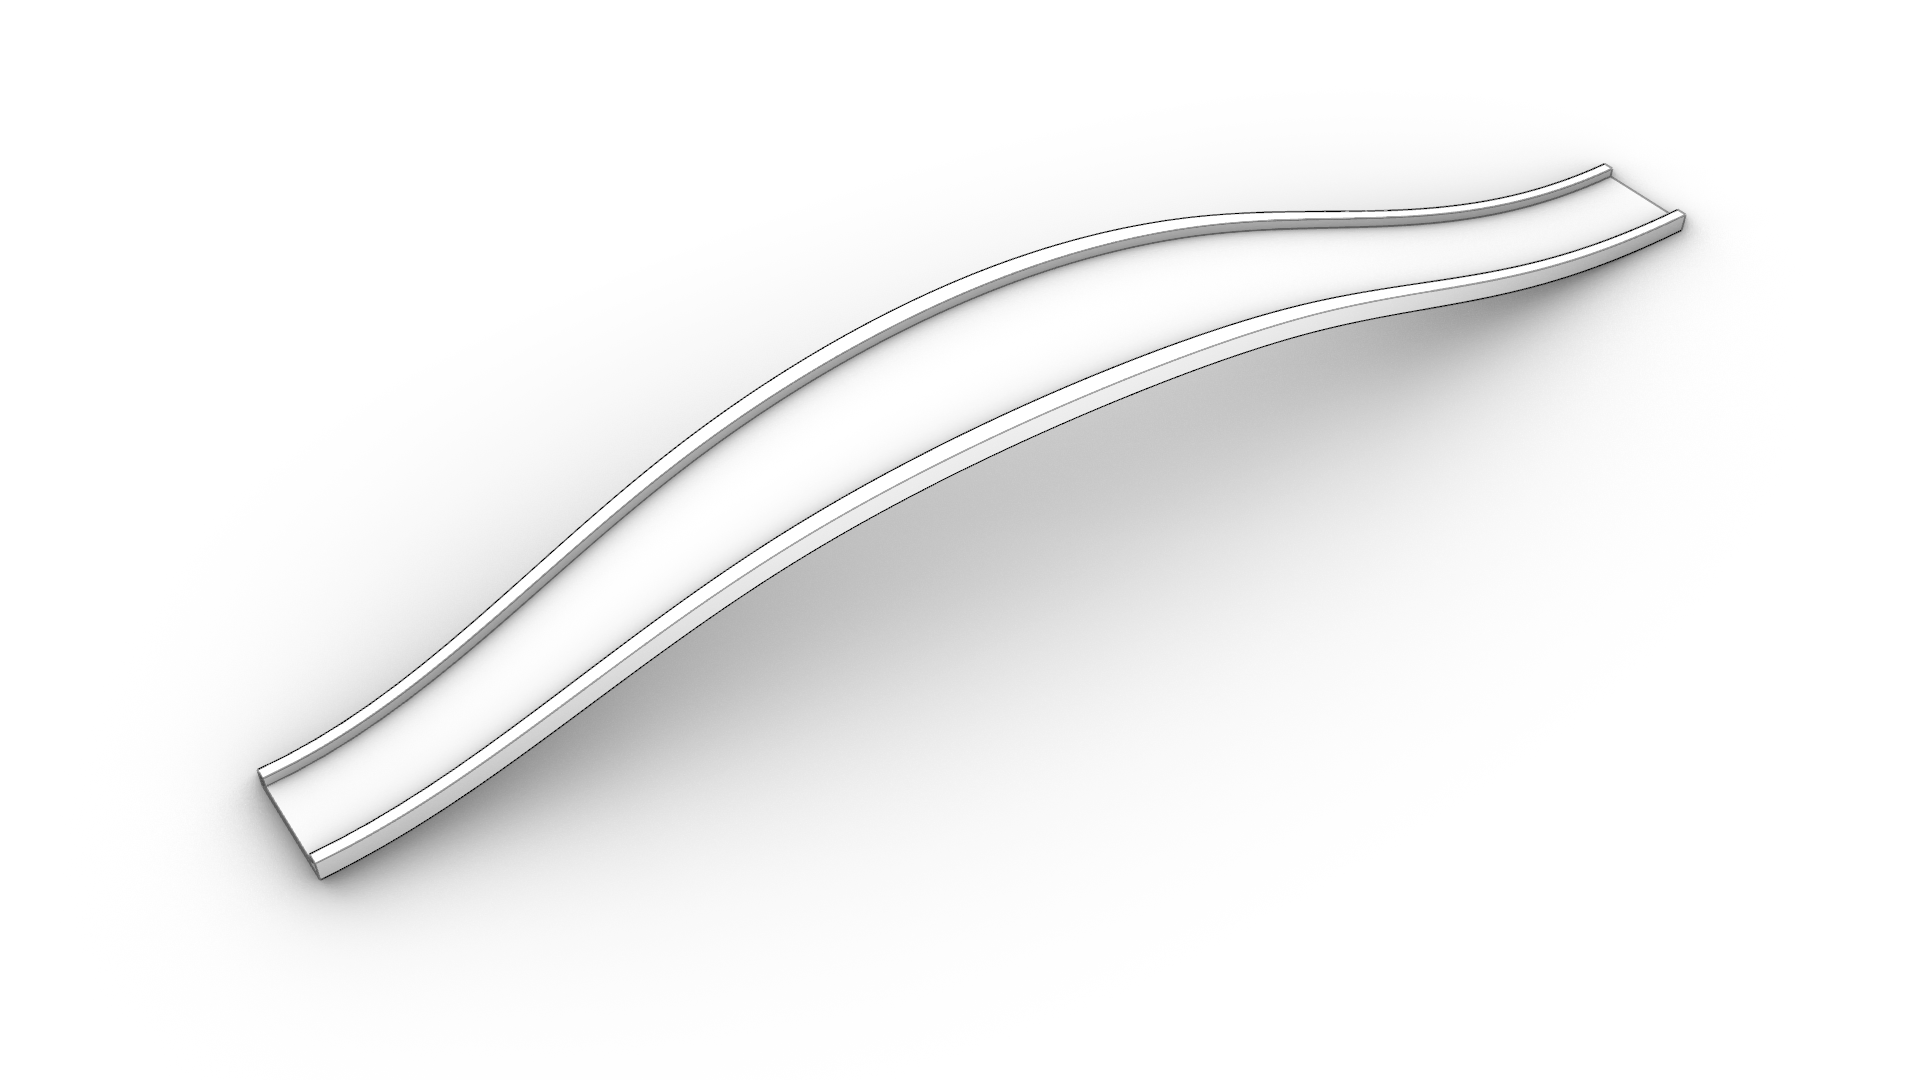
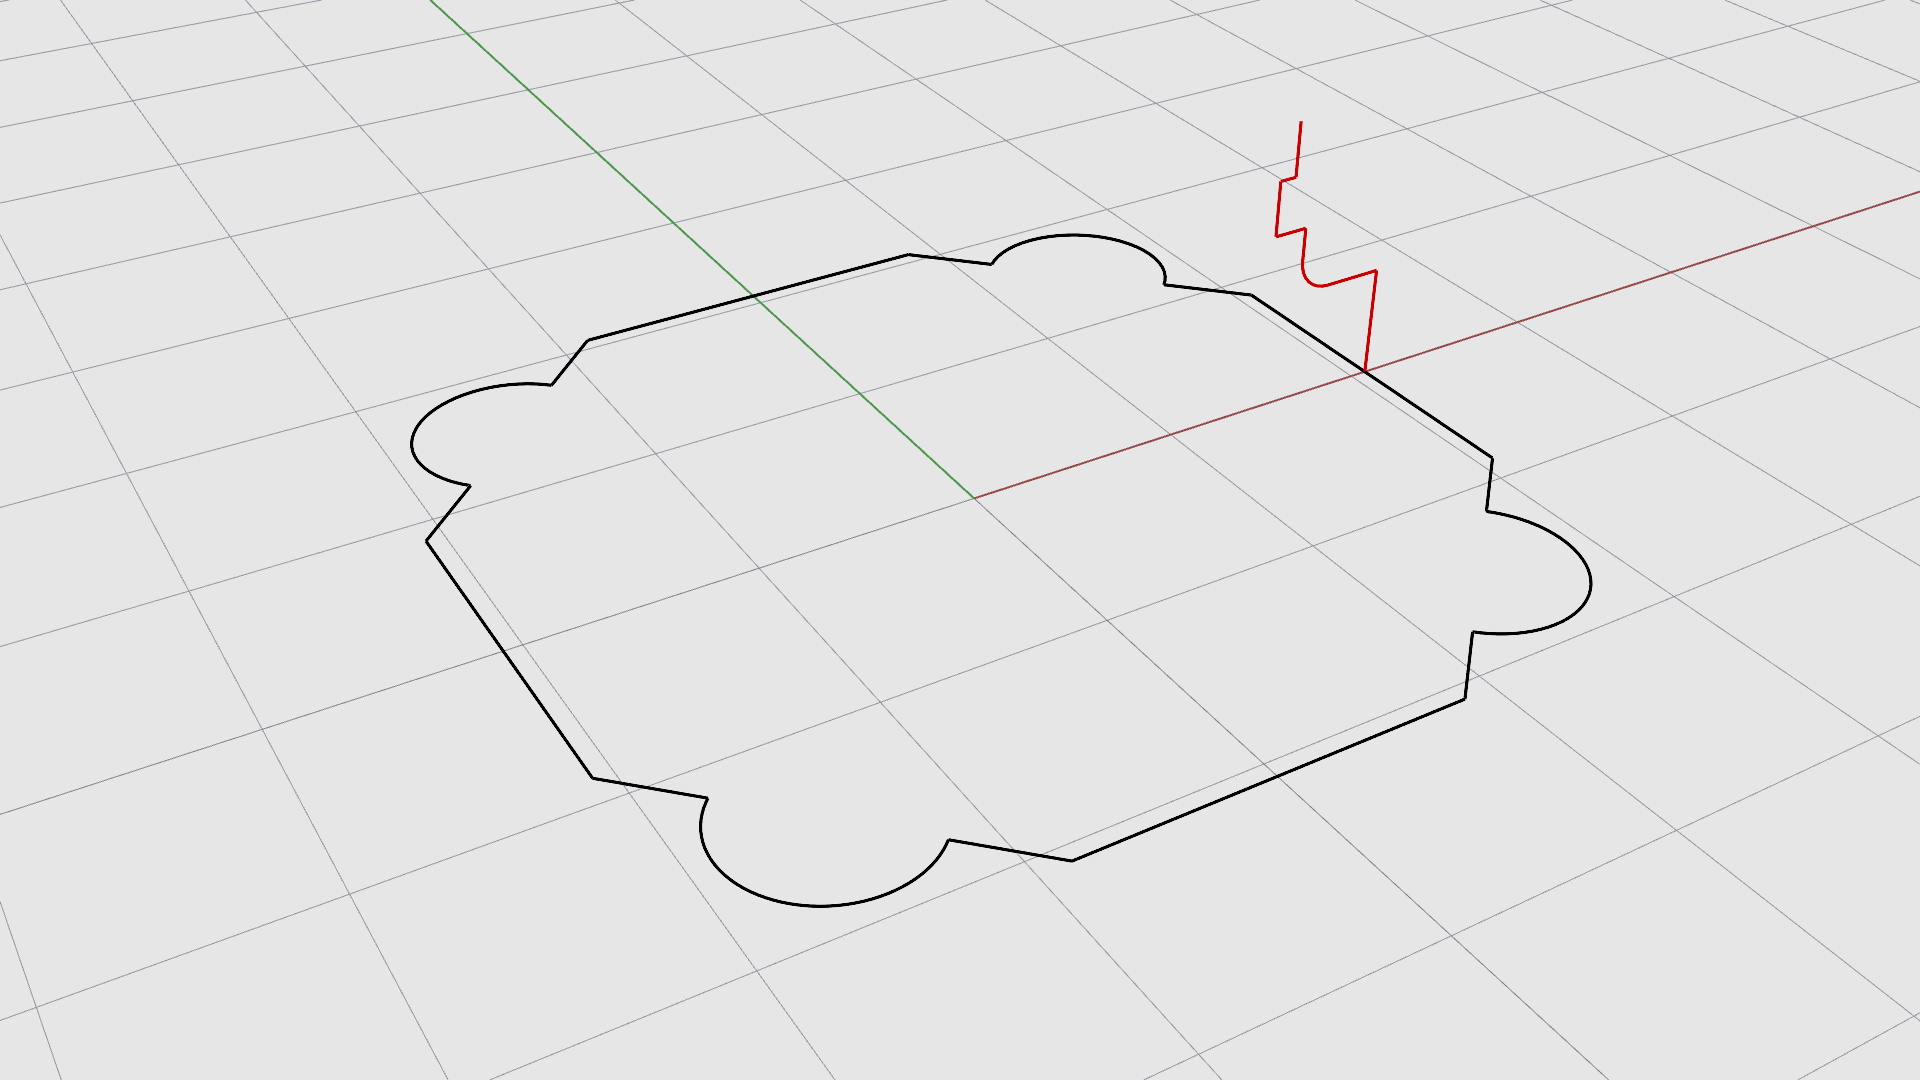
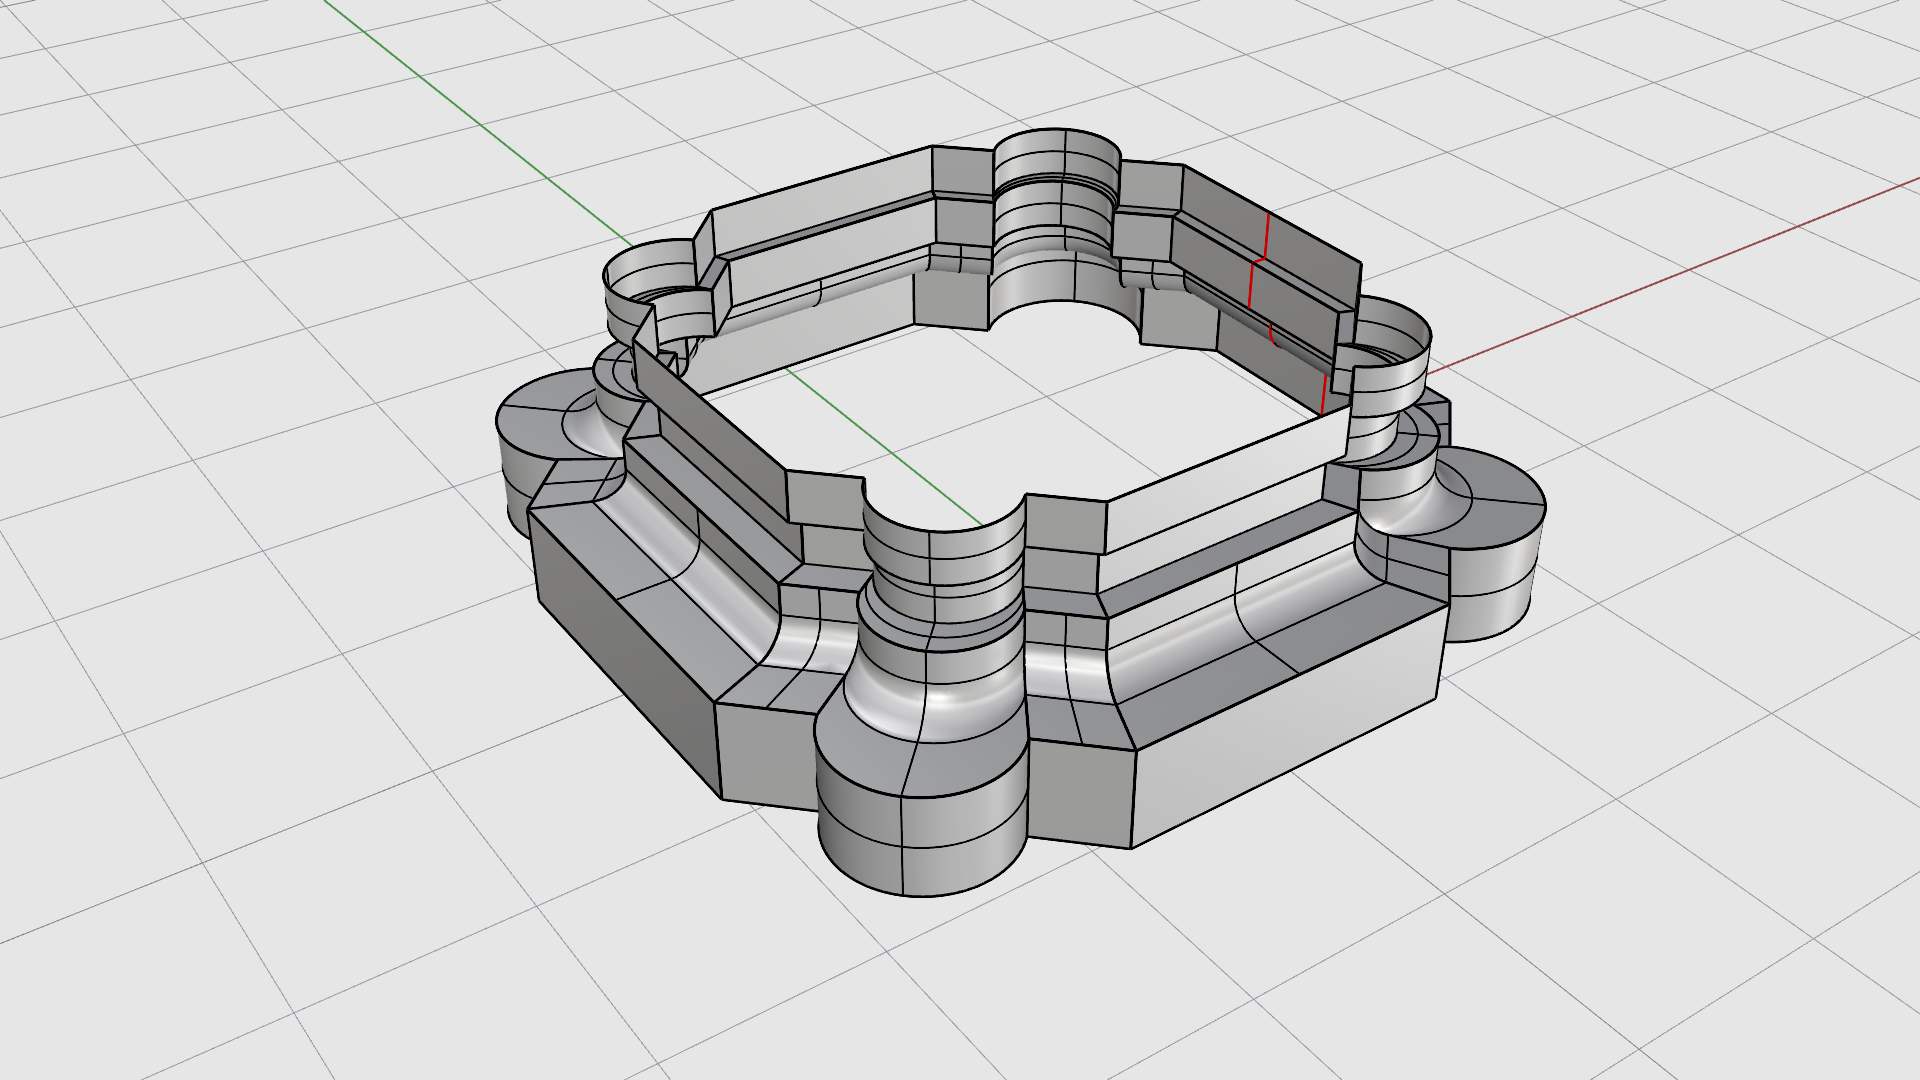
Sweep Along Two Rails
![]() Sweep2
creates a smooth surface from one or multiple cross-section curves and two rail curves. The cross-section curves define the surface shape, and the rail curves define the path the two edges of the surface will follow as closely as possible.
Sweep2
creates a smooth surface from one or multiple cross-section curves and two rail curves. The cross-section curves define the surface shape, and the rail curves define the path the two edges of the surface will follow as closely as possible.
To create a sweep surface with two rail curves:
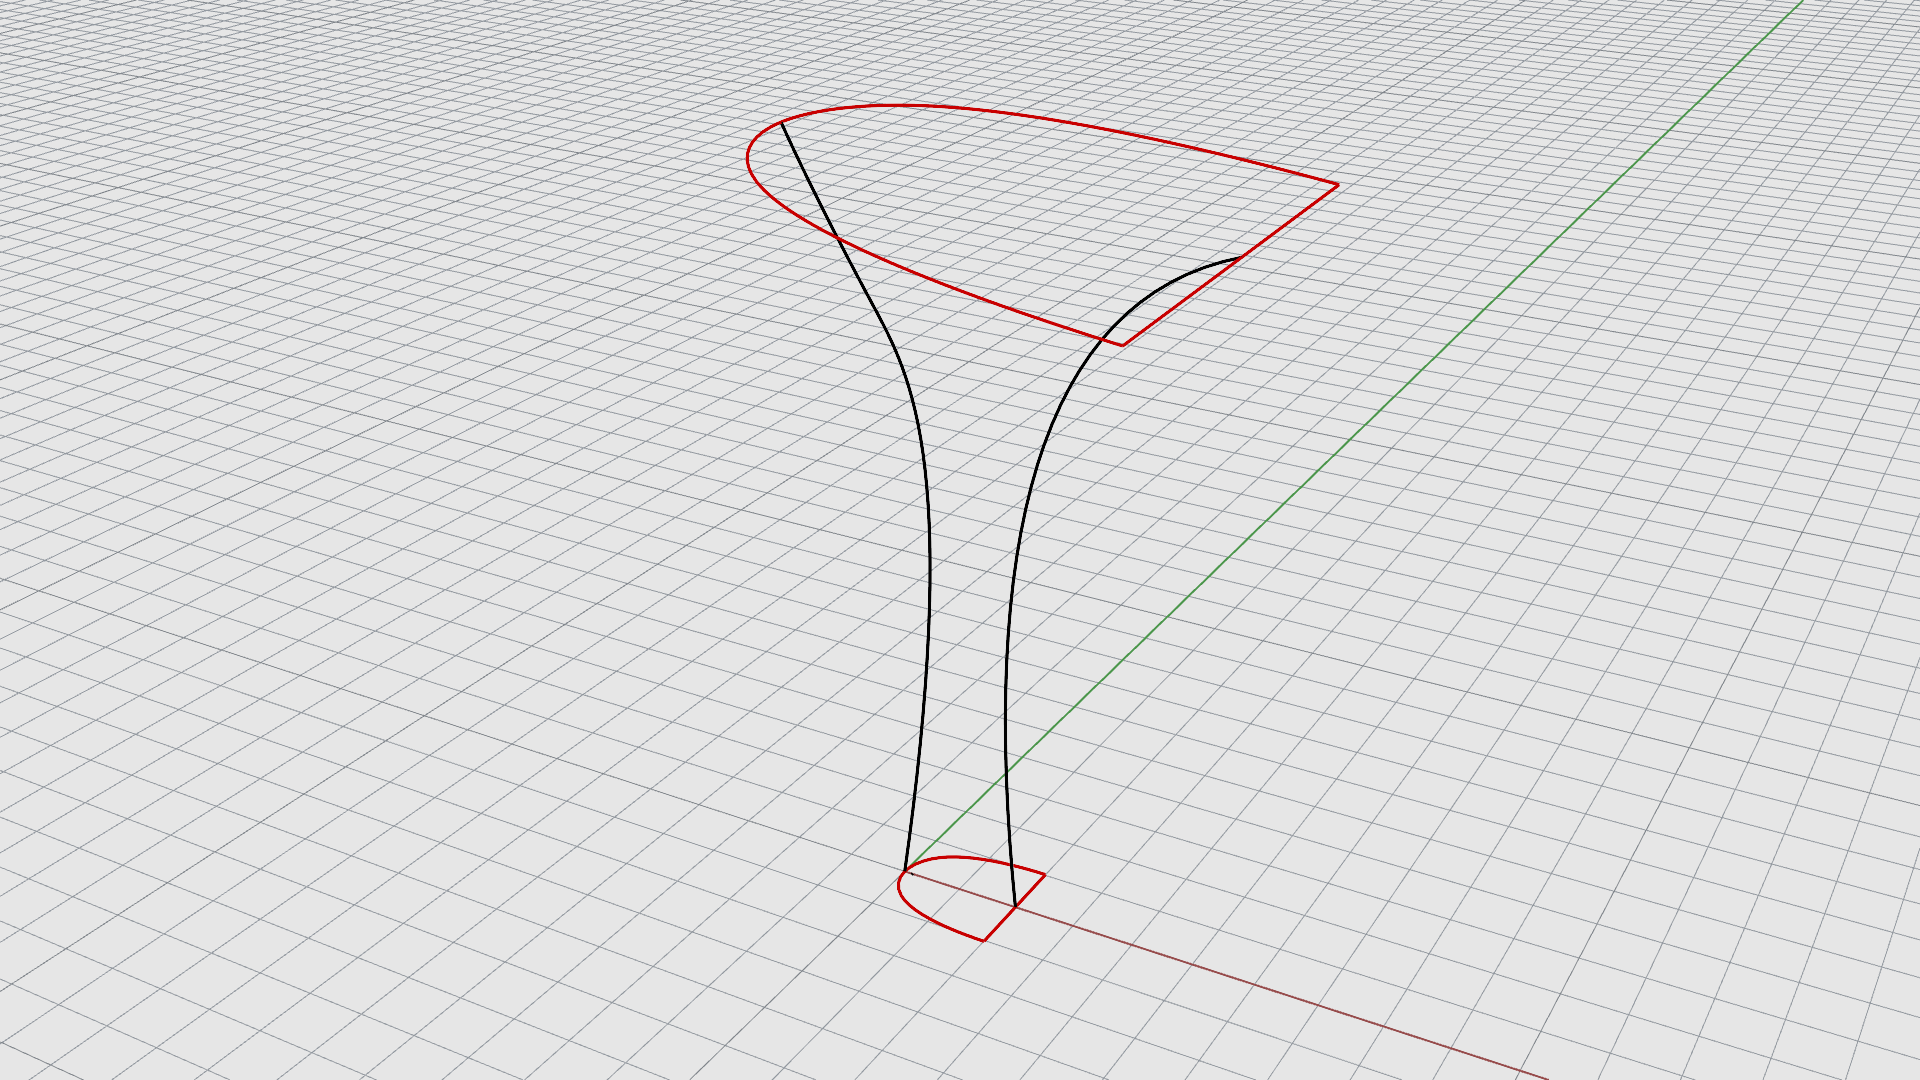
- From the Surface menu, run the
 Sweep2
command.
Sweep2
command. - At the Select first rail prompt , select one of the black curves. The order doesn’t matter.
- At the Select second rail prompt , select the second black curve.
- At the Select sweep shapes prompt , select the two red curves one by one. The order doesn’t matter.
- Press twice.
- In the Sweep 2 Rail Options dialog box, click OK. No further adjustments will be needed in this case.
- Change the Display Mode to Monochrome or Arctic to get a better understanding of shape.