Most operations you will do in Rhino require you to select one or more objects. Moreover, selection is also used as a way to help organize and manage objects in the scene. Rhino offers a wide range of selection methods. Read along…
Main Selection Method
This is the most basic way to select objects in Rhino.
Select a Single Object:
- Left-click an object to select it.
- Click elsewhere to deselect it.
This method lets you select one object at a time.
Objects can be selected before you start a command. This is called prepick. The prepicked objects act as input for the first prompt of the command and comes in handy.
Objects can also be selected during a command sequence anytime the command prompts you to select objects.
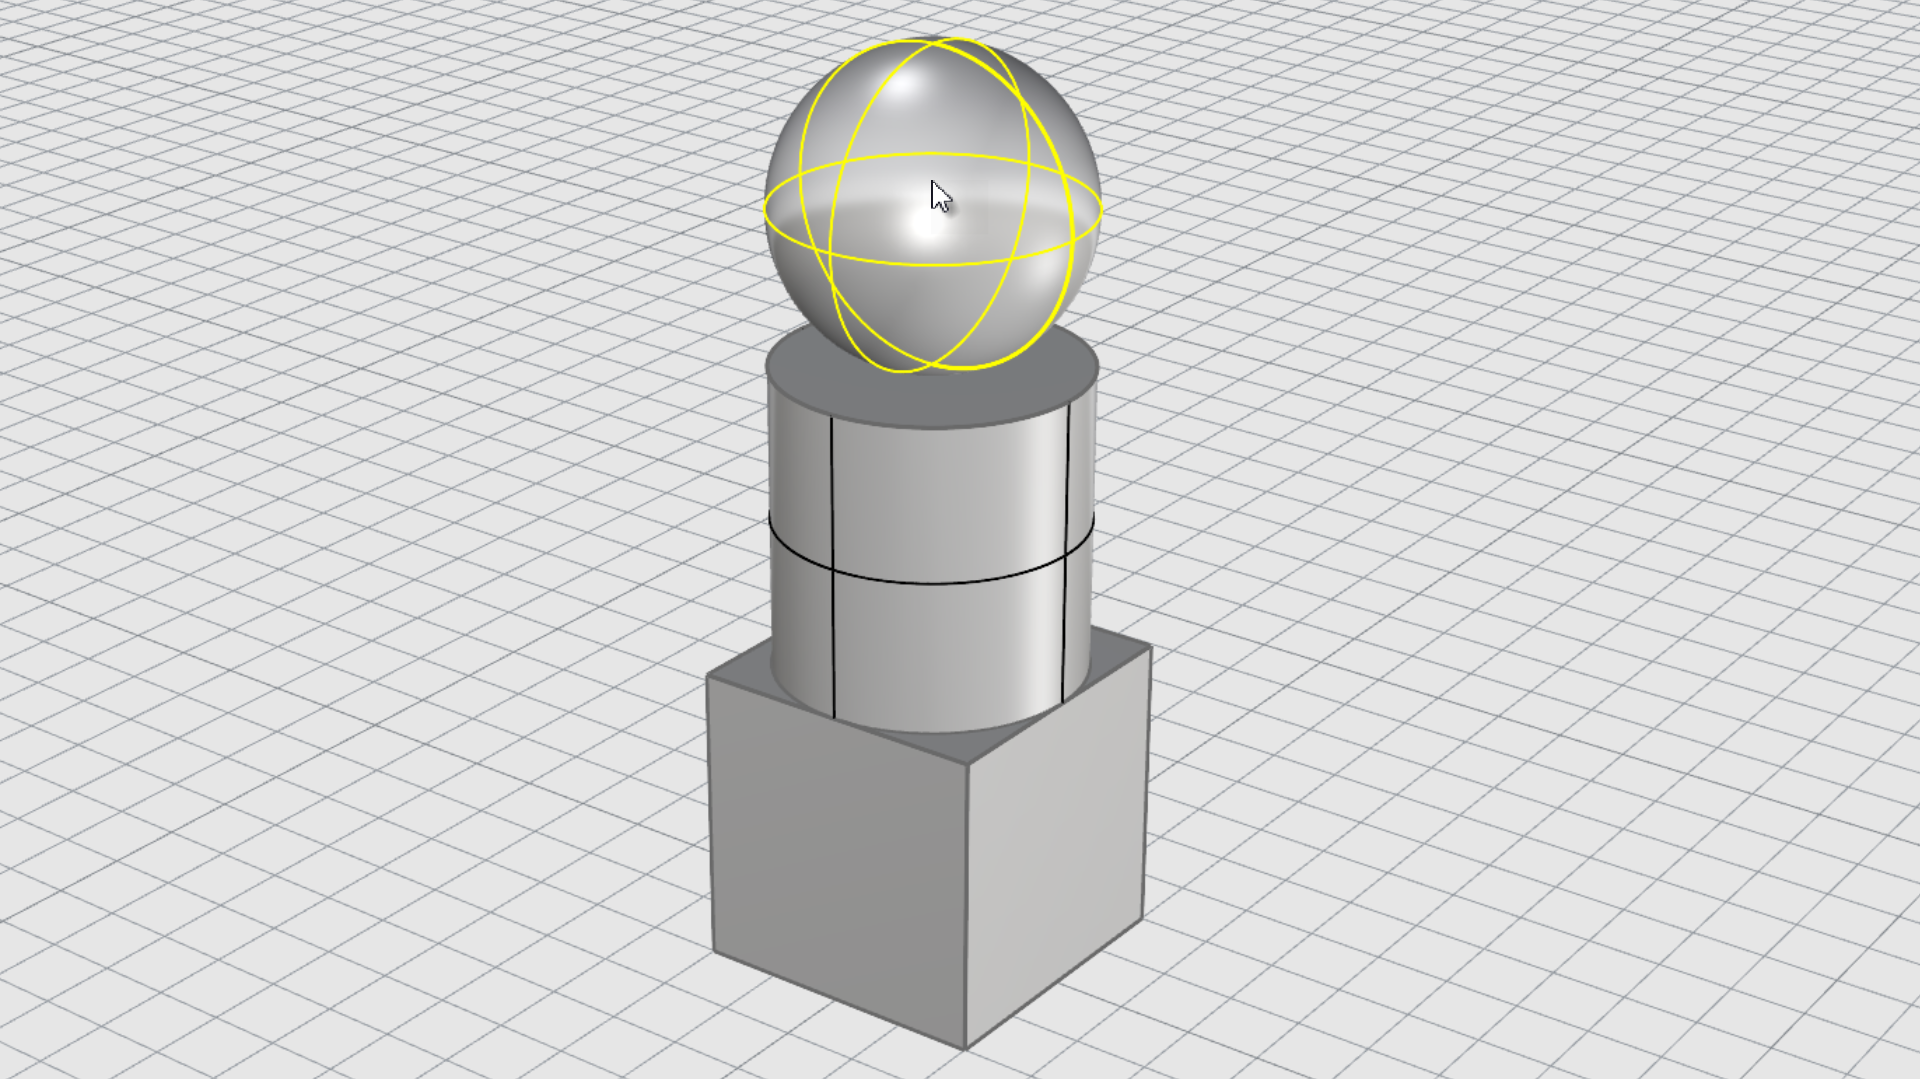
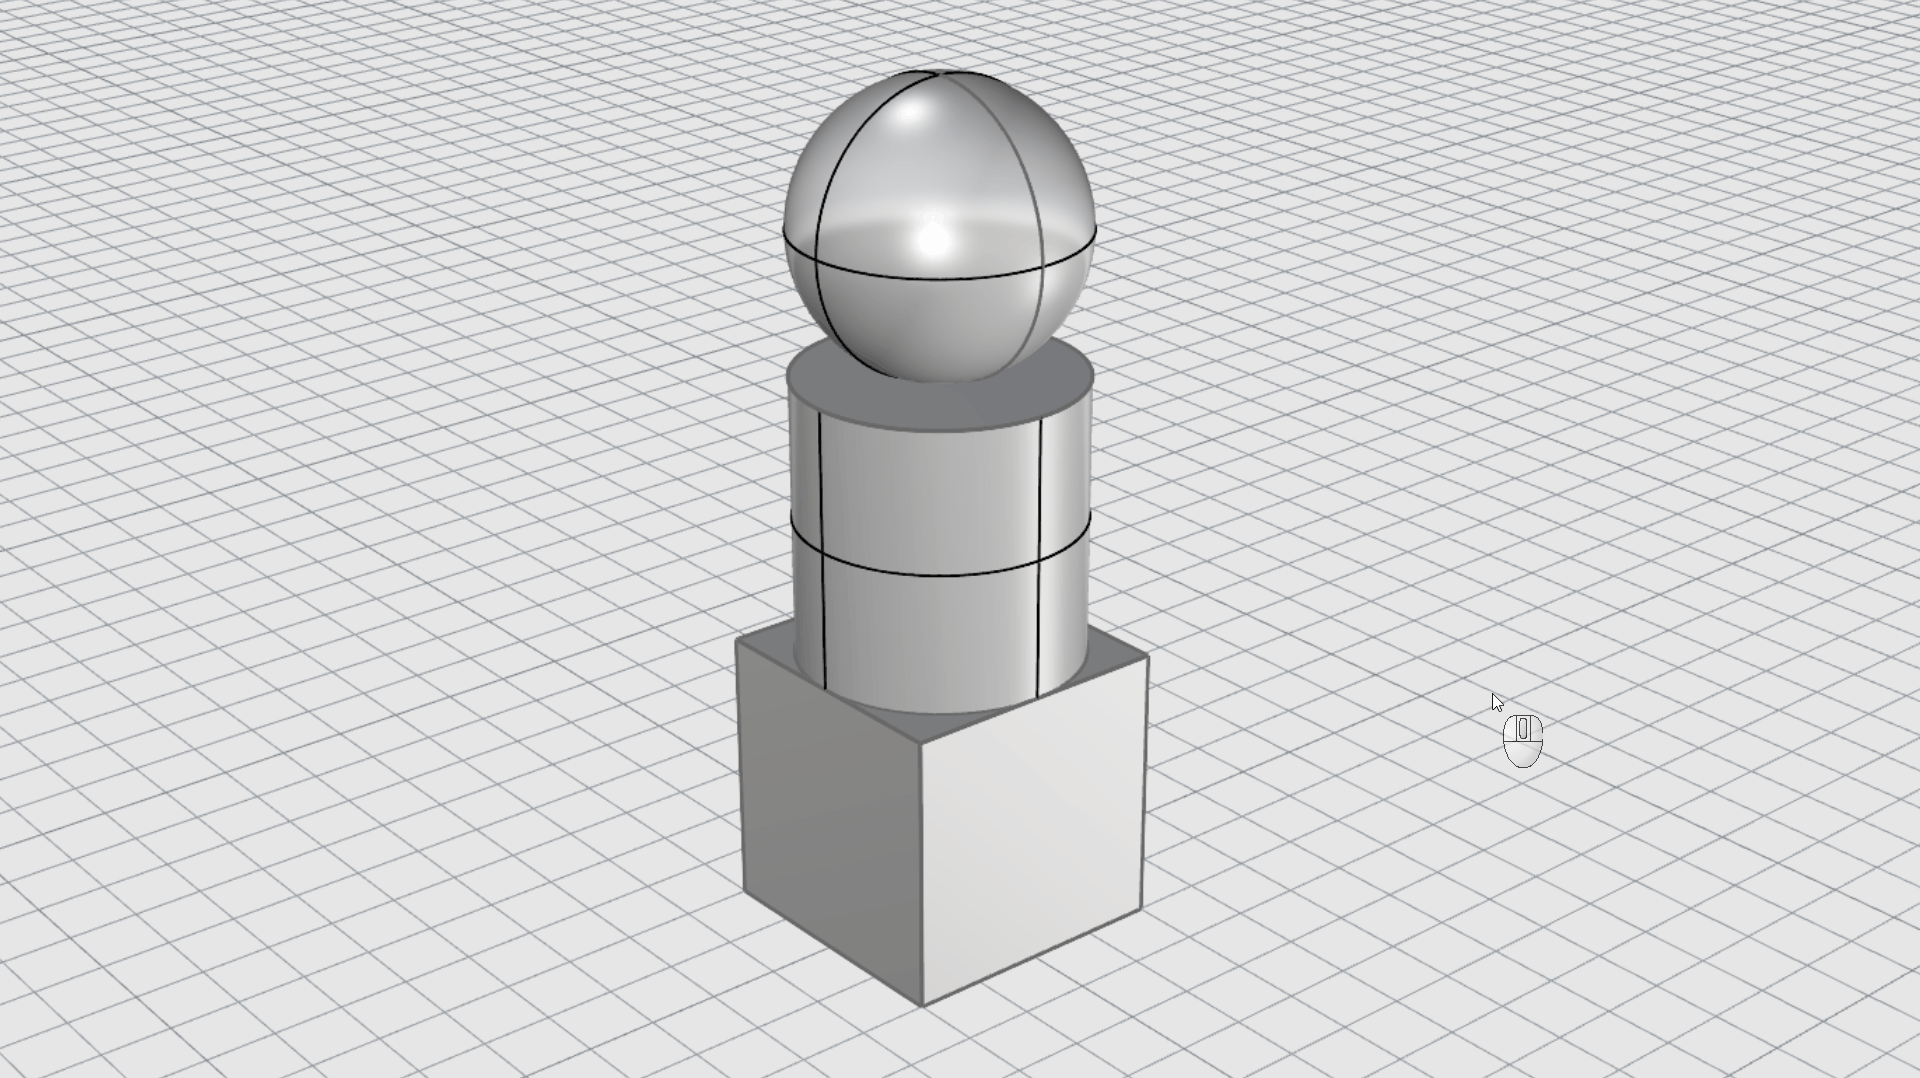
Exercise: Select-Deselect
In this simple exercise, we will practice different selection methods in Rhino.
-
Maximize the viewport and
-
Left-click the sphere to select it. Notice that the Perspective viewport shows the objects in Shaded mode. In this mode, you can click anywhere on the object to select it.
-
Hold the key and select the cylinder. The cylinder is added to the selection.
-
Hold the key and click on the sphere again. The sphere is removed from the selection.
-
Click away from the objects or press the key. The selection is cleared.
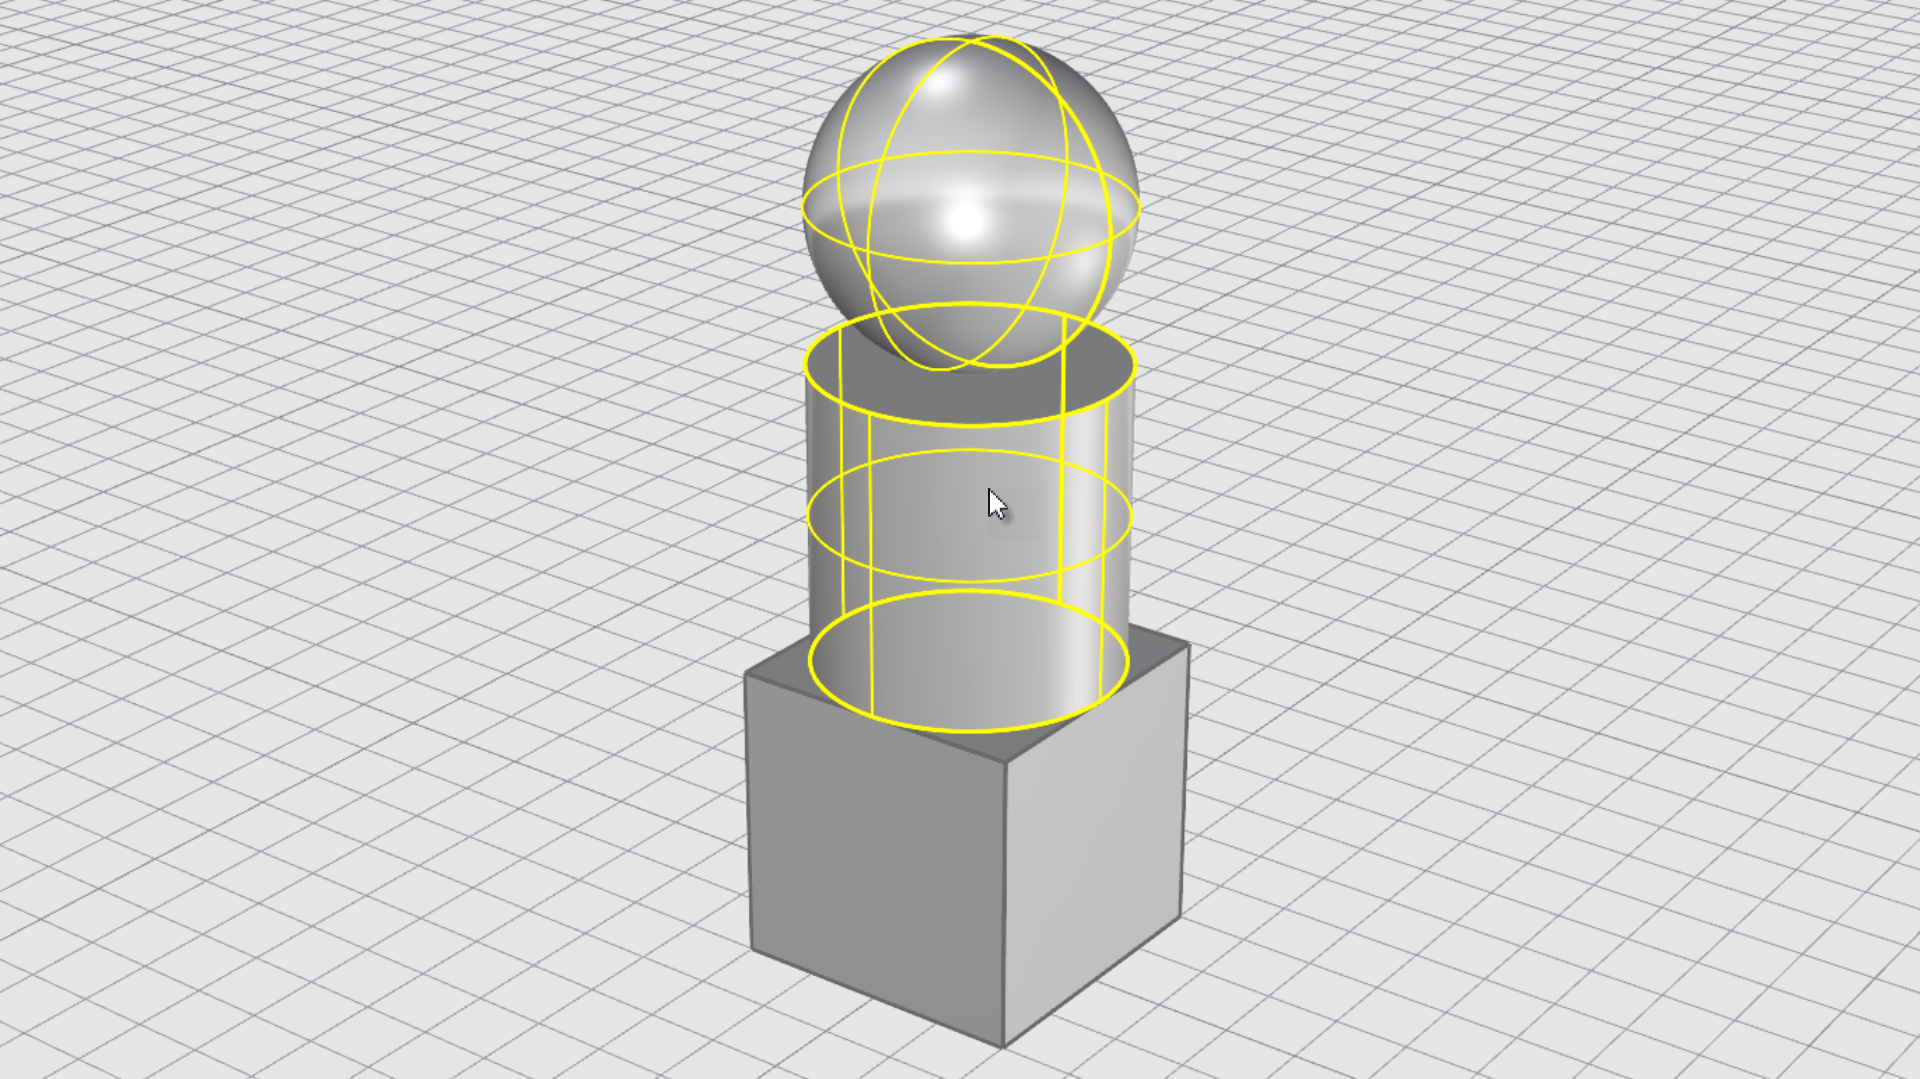
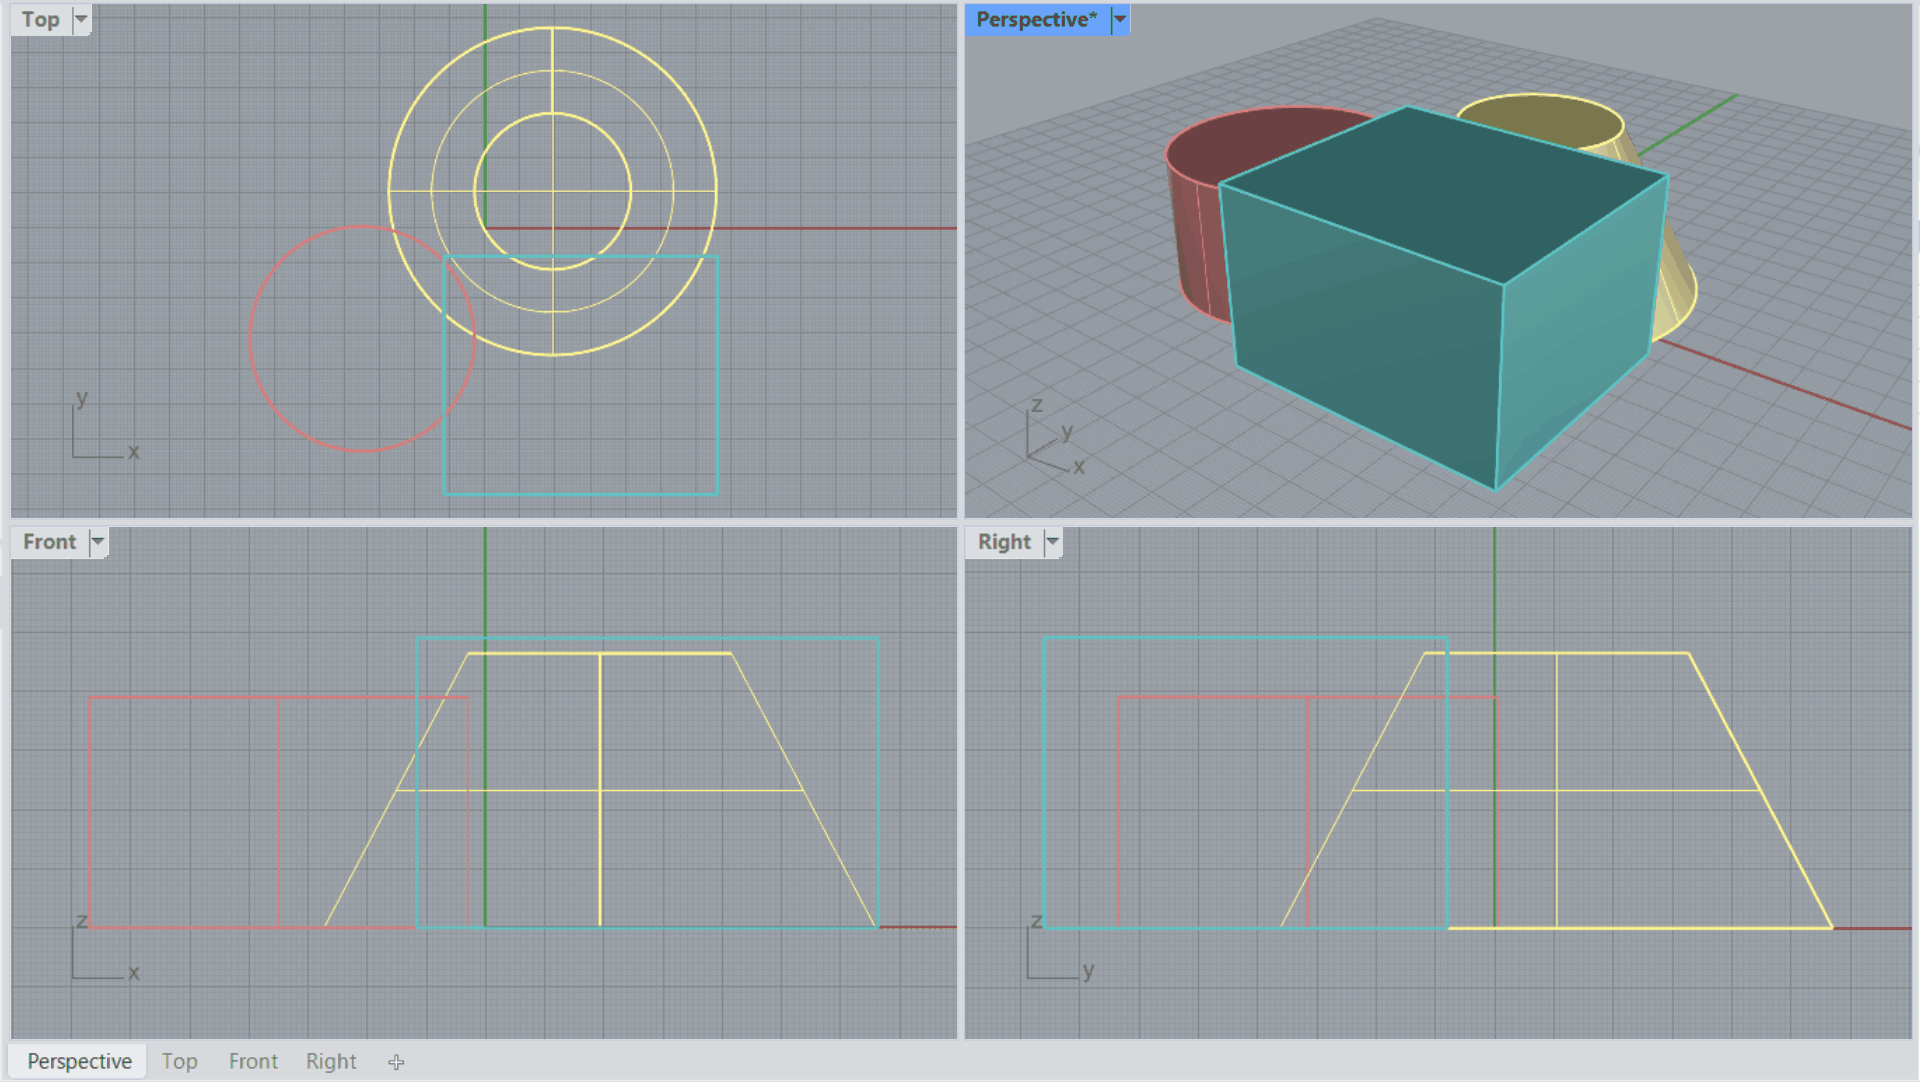
Window Selection Method
Another common method is to make a window to select multiple objects in one go.
There are two methods:
1. Window Selection
Drag left to right and you’ll notice only objects entirely inside the selection window are selected. The window contour is defined by a continuous line.
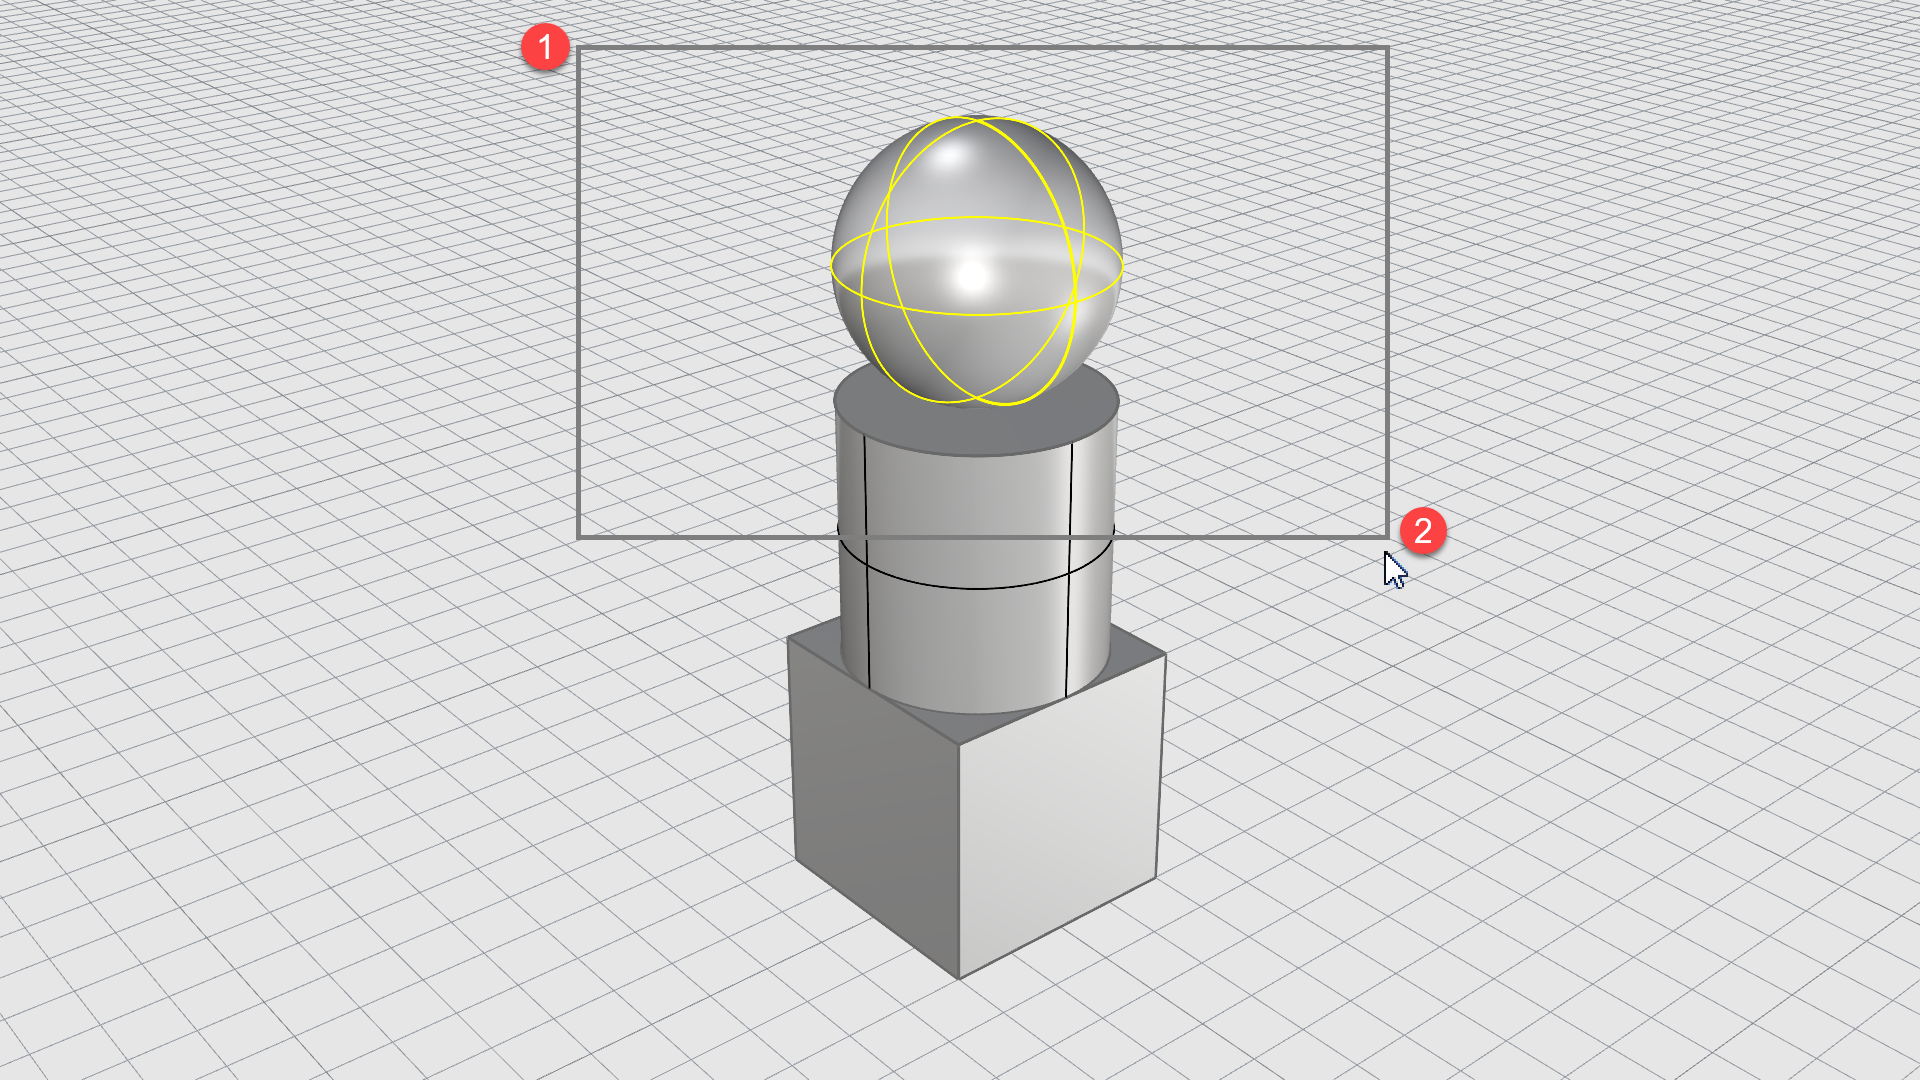
2. Crossing Selection
Drag right to left and you’ll notice all objects are selected, even if they barely touch the selection window. The window contour is defined by a dashed line.
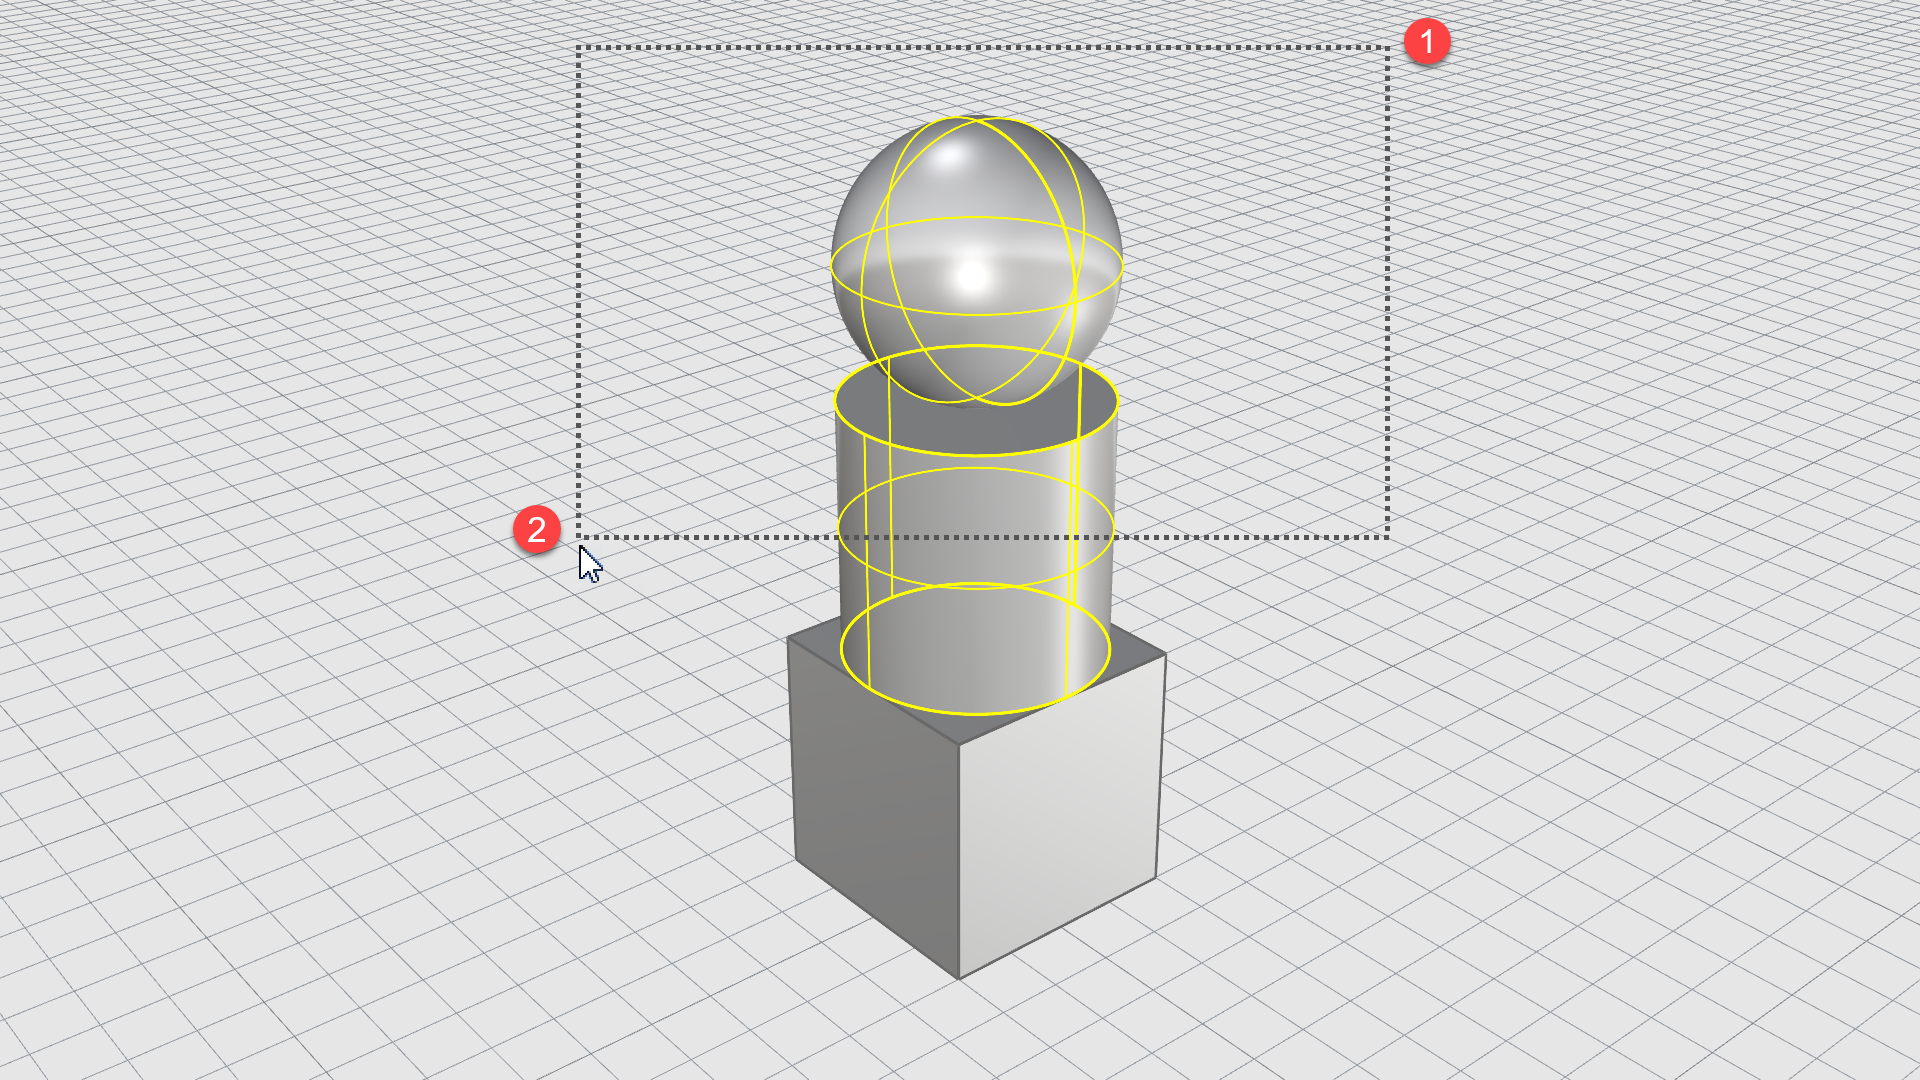
Exercise: Window Selection
In this simple exercise, we will practice window selection methods.
-
Open select-objects.3dm in Rhino if you haven’t done so above.
-
Maximize the viewport and left-click the sphere to select it.
-
Drag a window by clicking with your mouse from left to right, so that only the sphere is entirely inside the selection rectangle.
-
Press the key to deselect the sphere.
-
Now drag the same window as above, but this time right to left. Make sure the sphere is entirely inside and the cylinder only partially.
-
Notice that both objects get selected, as opposed to the window selection exercise above.
Press the or anywhere in the viewport to deselect.
Selection Menu
If you click a location that is very close to the place where several objects are close to each other, it is possible that Rhino will not be able to determine which object you want to select. When this happens, a selection menu will appear with a list the possible objects.
As the mouse moves over the list, each object highlights. Click on the name of the object in the list to make your selection.
Selection Commands
Rhino has many commands and methods for selecting objects. You can select an object by name, layer, color, type; crossing fences or by volume, etc.
The best ways to access Selection Commands are:
- Through the Edit menu > Select Objects
- Typing the Sel commands in the Command Prompt
- Through the toolbar icons on the Select tab of the Standard Toolbar
Access via the Command Prompt
Access via the Toolbar Icons
Sub-Object Selection
You can select sub-parts of an object in Rhino. This can serve as input for other commands or to modify parts of the object. The advantage being that once the “sub-part” is modified, the rest of the object adapts to these modifications, while staying a unique entity.
Sub-Object Types
- Control Points
- Surface and Polysurface Edges
- Polysurface Faces
- SubD Vertices
- SubD Edges
- SubD Faces
- Mesh Vertices
- Mesh Edges
- Mesh Faces
Add to this above list, parts within a
![]() Group
.
Group
.
Sub-Object Selection Methods
There are two ways to Sub-Object Select objects:
1. Keyboard Shortcuts
Press + while left-clicking on the sub-part. With this method, a single click will still select the entire object.

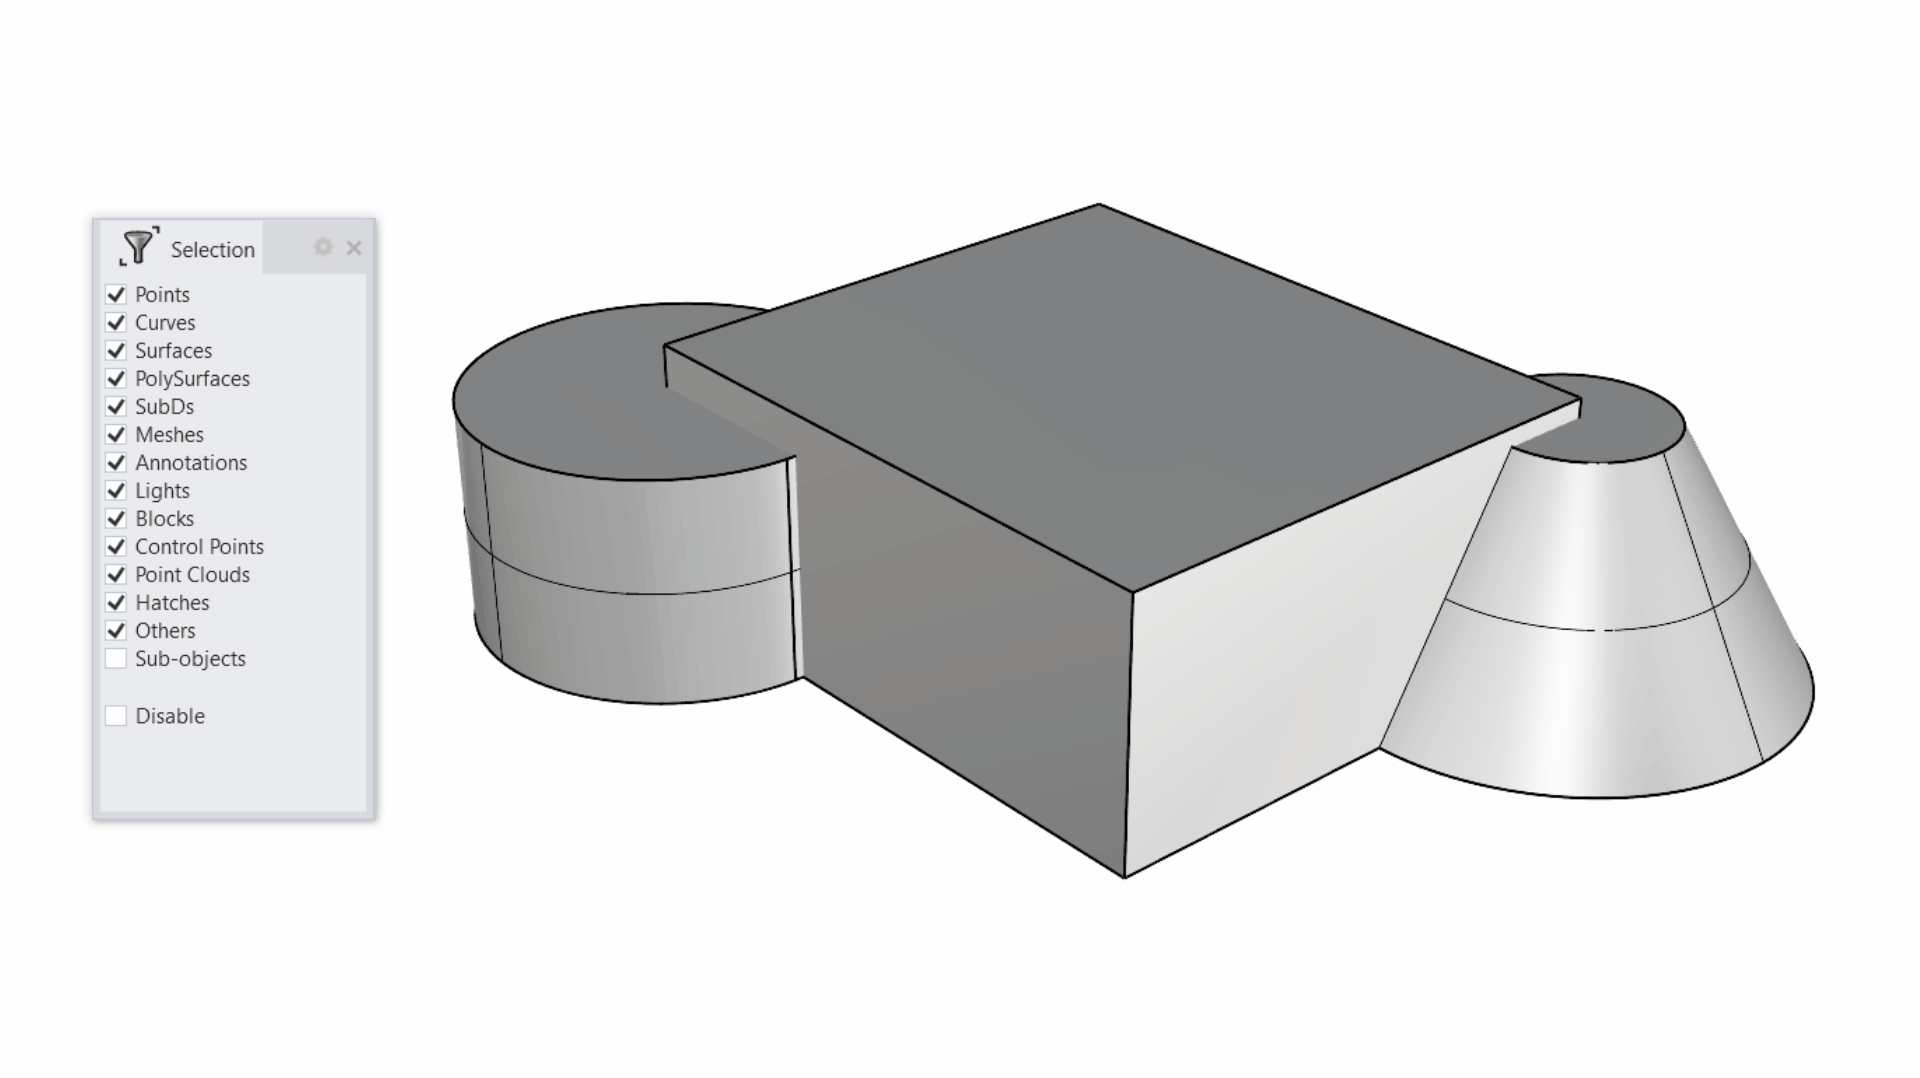
2. Selection Filters
Activating the Selection Filters and checking Sub-Objects will allow you to single-click a sub-object to select it.
Sub-Object Chain Selection
Rhino offers methods for quickly selecting rows of faces and edges. You can also select a range of these within a row. These methods comes in very handy when using sculpting techniques with SubDs.
Row Selection
To chain select an entire row or loop, Sub-Object select one face and double-click on an adjacent face. The same applies for edges.
Range Selection
You can select a range of faces or edges within a row, by sub-object selecting the start and end and double-clicking an adjacent object in between.
Exercise: Sub-Object Selection
In this simple exercise, learn how to Sub-object select a range of SubD faces and extrude them with the Gumball
- Open Sub-Object-Practice.3dm in Rhino
- Make sure to activate the Gumball
- Sub-Object select the faces marked 1
- Click in the
Gumball Extrude Dot
and type 3, then press
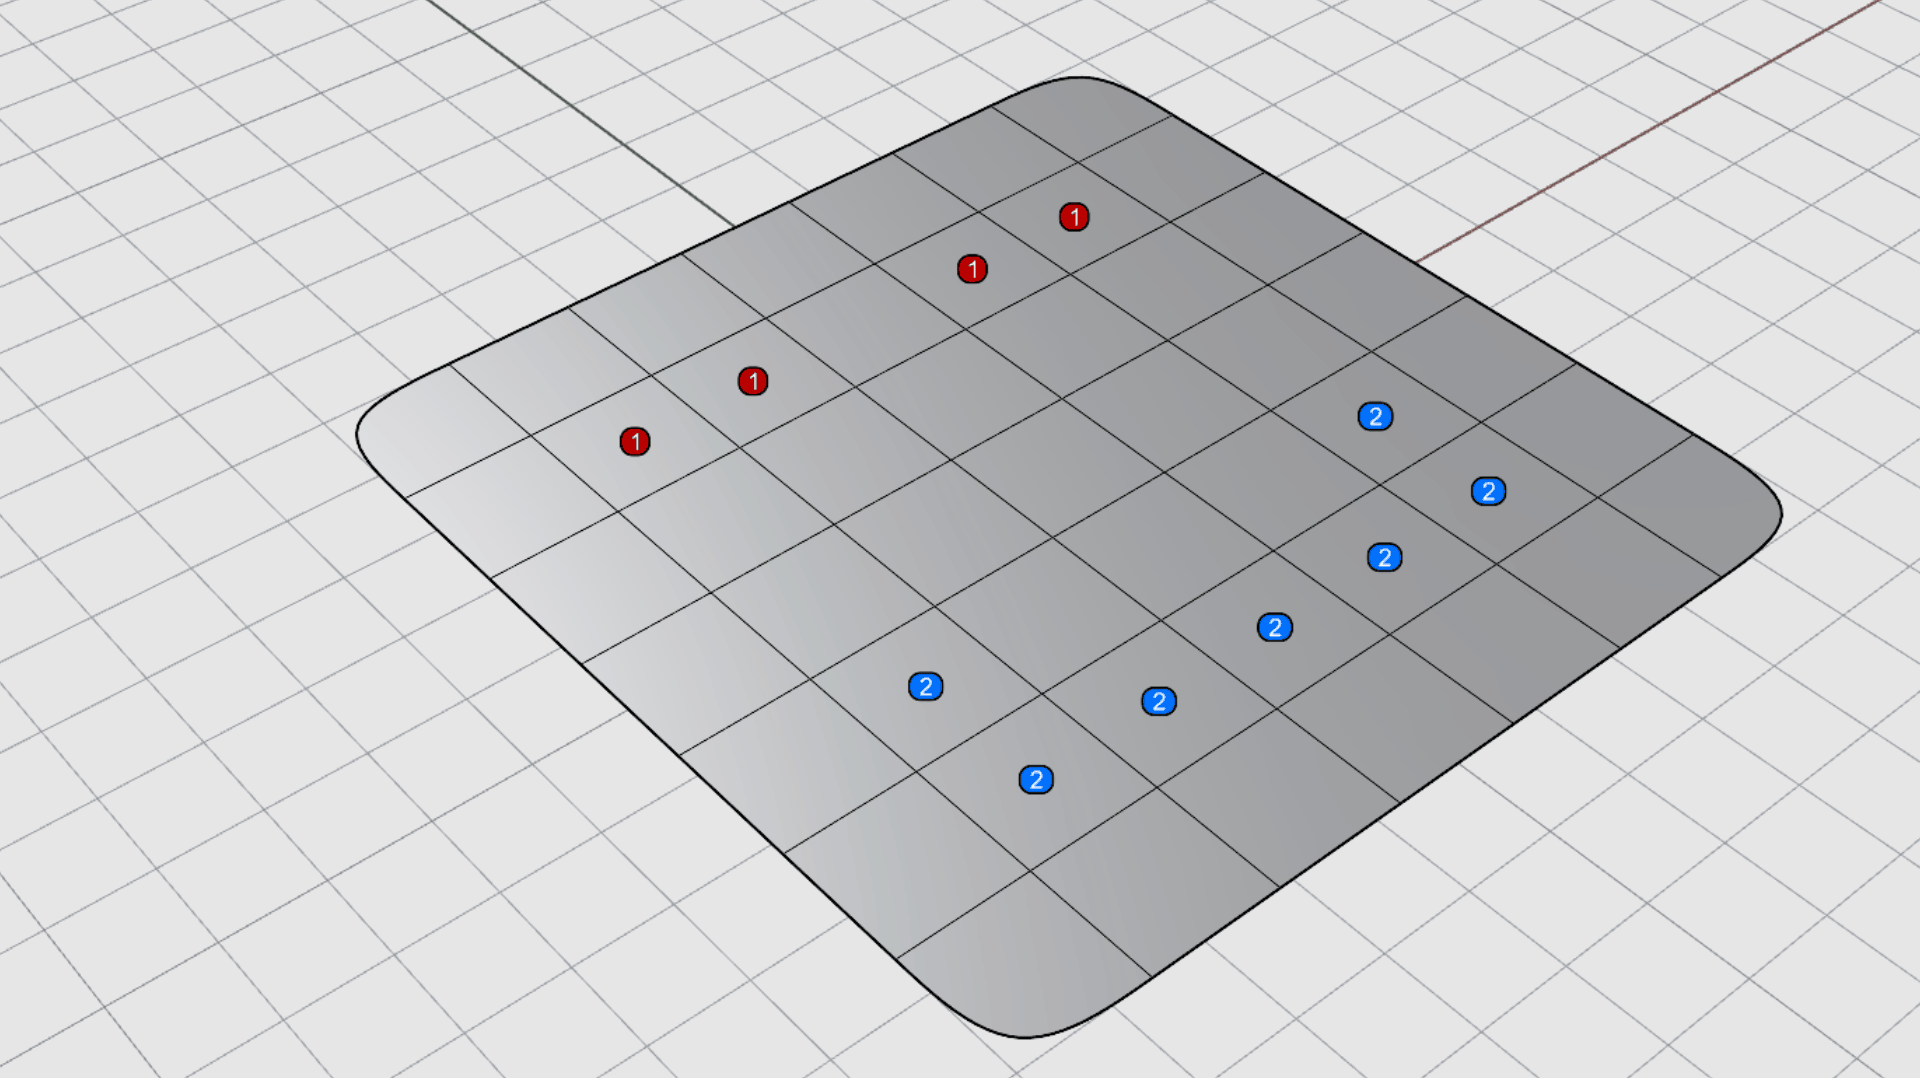
- Now, Sub-Object select the faces marked 2
- Click the
Gumball Extrude Dot
and type 4, then press
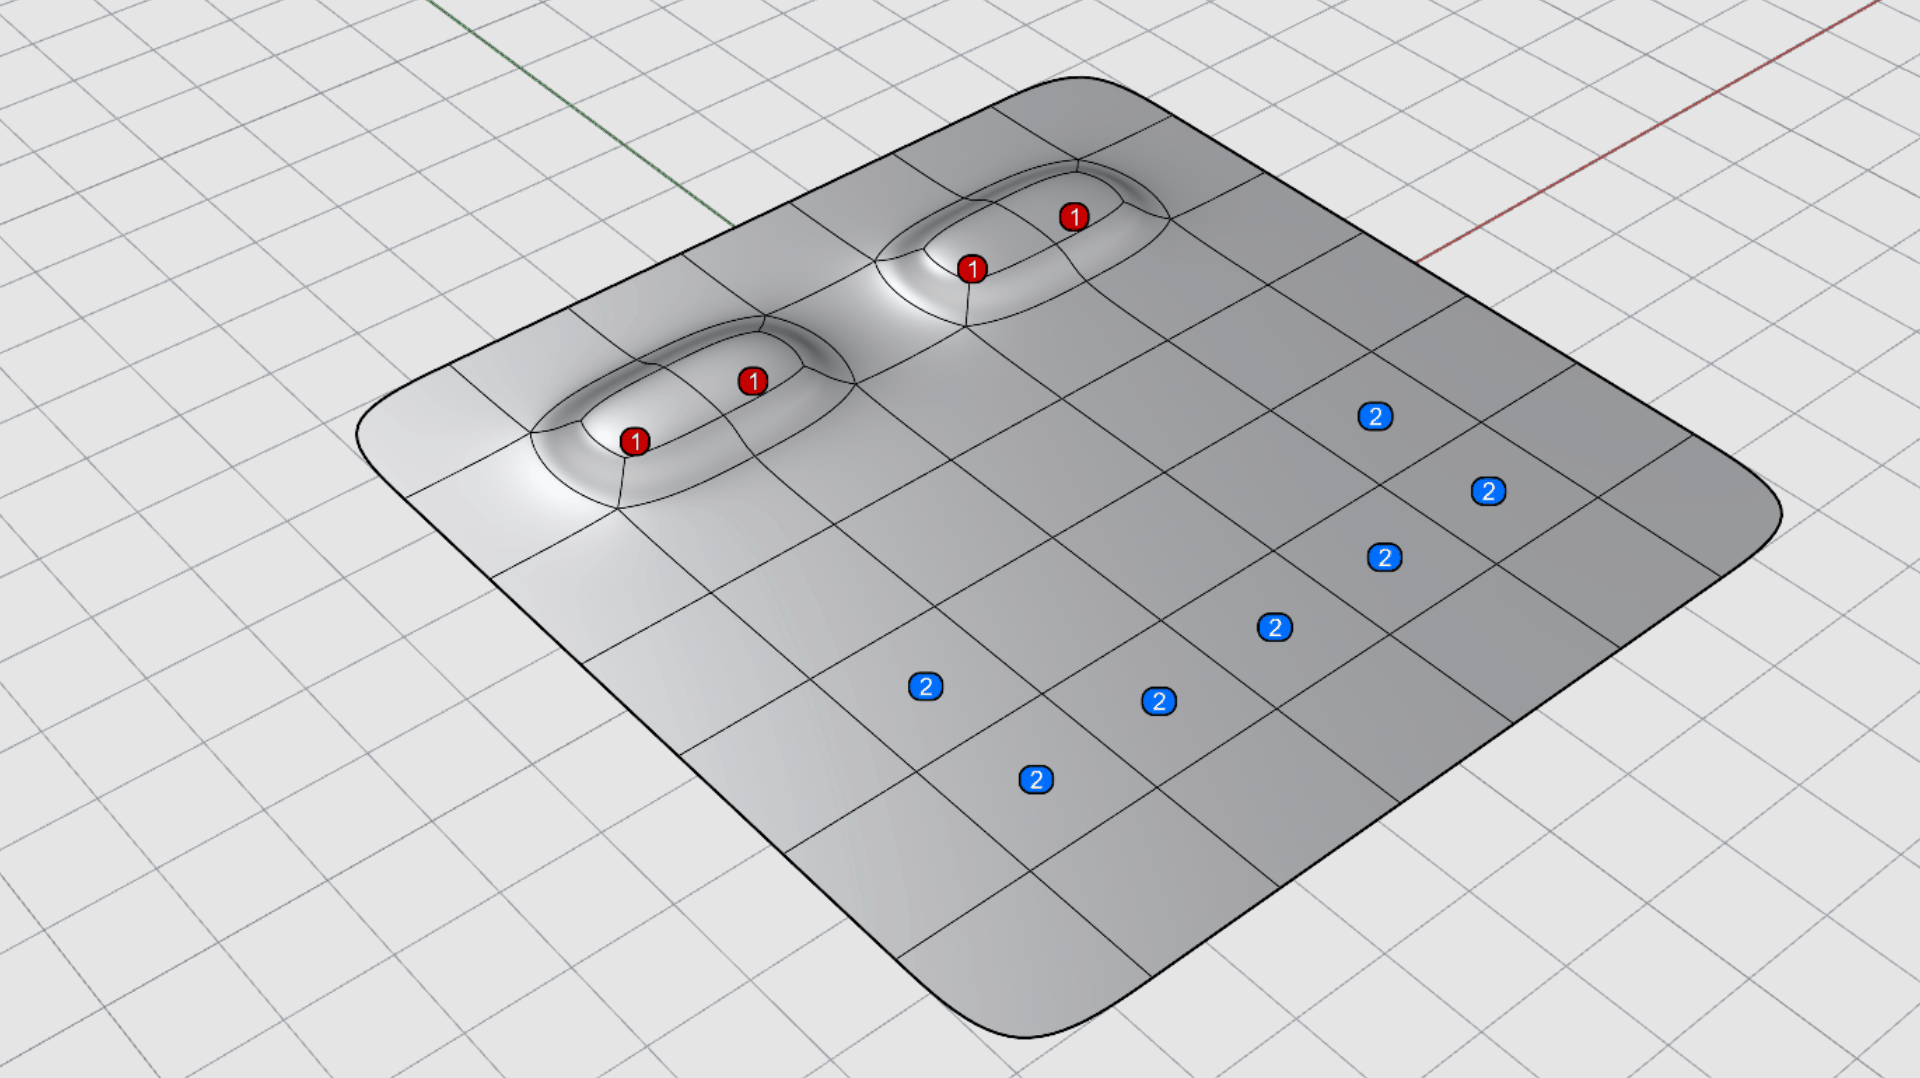
- Turn off
 Layer
Dots 1 and Dots 2. Check the results.
Layer
Dots 1 and Dots 2. Check the results. - Try it on your own! Continue sub-object selecting and editing to add a nose or change the facial expression.
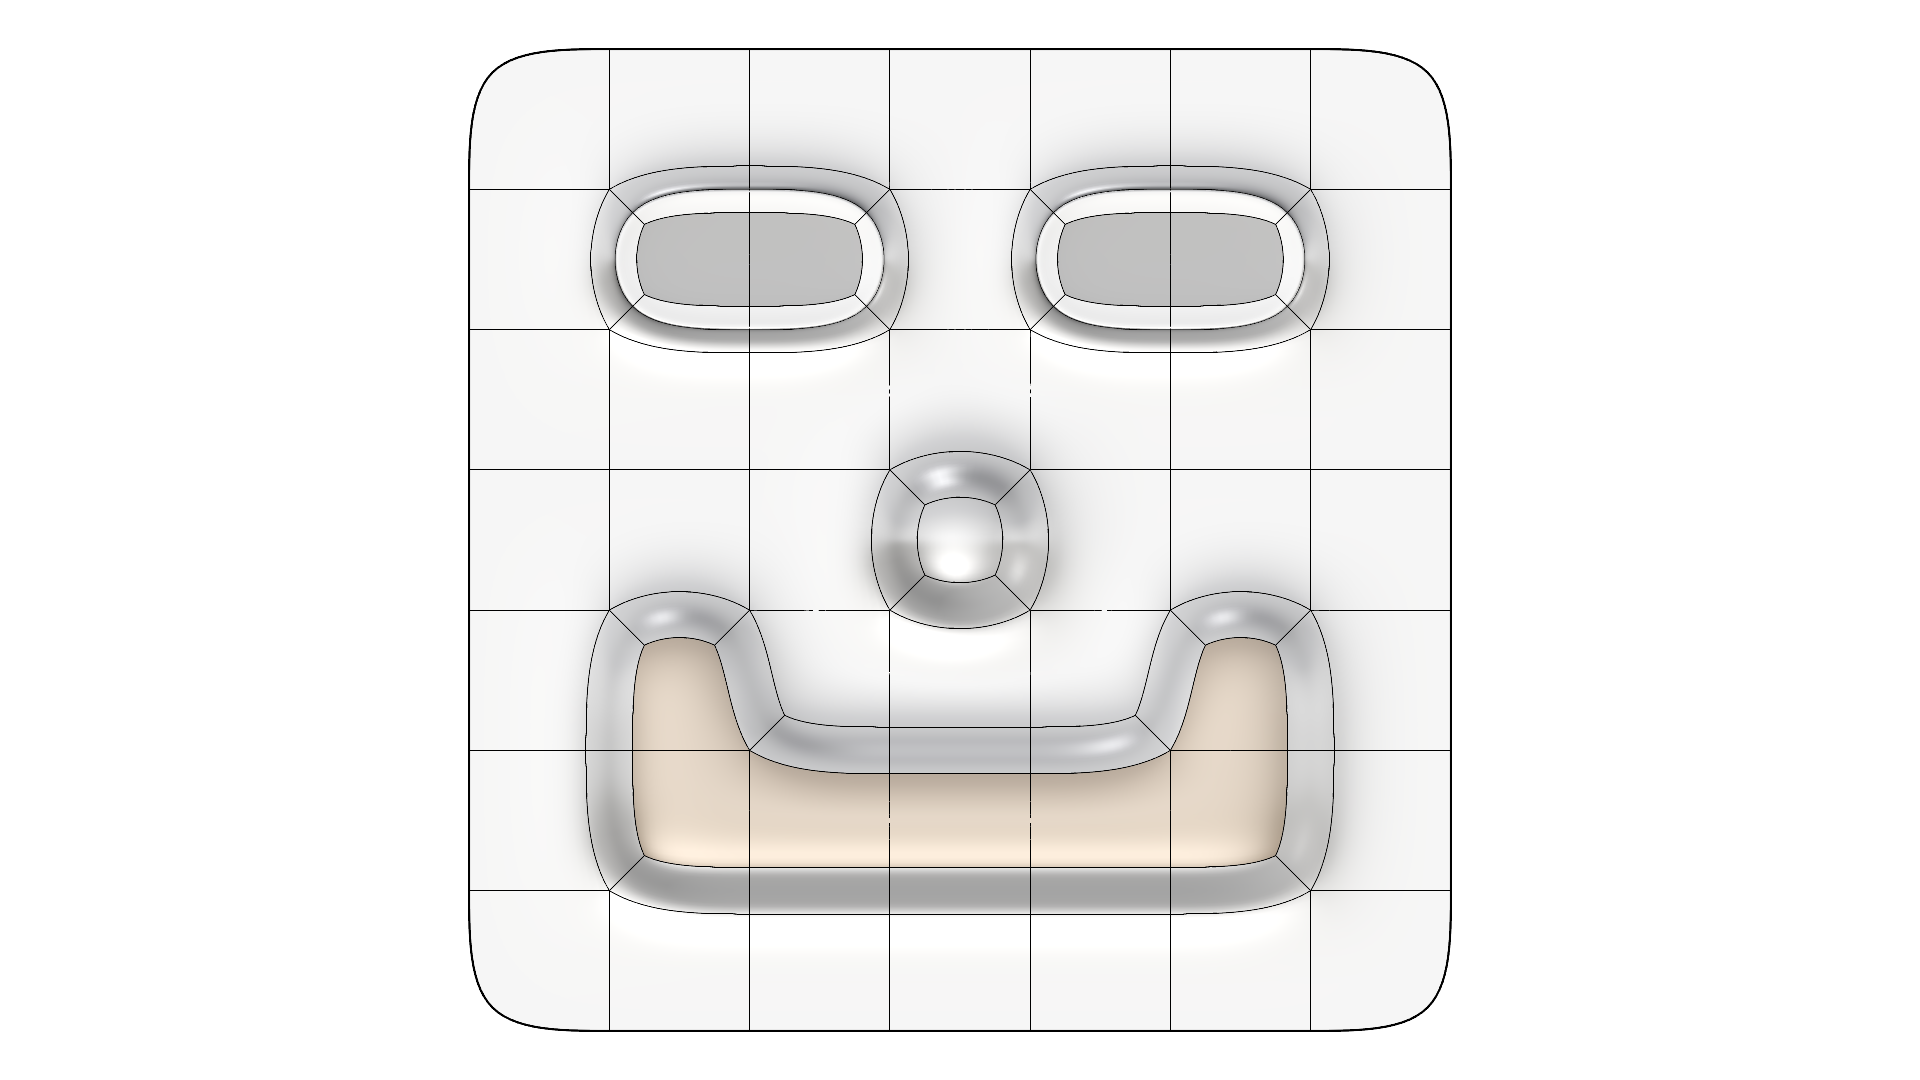
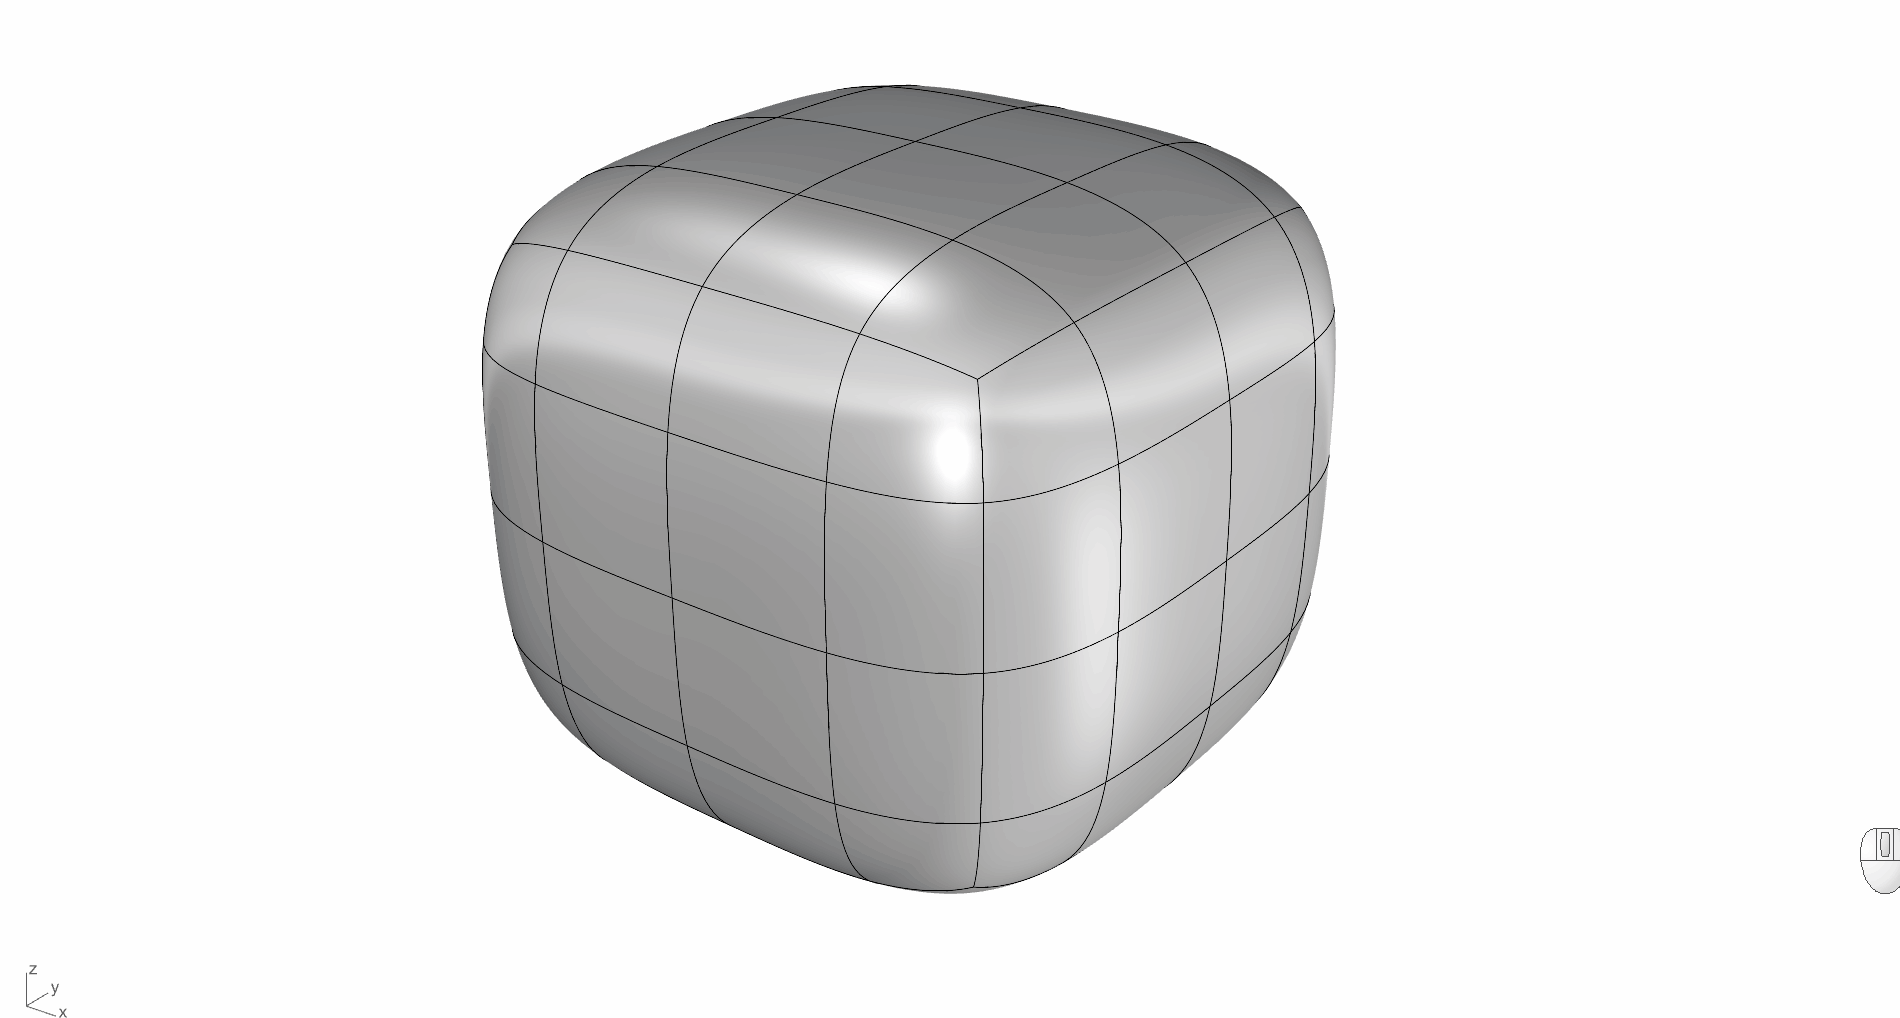
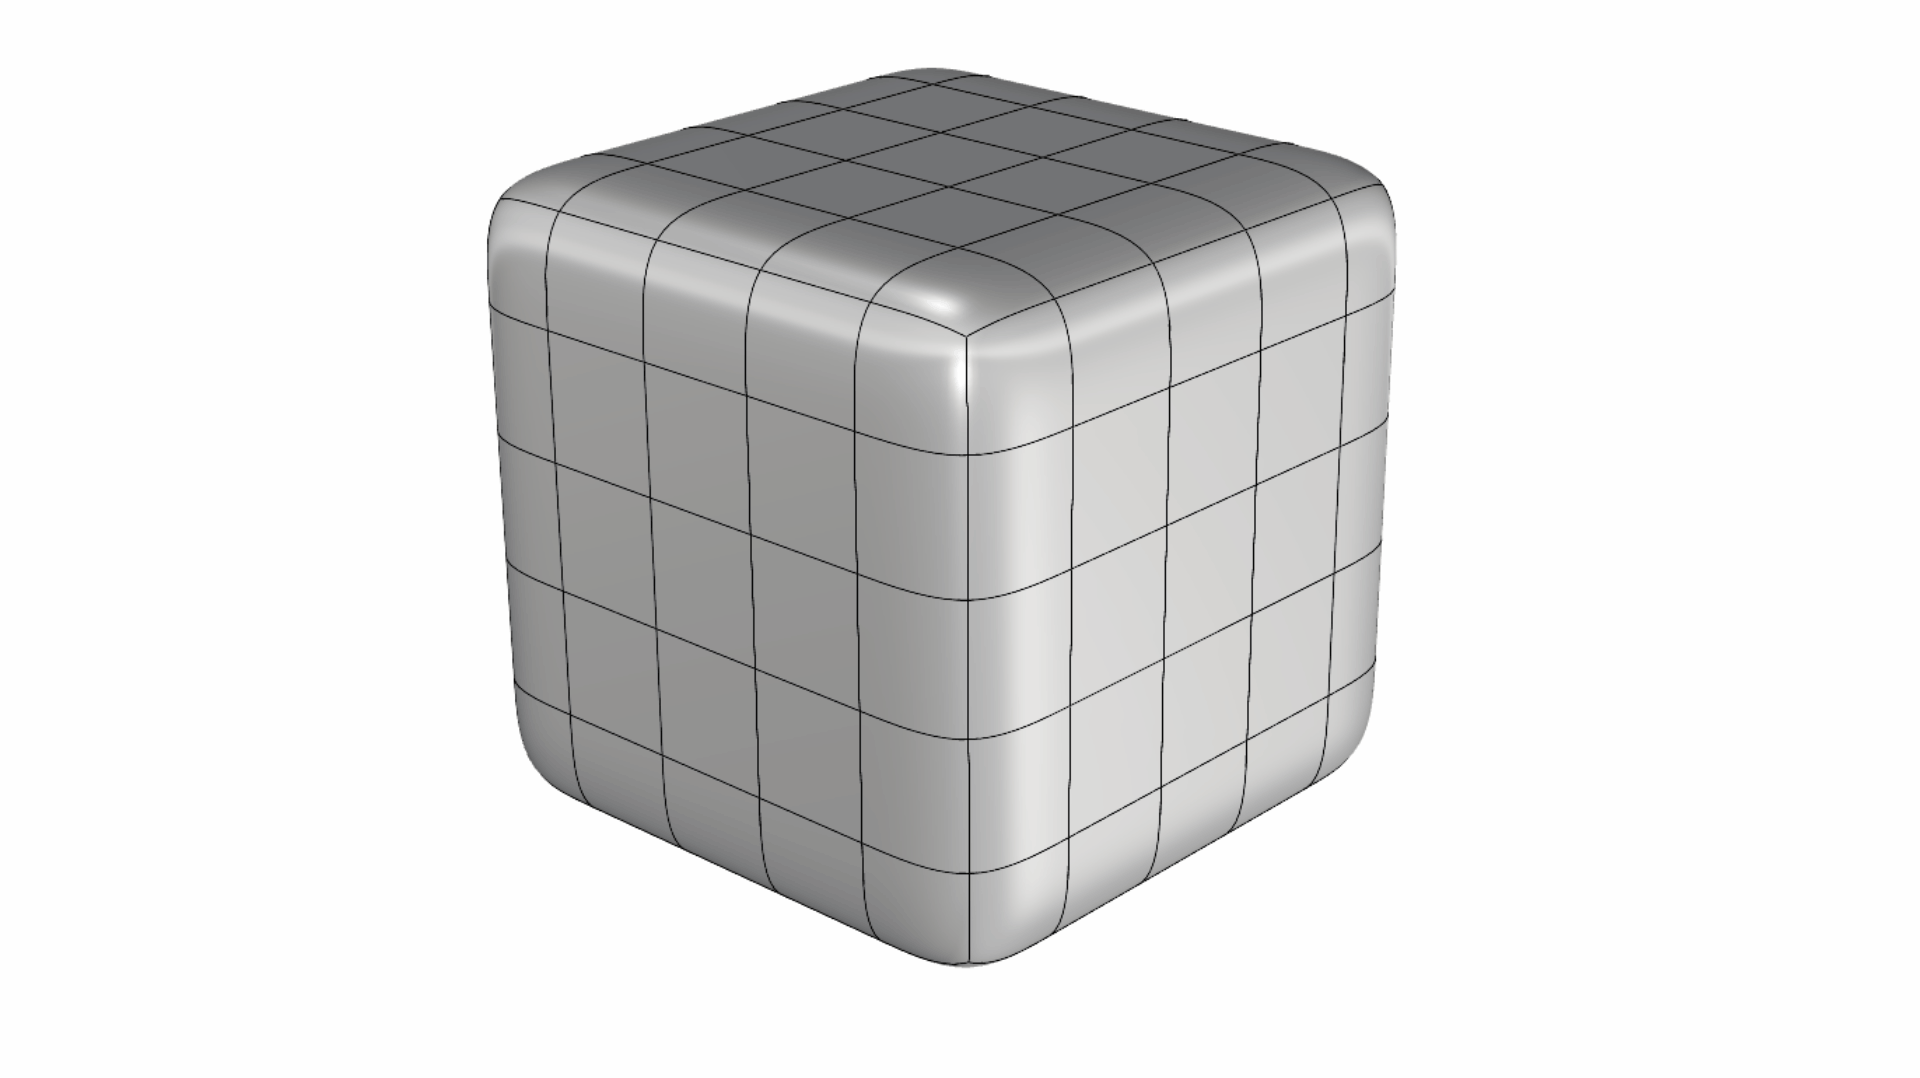
Sub-Object Selection is very handy as a sculpting technique with SubD Objects. You can obtain a large variety of concept models in a short time.
