Viewports
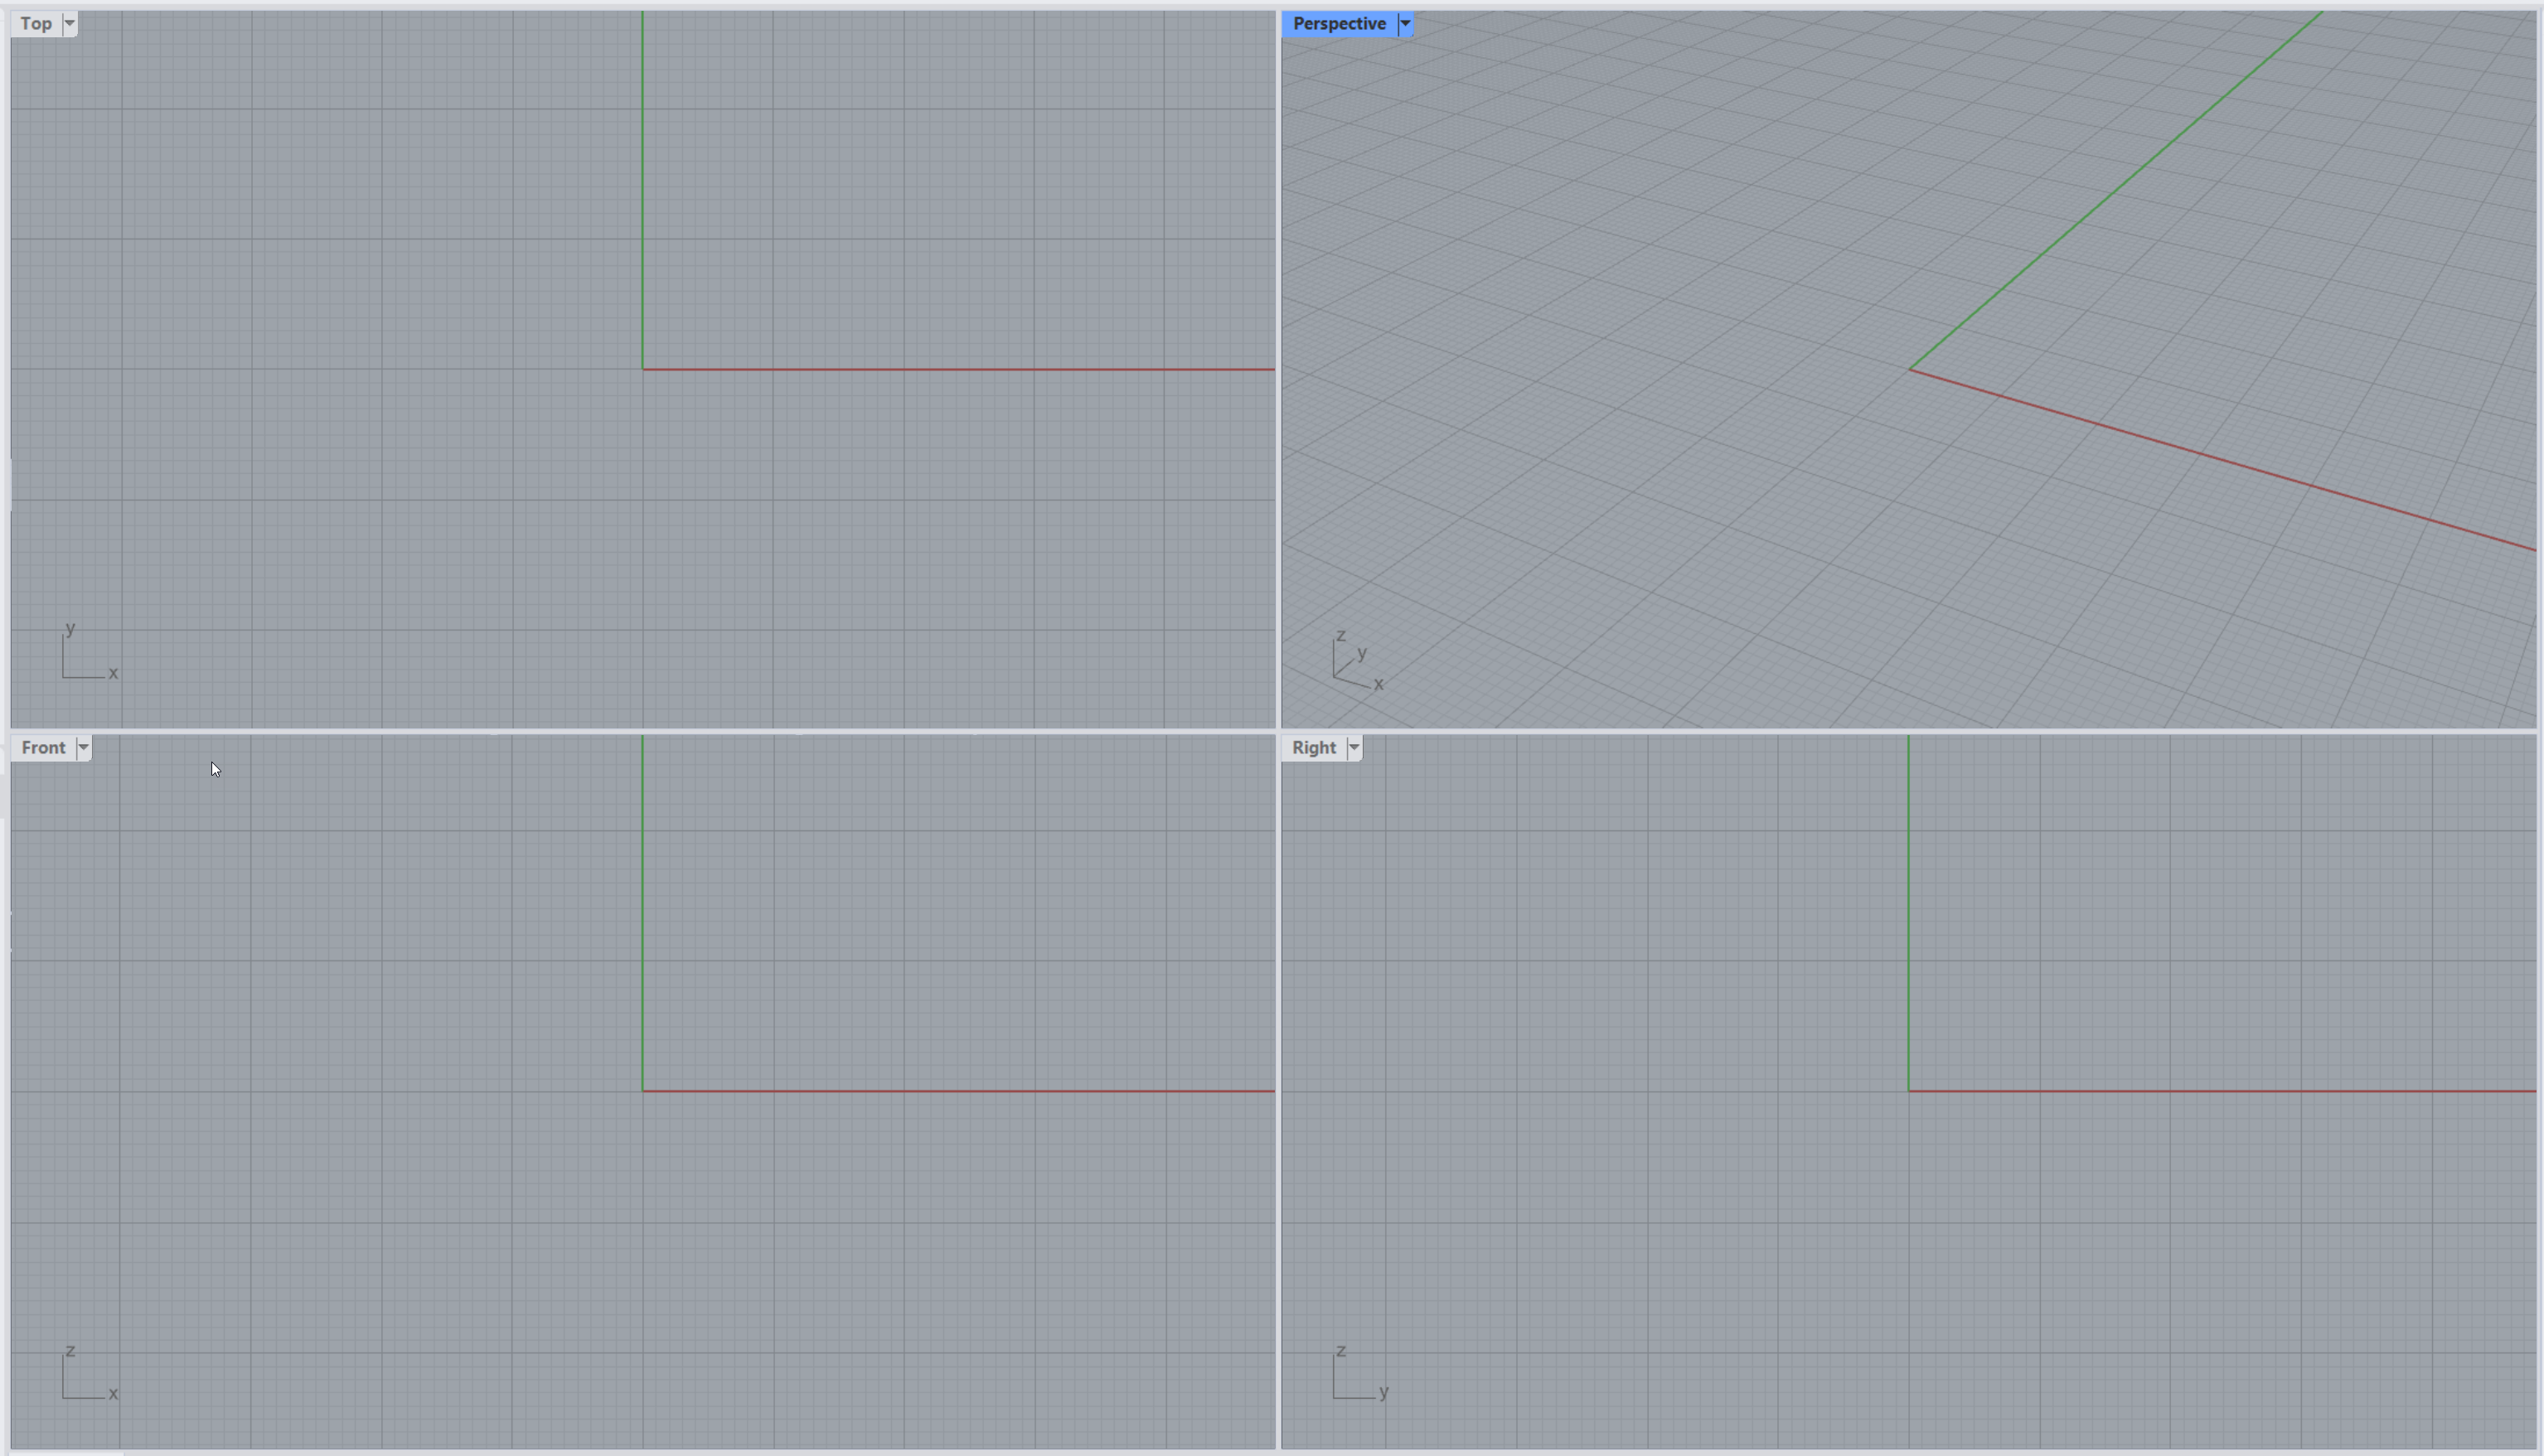
Viewports are windows that display different views of your model. Each viewport shows a different angle for your model.
A few viewport facts:
- They can be docked or floating.
- Their
size
and position are adjustable. Use the
 ViewportProperties
to set a specific Width and Height.
ViewportProperties
to set a specific Width and Height. - You can add, remove, and arrange viewports.
- Each viewport has its own
 CPlane
(construction plane),
CPlane
(construction plane),
 Grid
and camera projection.
Grid
and camera projection. - Viewport projection can be parallel, perspective, or two-point perspective.
Viewport Titles

The viewport title is the name tag on the upper-left corner of each viewport: .
You can create new viewports, rename viewports, and use predefined viewport configurations from the viewport title menu. Check out Manage Viewports for more on viewport commands.
Special Functions:
- To maximize a viewport , double-click on its title.
- To move a viewport , drag the viewport title.
- To duplicate a viewport , maximize it, and then drag the title (Windows only).
- To resize a viewport , drag the viewport splitters.
Viewport Projection
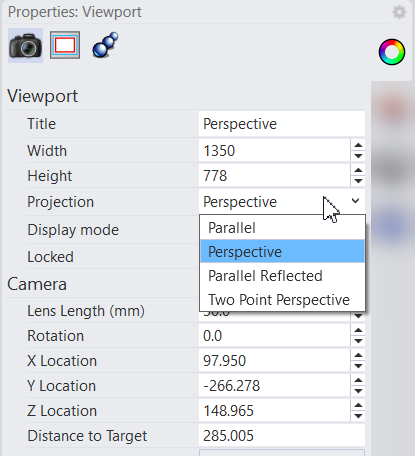
Rhino can project your 3D model onto your 2D screen in several ways: parallel, three-point perspective, or two-point perspective. The projection method is shown in the Properties panel when nothing is selected in the viewport.
To change the projection, select the new projection from the dropdown list:
Parallel Projection
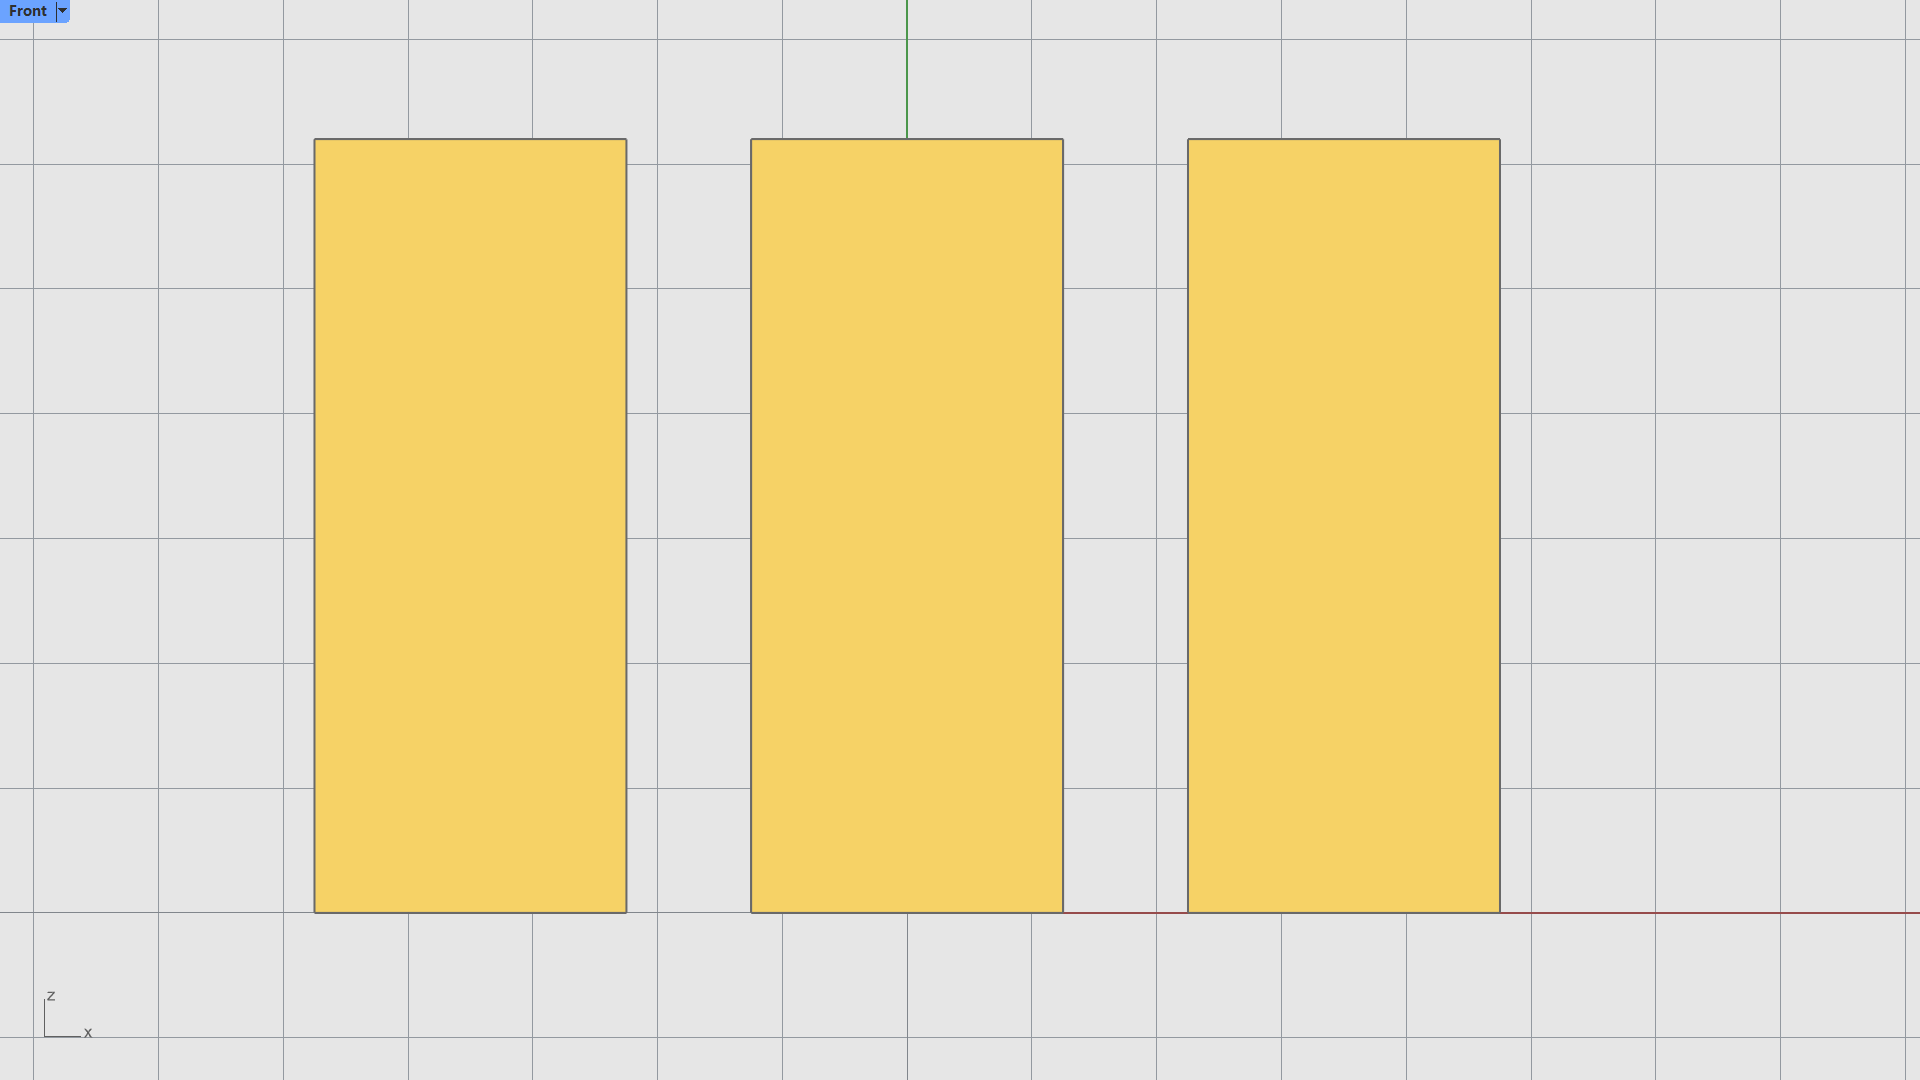
In a parallel view, all the grid lines are parallel to each other, and identical objects look the same size, regardless of where they are in space.
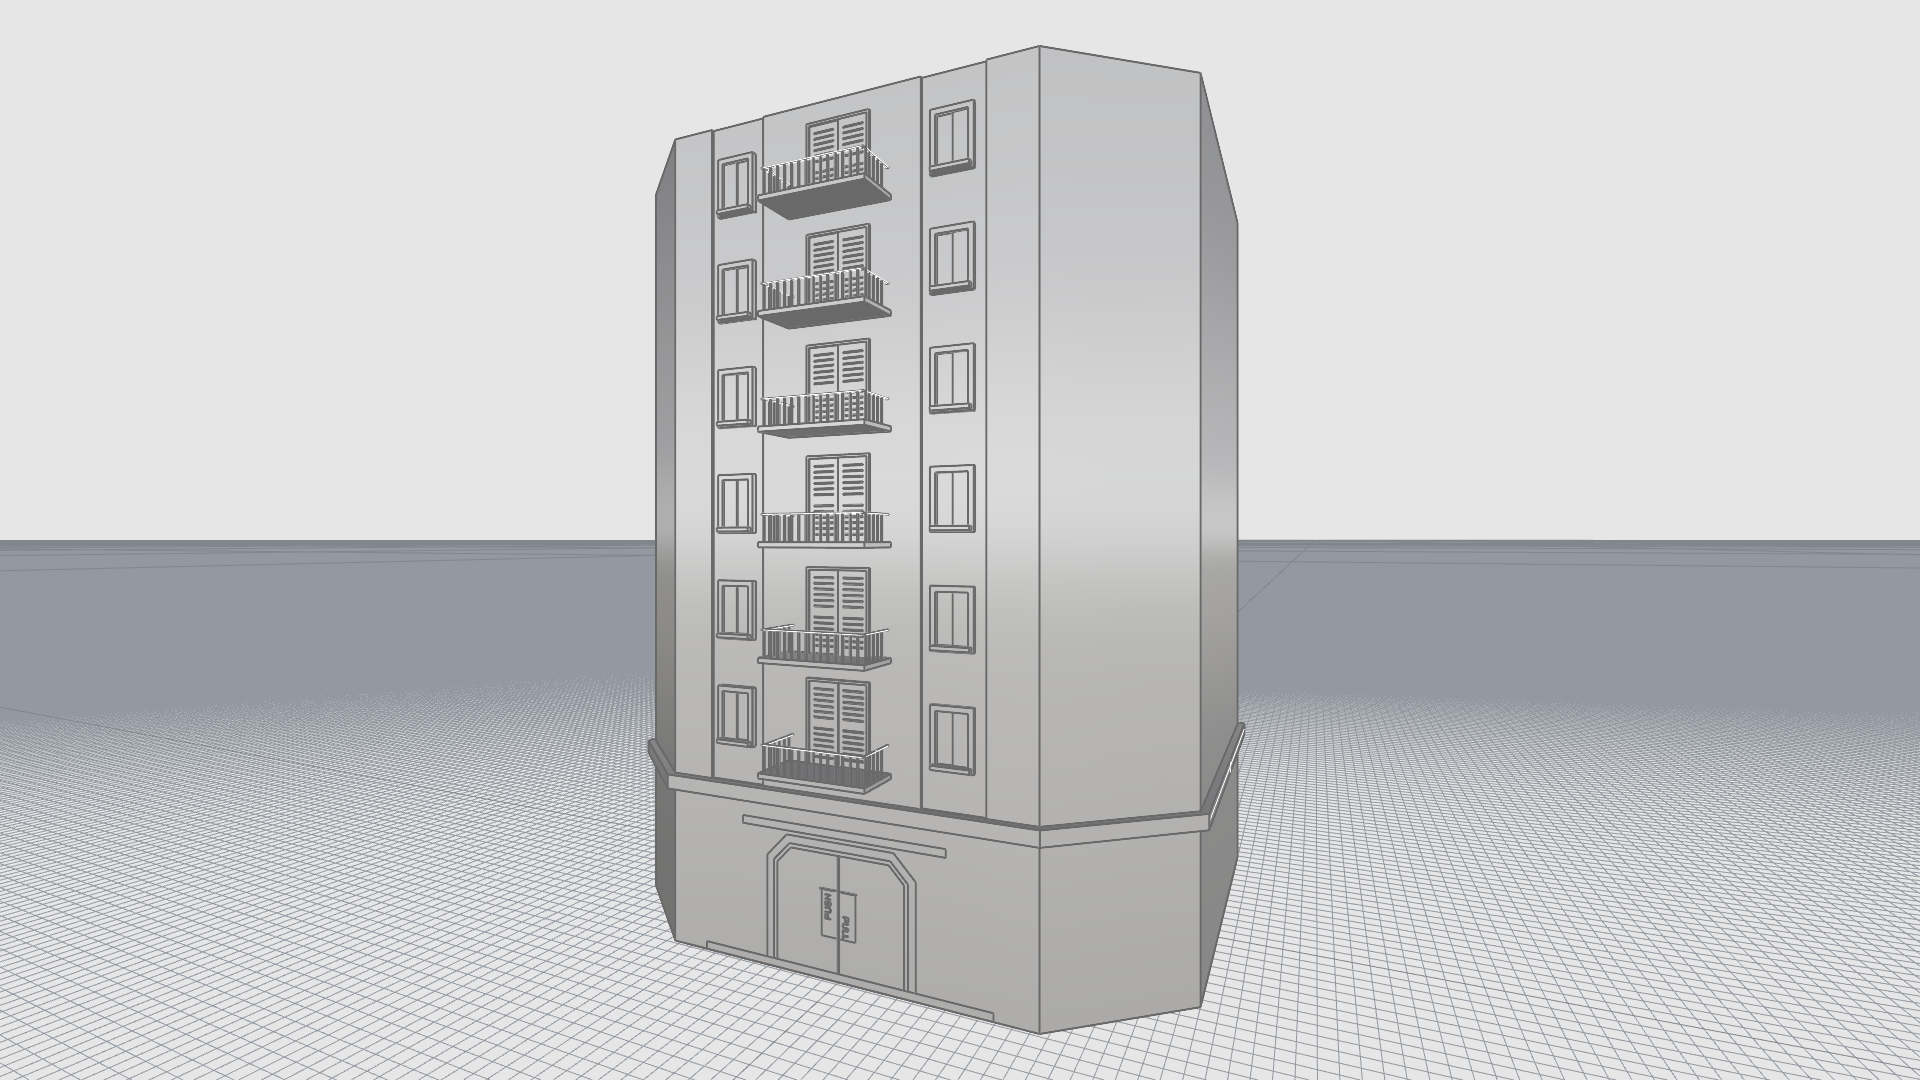
Perspective Projection
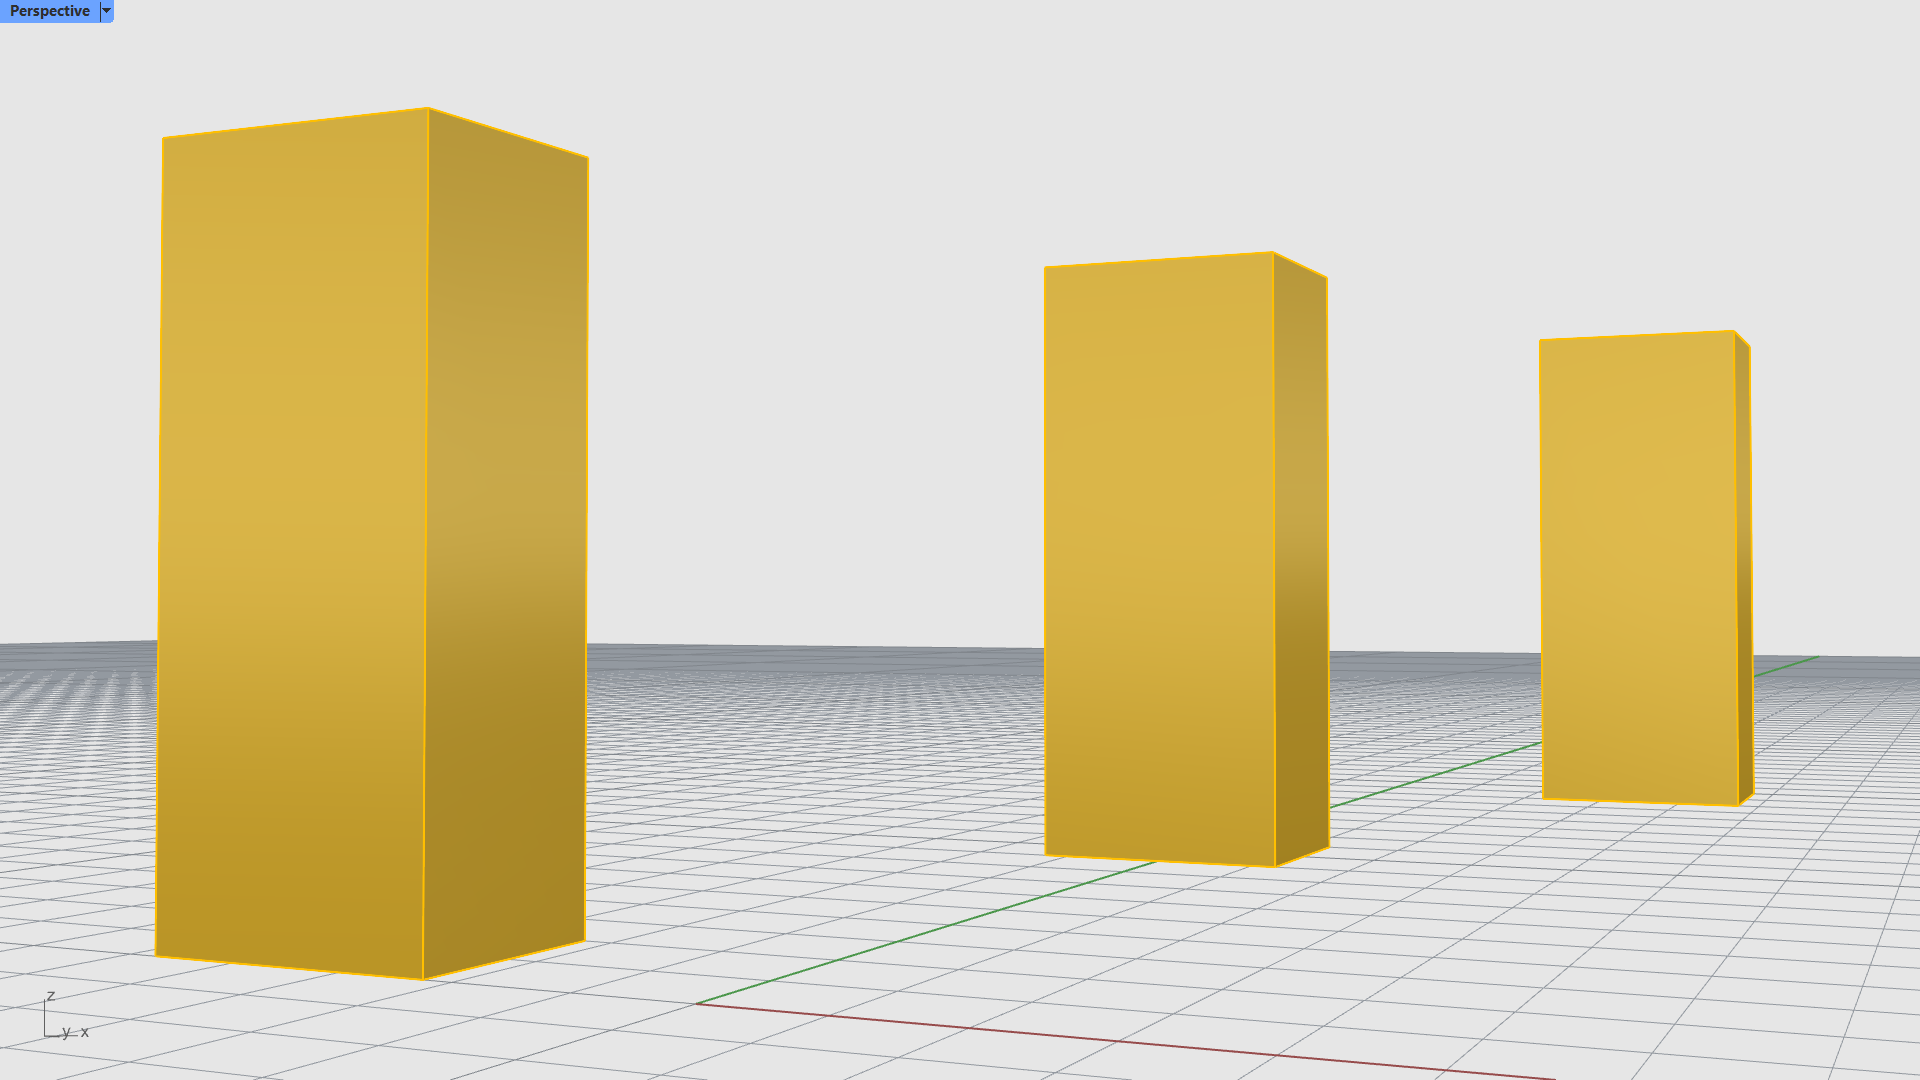
A perspective view uses three-point perspective. Grid lines converge to vanishing points, providing the illusion of depth. Perspective projection makes objects farther away look smaller.
Two-Point Perspective Projection
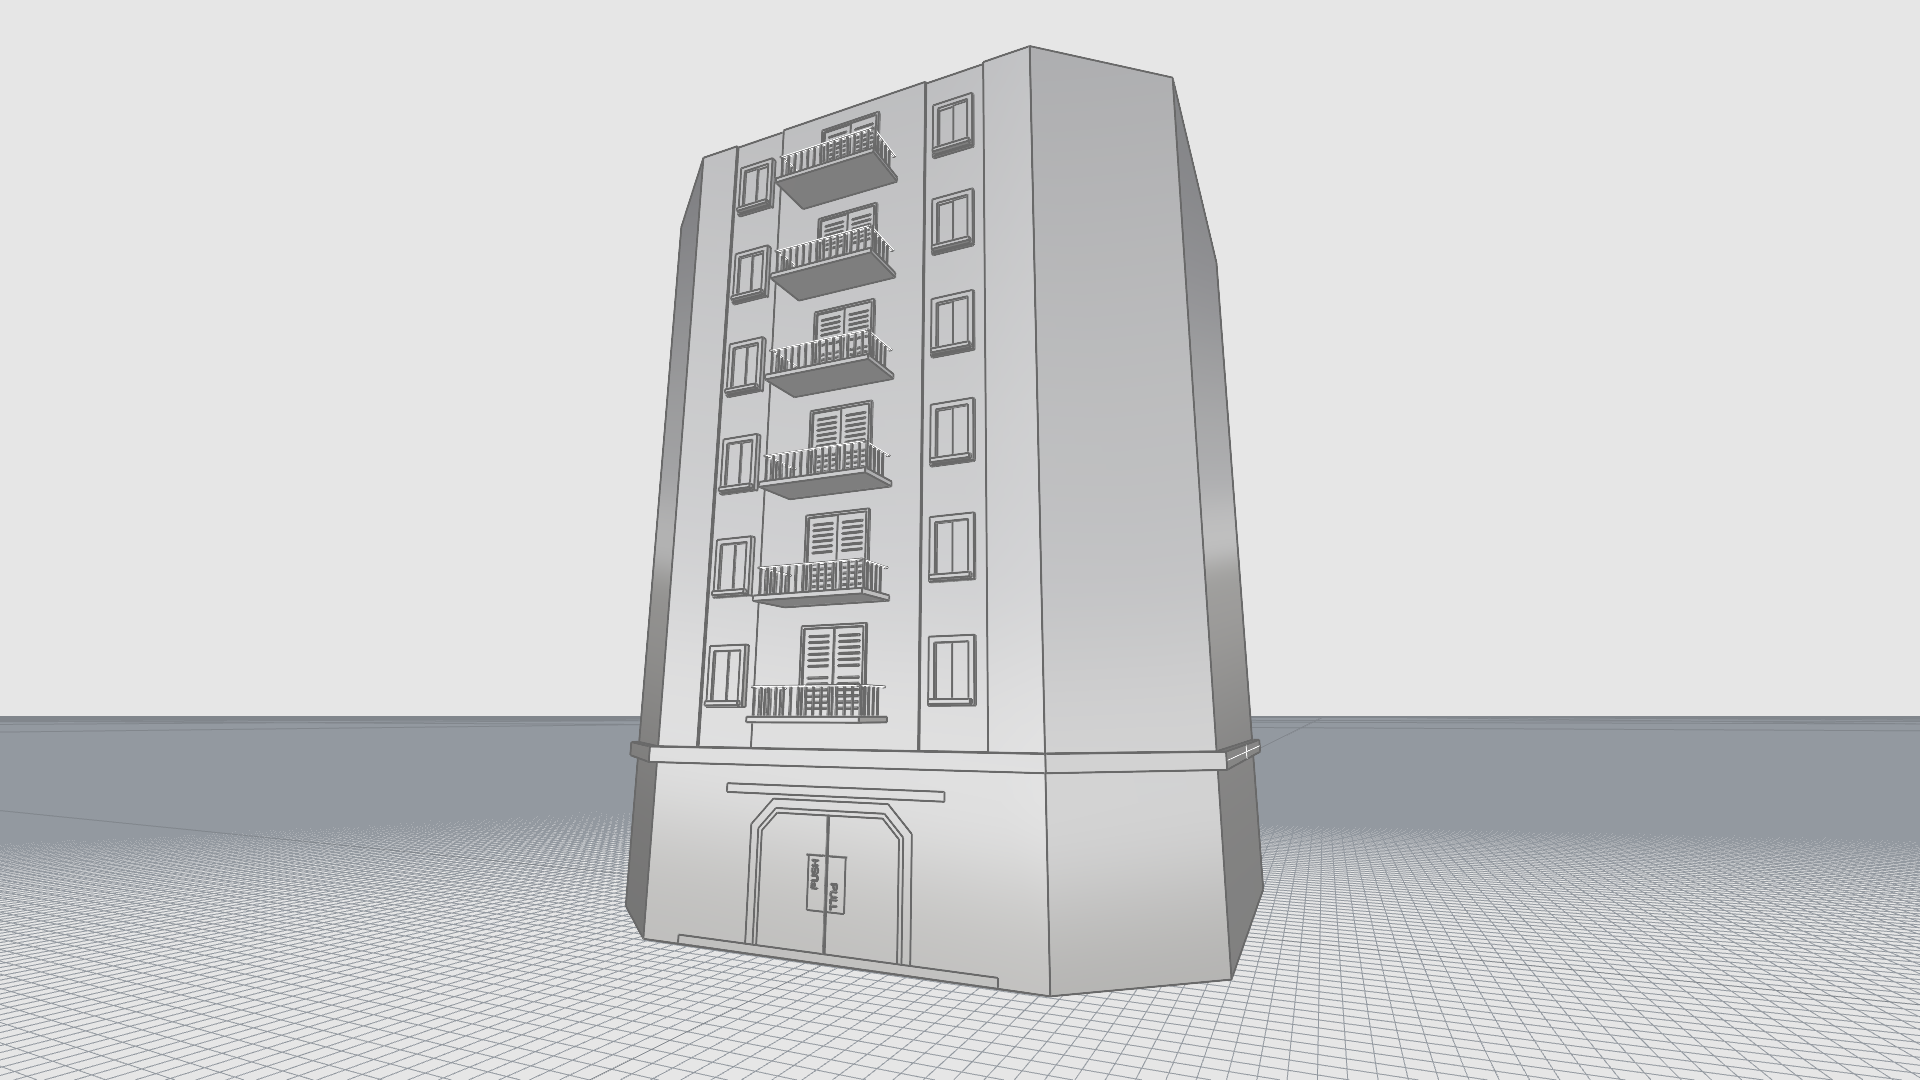
Two-Point Perspective
Three-Point Perspective
When the viewport is set to a two-point perspective projection, the z direction will not converge to a vanishing point.
Navigation
Navigating in 3D refers to how you can view and travel around your model. Zoom, pan and rotate the view are standard terms in all modeling software.
The computer mouse is commonly used to navigate models along with specialized commands or tools to help quickly get around.
Mouse Navigation
Mouse navigation works differently in parallel and perspective viewports. Use key combinations with the mouse for different view manipulation options.
Panning
- In a parallel view (eg, Top): Press and drag the right-mouse button.
- In a perspective view (eg, Perspective): Hold down + right mouse button.
Zooming (all views)
- Hold down the + right mouse button.
- Scroll using the mouse wheel.
Rotating the Perspective
- In the viewport: Press and drag the right mouse button.
Rotating Parallel Views
- Rotating a parallel view (e.g., Top, Front, Right) is uncommon. It is a special operation that should be used rarely and with caution. You can do it by holding the Ctrl and Shift keys and dragging with the right mouse button.
If You Get Lost
- Click on the Zoom Extents icon.
- Use the
 UndoView
and
UndoView
and
 RedoView
.
RedoView
. - Use the key to step back through your view changes.
- Use the key to step forward through your view changes.
Other View Manipulation Commands
Other view manipulation tools are on the Standard Toolbar and the View Toolbar. These tools will give you more advanced options. For example, you can zoom in on a selected object, zoom around an area, or tilt the view.

Exercise: Navigating the Model
In this simple exercise, learn how to navigate any of the Orthogonal views using your mouse only:
- Open Clip.3dm in Rhino
- Maximize the viewport.
- Right-click to Pan the view.
- Scroll to Zoom in and out of the view. Notice it’s a stepped zoom.
- Right-click while pressing the key to Zoom smoothly.
Learn how to navigate in the Perspective view using your mouse only:
- Now maximize the viewport.
- Right-click to Rotate the view. Note how this is different from the Top view.
- Right-click while pressing the key to Pan the view. The movement is parallel to the camera.
- Scroll to Zoom in and out of the view. Notice it’s a stepped zoom.
- Right-click while pressing the key to Zoom smoothly.
Display Modes
You can view your model in various styles in Rhino, called Display Modes. Some modes are practical for modeling and editing, such as Wireframe or Shaded. Others are good for visualization purposes, such as Rendered.
Rhino ships with 11 Display Modes. Each viewport can be set to a different Display Mode.
To change Display Modes, click on the arrow of the Viewport Title and make your selection in the dropdown list:
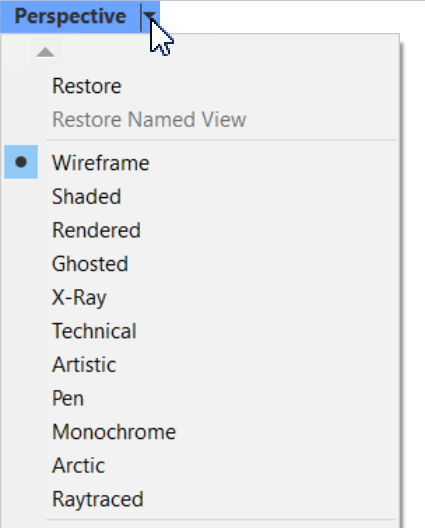
Default Display Modes:
Wireframe
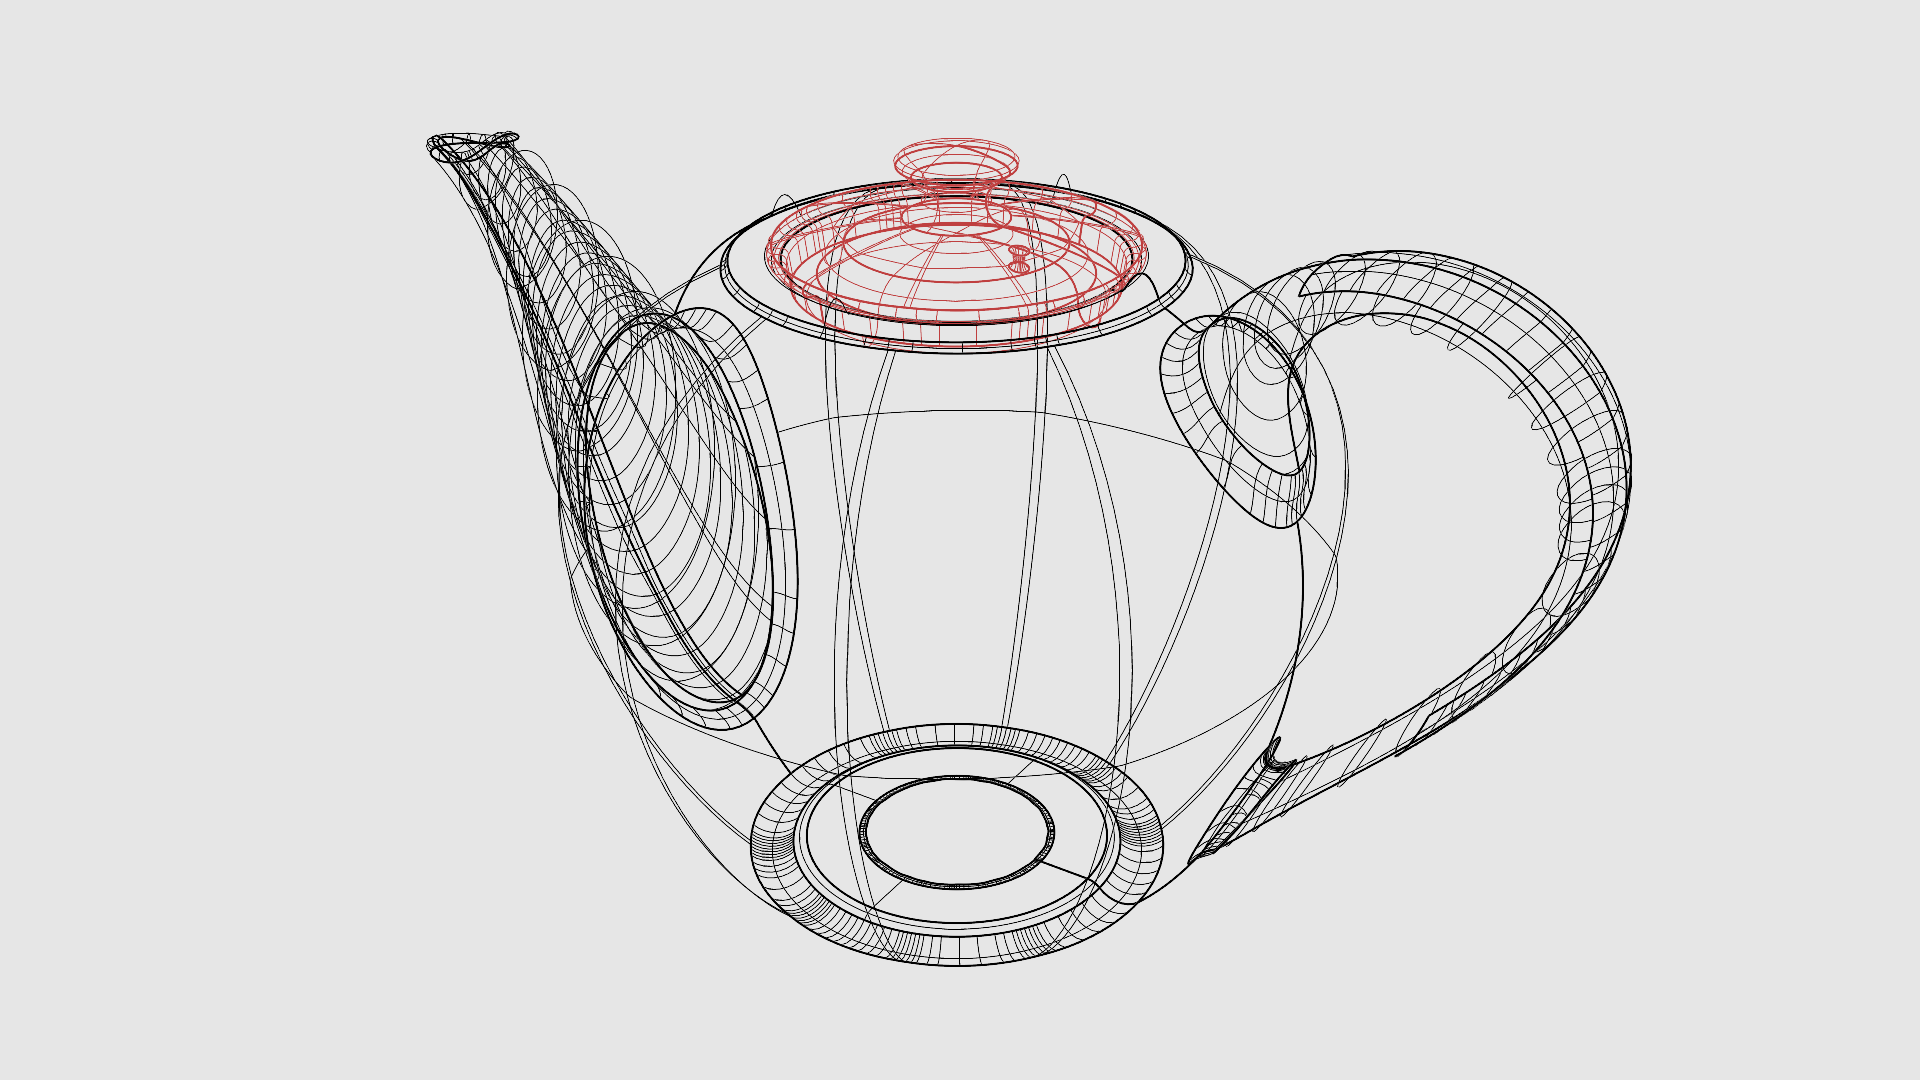
In Wireframe mode, objects such as surfaces are entirely transparent. You can only see a set of curves that cross each other, called Isocurves. Isocurves are merely a visual aid. Wireframe offers the fastest speed.
Shaded
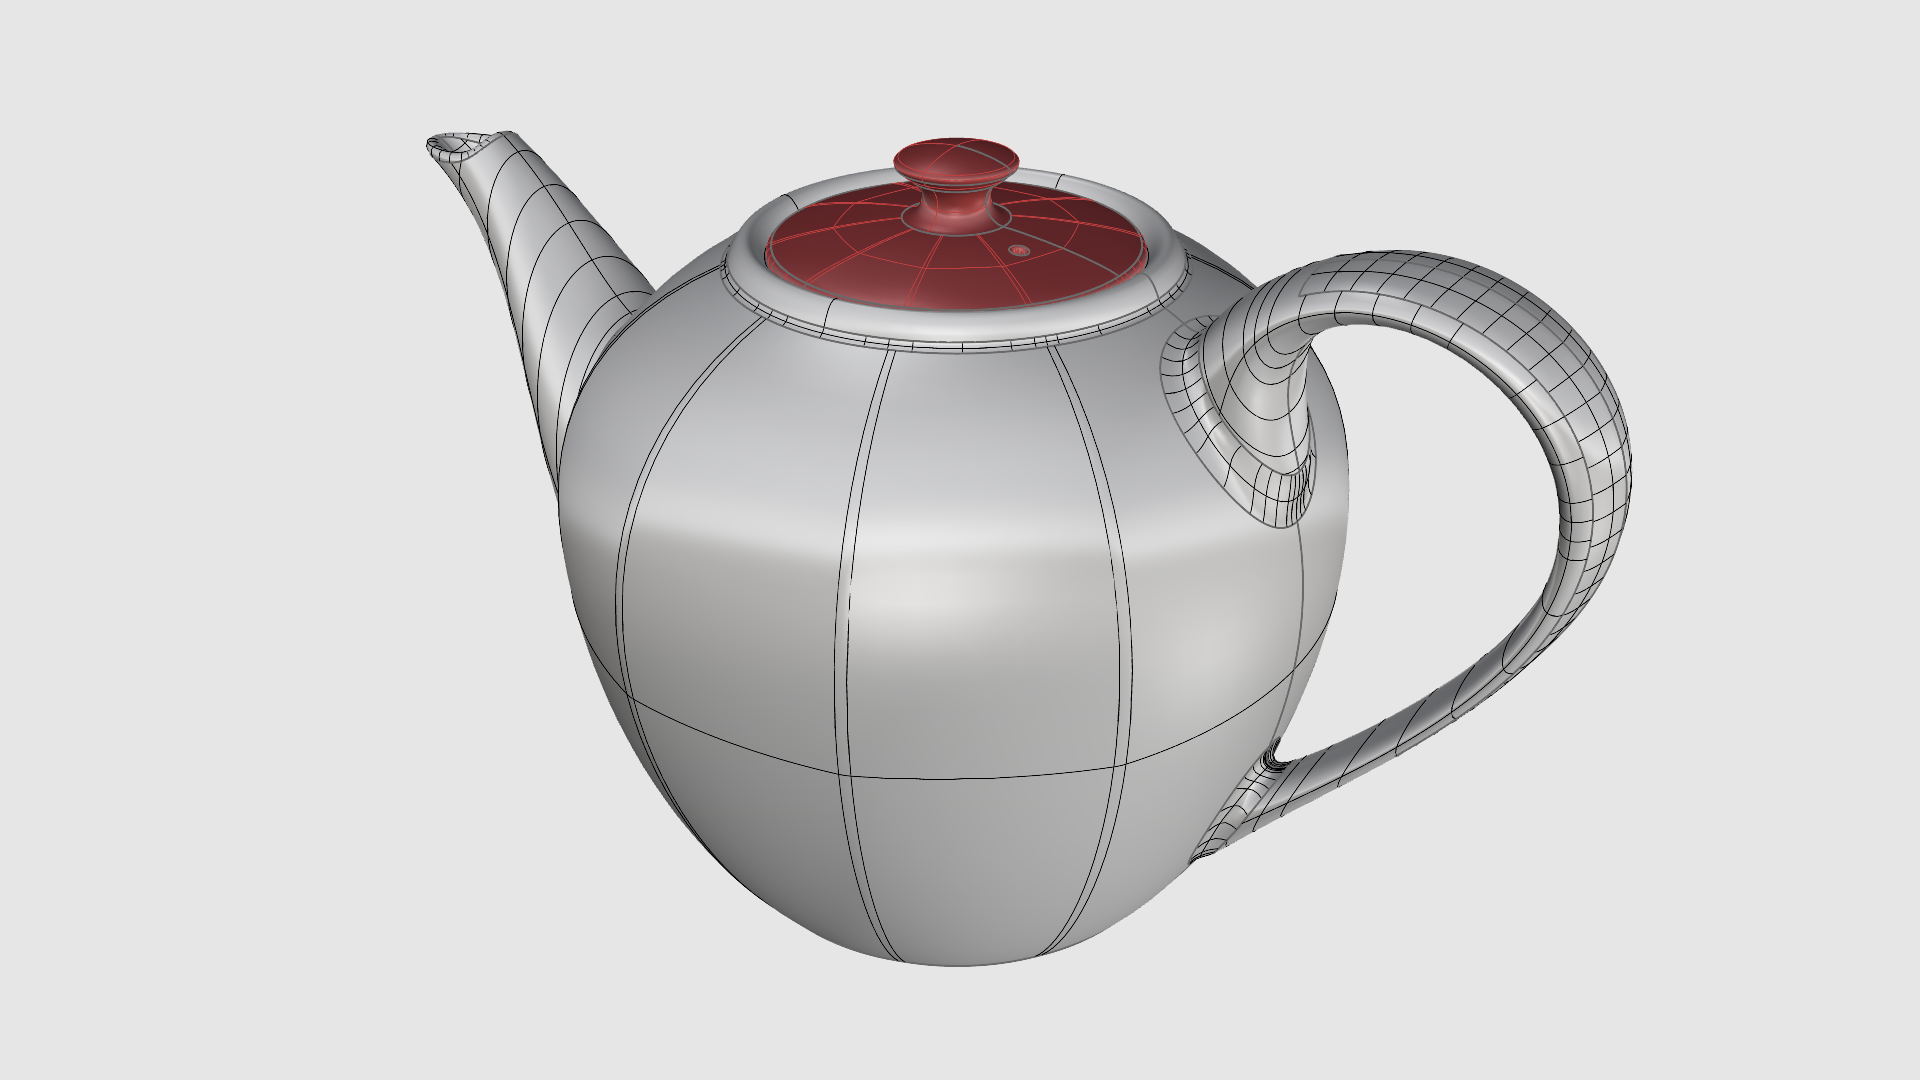
Shaded mode displays objects as opaque. By default, it uses the
![]() Layer
color that the object is in. You can also assign a custom or per-object color in the
Layer
color that the object is in. You can also assign a custom or per-object color in the
![]() Properties
panel. It also shows the Isocurves and gives a better sense of shape due to the color and shadows displayed by objects.
Properties
panel. It also shows the Isocurves and gives a better sense of shape due to the color and shadows displayed by objects.
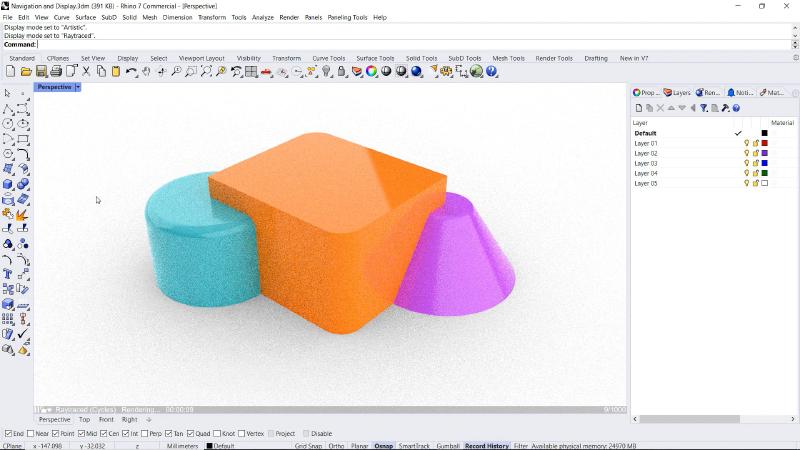
Rendered
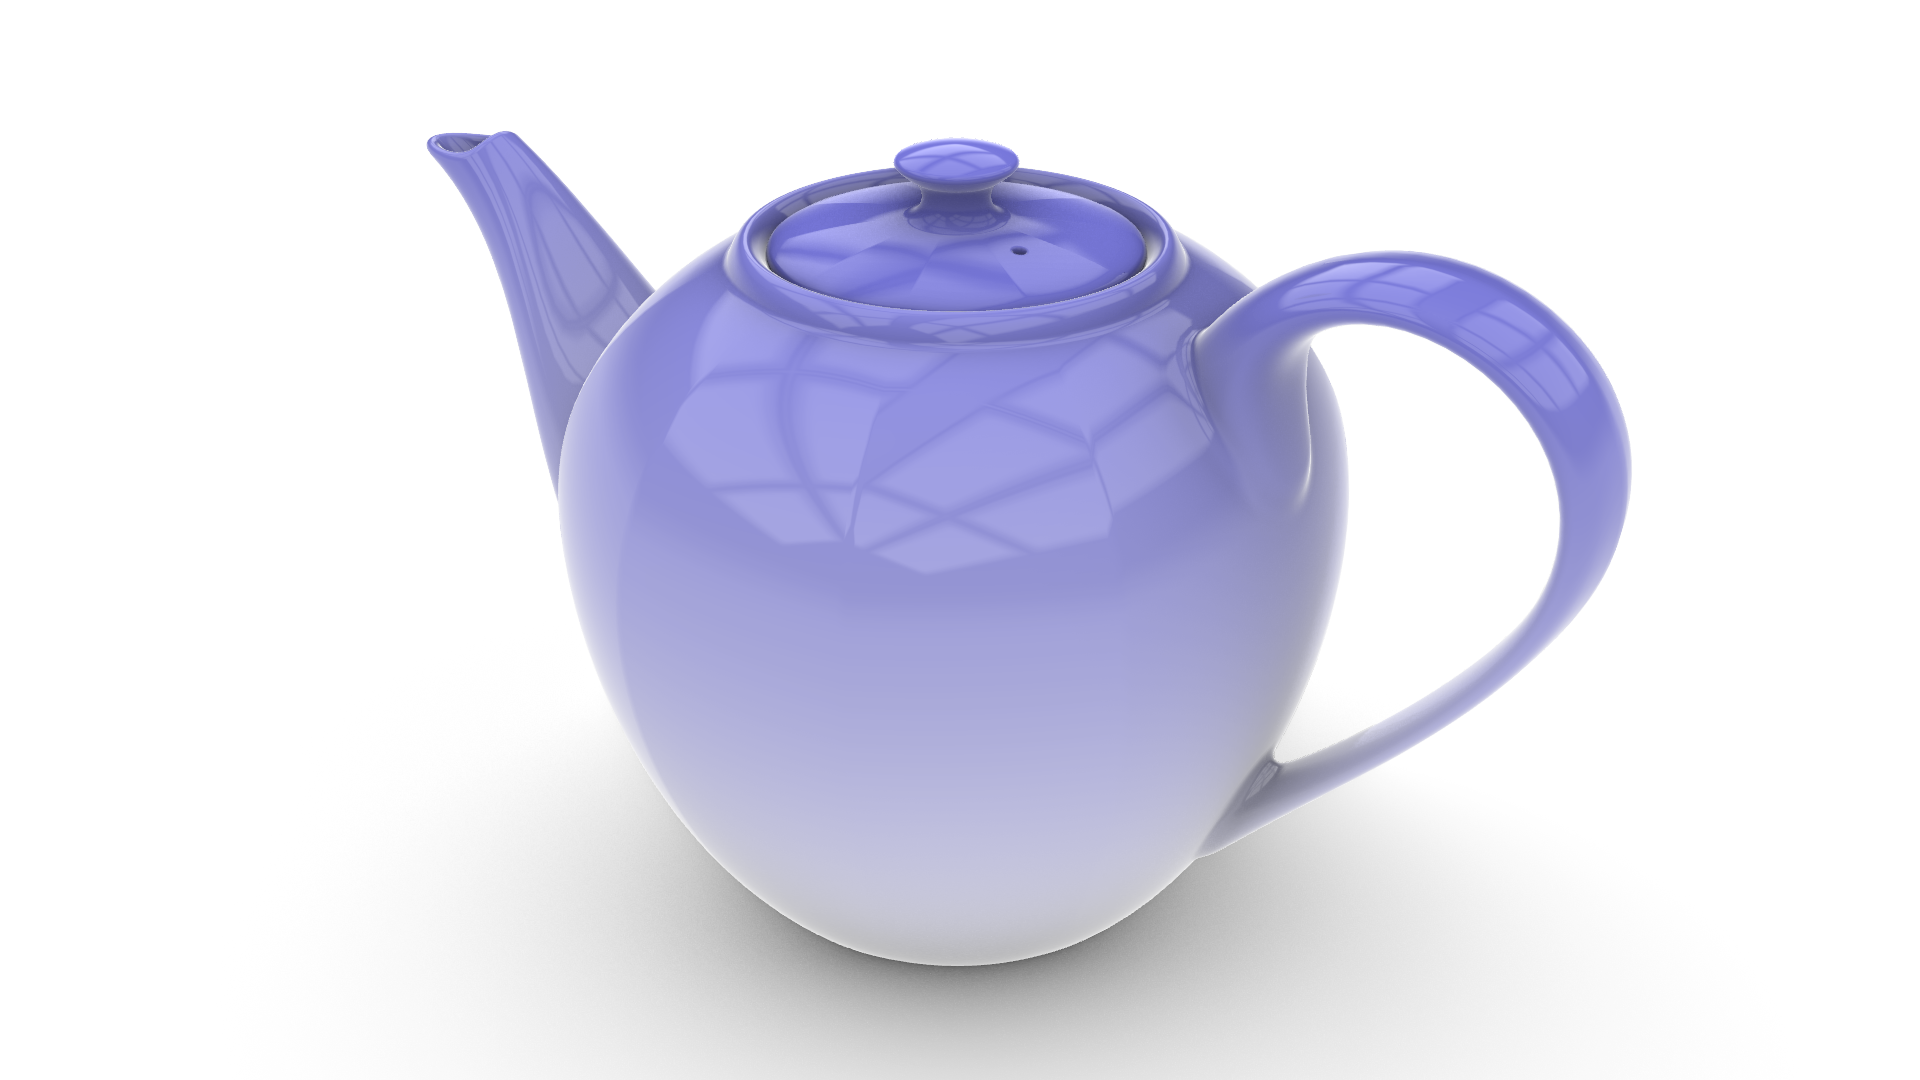
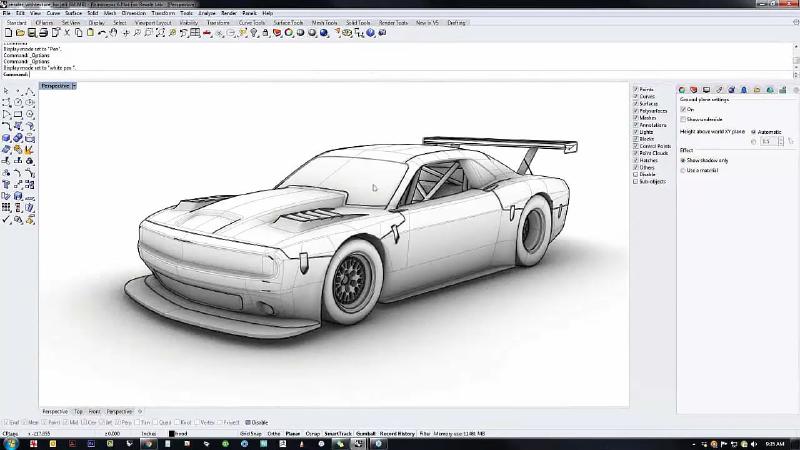
In Rendered mode, objects are displayed with lighting and render materials, ground plane and shadows applied. It mimics photoreal images and is great for quick visualization purposes.
Raytraced
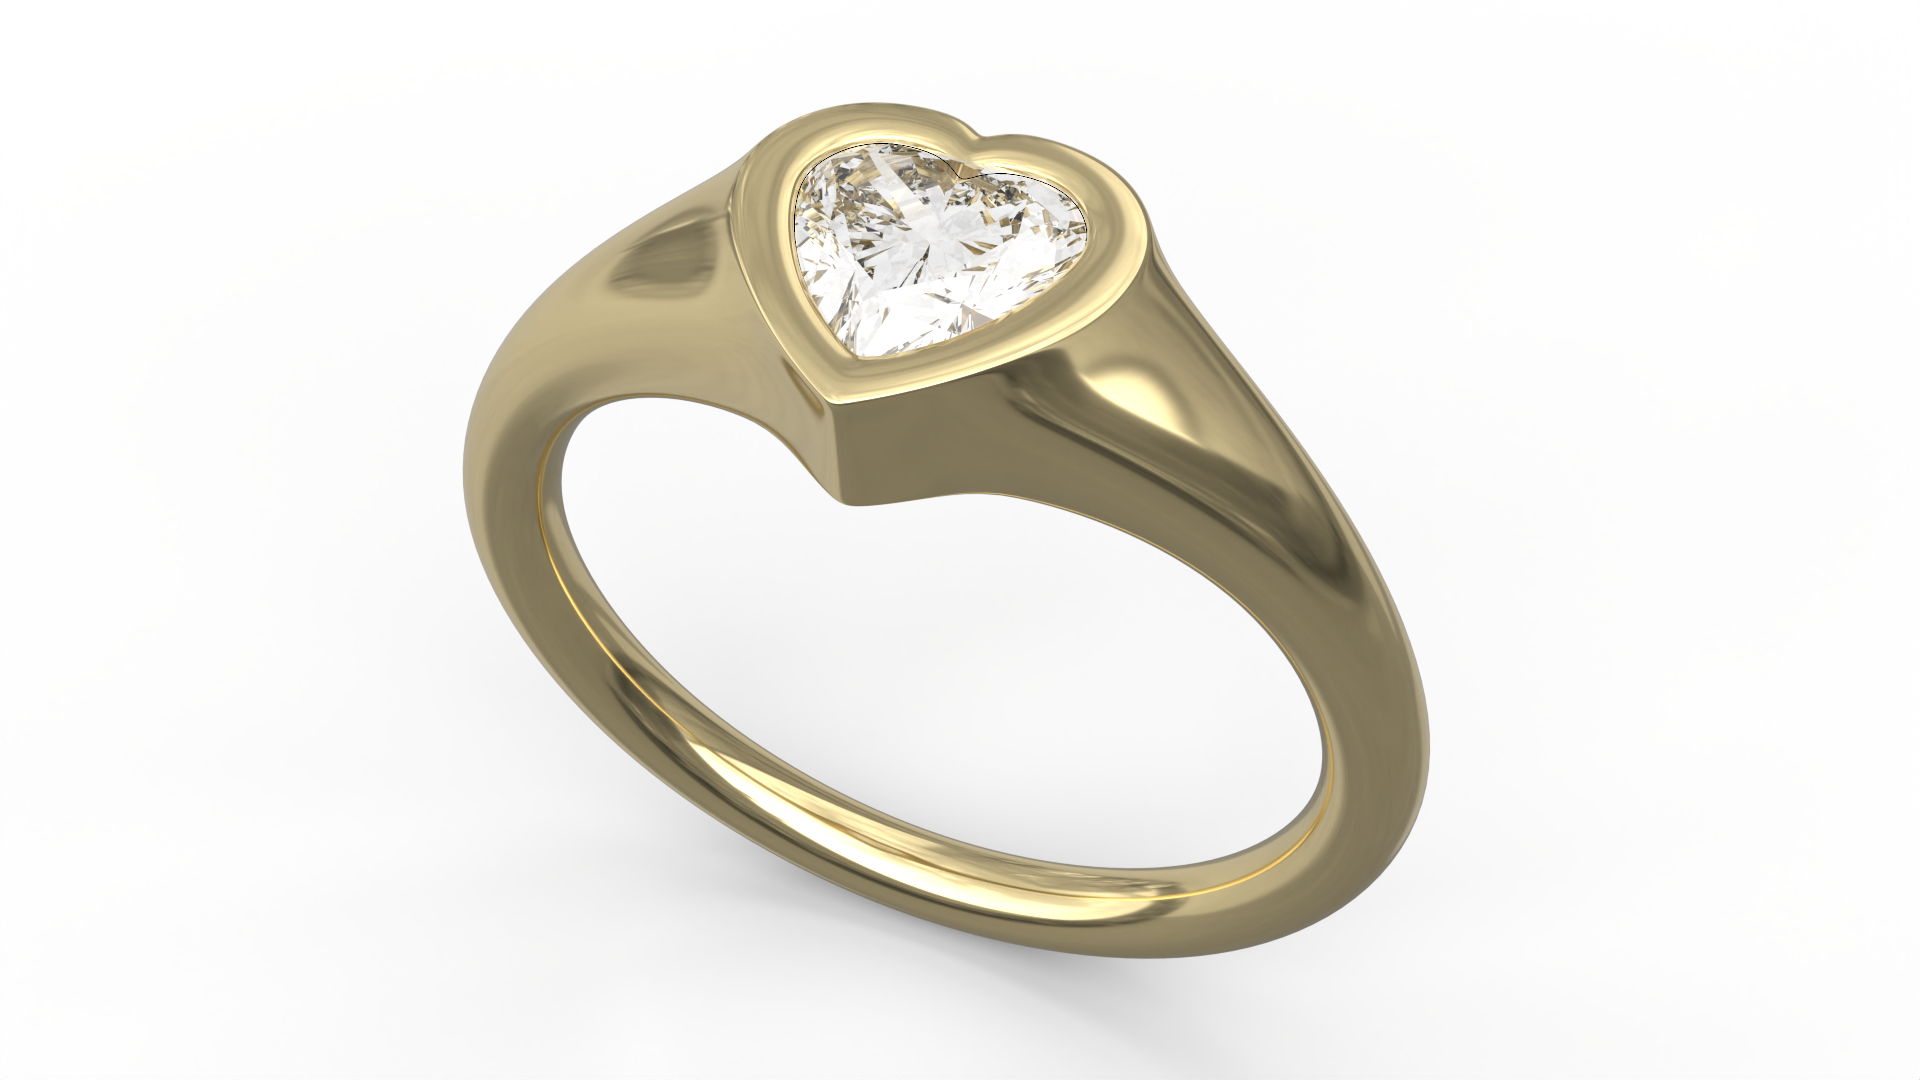
Raytraced displays objects with render materials and raytraces light rays through the scene in real-time. The light calculation is physically based. This is especially visible when calculating reflections and refractions on shiny or transparent materials.
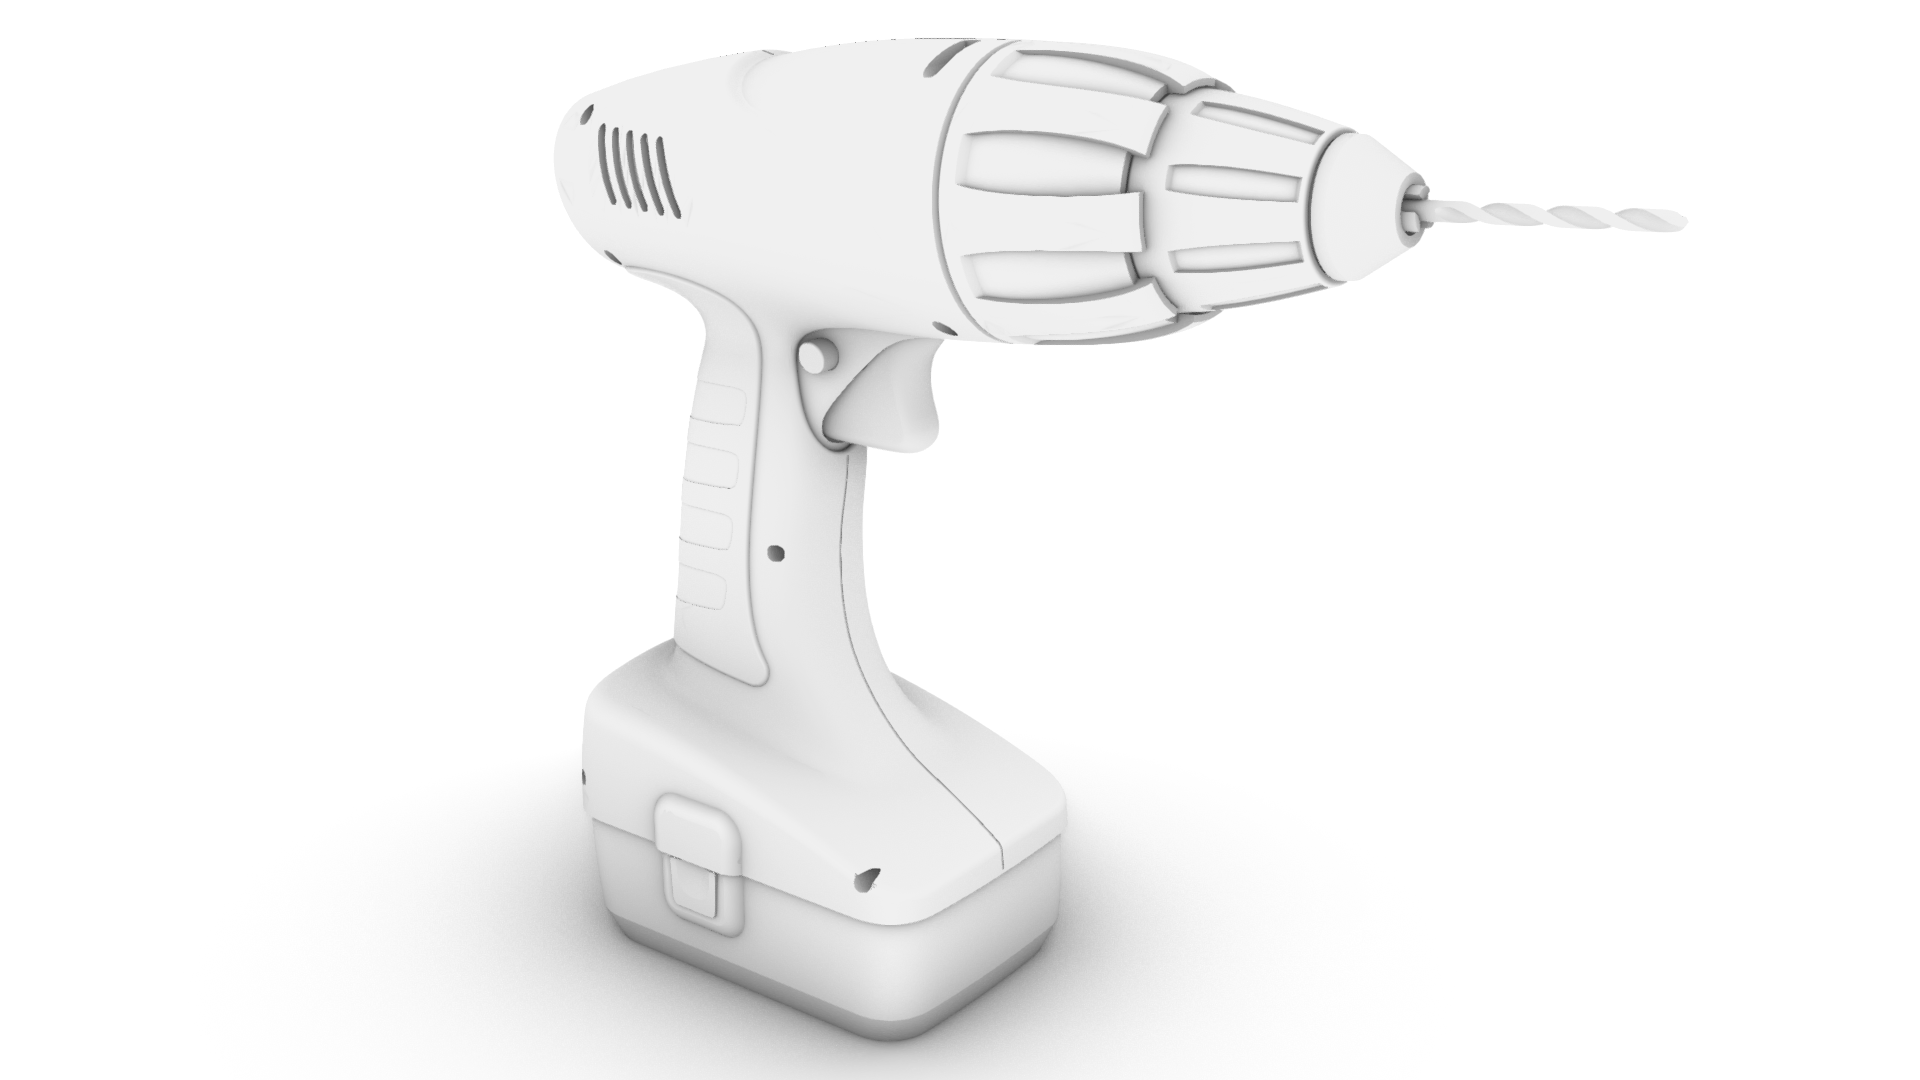
Monochrome
In Monochrome, all objects display white with grayscale shading, black silhouettes, and edges. Objects made of transparent material will display transparent. This is a quick way to get white-studio images for analysis or project presentation.
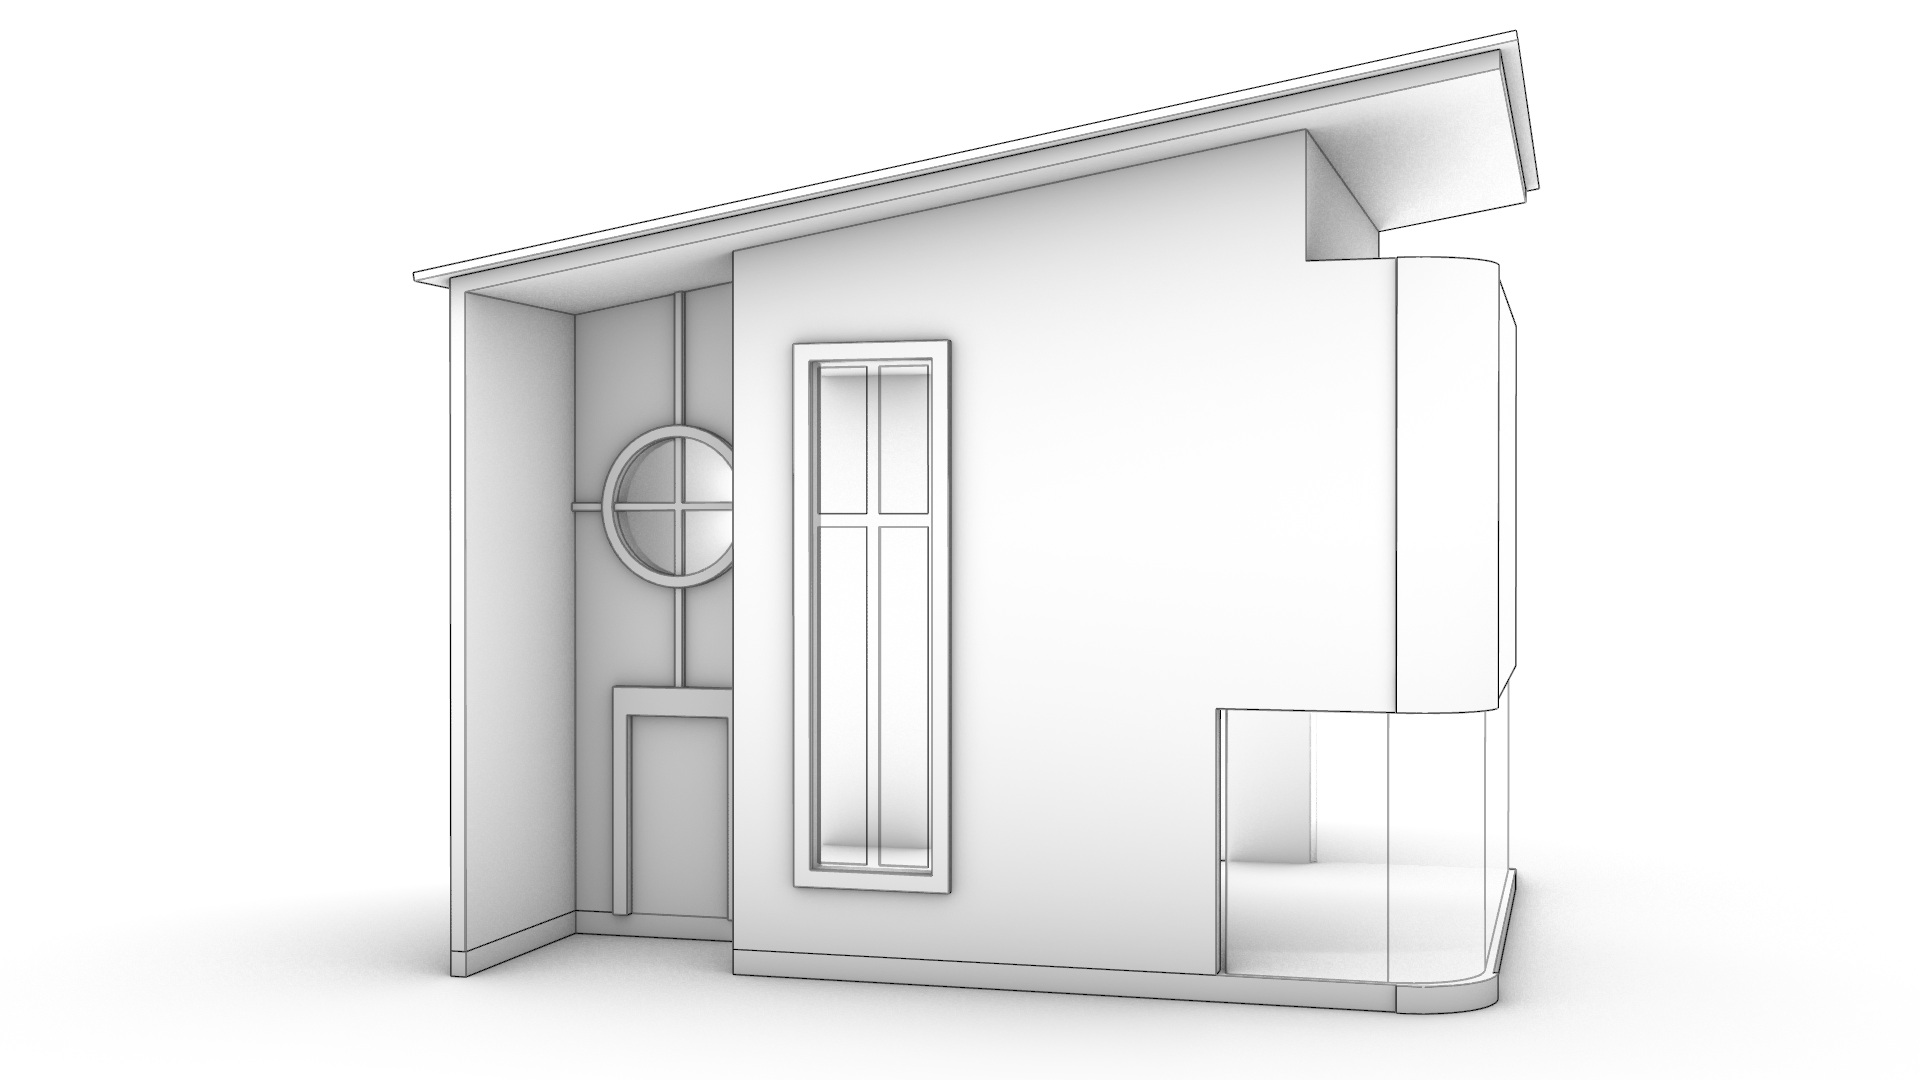
Arctic
Arctic uses an Ambient Occlusion for shadow. It sets all objects and the background to white and offers a soft shadow calculation. This is useful for analyzing spatial relations between objects and analyzing their shape and details.
Customizing Display Modes
You can modify a default Display Mode in the
![]() DisplayProperties
panel. It shows the current display mode for the active viewport and commonly used settings.
DisplayProperties
panel. It shows the current display mode for the active viewport and commonly used settings.
Click Edit “CurrentDisplayMode” settings button at the bottom of the panel to open the complete set of options available to fine-tune your display modes.
Exercise: Display Modes
In this simple exercise, learn how to change Display Modes:
- Open Teapot.3dm in Rhino
- Maximize the viewport.
- Click on its arrow to access the dropdown list. Notice the view is set to Rendered mode.
- Select Technical from the list. You’ll notice how the visible parts of the teapot are shown in continuous lines, while the hidden features are displayed with dashed lines.
- Rotate the view. The linework updates in real-time.
Learn how to edit a Display Mode:
- Click on the viewport title arrow again.
- Select Artistic from the list. It produces a sketch display with soft shadows.
- Run the
 DisplayProperties
command to open the Display panel.
DisplayProperties
command to open the Display panel. - Unselect Silhouettes in the panel. The model only displays shadows.
- Select it again to reset the defaults.
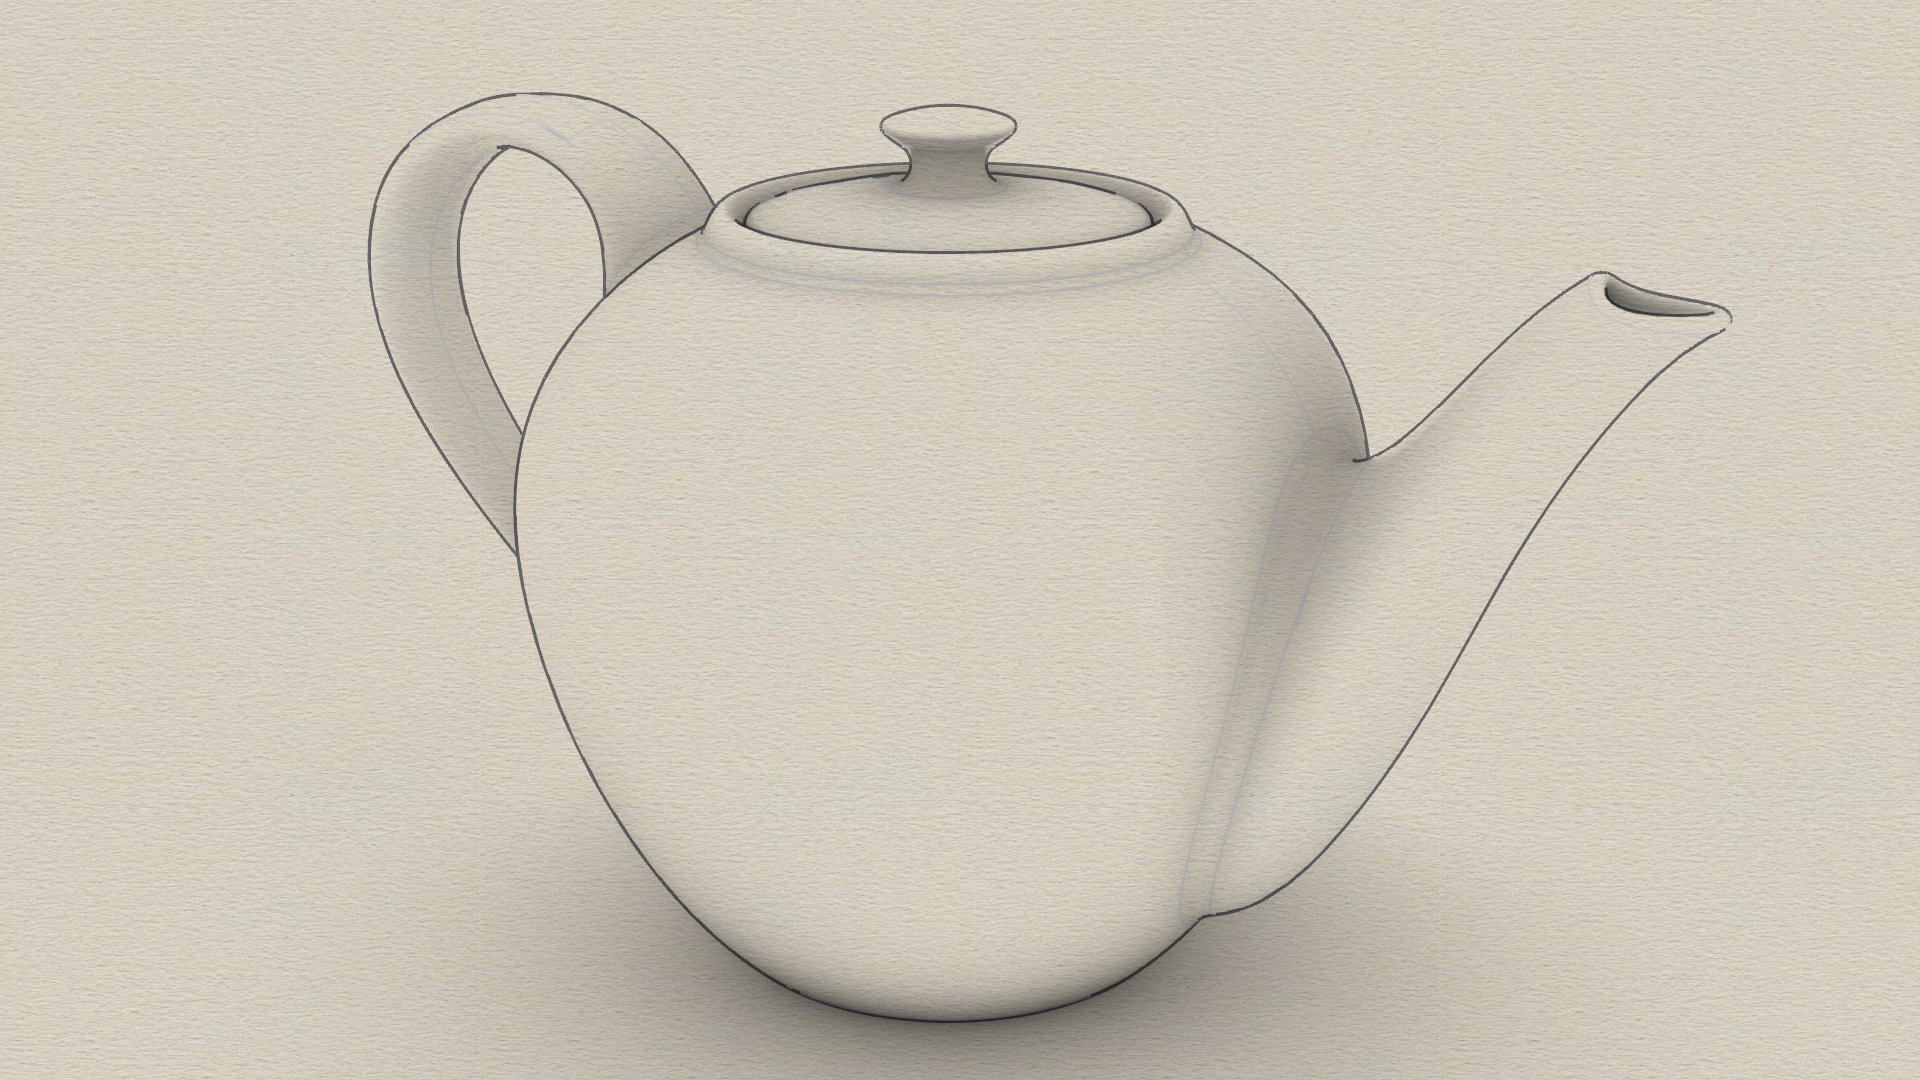
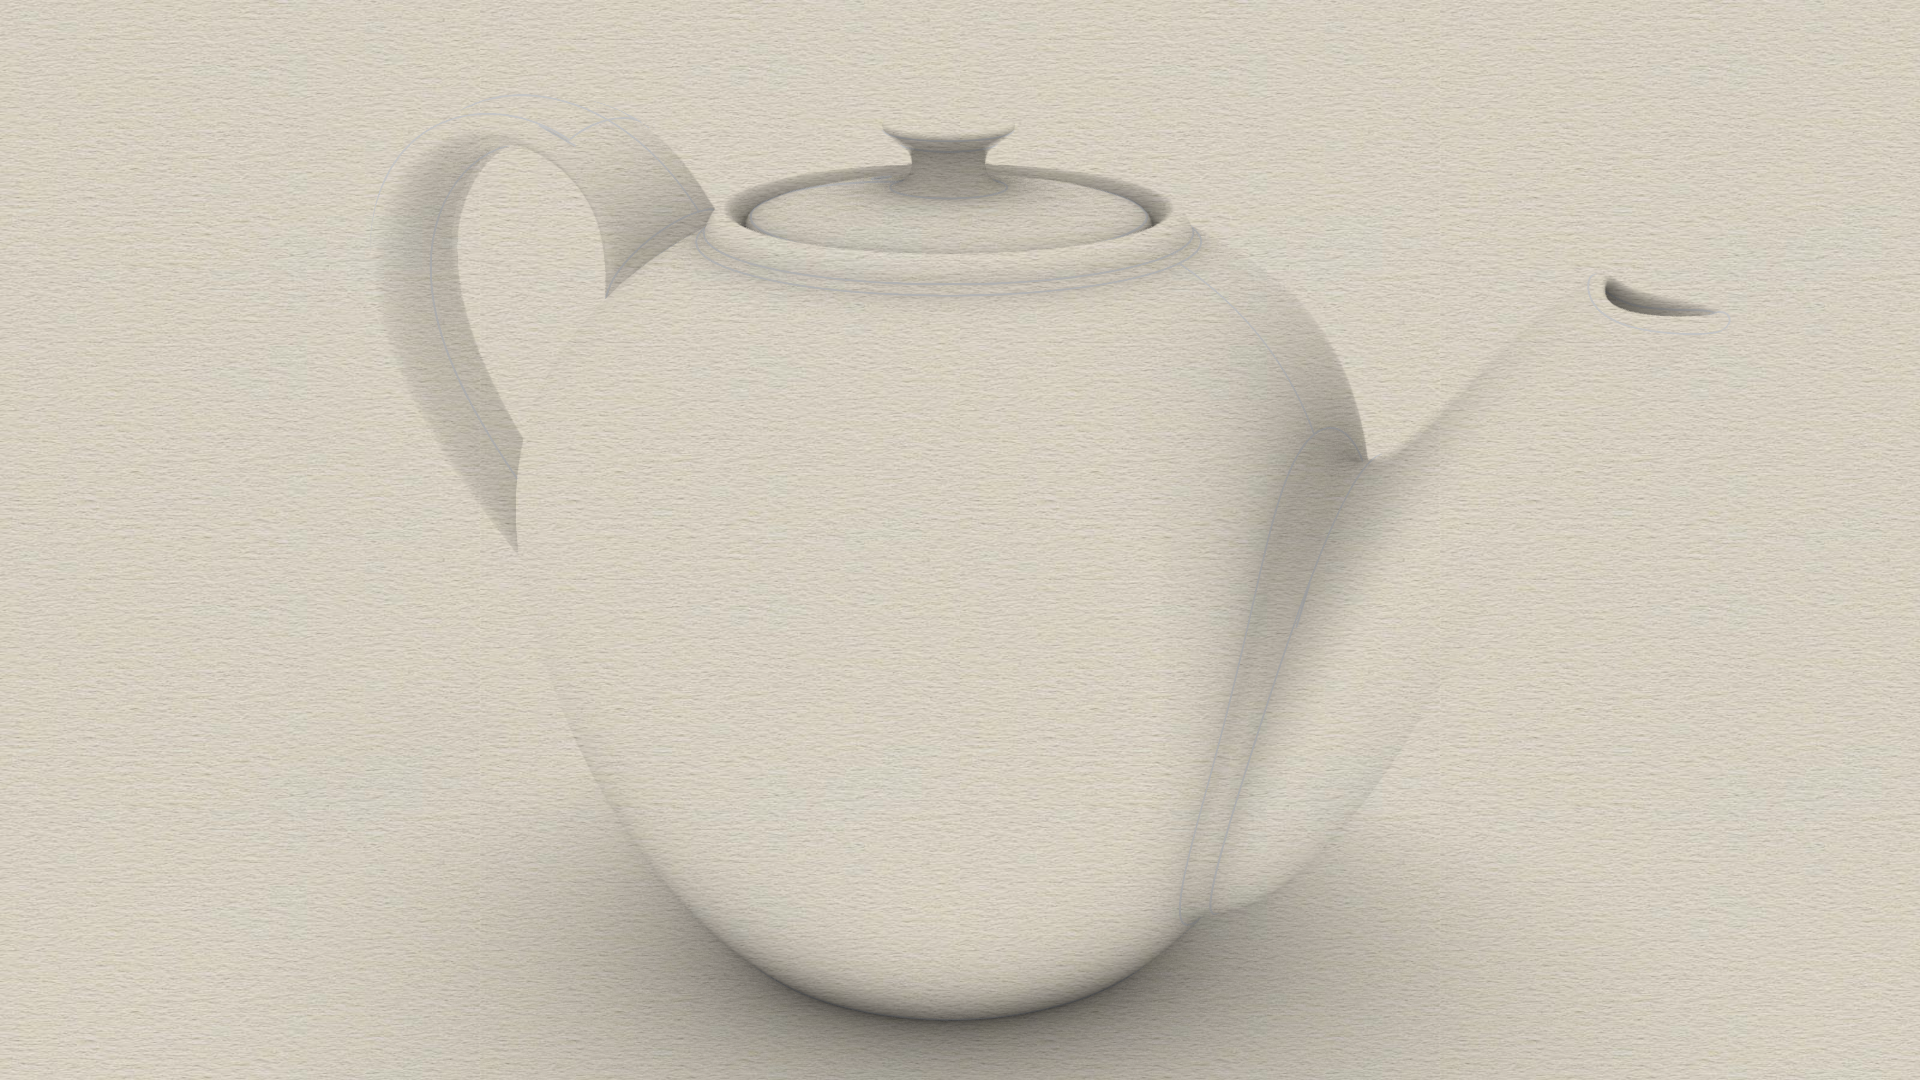
Artistic Mode | Silhouettes
Artistic Mode | No Silhouettes
Other Resources
Windows Navigation and Display
Learn how to navigate around the scene and use different ways of displaying your model on Rhino for Windows.
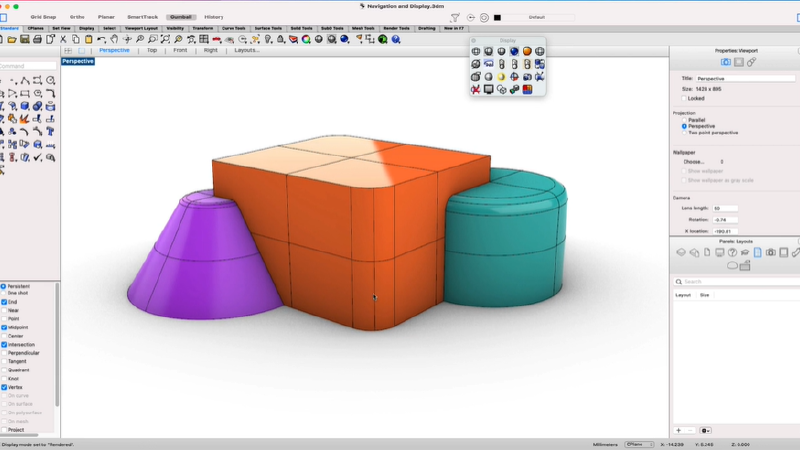
Mac Navigation & Display
Learn how to navigate around the scene and use different ways of displaying your model on Rhino for Mac.
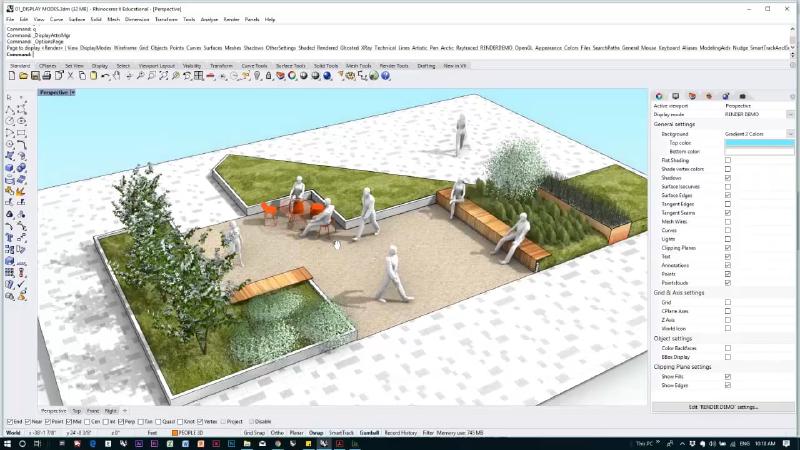
Display Modes for Architecture
Follow Mary Polites, an Authorized Rhino Trainer, on how to create your own Display Mode, optimized for quick, schematic architectural visuals.
Create Custom Display Modes
Learn how to create your display modes in Rhino 6. Kyle starts from an existing mode to create multiple display styles.
