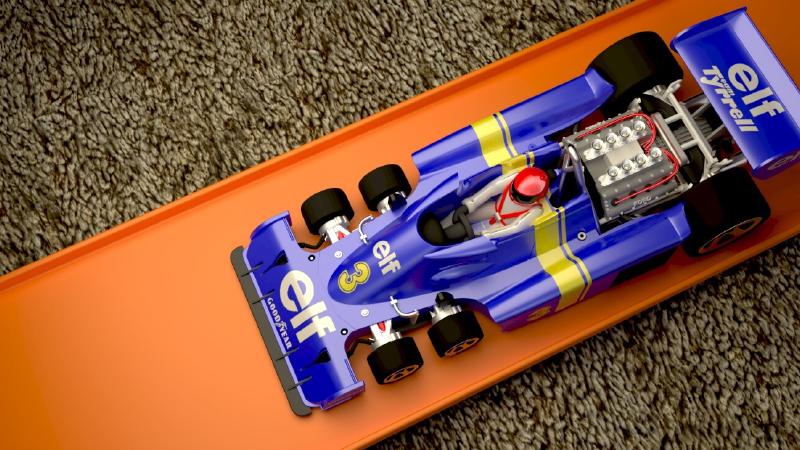
In this 20 minute video, Kyle explains all the steps involved in creating photorealistic images in Rhino. Learn how to work with the camera, ground plane, environment and lighting, as well as assigning materials that bring your product to life. Feel free to download the Plane-Getting-Started file, used in the video.
Quick Start
Lighting for...
DOC-421 Learn how to create studio lighting for products
(DOC-420) Learn how to apply materials and use the environments for jewelry …
(DOC-419) Learn how to define indirect lighting for interior spaces
(DOC-418) Learn how to use the Sun and Skylight settings for an …
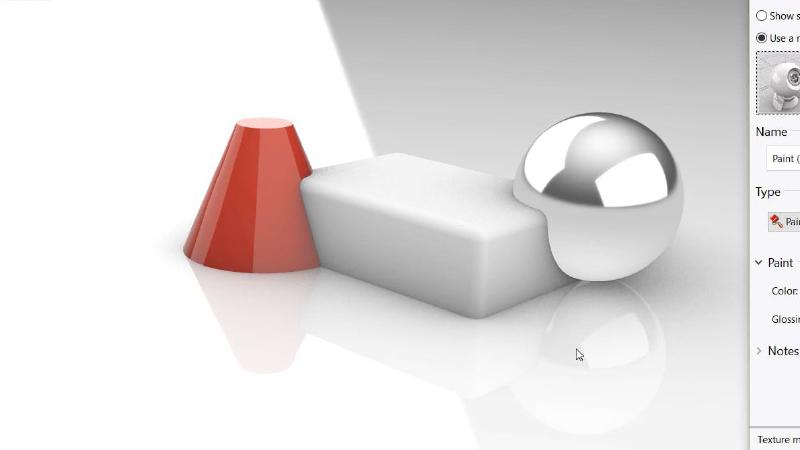
Working with Materials
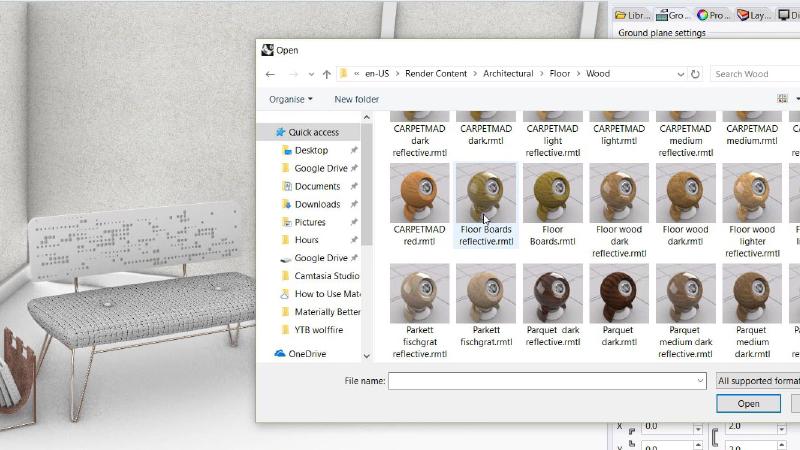
Learn how to create and assign materials
Learn how to create and edit with the industry standards physically based …
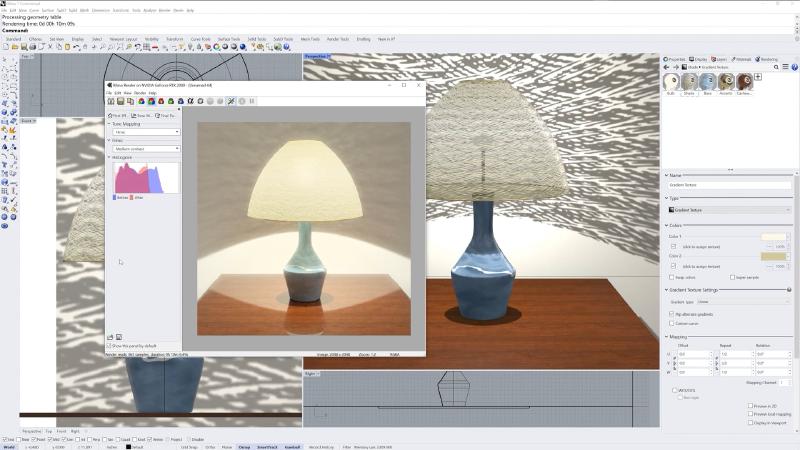
Learn how to create and modify Rhino's algorithmic based textures.
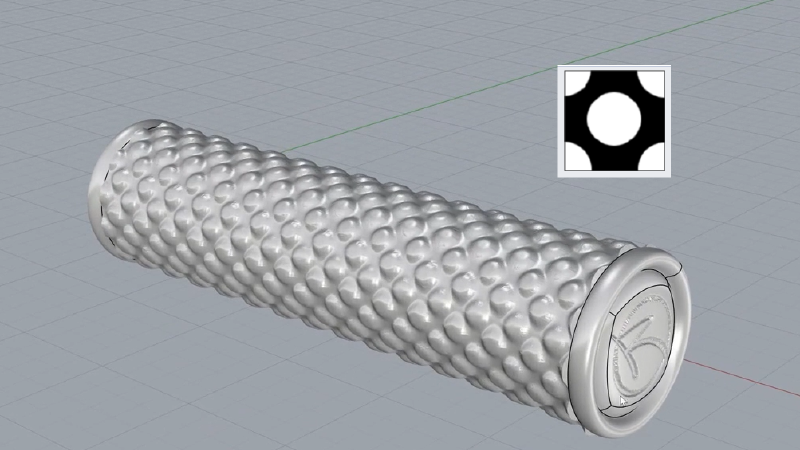
Learn how to make the most out of displacement textures whether for visual …

Here trying out subsurface scattering to try and make a more life-like skin …
The Substance Importer plug-in for Rhino enables you to easily import …
Mapping & Decals
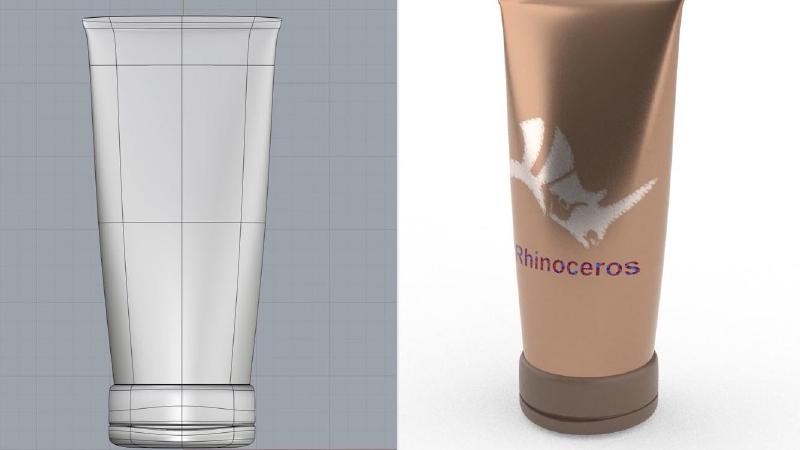
Learn how to make your 2D textures flow correctly on your 3D model using …
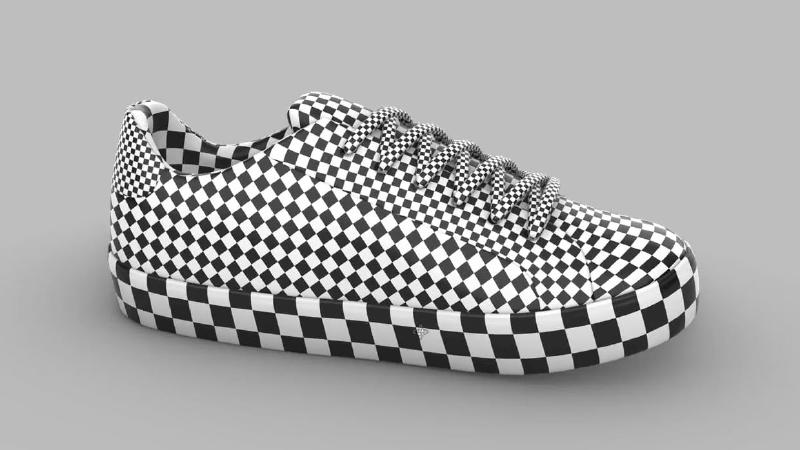
Learn how to add labels and stickers to your products using Rhino's Decals.

Learn how to unwrap your 3D model to adapt the flow of your 2D textures …
Setting the Scene
Learn how to use environments for reflection and refraction, for lighting …
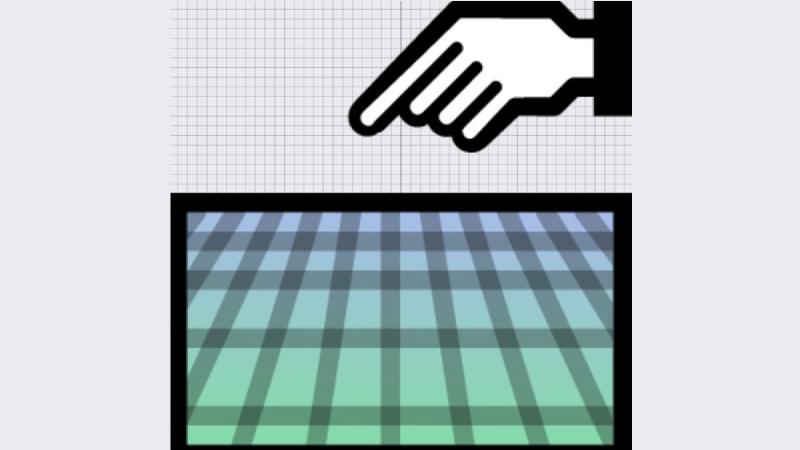
Learn the different options to use or create a Ground Plane depending on …
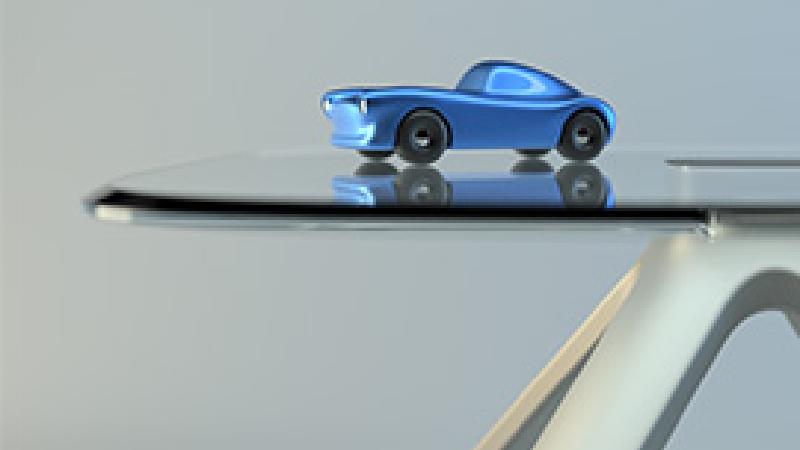
Learn how to optimize camera and framing to communicate your design
