This is an introductory tutorial for architects who want to learn about solid modeling workflows in Rhino. We will cover commands such as
![]() PushPull
,
PushPull
,
![]() SplitFace
,
SplitFace
,
![]() Gumball
and
Gumball
and
![]() Inset
.
Inset
.
Visit our PushPull page to learn more about the Modeling Simplified tools in Rhino 8.
Create a House
In this tutorial, we will work with some bla bla bla
Before we start
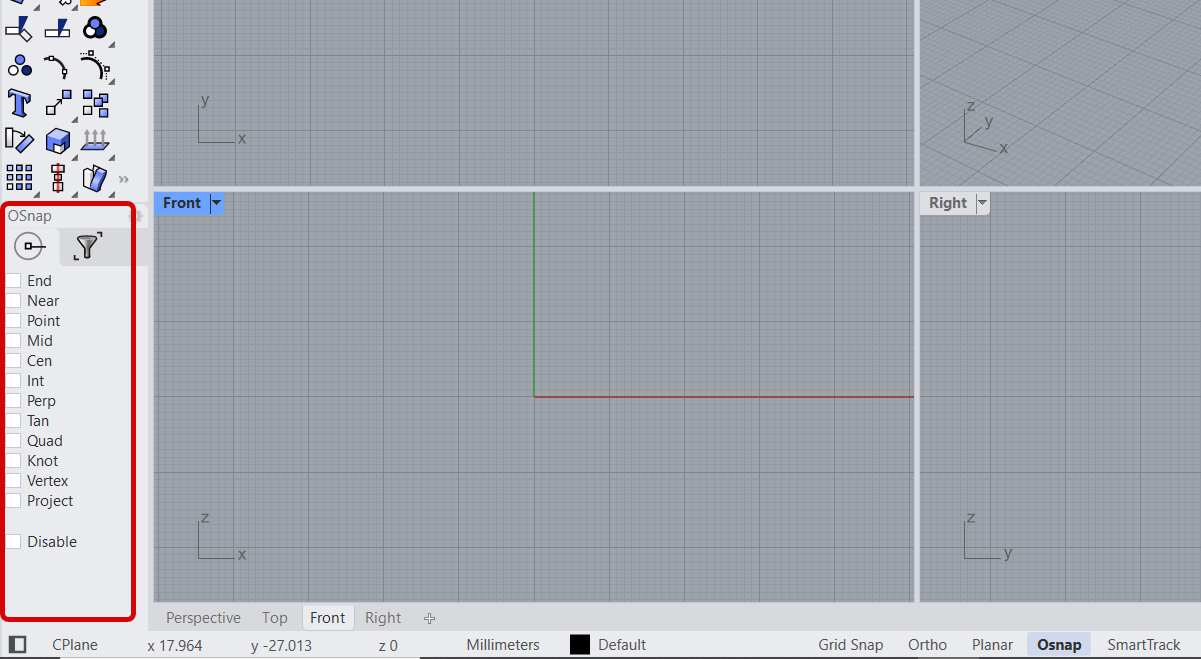
Let’s make sure we have set Rhino’s User Interface to a similar setup. Go to the Window menu > Window Layout > select Default Window Layout. This will configure the toolbars and panels to the same setup and location as the one used in this tutorial.
Now go down by the Status Bar and make sure SmartTrack, Gumball and AutoCplane are enabled, while History is disabled. On the left, by the OSnaps Panel , make sure Near and Cen are unchecked. This is just to make our lifes easier as we model.
Start by opening a Small Objects - Meters.3dm file by running the
![]() New
command. Double-click to maximize the
viewport.
New
command. Double-click to maximize the
viewport.
Massing
In this case, creating the main volumes is quite simple:
-
Run the
 Box
command and click the Center
Command Line
option. Type 0 to center the box on the
CPlane
. For Other Corner, Width and Height type 12, 10 and 8 respectively. Make sure to press
between each distance, to pass onto the next prompt.
Box
command and click the Center
Command Line
option. Type 0 to center the box on the
CPlane
. For Other Corner, Width and Height type 12, 10 and 8 respectively. Make sure to press
between each distance, to pass onto the next prompt. -
Sub-object select the rear top edge of the box. With the
 Gumball
, pull it down a bit in the Z direction (usually represented by the Gumball’s blue arrow). This will give the roof a slight slant.
Gumball
, pull it down a bit in the Z direction (usually represented by the Gumball’s blue arrow). This will give the roof a slight slant.
- Using SubObject sel top roof and left wall edge > Offset
- PP to create roof slab
Façade Curves and Floor Slab
- AutoCplane on Façade
- Create Main Façade curves:
- Entrance recess curve > straight line
- vertical window > rectangle
- right veranda > polyline
- right top roof indentation > polyline
- PP entrance recess
- PP right top roof recess
- DupBorder floor slab
- Gumby extrude floor slab
- PP right side veranda
- GumbyExtrude veranda window or Inset to .1?
- PP vertical window
- Inset for vertical window frame > PP frame
- MergeAllCoPlanarFaces
- Sel vertical window curve > PlaanrSrf
Detailing Entrance Elements
- AutoCplane on entrance wall
- Rectangle for door > 1.4 x 2.6
- Circle for window above > .9 radius
- Offset or Gumby copy the above curves
- Rectangle vertical slim > centered in circle
- Gumby copy/rotate slim rectangle > entrance details (cross)
- Lock ^^ curves
- PP holes for door and round window
- PP extrude door and round window frame > .15
- PP extrude slim rectangles at .1
- Create window + door with PlanarSrf
Final Façade Modifications
- SplitFace > using Isocrv
- Inset vertical window> creating grilles
- Join split parts
- Gumby Extrude inward window panes
- MergeAllCoPlanarFaces
- Move horizonral grill upward
- FilletEdge right corner of house
Roof
- Duptop face roof
- Gumby Object alignment > extrude .1
- Gumby extend
