Augmented Reality
The Augmented Reality (AR) in iRhino brings your 3D models to life by letting you place them in real-world environments through your device’s camera.
To use AR modes
-
Open a model.
-
Tap the AR button
 at the top of the screen to turn it on.
If the AR button is unavailable, choose “Perspective” from the viewport title menu > Set view. -
Tap the Options button
 to switch between different AR modes.
Gestures
In all AR modes, you can manipulate the model with these gestures:
- One-finger drag (left and right)
Rotate the model horizontally. - Two-finger drag (up and down)
Raise or lower the model vertically. - Two-finger spread and pinch
Get a closer view of the model or move away from it. - Double-tap
In any AR mode, the model’s size matches its real-world size by default.
Double-tap anywhere on the screen to reset the model’s scale to its real-world size.
Controls
The controls of AR modes are located at the bottom of the screen. The common controls shared across all AR modes are on the left. The mode-specific controls are on the right.
Common controls
Reset view
Restore the default view and orientation of the model.
To only reset sizeDouble-tap anywhere on the screen.
Base plane
Change the view through five predefined orientations. You can then use the view rotation gesture to further adjust the view to your preference.
AR Modes
iRhino provides four AR modes: Free Point, Surface, Selfie, and AR Marker, designed for specific use cases.
Free Point
Place the model mid air at a distance away from the camera. The model will stick to its location and orientation when you move your device.
Center View
Position the model in the center of the screen.
Lock XY
Orient the model straight up in the real world.
Surface
(Only in LiDAR enabled devices)
Detect a flat surface at the center of the screen and attach the model onto it. The surface can be horizontal, vertical, or at any angle.
Lock Position
Point the camera at where you want to place the model. Once you are happy with it, tap this button to anchor the model there.
Selfie
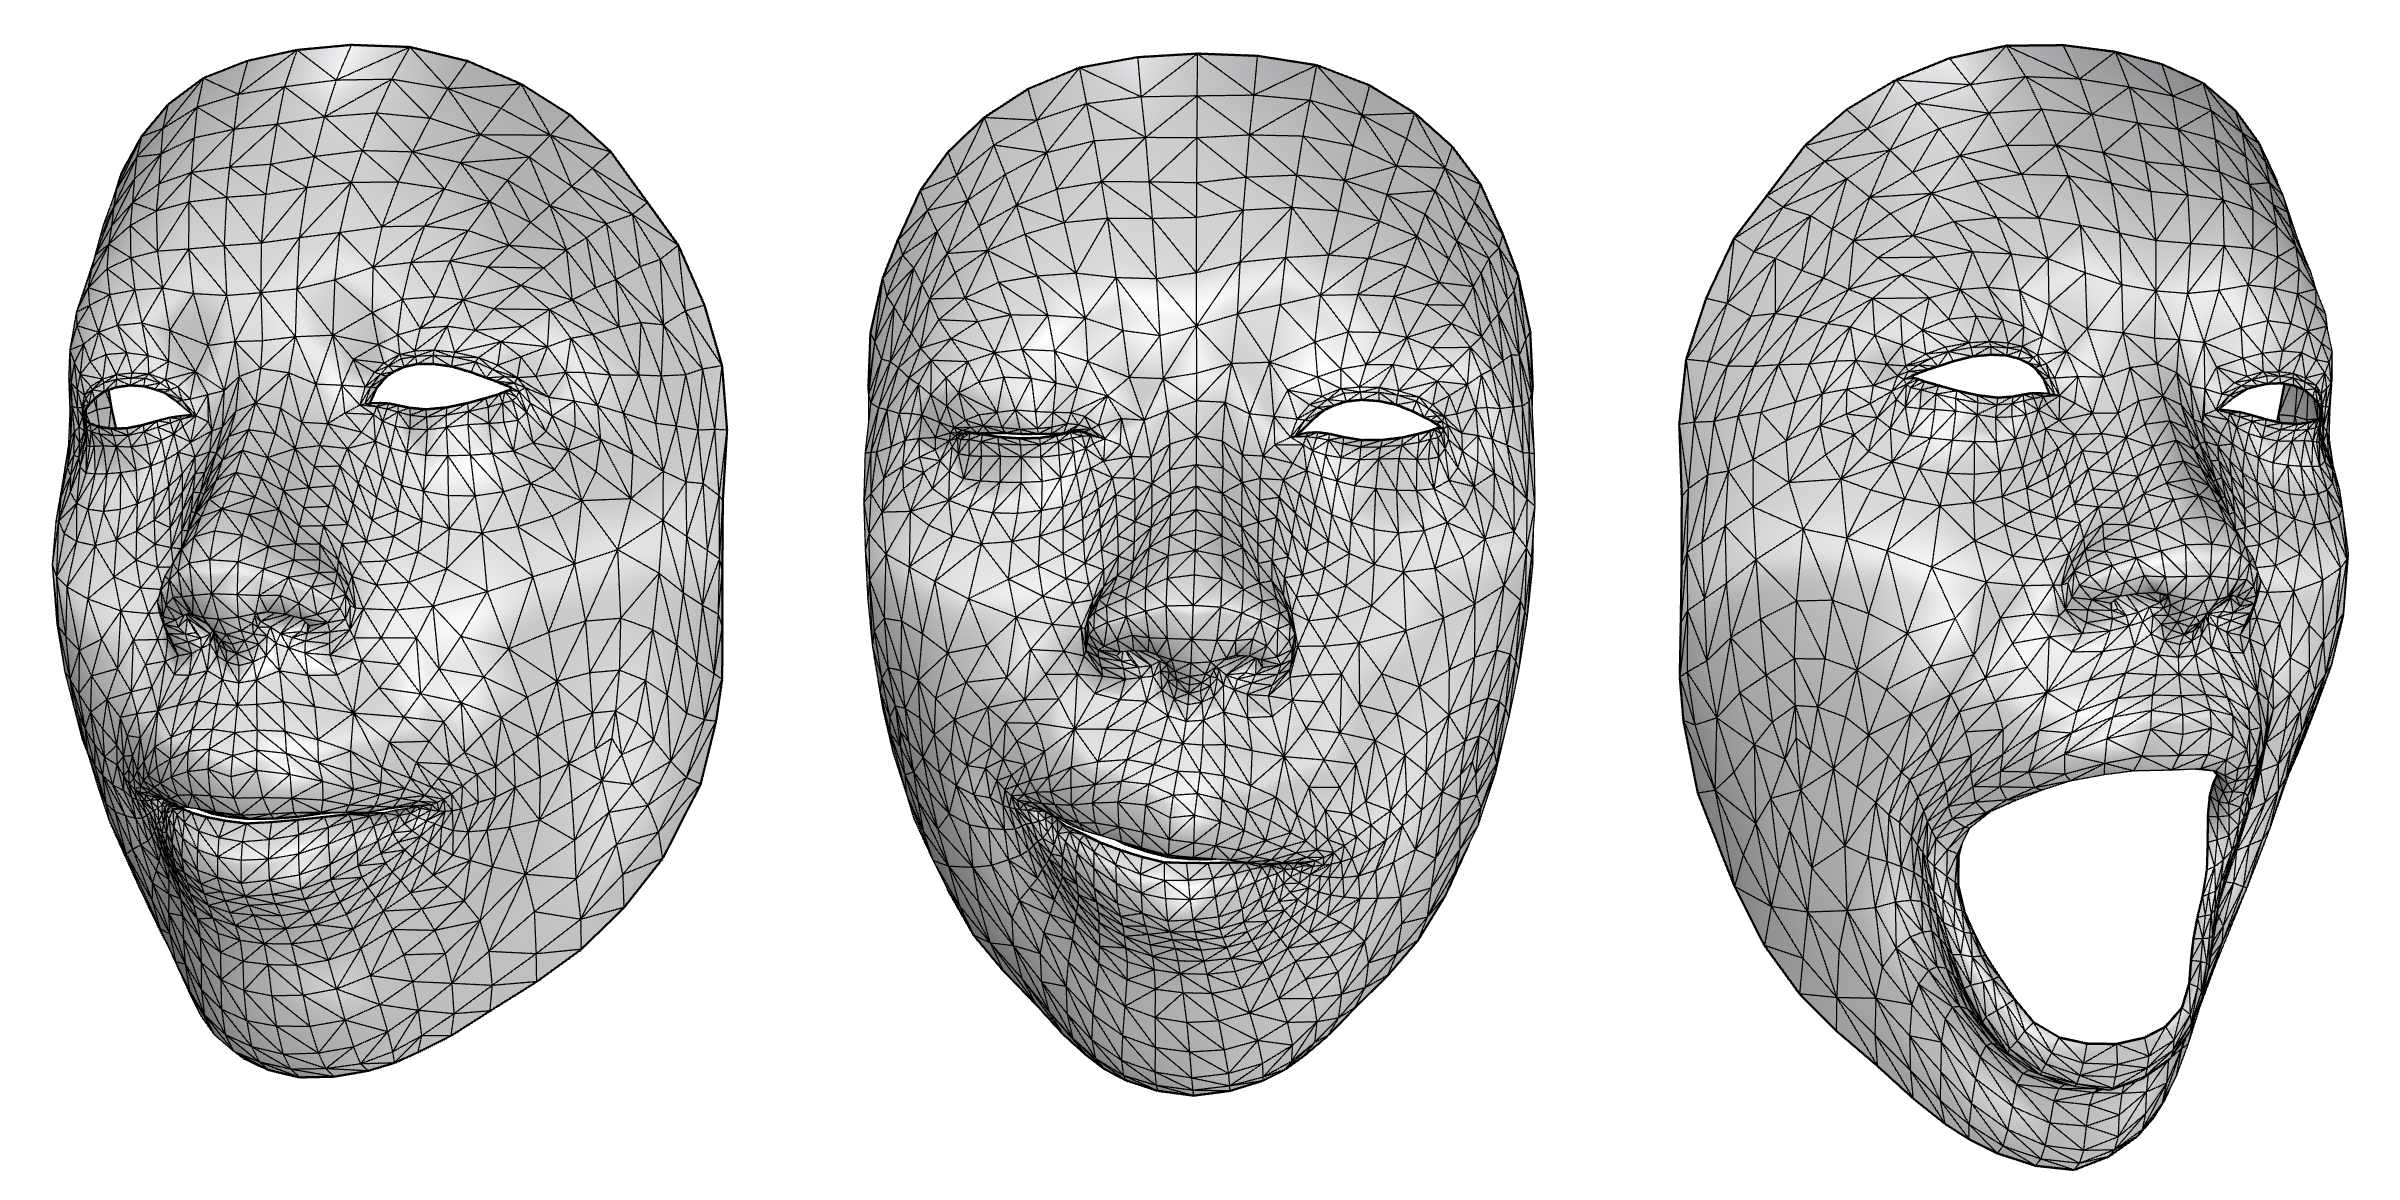
Turn on the front facing camera to detect your face and place the model on your face.
Capture face mesh
Use Apple’s Face Tracking to create a 3D mesh from your face.

AR Marker
Place a 3D model on the AR Mark paper in the real world. You can view and interact with the model as if it were physically present in the space.
Lock XY
Orient the model straight up in the real world.
AR Mark
Open the AR Mark PDF file. You can print it to an AirPrint printer or share it to a computer to print it.
Body
Use the device’s camera and ARKit body tracking to create a point cloud representing the detected person’s body joints and pose in 3D space.
Capture body pose
Create a point cloud of skeleton from a human body.
Finetuning AR Experience
Model Scale In any AR mode by default the size of the model matches its real world size. To make the model appear bigger or smaller, pinch in or out on the screen. To reset the model’s scale to its real world size, double tap anywhere on the screen.
Model Orientation Model is placed on world XY plane by default. To change this, tap the double arrow icon in AR controls at the bottom of the screen. To rotate the model in its plane, use a single finger pan gesture.
People Occlusion
This setting controls if people should appear in front or behind AR objects. It can be toggled on or off in Settings > Interactions > AR Settings > People Occlusion

