In this tutorial we will be focussing on baking objects, in other words, transferring objects from Grasshopper to Rhino. Traditionally, baking objects has always been possible manually, as well as automatically with the use of external plugins (e.g. Elefront). In Rhino 8 we have added tools to automate and enhance this process. The content cache component keeps track of the objects that have been baked. This allows you to update/replace objects that are previously written by Grasshopper to the Rhino document and makes sure the object being baked matches the Grasshopper data.
As a result, you can now more easily work with objects written from Grasshopper in Rhino. For example, you can apply materials to baked objects, knowing that the objects keep their material when they are updated. This saves a lot of time and repetitive work. It also means you can have a raytraced viewport that updates in real time when you fully automate the baking process.
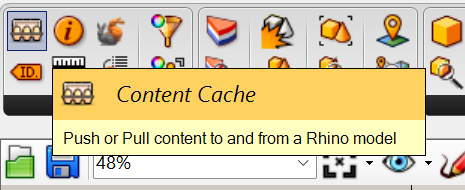
The content cache component can be found in Grasshopper under the Rhino tab:
This component can have different states with different resulting functionality:
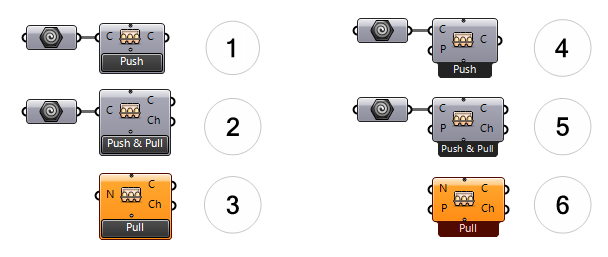
Manual Baking and Caching
- Push In the simplest form, only geometry is fed into the content cache component’s C input. Pressing the Push button bakes the content to the Rhino document, or updates it if it was already baked.
- Push & Pull By enabling the Cache output (Ch) objects baked to the Rhino file are read back into Grasshopper. We call this process caching.(*)
- Pull In this mode, the component is only processing already cached objects.
Automatic Baking and Caching
- Push In this mode, when the Pattern input (P) has been added, and set to True, any content that is fed into the component is automatically baked into the Rhino document. Note that updated geometry will overwrite already baked geometry from this component. This is to prevent multiple copies of the same or similar data being written to the Rhino document, and makes sure the object in Rhino matches with the Grasshopper data.
- Push & Pull Similar to the manual mode explained under 2, in this mode objects are baked and cached.(*)
- Pull Similar to mode 3, in this state, content cache can process existing objects stored in cache.
(*) By feeding a series of objects into the component, and naming them, they can be later queried by the component in Pull state (3 or 6)
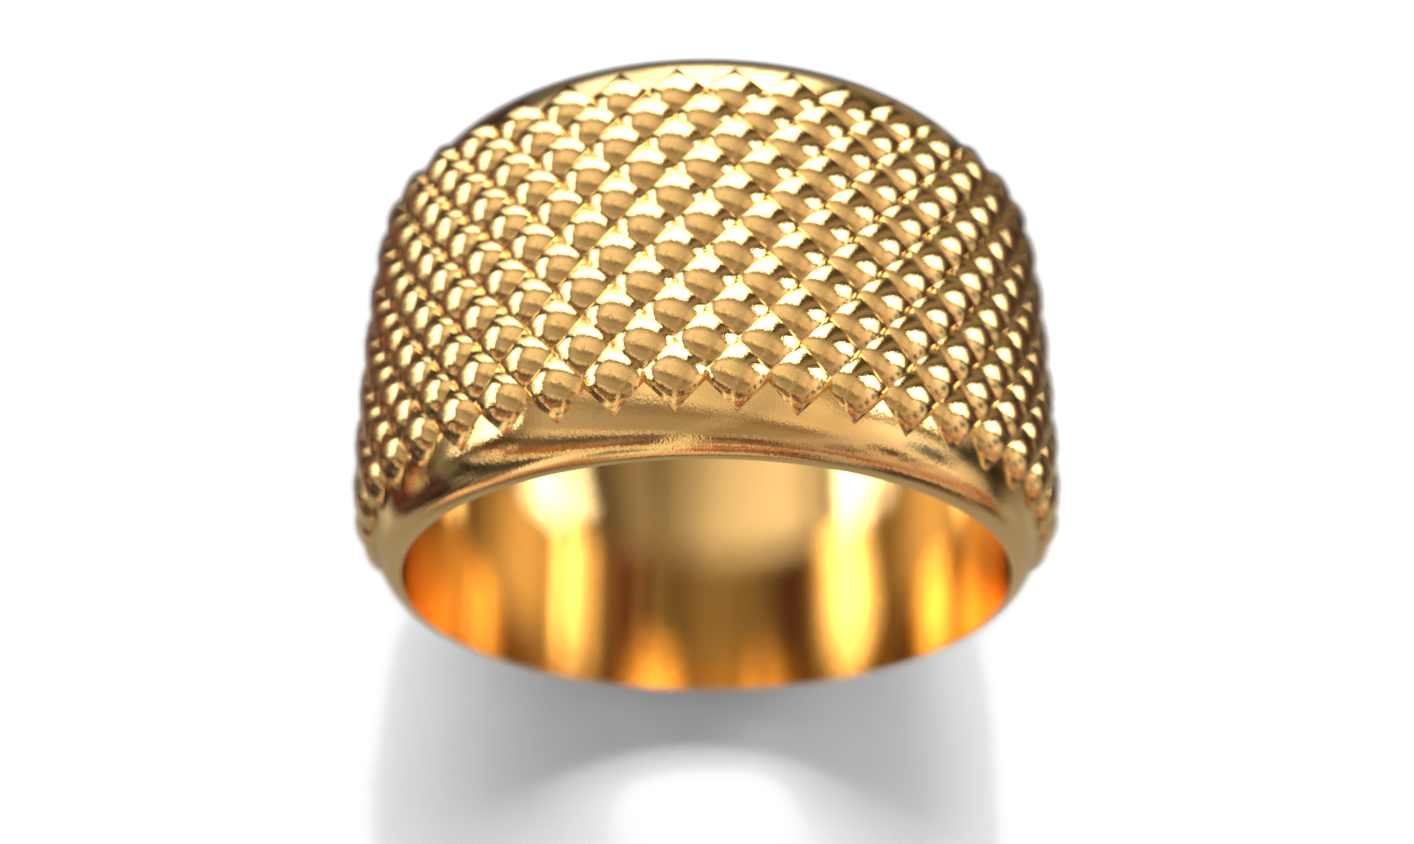
Example 1 - A ring in several sizes
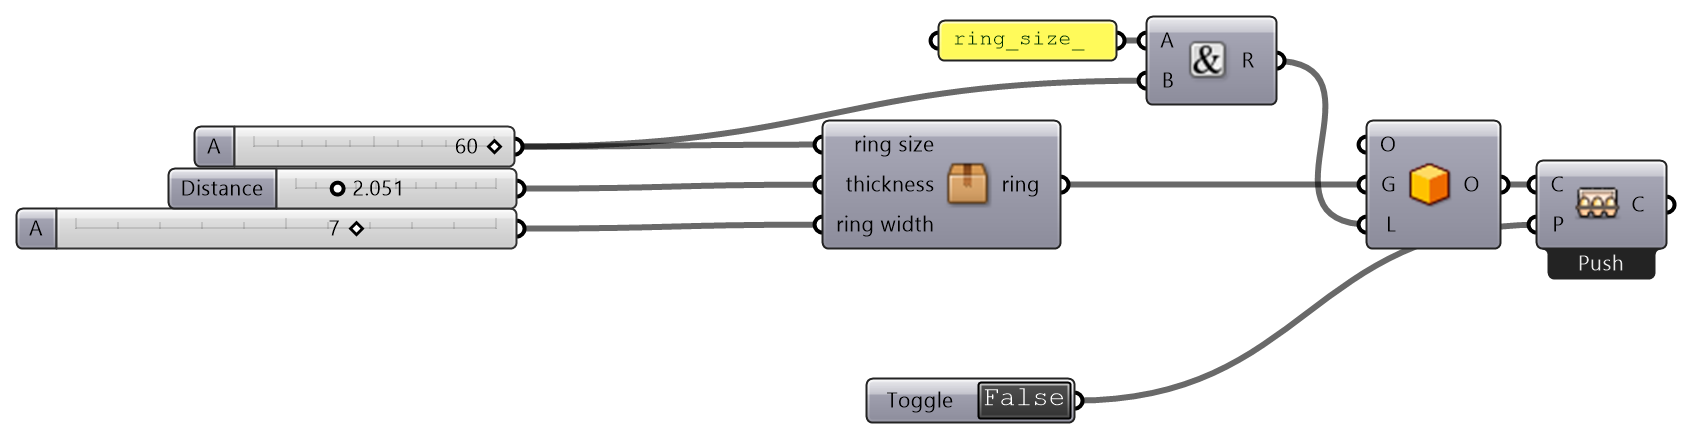
Start Rhino and open a new file in a mm small template. Start Grasshopper, download and and open the content-chache-start.gh. In the document you will find all instructions for manual baking, automatic baking/updating as well as querying generated content to further process it.
step 1 Manual baking

In the simplest form, content cache acts as an on demand bake.
- Click on the Push button to bake the ring to the Rhino document.
- Now alter one or more sliders, and push the button again. Notice the ring that was added to the Rhino document is now replaced.
step 2 Automatic baking
- Delete the ring in step 1.
- Double-click the Toggle to set it to True and notice a ring is baked to the Rhino document. In this case we did provide a layer name, so the object is being baked to that layer.
- Alter one or more sliders and notice the ring in the Rhino document is replaced automatically while the sliders are adjusted.
step 3 Baking a series of rings and caching the content

- Delete the ring in step 2.
- Double-click the Toggle to set it to True and notice a series of rings is baked to the Rhino document. Each ring is baked on a different layer. Also each ring will have a name that is identical to the layer name. Since Cache output (Ch) has be enabled, the object can be further processed.
- Change one or more of the sliders and notice all variants of the ring are updated.
step 4 processing an object in a cache
- In this step we read in the cache generated in step 3, by referencing its name. Note that the content (C) input is empty, which puts the content cache component in Pull (read) mode.
- Create a new material in Rhino (run the command
 Materials
if the Materials panel is not yet visible) and create a new Metal material. Name this material ‘Gold’.
Materials
if the Materials panel is not yet visible) and create a new Metal material. Name this material ‘Gold’. - Hide all the new layers created in step 3.
- Double-click the Toggle to set it to True.
- Pick a ring size from the value list and click the Push button again. Now a new layer is created with the selected size ring with added pattern. The right most content cache component is in Push mode and overwrites earlier data. This includes layers and all objects that were baked by this component. While this is not always the desired behavior, in this case it allows you to get immediate previews of the content without having to do any object or layer management.
