Layers are essential to an organized model. Group related objects together and control the parts of your model that you view, edit, print, or even render in the same way. You can do this in the Rhino Layer Manager, a key part of Rhino’s User Interface.
Layer Manager Enhancements
Rhino for Windows and Mac share the same Layer Manager with the following new features:
- Search Bar: Provides a more manageable approach when working with models containing a large number of layers.
- Section Style: Allows for the assignment of section styles per layer when a clipping plane is used for creating sections and elevations for documentation.
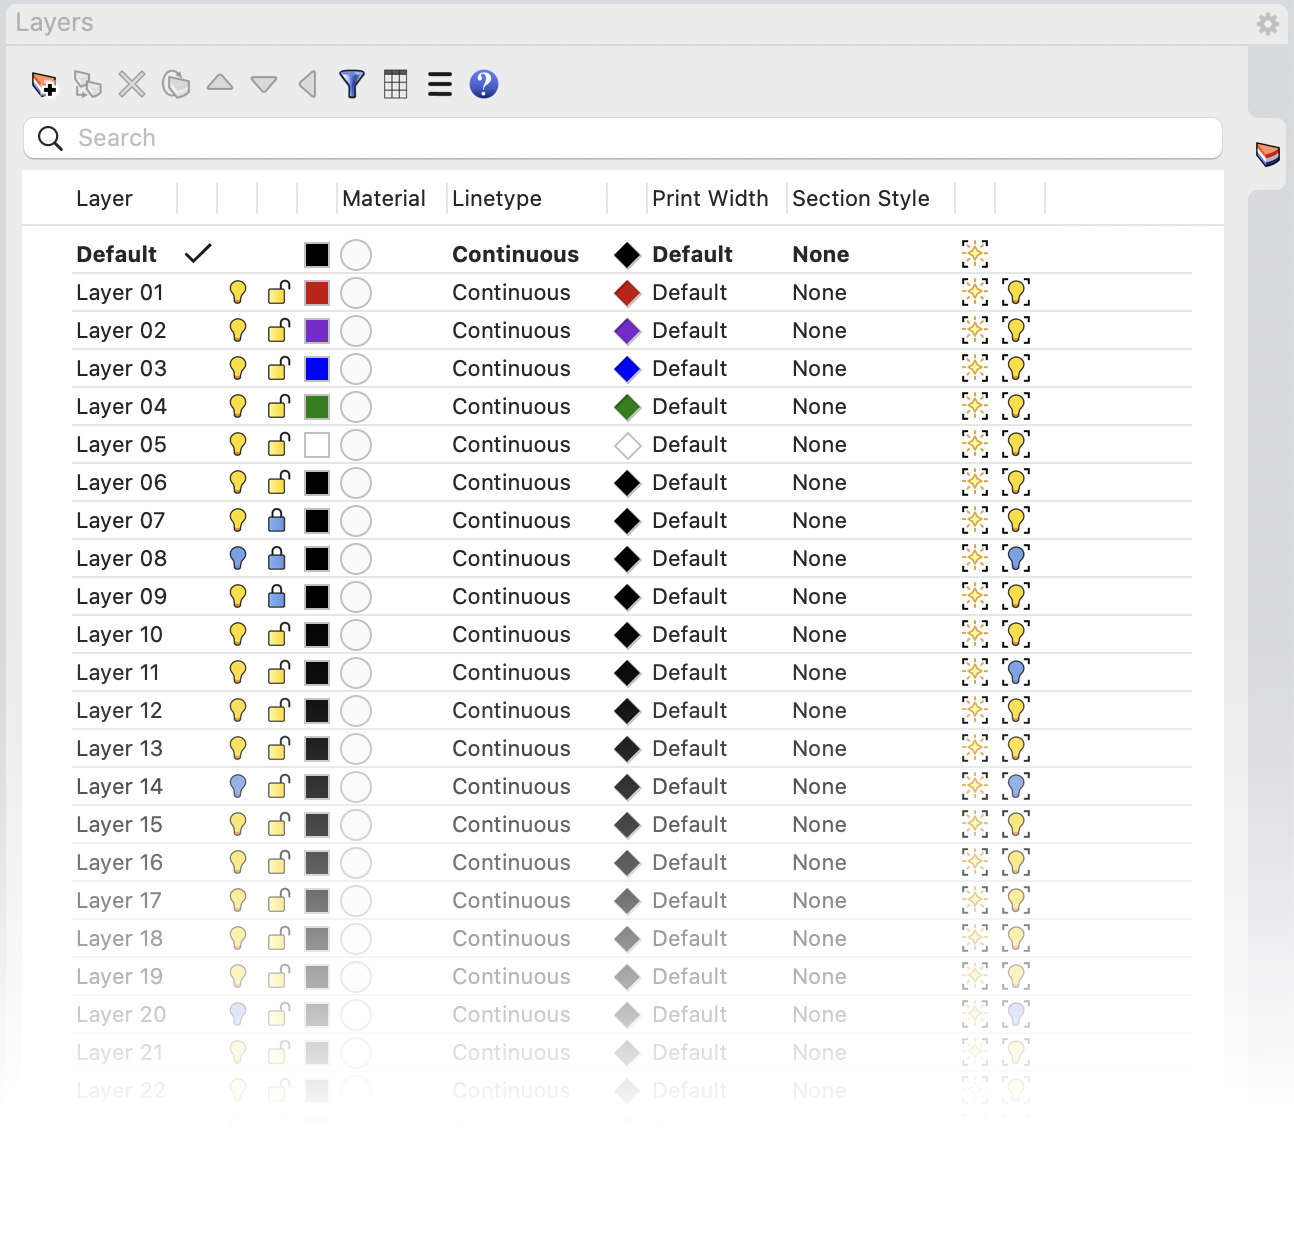
- Independent Model Visibility: Model space layers have independent visibility. Model space layer visibility will not affect any Layout or Details views in the model if the Model On column is used. The powerful On column for global visibility or “off everywhere” is still available as in all Rhino releases.
- Improved Layer Management: Enhanced Drag and Drop to reparent and reorder layers. If you prefer the arrows, you can still use them to arrange layers in hierarchies and change the location in the layer list. Also, delete layers more efficiently and more securely on both Windows and Mac platforms with Yes to all and No to all options.
- Streamline Detail Configuration: In the New Detail On setting, turn the light bulb off. Now when new details are added to any layout, this layer will already be off, saving time configuring new details.
Search Bar
A Search bar is available at the top of the Layers panel. The Search Bar provides a more manageable approach when working with models containing a large number of layers. Type text in the field to search for layers by name.

Section Style
Section Style column allows for the assignment of section styles per layer when you use a clipping plane to create sections and elevations for documentation.


Independent Model Visibility
Model space layers have independent visibility. Model space layer visibility will not affect any Layout or Details views in the model if the Model On column is used. The powerful On column for global visibility or “off everywhere” is still available as in all Rhino releases.

Improved Layer Management
Enhanced Drag and Drop to reparent and reorder layers. If you prefer the arrows, they can still be used to arrange layer hierarchies and to change their location in the layer list.

Streamline Detail Configuration
In the New Detail On setting, turn the light bulb off. Now when you add new details to any layout, this layer will already be off, saving time configuring new details.

Try It
- Download Rhino 8 Evaluation for Windows or Mac.
-
Download and open the layers-tryit.3dm model.
-
Type the
Layercommand to open up the Layers panel.
- In the Model On column, turn off the Gems-> center stone and Gems -> rose cut layers. The center stone and gems are no longer visible on the model.

Hint: Use the resizing arrows to increase the width of the Layers panel and to view the Model On column. If the Model On column is not available, right-click on any Layers column to show the Model On column.
- Pick on the layout Page 1. Confirm that the Gems-> center stone and Gems -> rose cut layers are set to on or visible.

- Pick on the Perspective viewport, and confirm that the Gems-> center stone and Gems -> rose cut layers are still off in the Model On column. Here you see that the model layer visibility is independent of the detail layer visibility when using the Model On column.
- Now, in the Perspective viewport, turn the Gems-> center stone and Gems -> rose cut layers back on in the Model On column.
- Let’s see how the Section Styles are configured. In the Ring-> shank layer row, pick on the Section Style. The Section Style dialog will appear.
- For the Pattern, pick Grid60 and for Boundary Scale type
6. Pick OK.

- On the Gems-> center stone layer row, pick on the Section Style.
- For the Pattern, pick Squares, for Rotation type
45and for Boundary Scale type6. Pick OK.

- Type the
Gumballcommand and set the Gumball to On. In the Layers panel, turn On the clipping plane layer and select the clipping plane.
- Pick the blue arrow on the Gumball and slide it back until the plane cuts through the center of the ring. When you stop dragging, the section styles will appear at that location on the ring. (Use the point on the screen to help find the new location of the clipping plane.)

- Esc to deselect the clipping plane.
Ask questions and give feedback on the Discourse Forum. Model credit: ART Laurie Robinson, LR Jewelry
