Decals
Decals are commonly used for representing labels and graphics on products, packaging, and signage. Add reflectiveness, textures, and bump maps.
Decals: Full Control
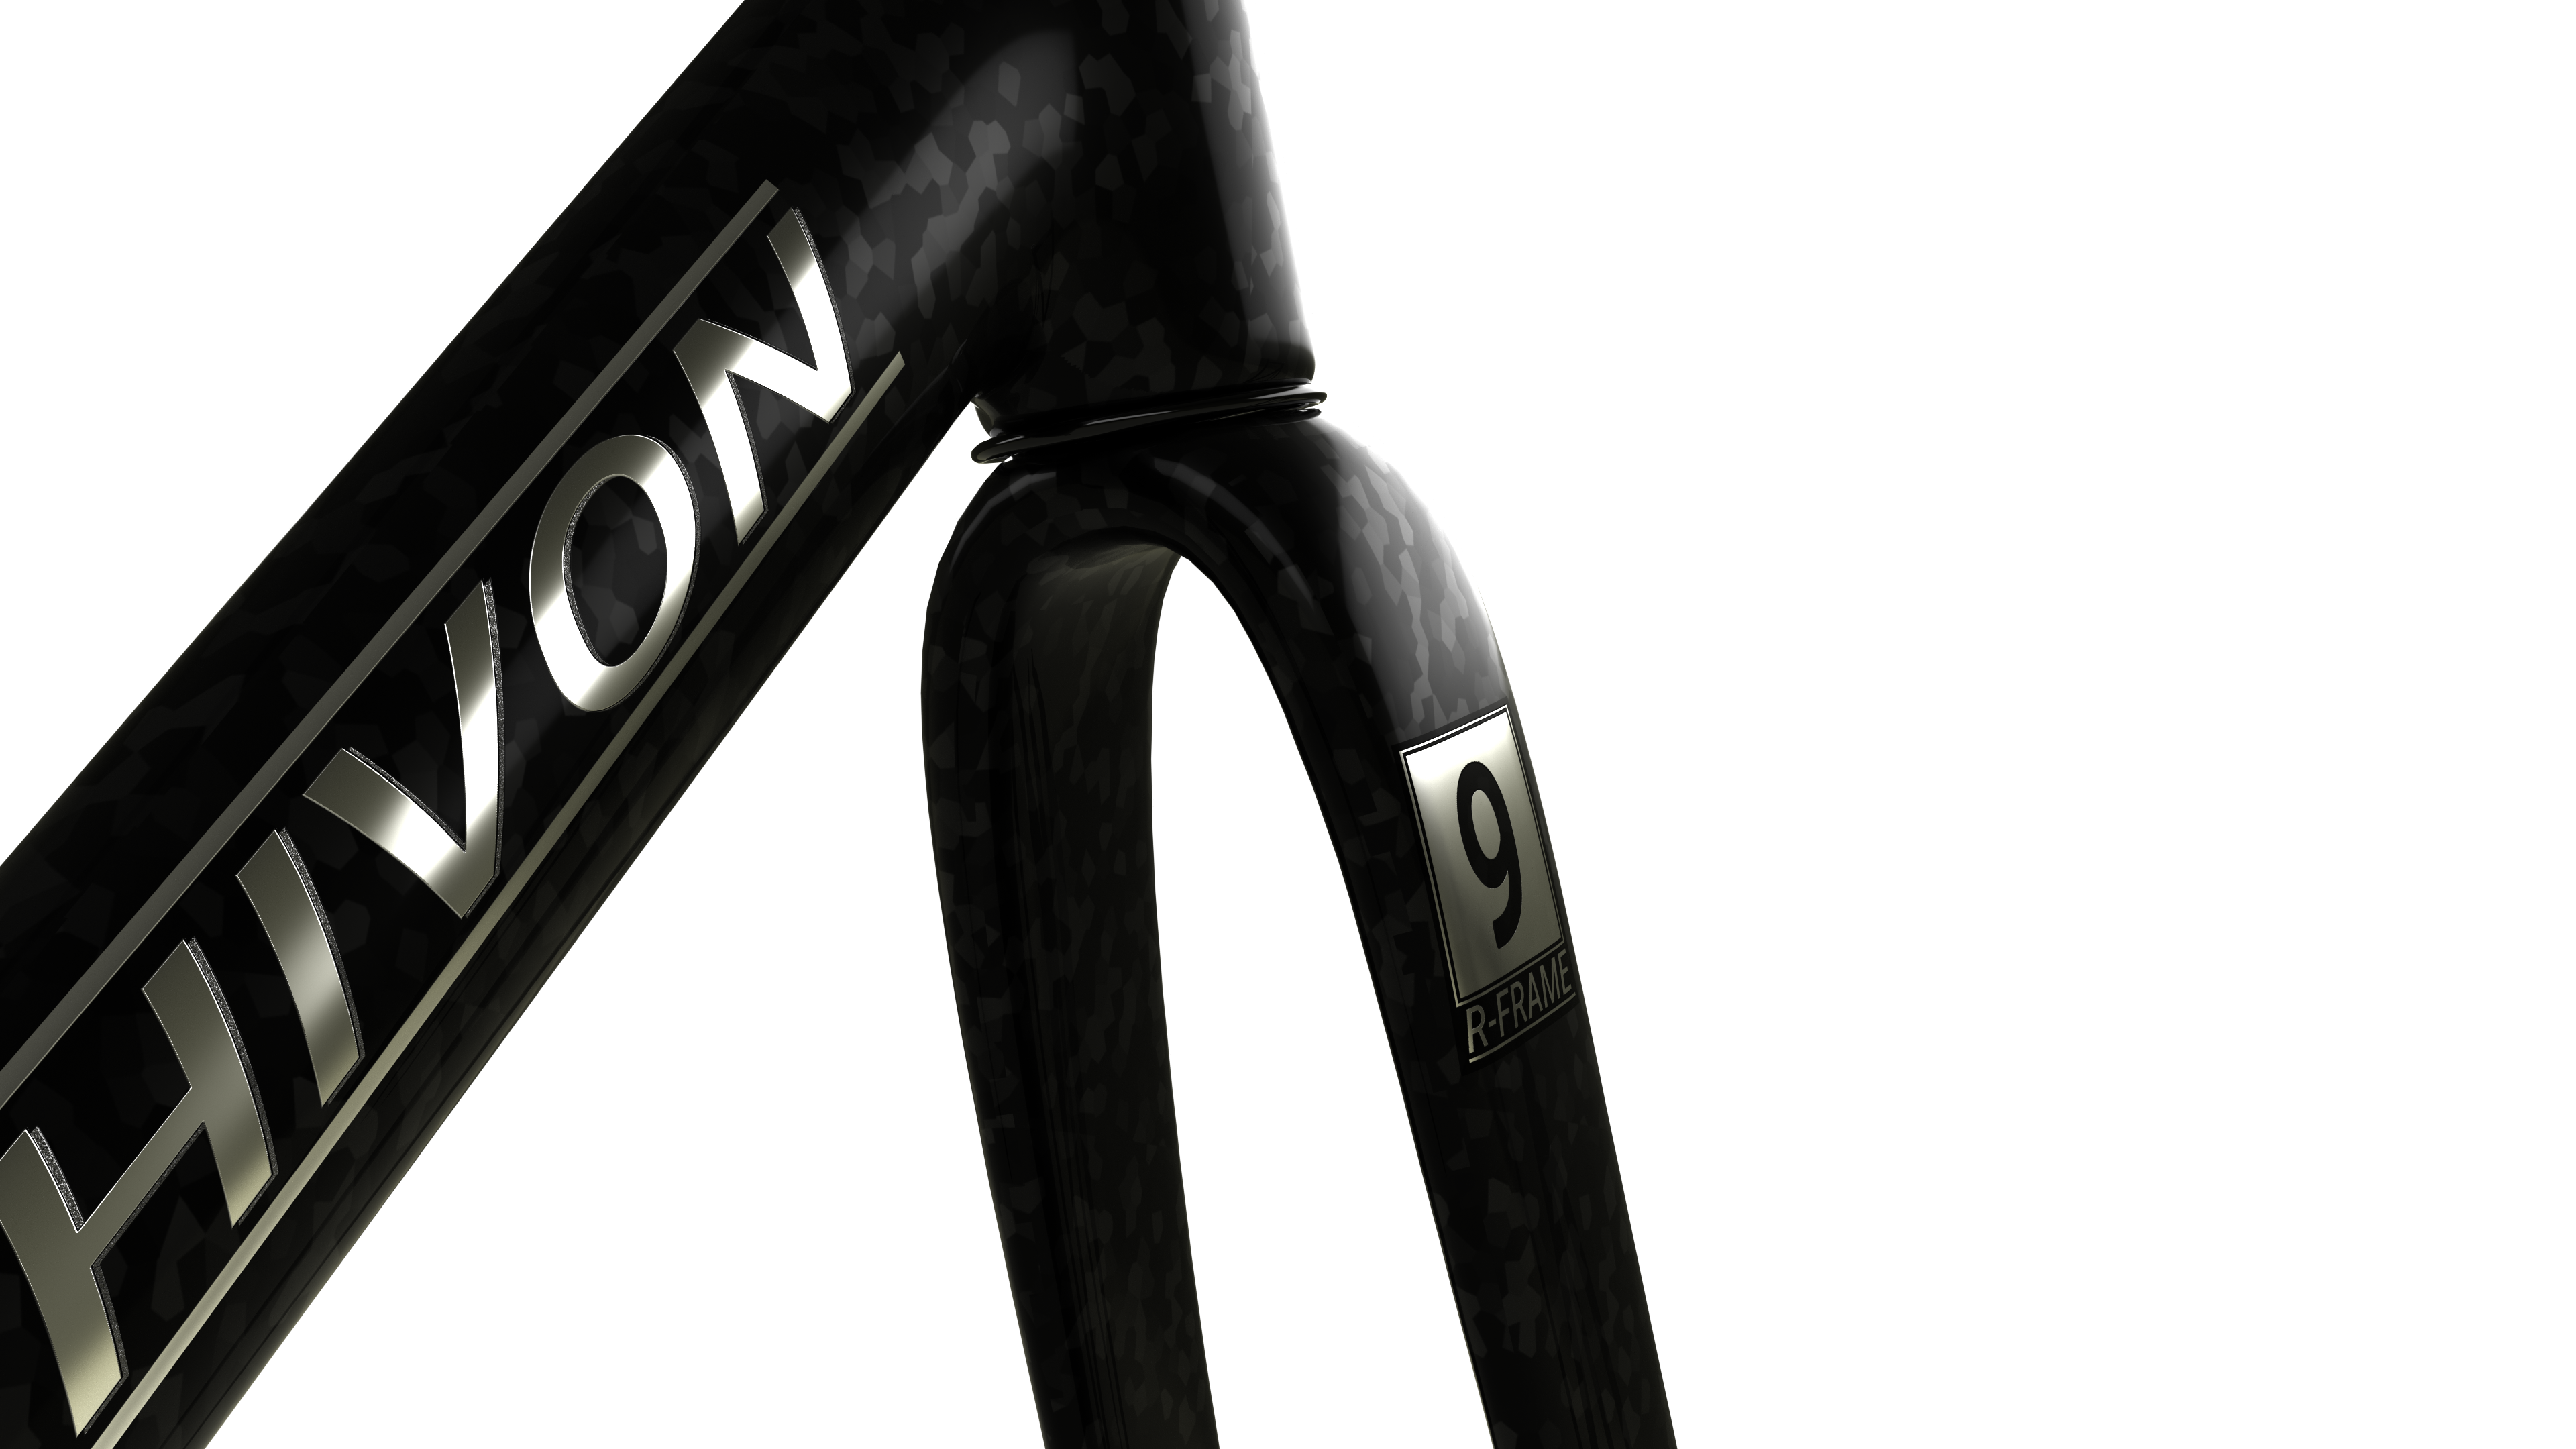
Bring your products to life by applying Decals in Rhino! In Rhino 9, you can add reflectiveness, textures, and bump maps to your decals.
Decals: Can you spot the difference?
In previous versions of Rhino, Decals were limited to simple textures, without the ability to add real-world properties such as bump maps or metallic reflections. These are commonly used for packaging, beverages, and many other consumer products.
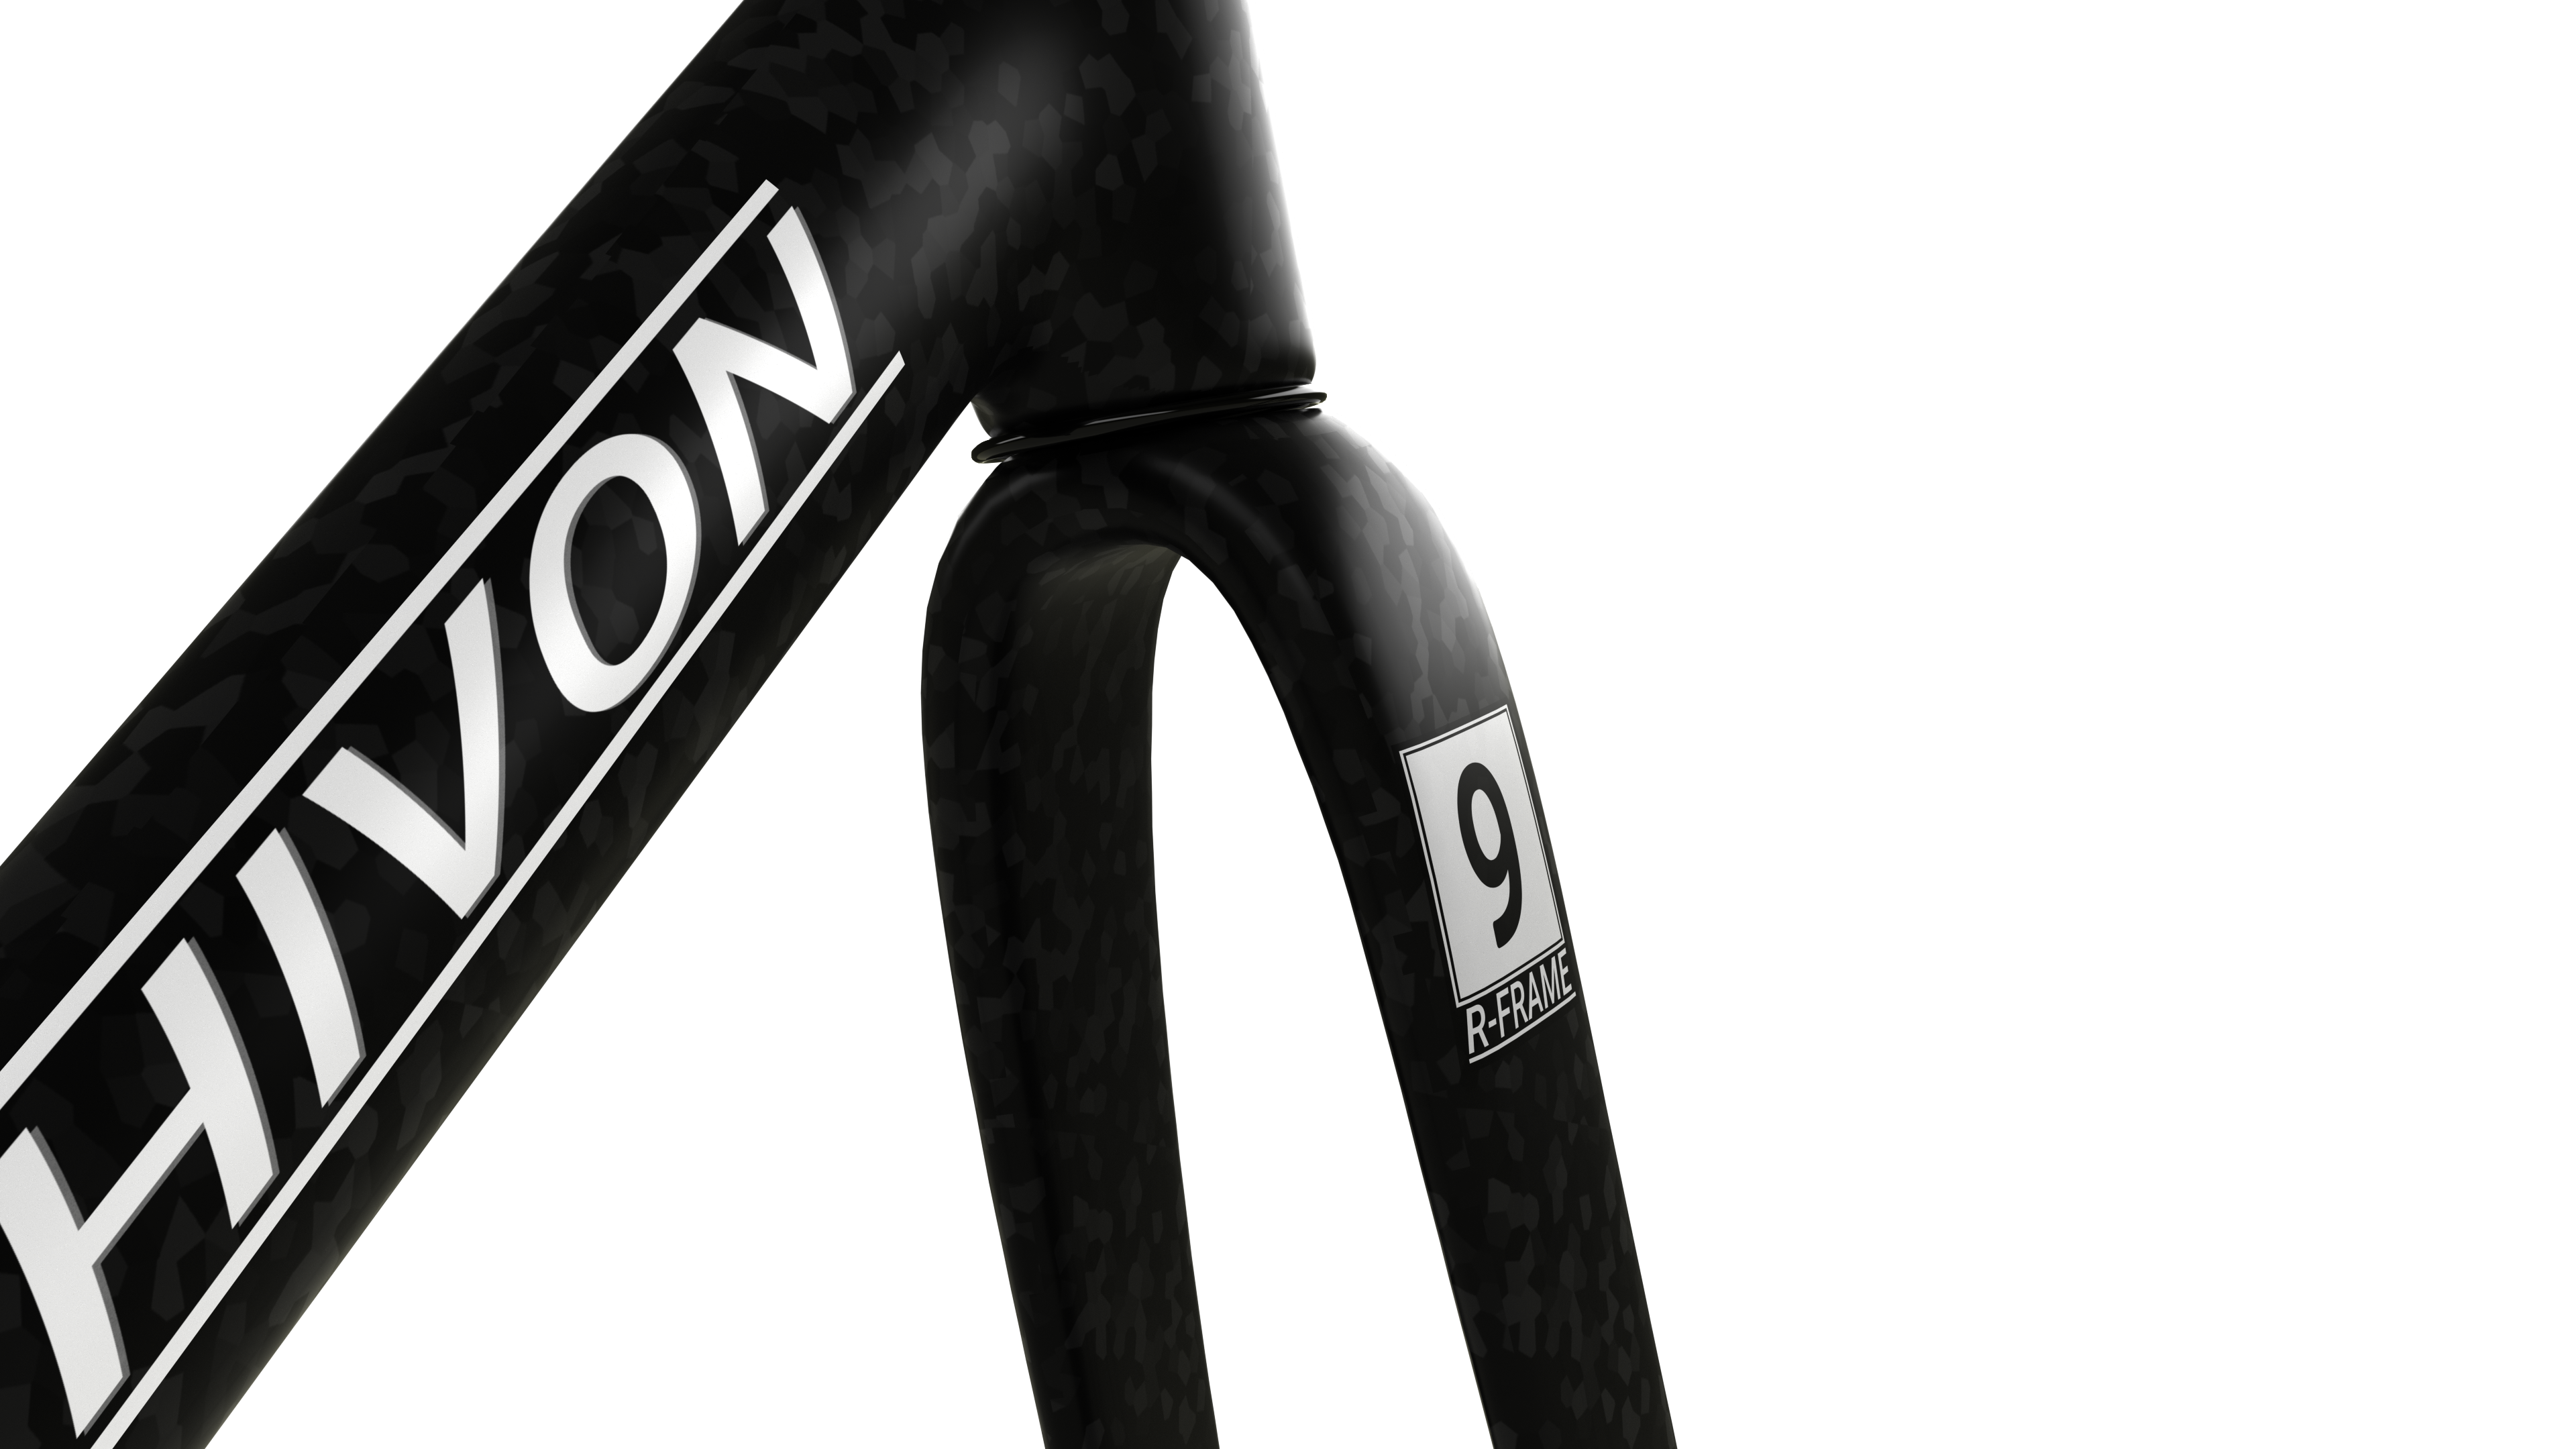
Simple Decals in Rhino 8
Full Material Decals in Rhino 9
Decals: Transparent Objects
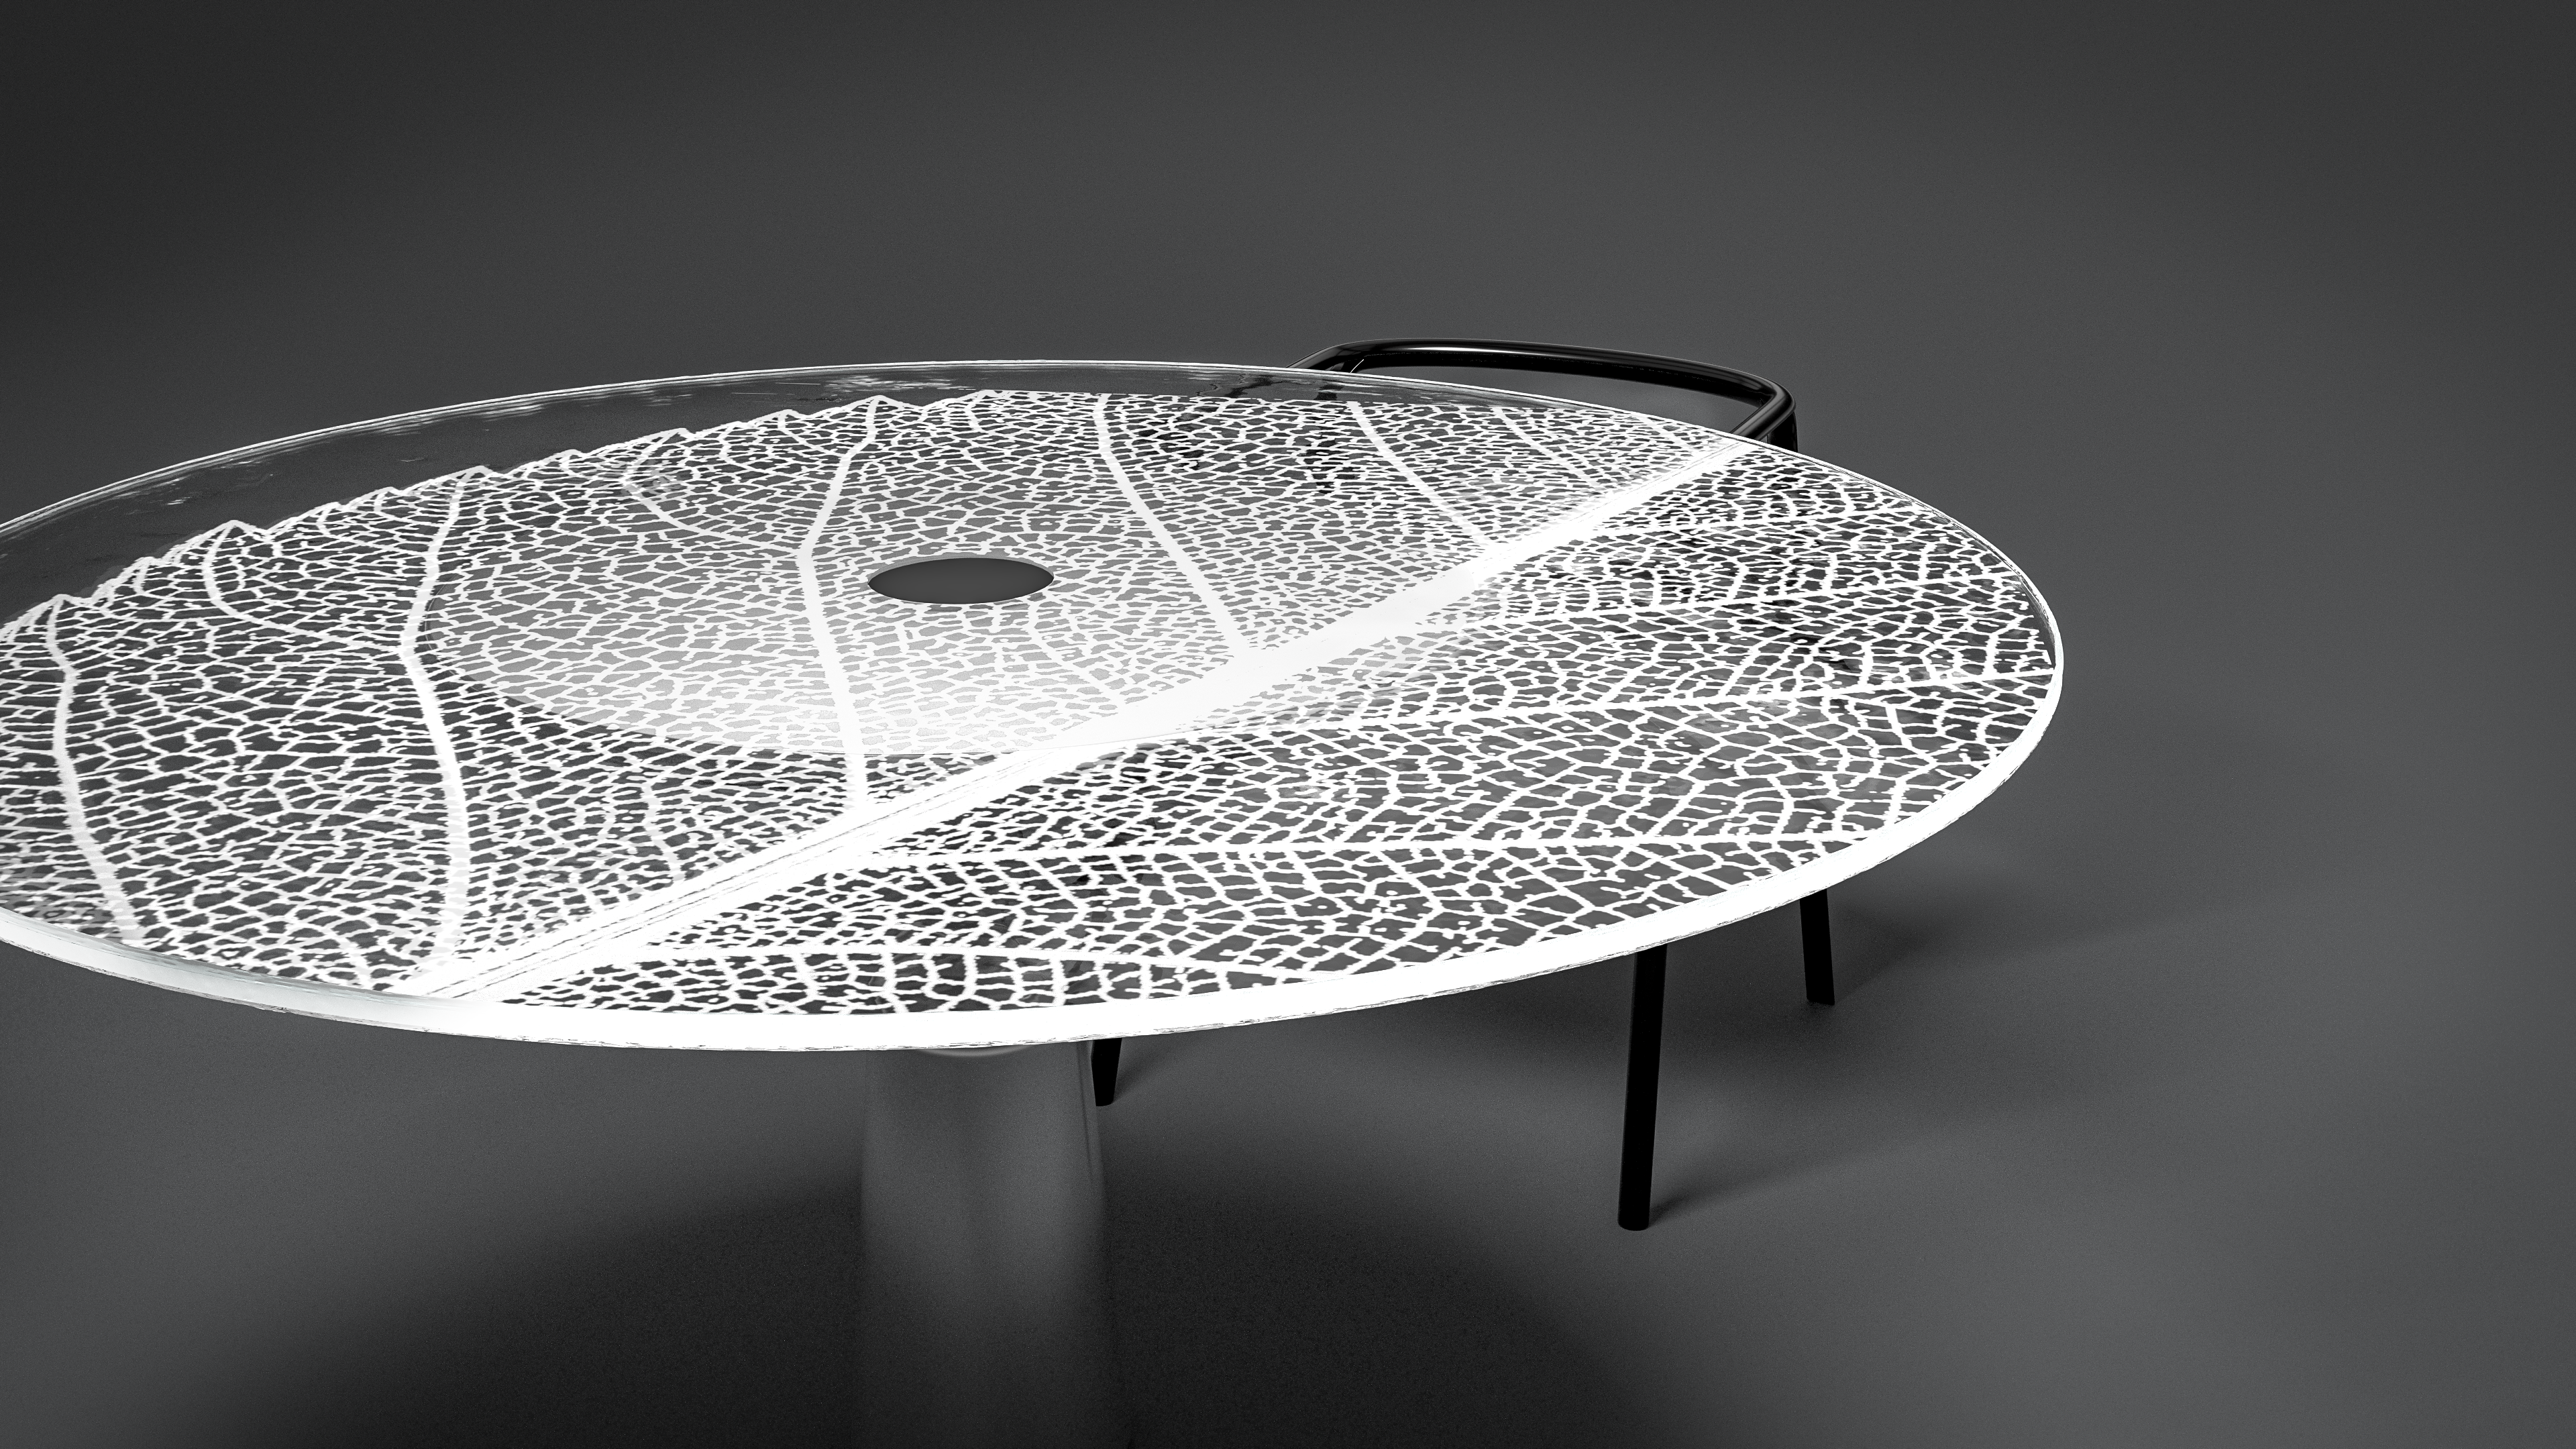
Decals on transparent objects, such as glass or plastic, are now supported. In previous versions of Rhino, decals would disappear when assigned to transparent objects, making it impossible to assign labels, logos, or stickers to glasses or bottles.
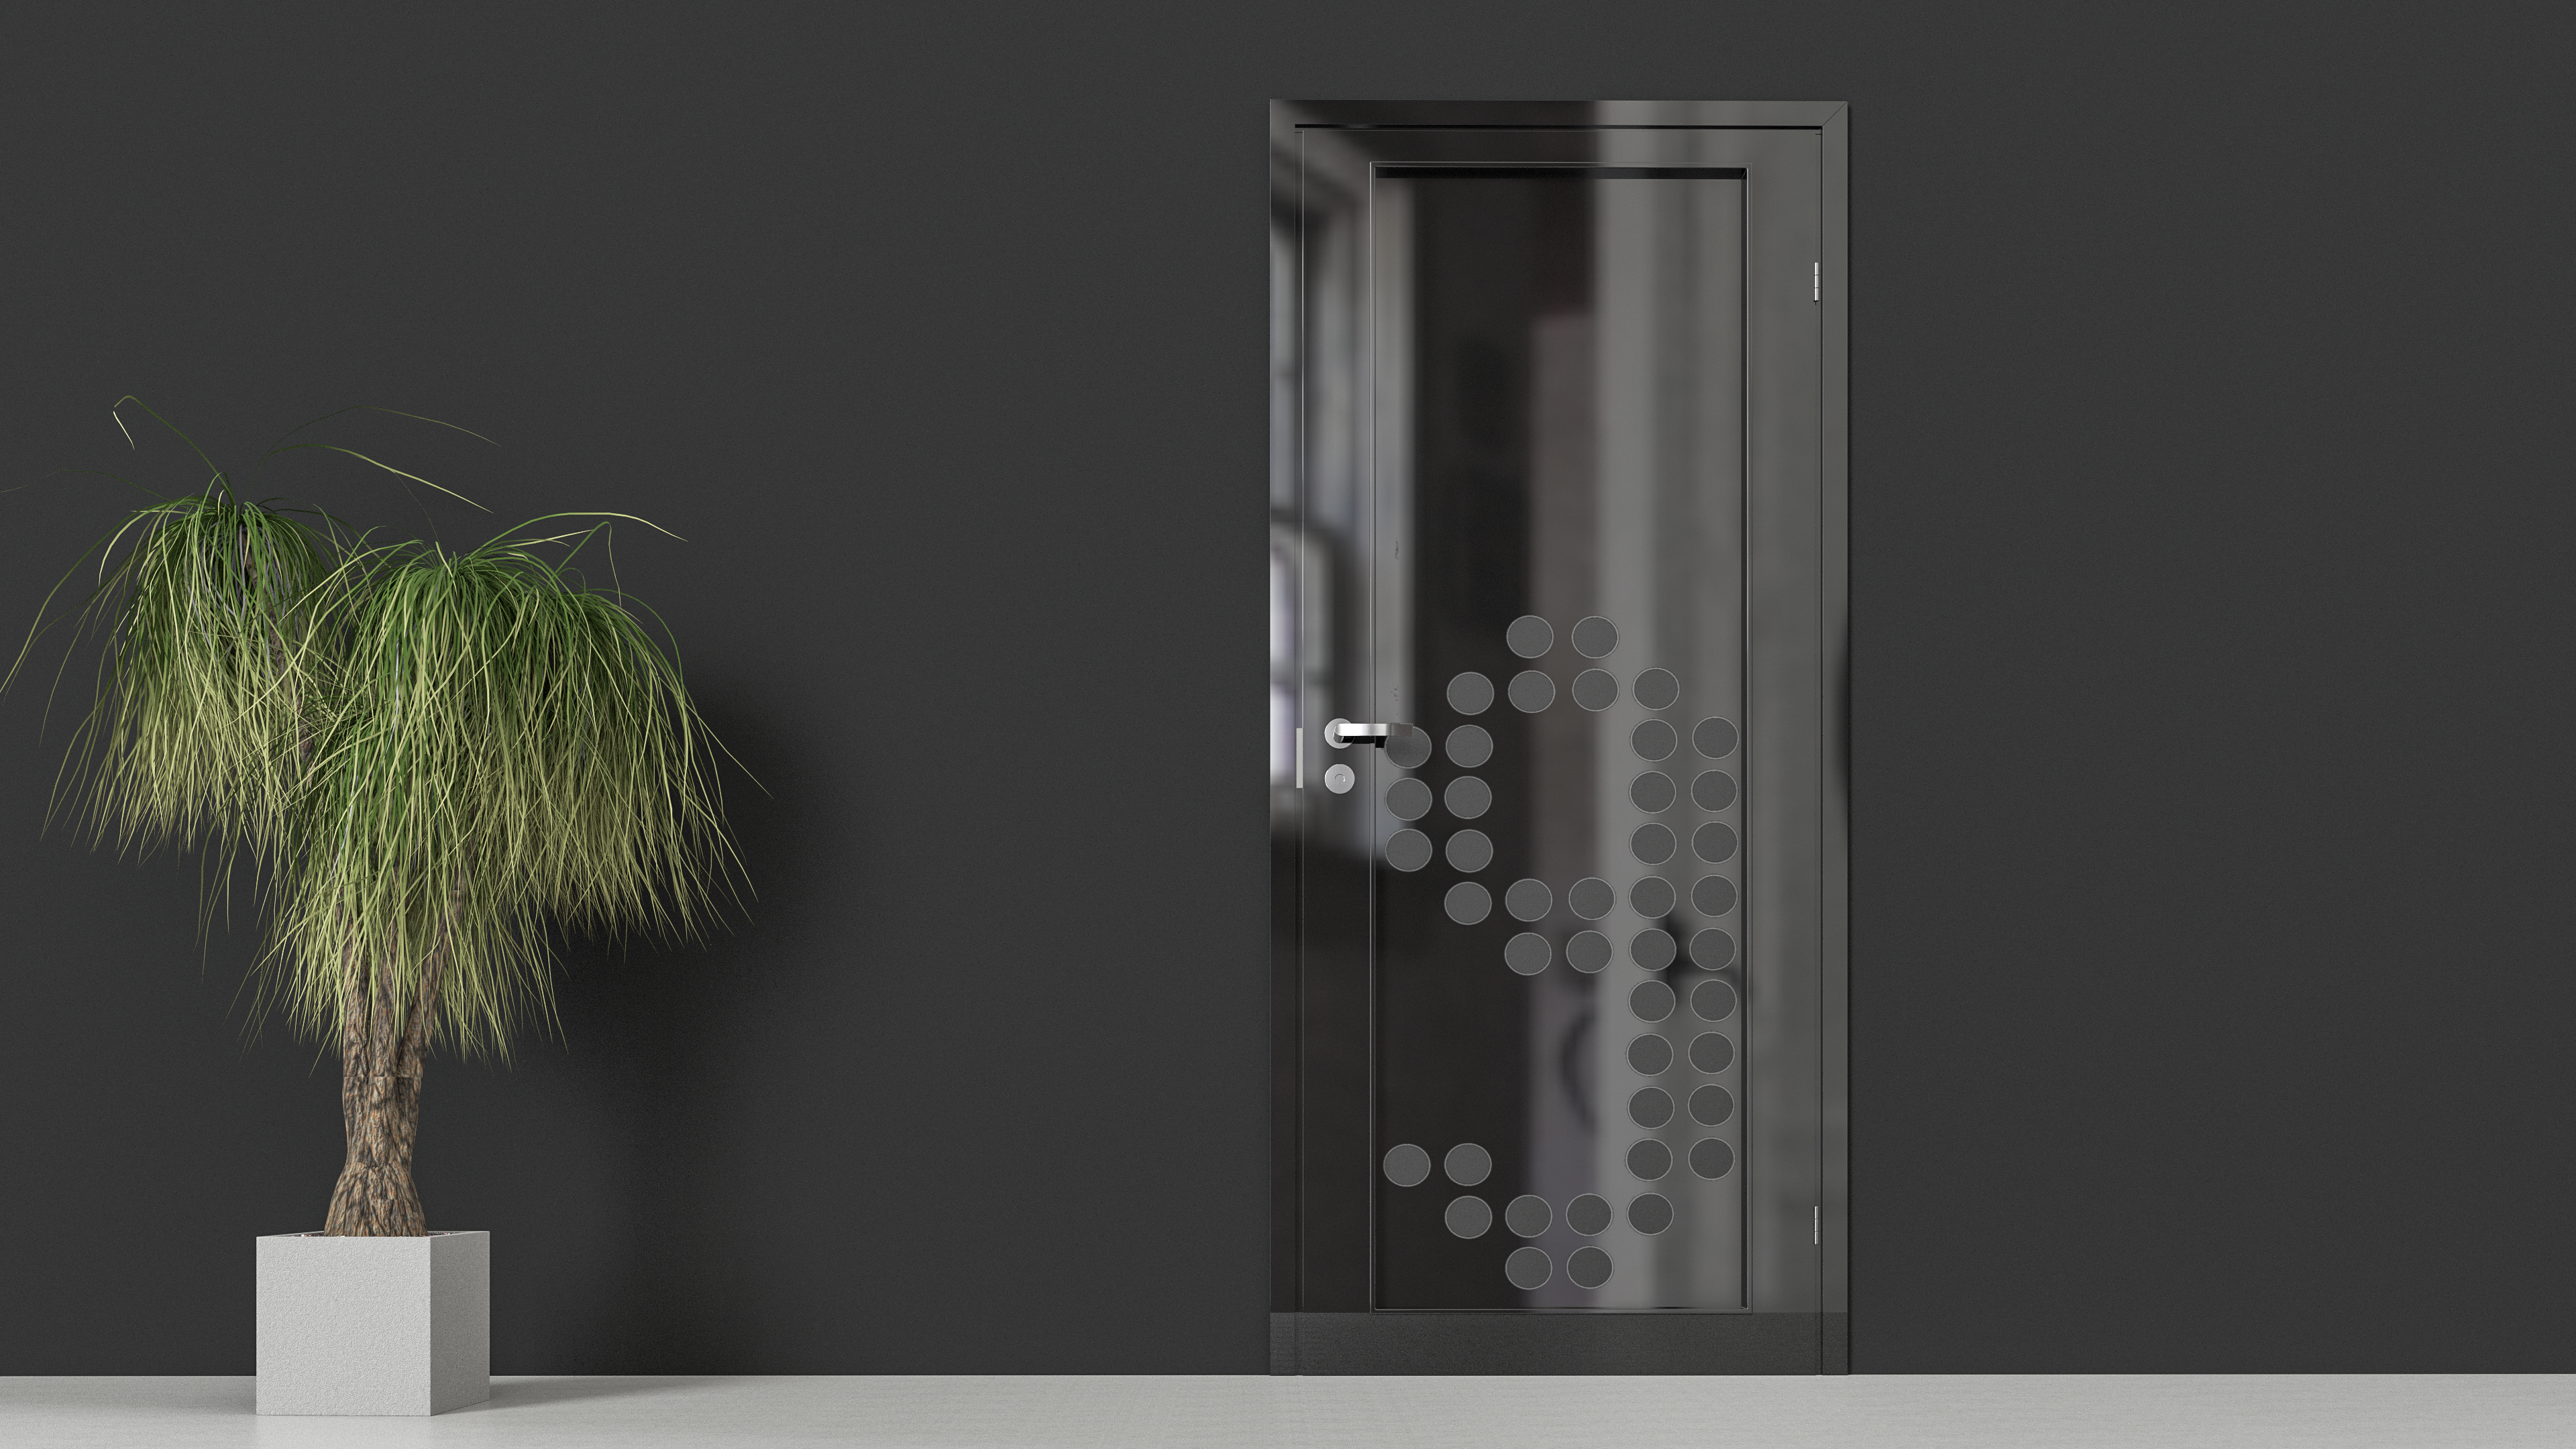
Decals: Matte on Reflective Objects
Keep your Decals matte even when assigned to metallic or reflective objects! In previous versions of Rhino, Decals would inherit the material properties of the base object, making it impossible to decouple the two and depict your design intention.
Try It
- Download Rhino 8 Evaluation for Windows or Mac.
- Download and open the VelmoreBox.3dm model. You’ll find a box with a Decal applied to it.
-
Select
the top box:
- In the
 Properties
Panel, select the Decal icon.
Properties
Panel, select the Decal icon. - Select the Decal texture in the list.
- In the
- We’ll define the material properties for the Decal. Scroll down in the panel:
- Select the Metallic button to give a metallic finish.
- Select the Bump Map light bulb icon to turn the bump map On.
- Change the Display Mode to Raytraced to get a physically correct image.
- Try it on your own! Experiment with other settings in the panel.
- Share comments and feedback on the Rhino Forum.
