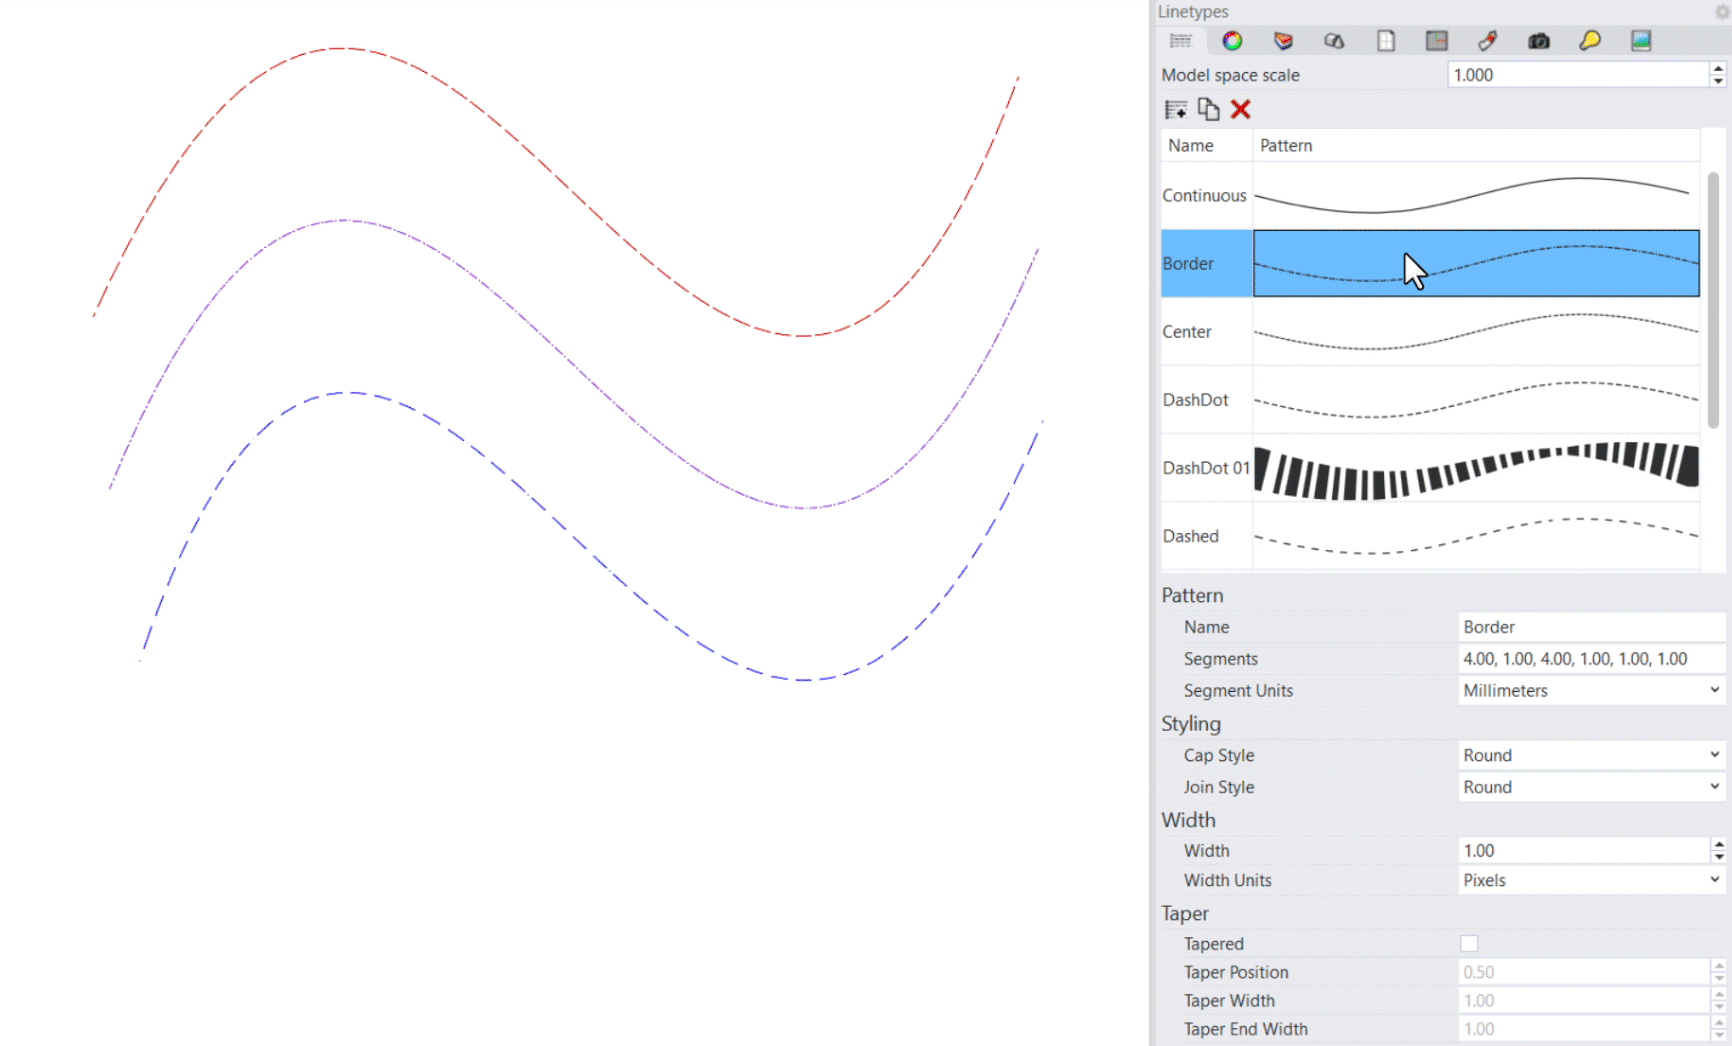
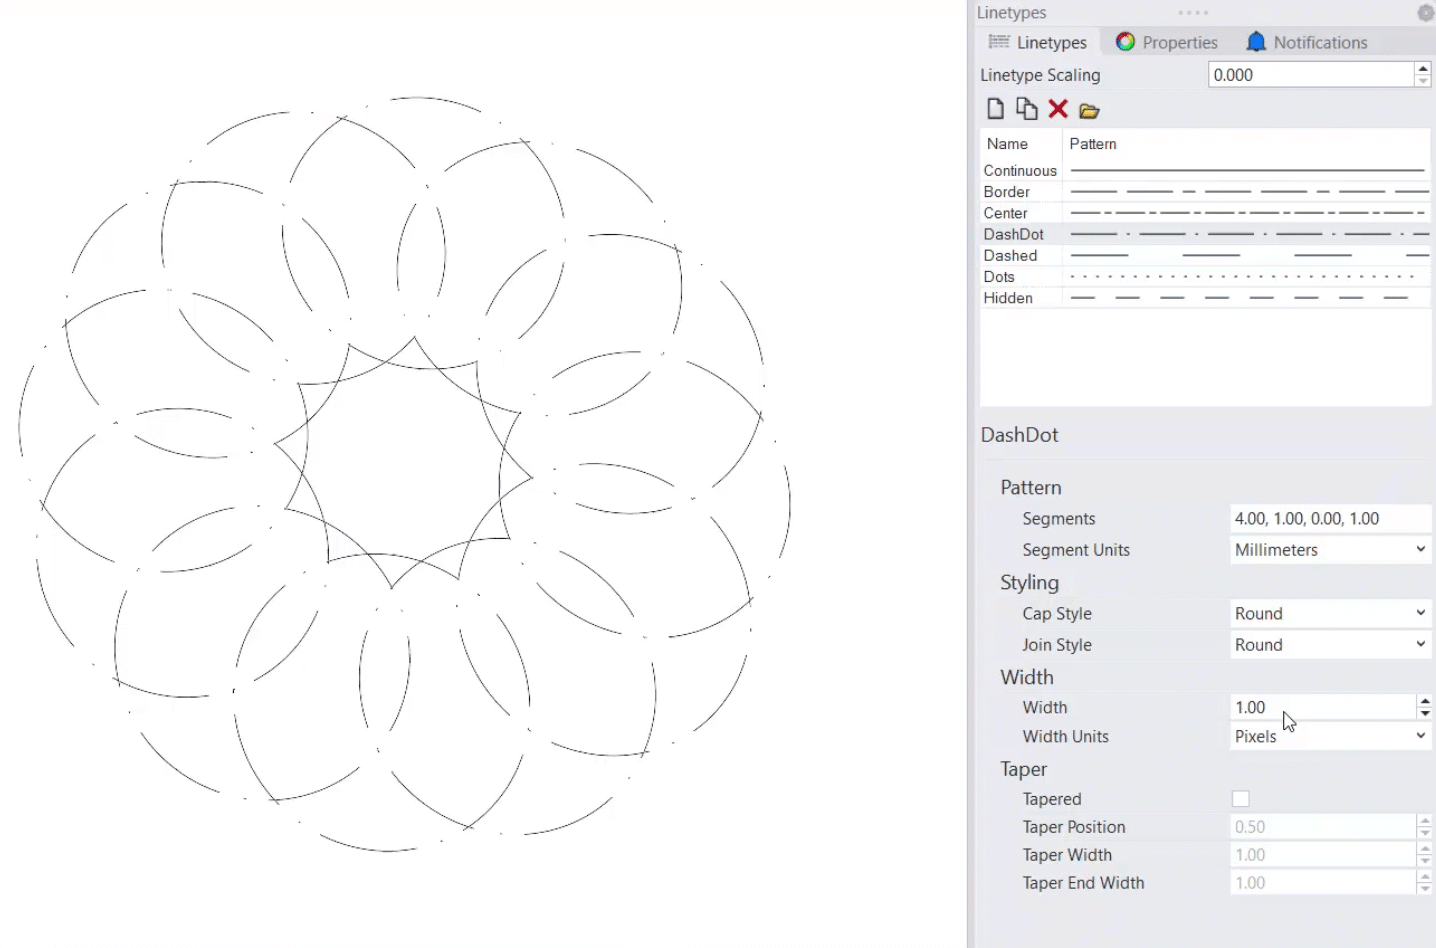
Linetypes are curve styles with pattern, width, and taper properties. Enhanced linetypes are assigned to curves, surfaces, solids, and more. Linetypes communicate your design with an artistic flair.
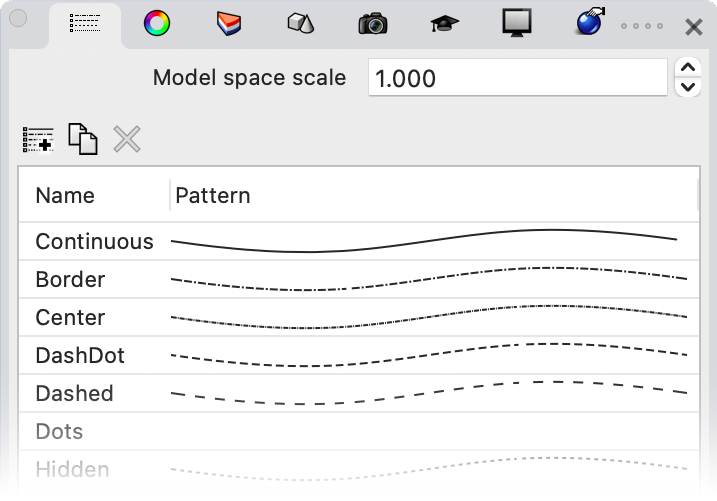
Standard Linetypes
Enhanced Linetypes
Enhanced Linetypes
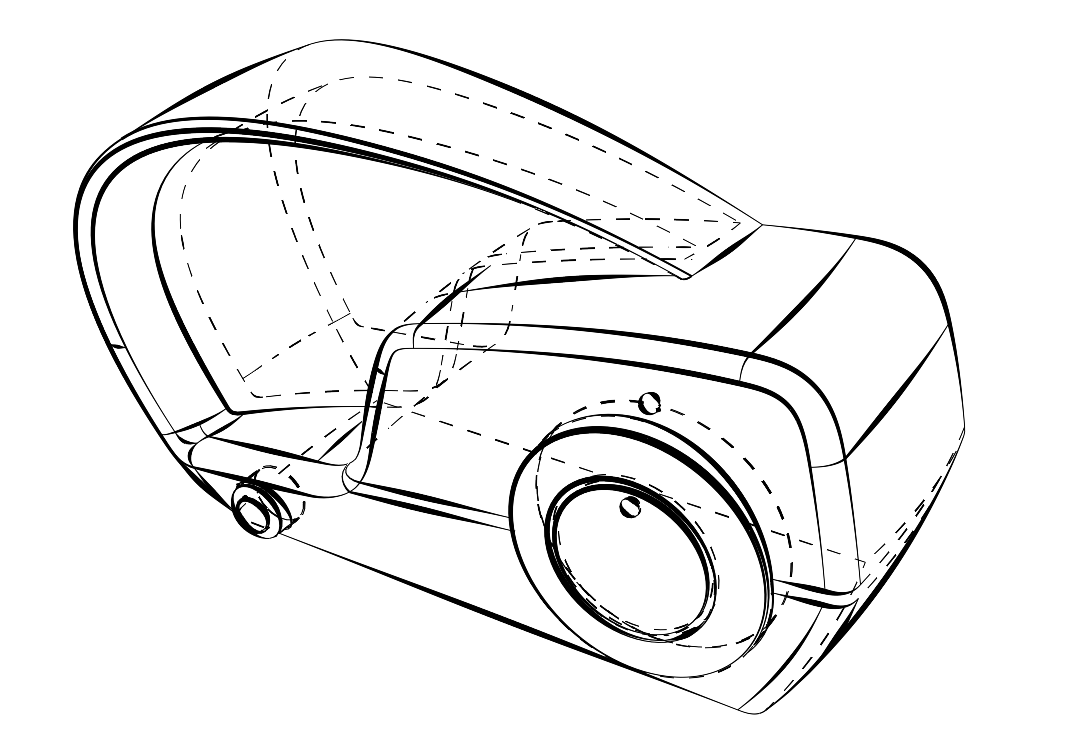
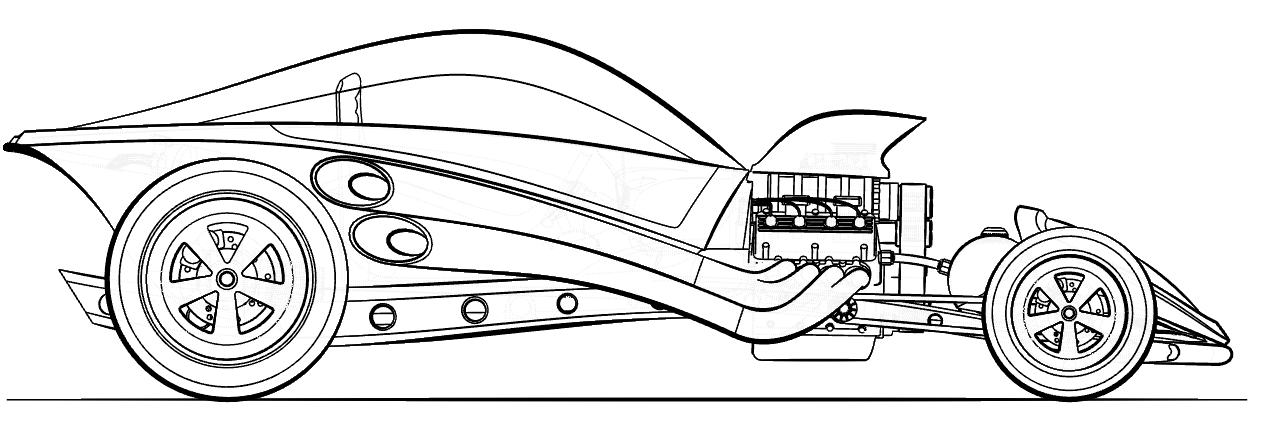
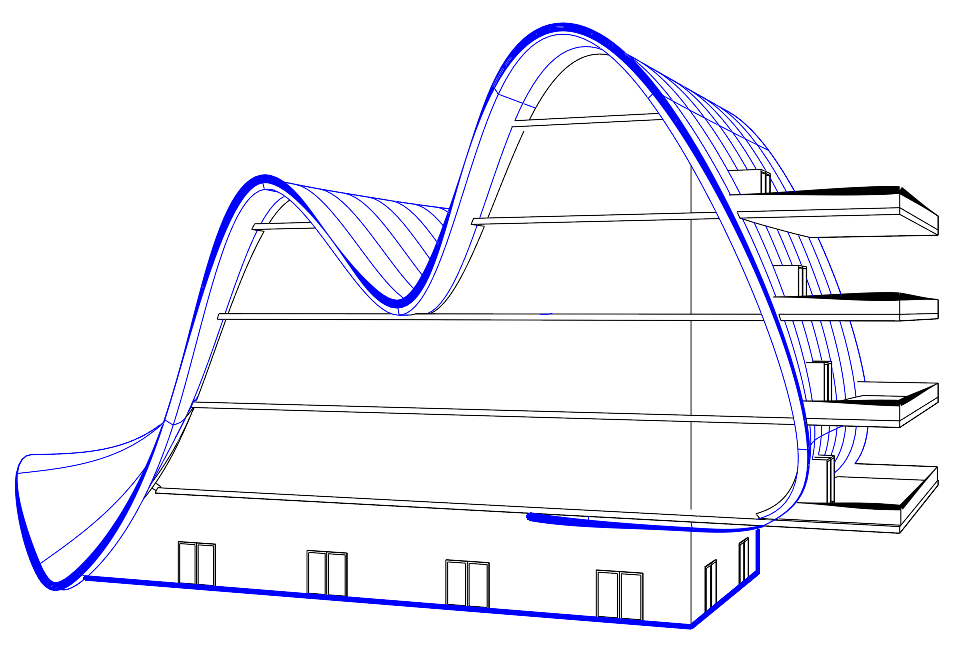
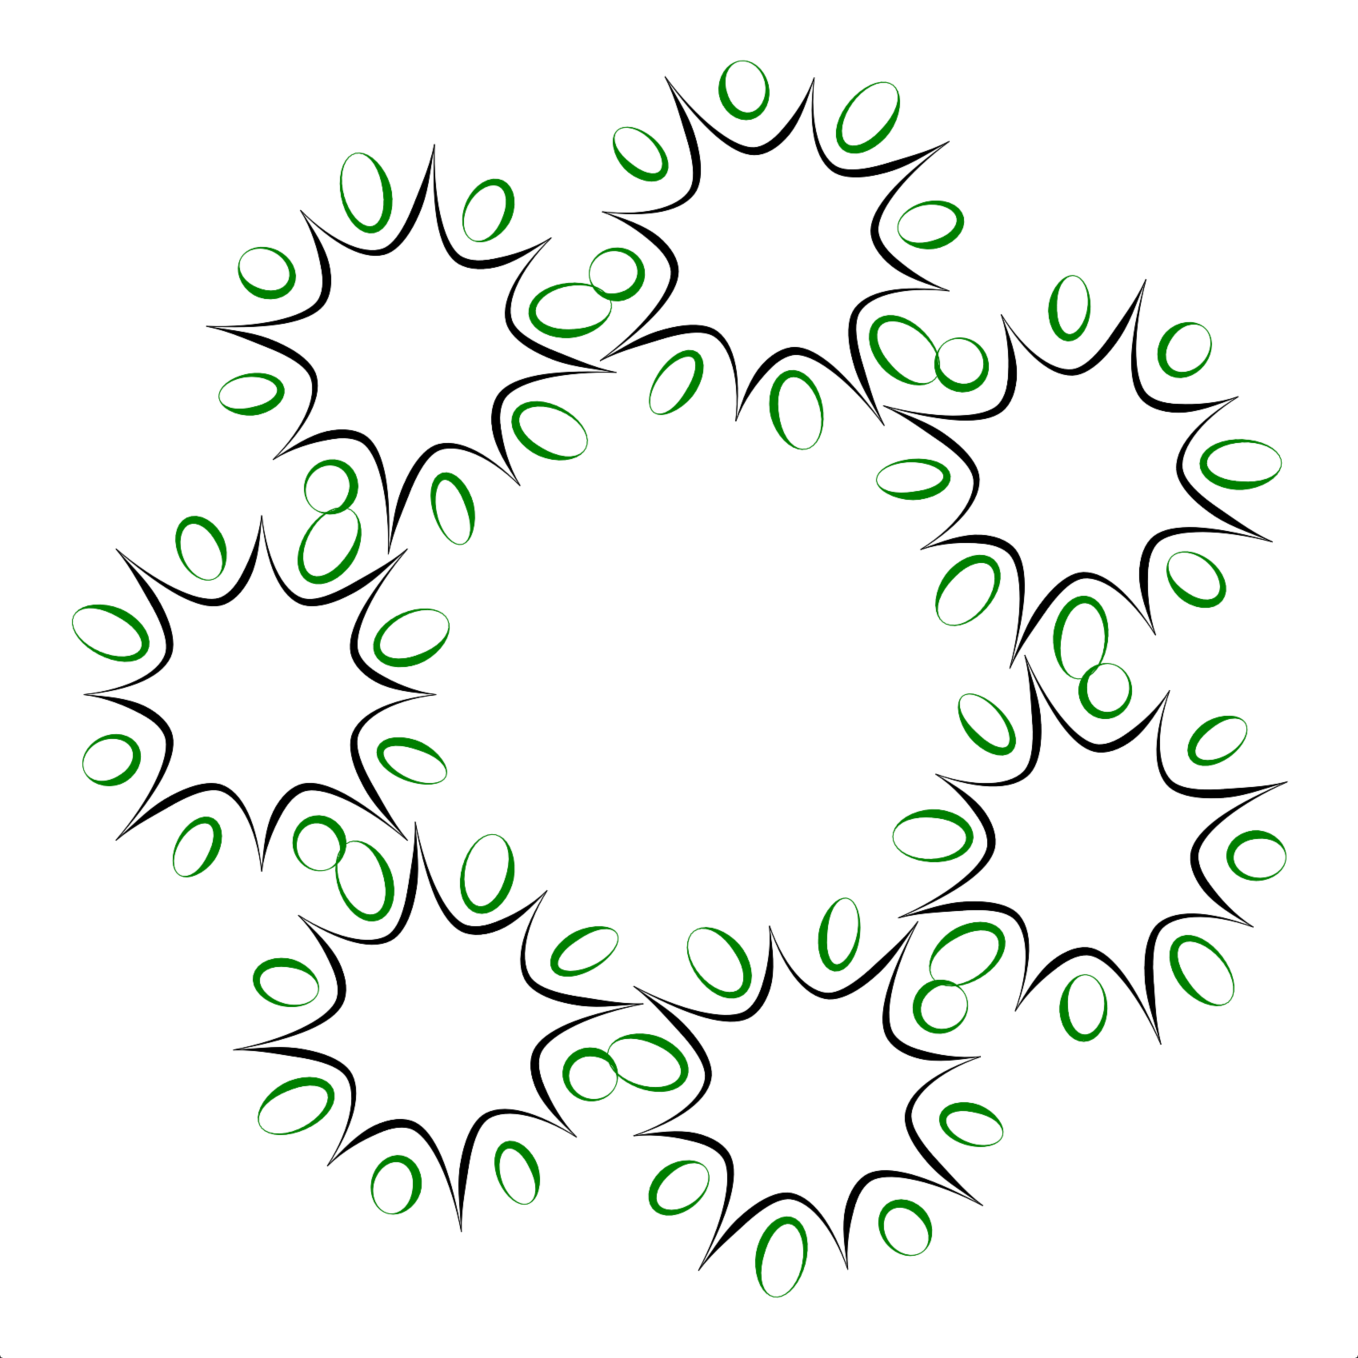
More Than Just Curves
Enhanced linetypes work with curves, surfaces, polysurfaces, extrusions, SubDs, dimensions, and more. Customized control of linetypes for objects and sub-objects is available in the display mode configuration.
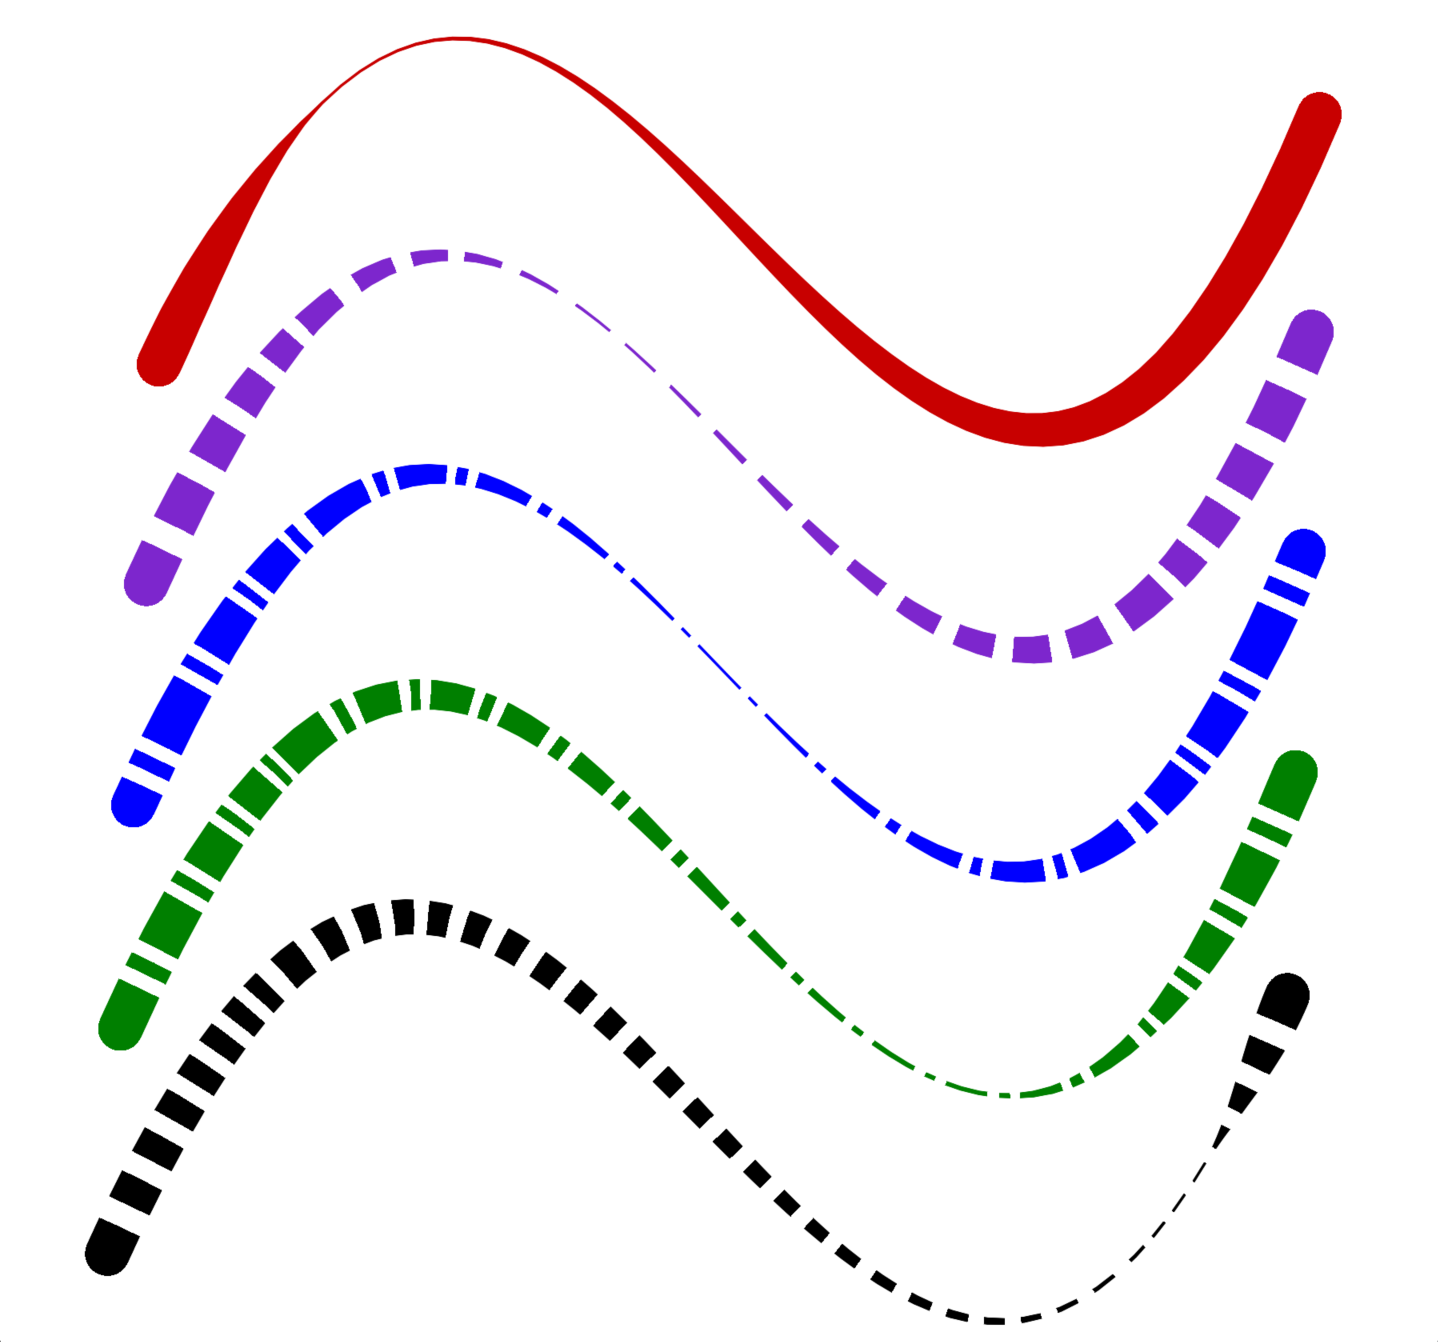
End Caps and Join Styles

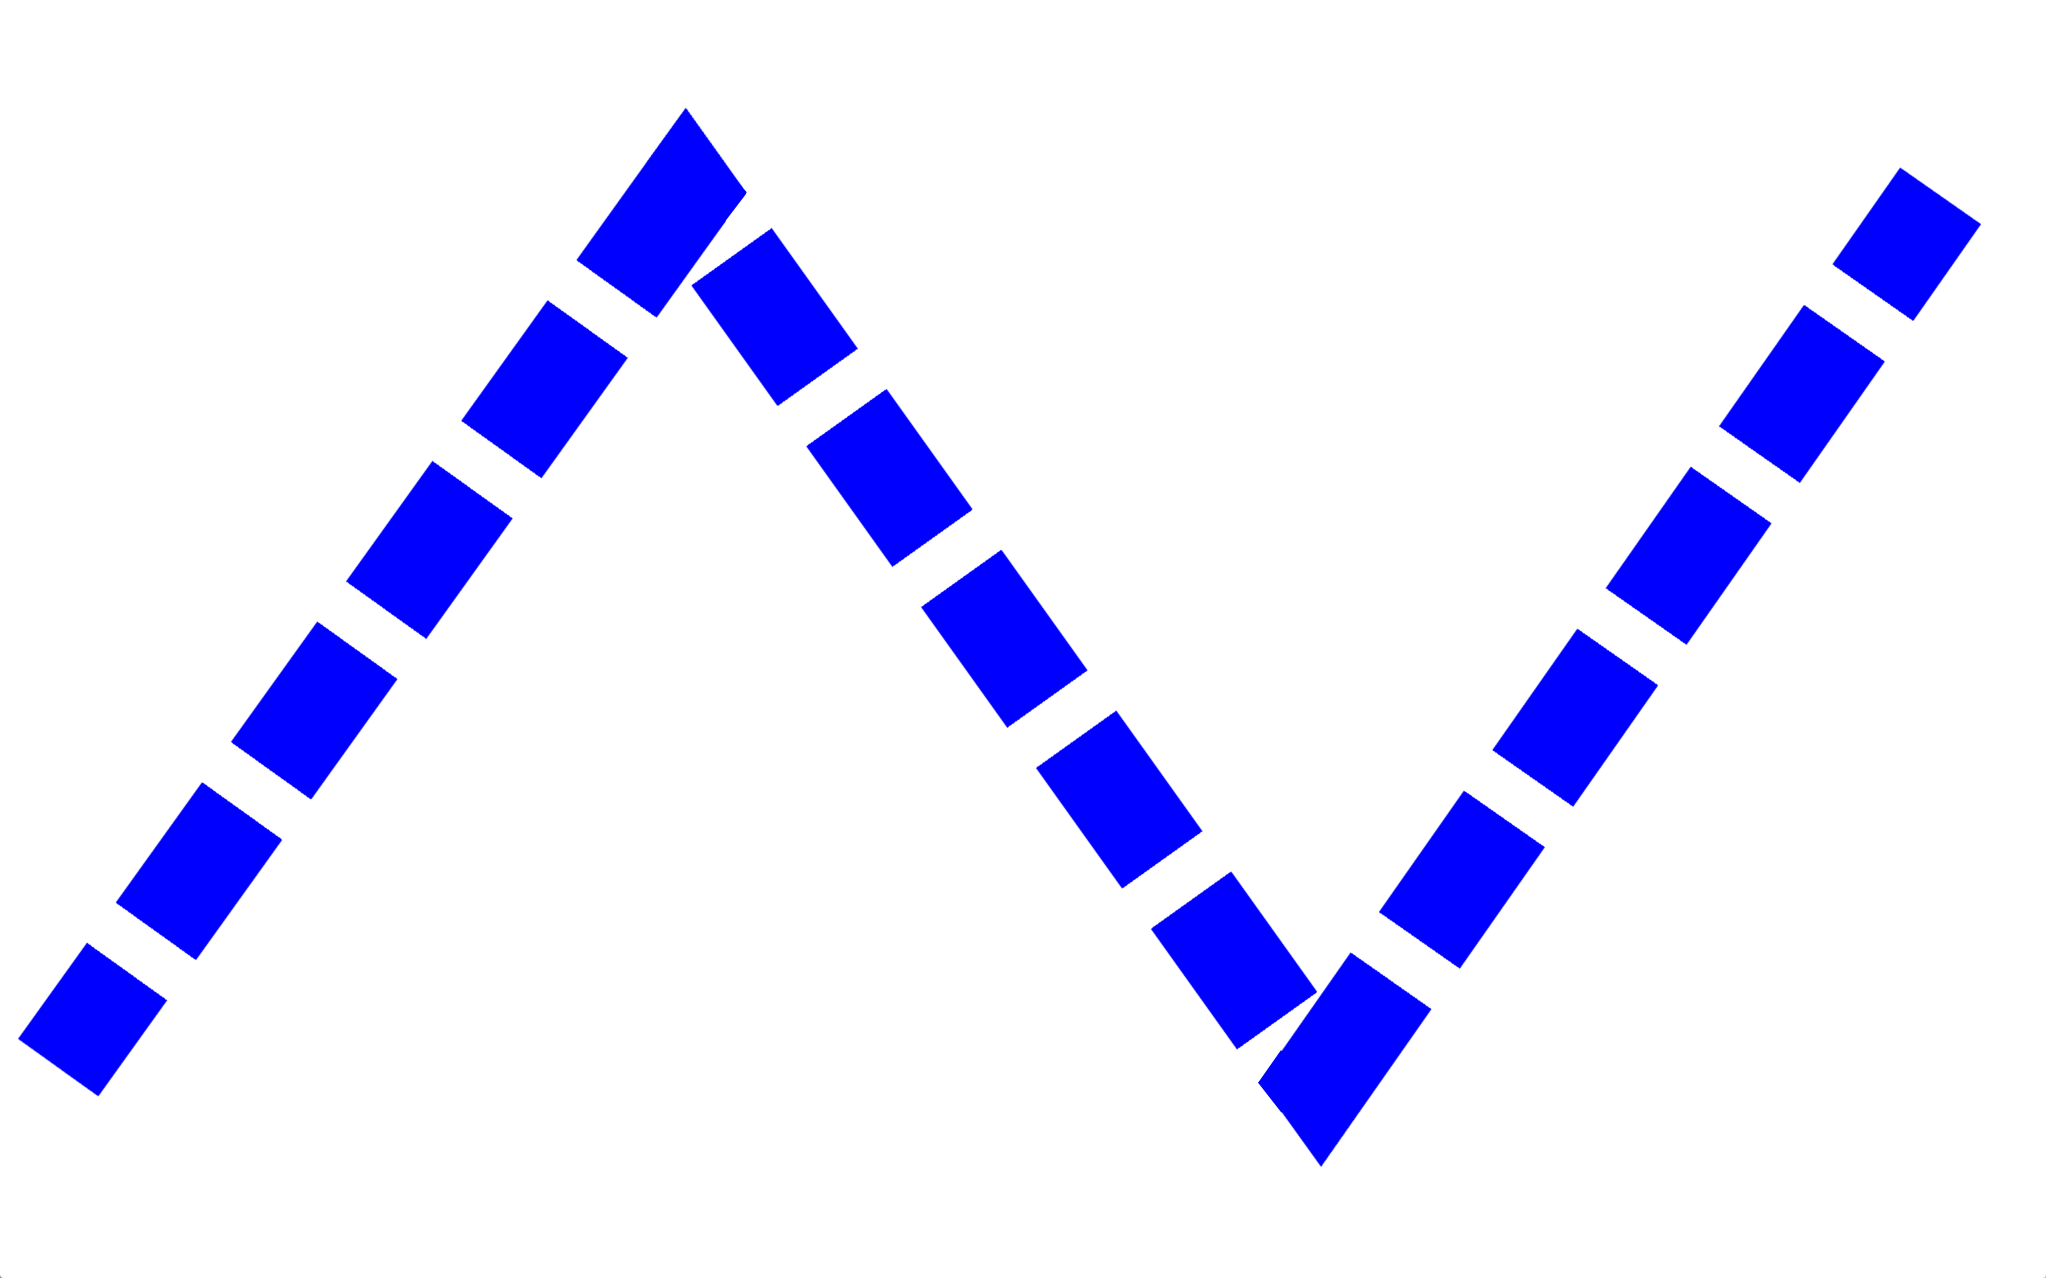
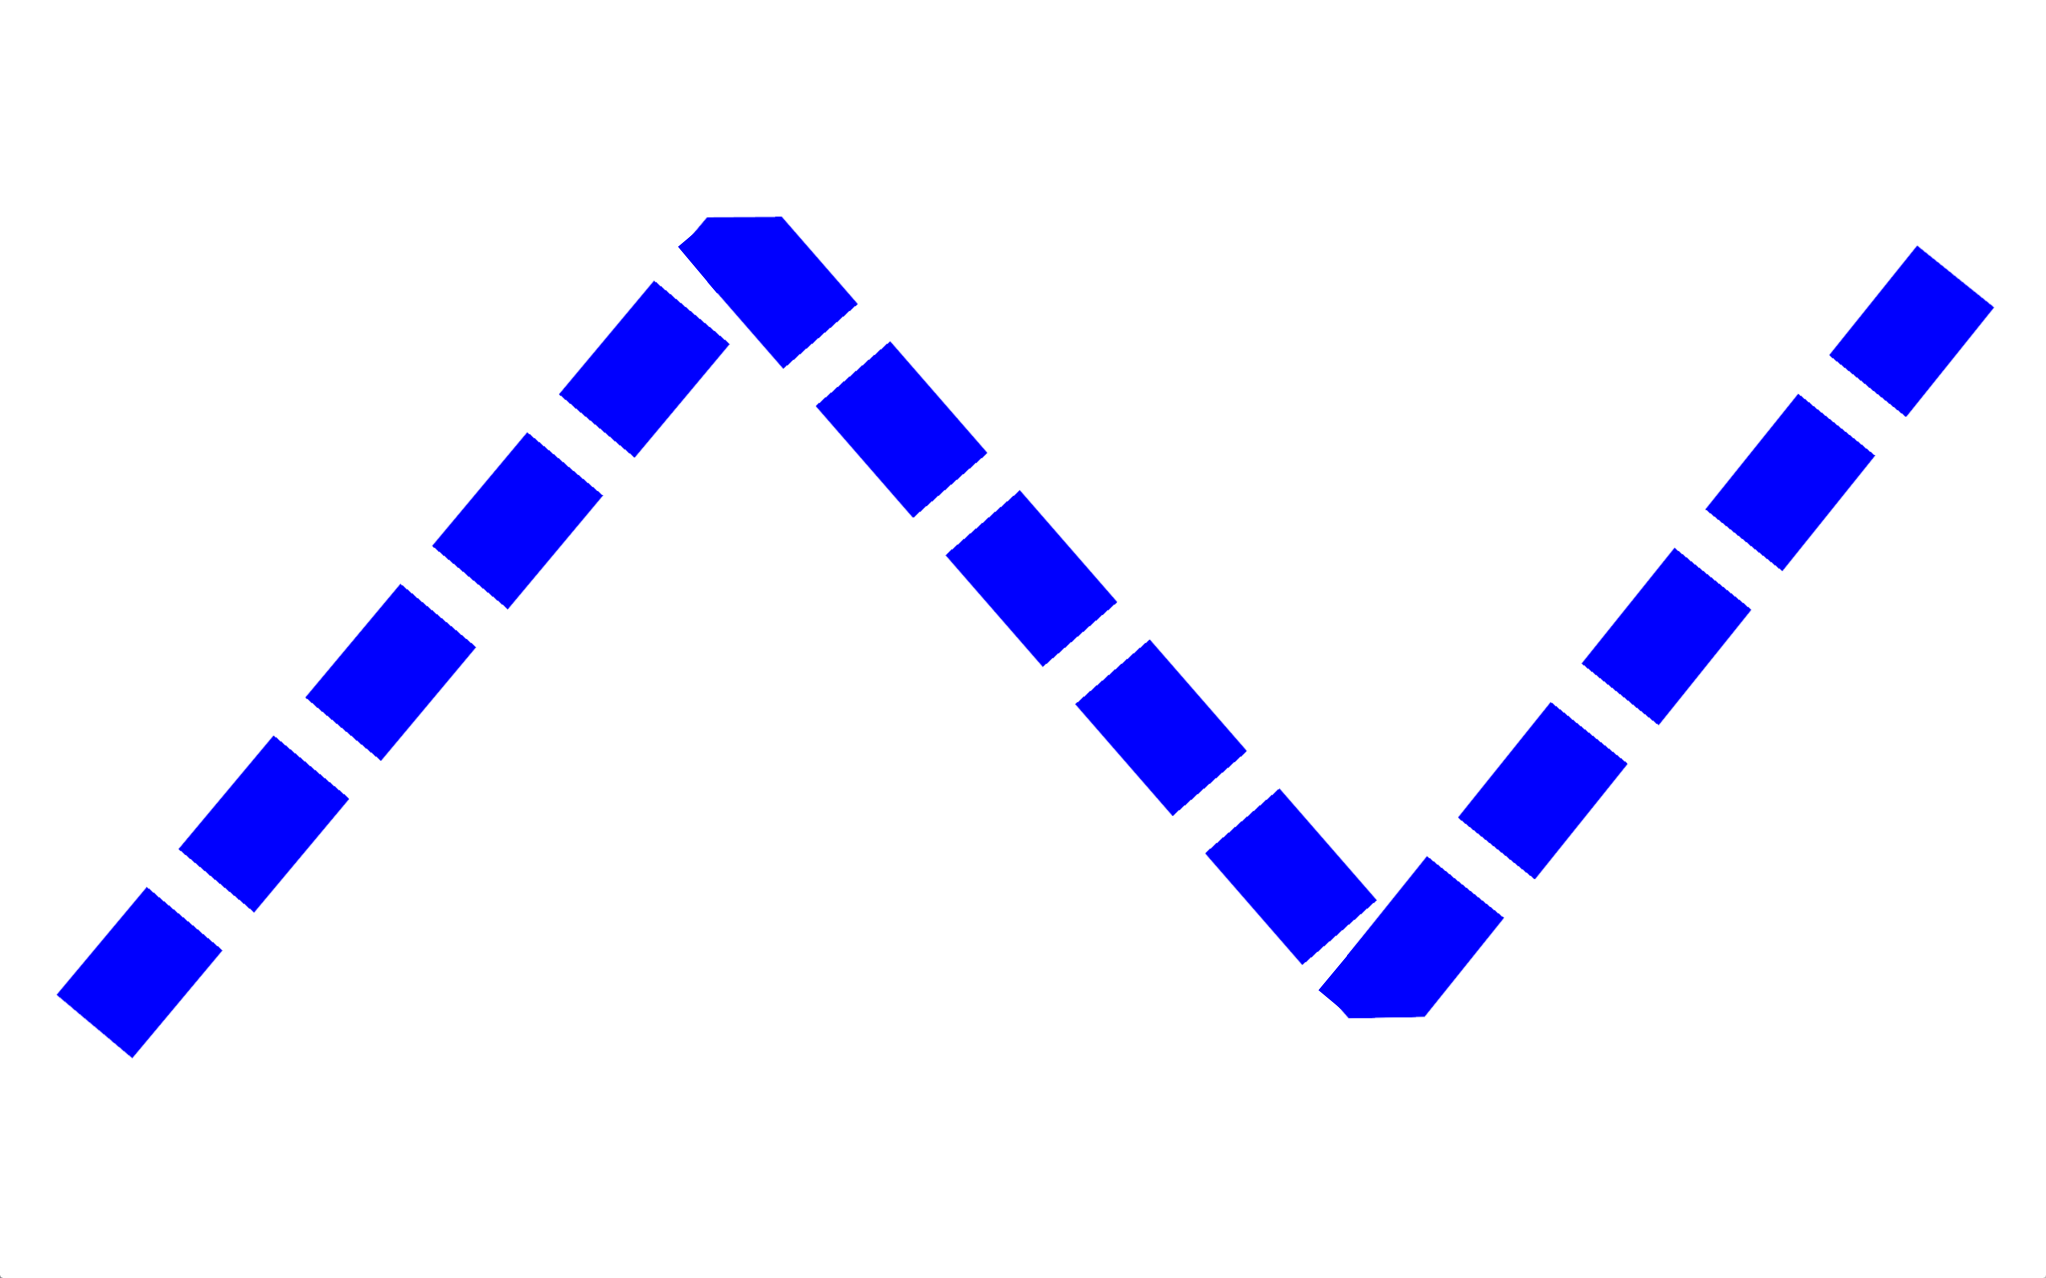
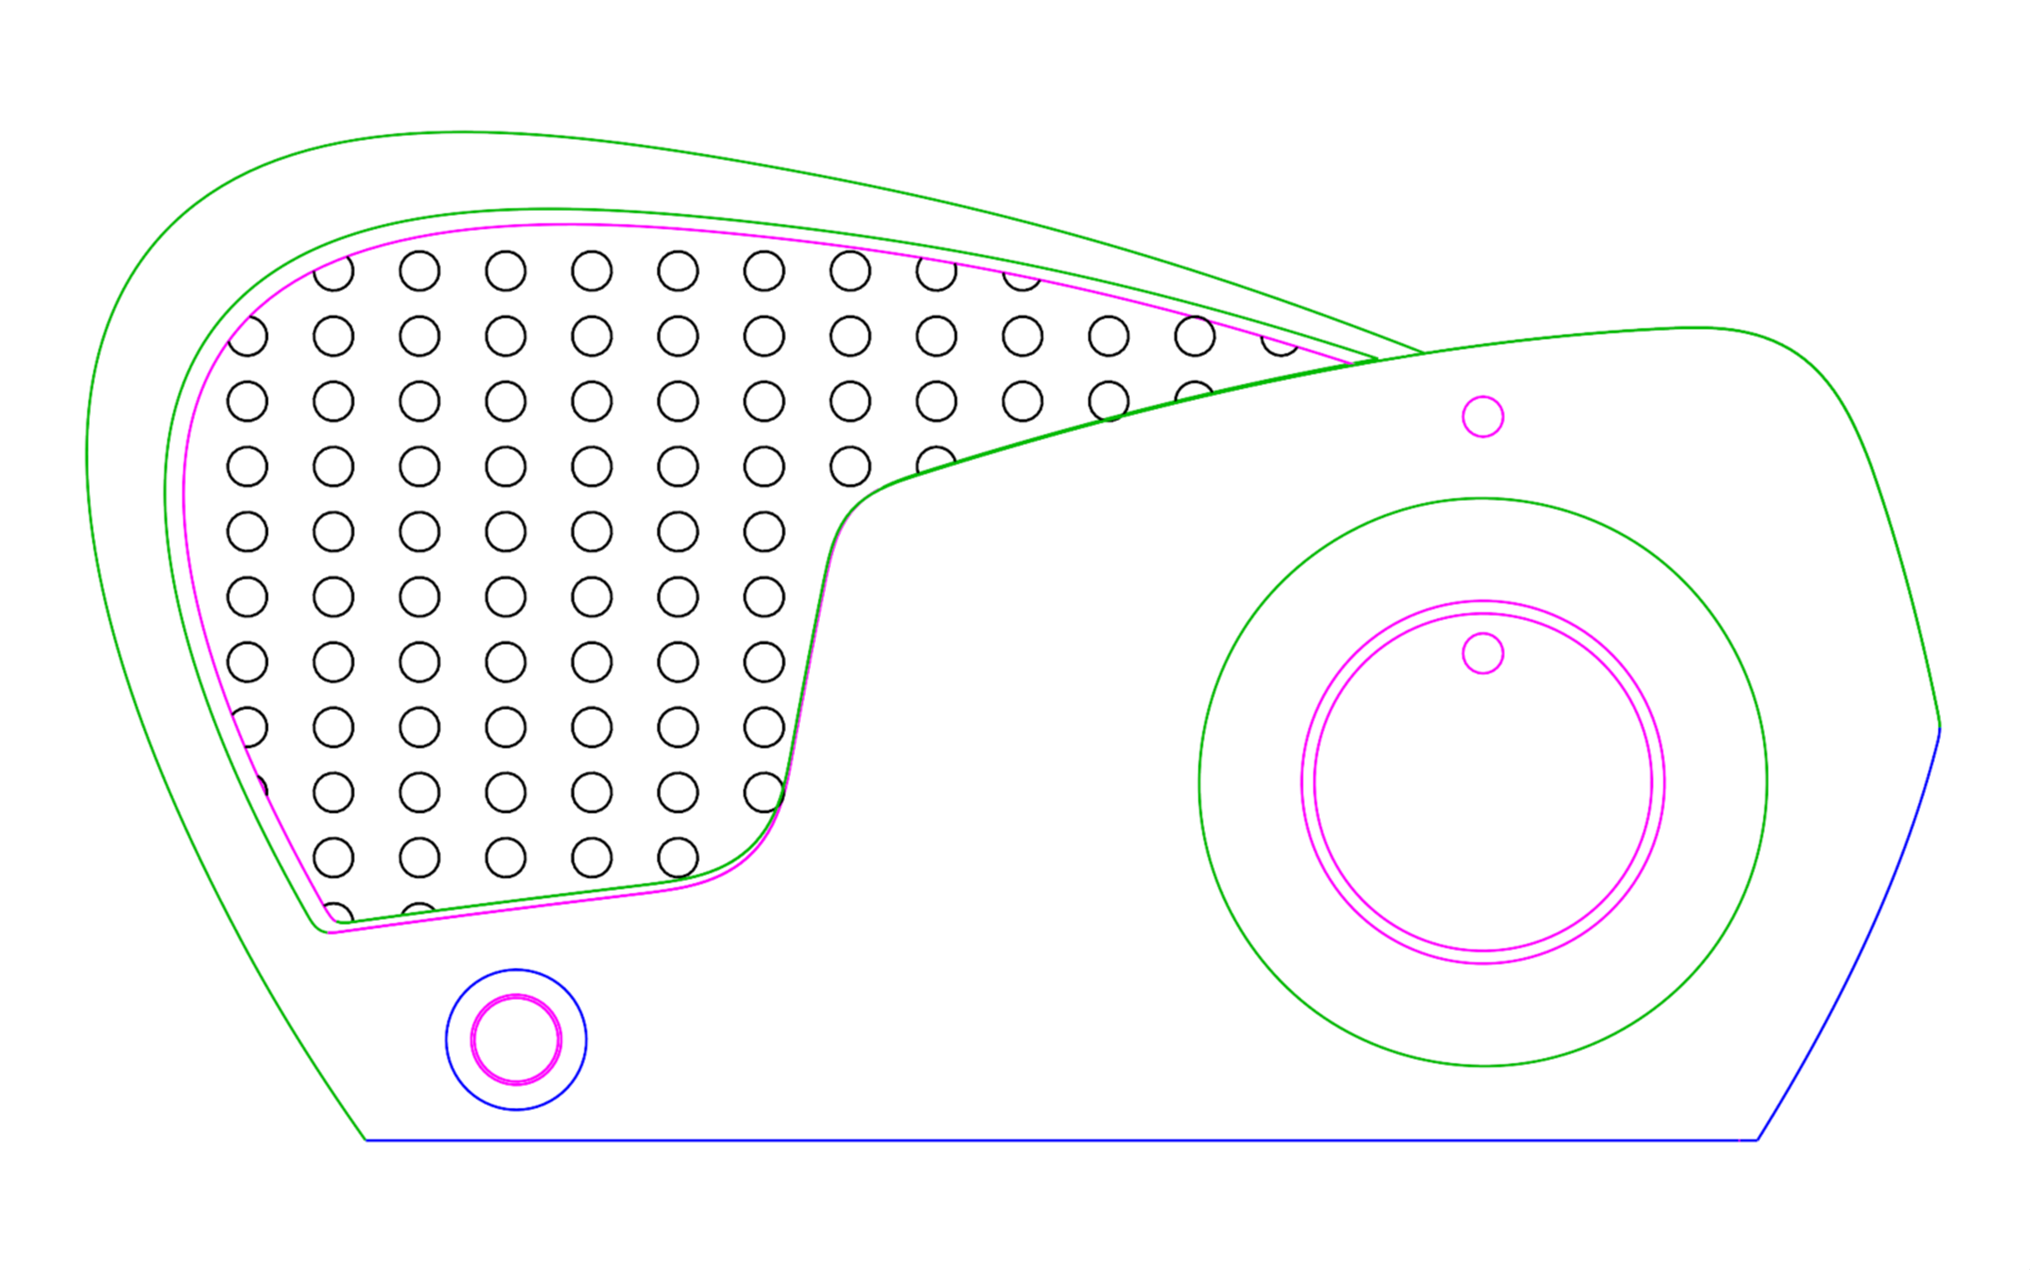
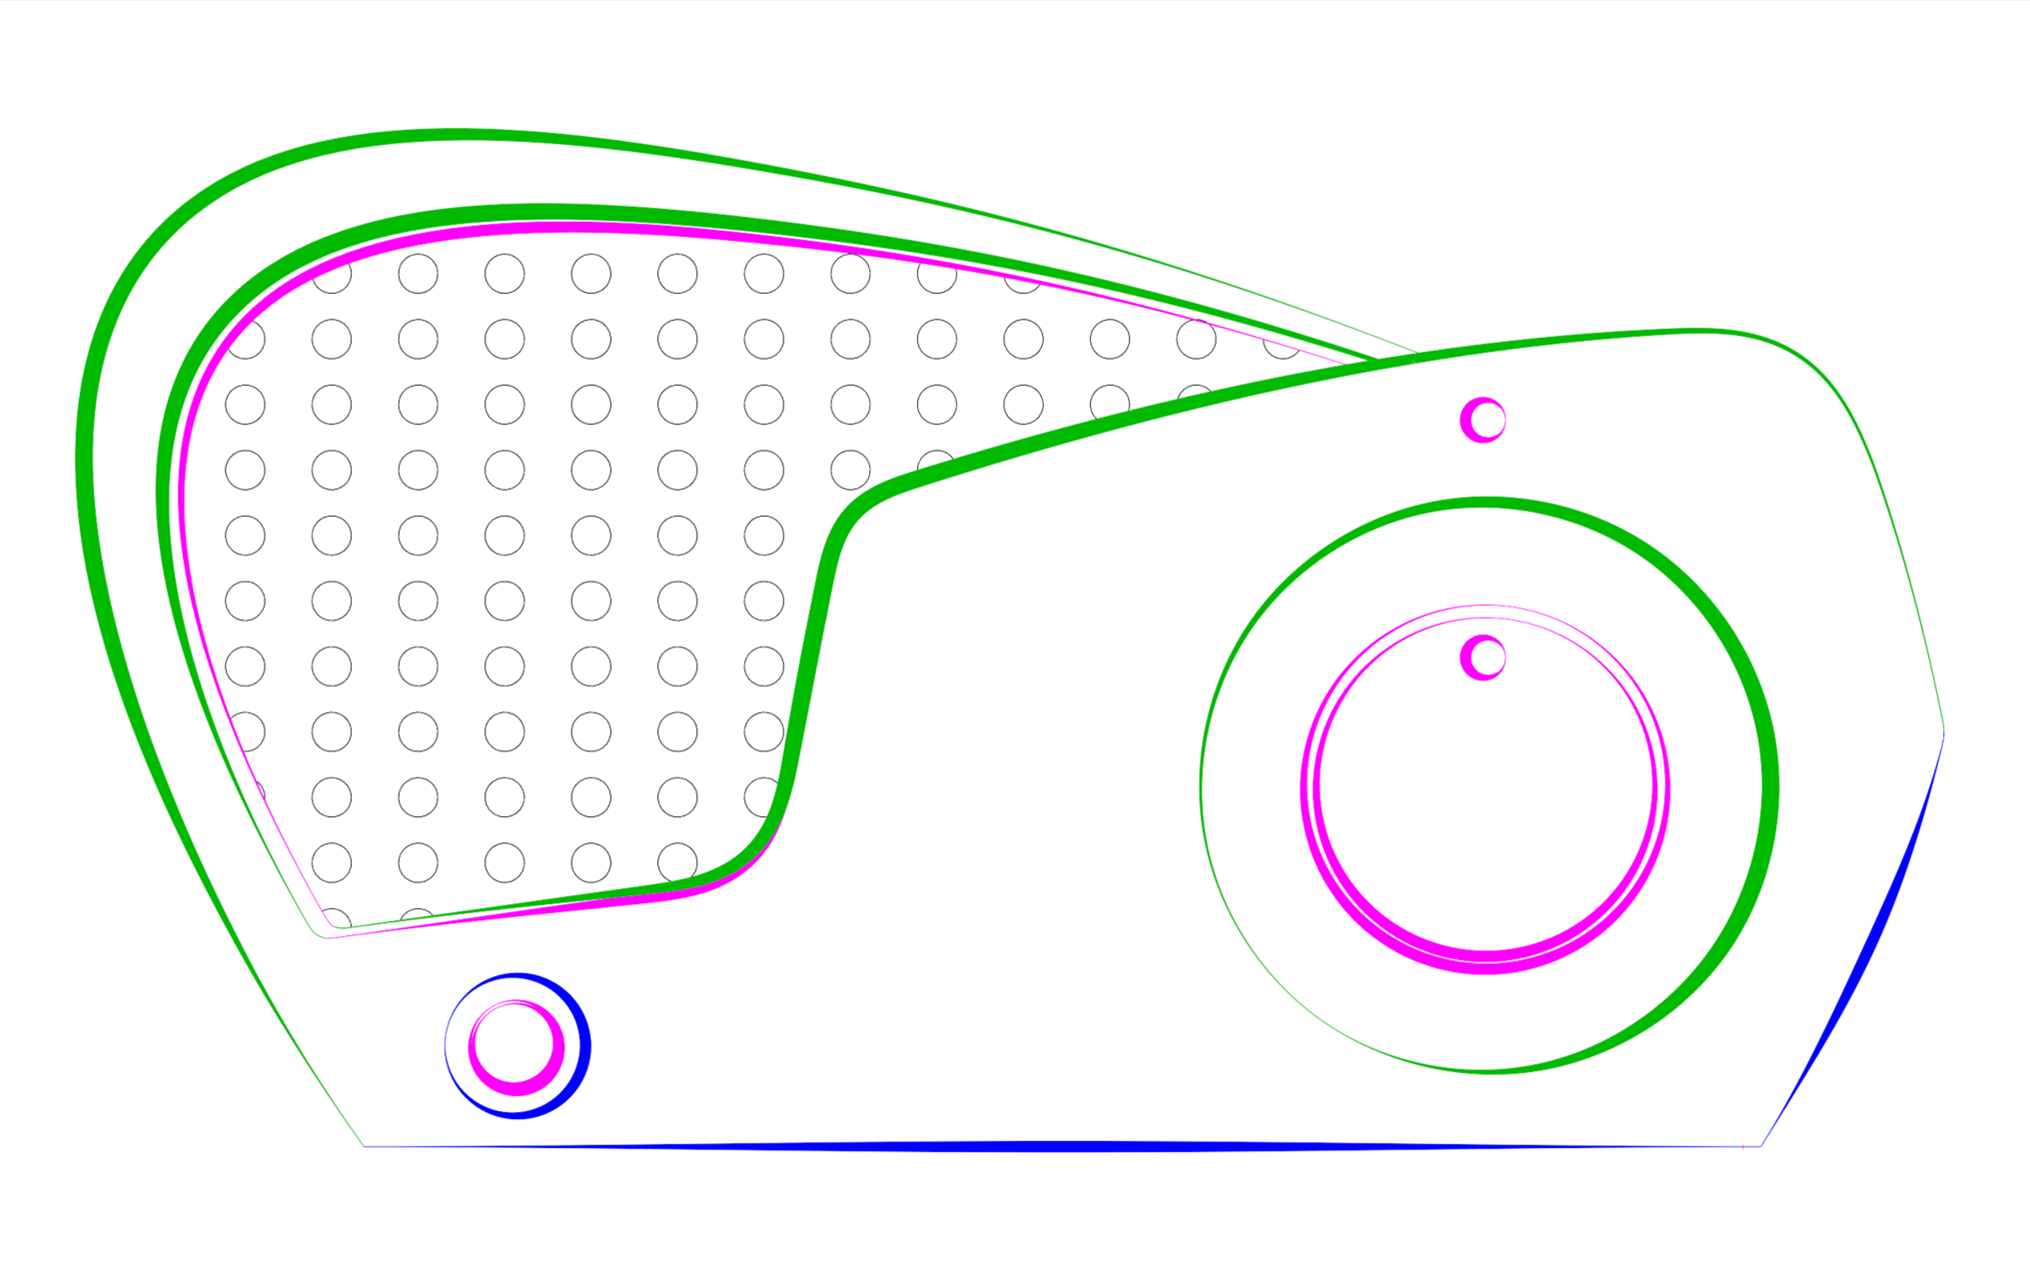
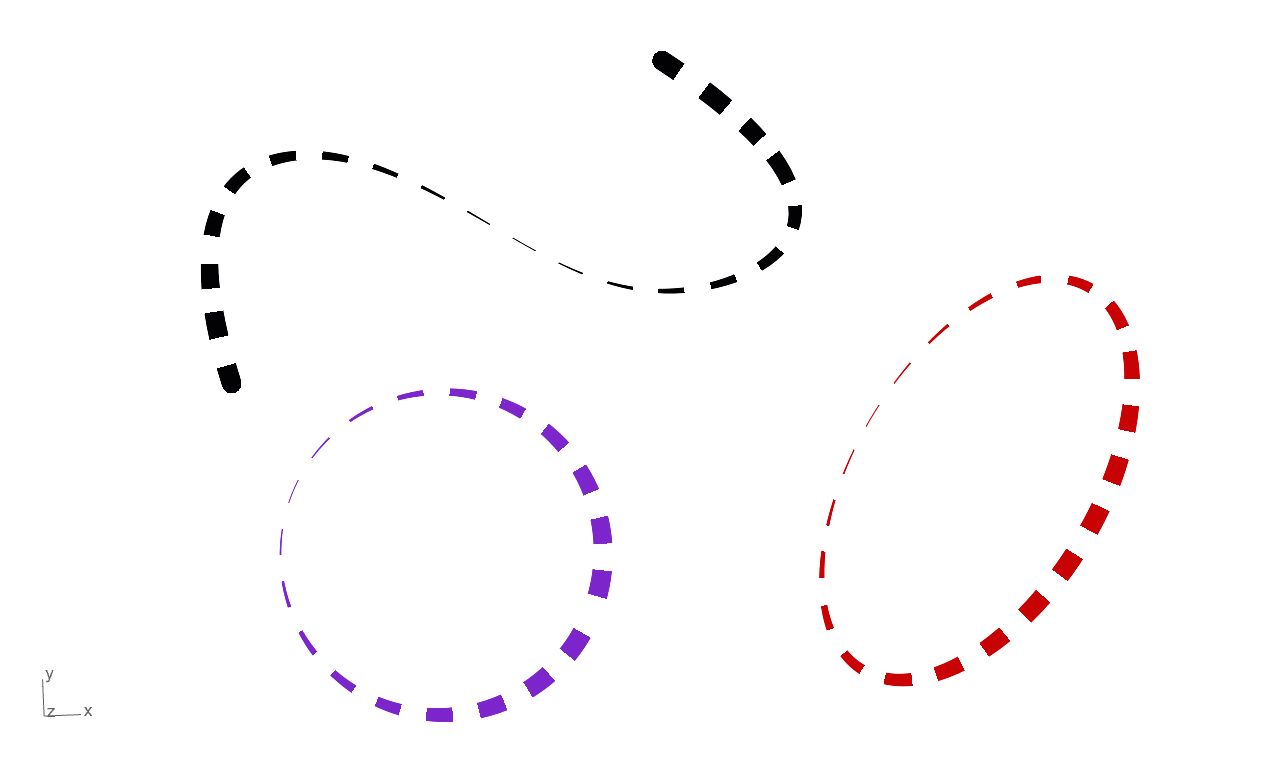
Linetypes with Taper
These settings work together to configure the artistic taper. Options include pattern, width at the taper, and the location of the taper at a percentage along the overall curve length.
Grasshopper: Create Model Linetypes
You can also use Grasshopper to create custom linetypes with the Model Linetype component:
Try It
In this quick tutorial, you will assign the custom linetypes to layers that contain curves.
- Download Rhino 8 Evaluation for Windows or Mac.
- Download and open the linetypes-demo.3dm model.
- Type the Layer command.
- Navigate to layer Continuous. Set the linetype to Custom Continuous.
- Navigate to layer Taper Thin layer. Set the linetype to Custom Taper Thin.
- Navigate to layer Taper Thick. Set the linetype to Custom Taper Thick.
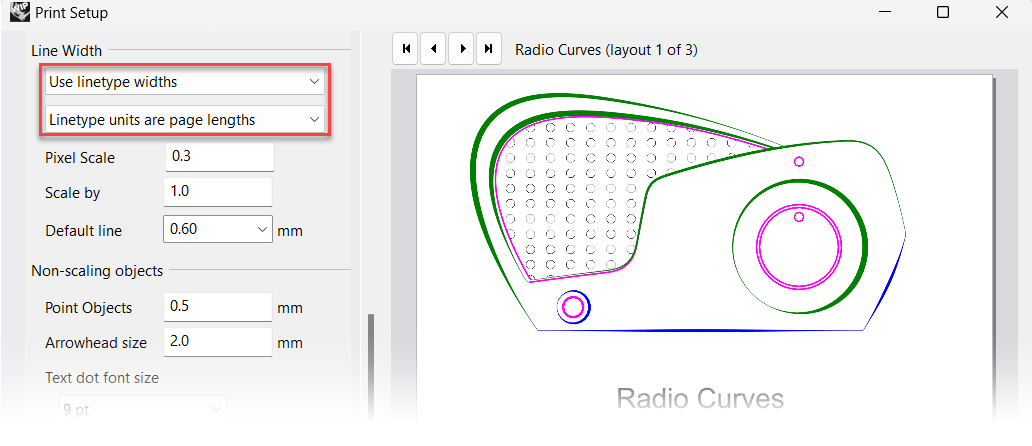
- Type the Print command. In Rhino for Windows, select Rhino PDF printer. (In Rhino for Mac, pick PDF Preview in the final step.)
- Set Output type to Raster and Output color to Display Color.
- Under View and Output Scale, select Layout 1-Radio Curves.
- Under Linetypes and Line Widths, set Line Width to Use linetype widths.
- In Rhino for Windows, pick Print and select Rhino PDF as your printer. (In Rhino for Mac, pick PDF Preview.) When prompted, give the PDF a name and location.
- Done! Experiment with different linetypes in your designs and be sure to ask questions and give feedback on the Discourse Forum.
Having Trouble?To test Enhanced Linetypes, you will need to verify these Rhino settings:
- Print Display needs to be turned off. (Use the PrintDisplay command to disable it.)
- Linetypes do not display if the Display Mode has Curve Width set to Pixels. Reset your Display Mode to Default settings:
- Type the Options command.
- Navigate to View and Display modes.
- Click Wireframe and select: Restore Defaults
- Click OK to exit Options.
- Quit and Restart Rhino before trying again.
