Presentation - New in Rhino 6
Overview
Presentation is key: during nearly every phase of design, you need to communicate, getting "buy-in" from clients, customers, collaborators, or the public at large. We've improved Rhino with the aim of helping you present your work: be it "quick and dirty" or "high-res glossy." With major changes to Rendering, Materials, or just plain capturing the viewport, it's now easier and faster to present, discuss, make decisions, and iterate.
Quick Capture Your Idea
Snapshots allow you to save - and return to - states of the appearance in your model.
ViewCaptureToFile and ViewCaptureToClipboard now have a handy dialog.
Raytraced Viewport Mode
Fast, interactive raytracing in the viewport, accelerated on the GPU of modern CUDA and OpenCL graphics cards.
Improved Defaults
The default rendering settings are much cleaner in Rhino 6.
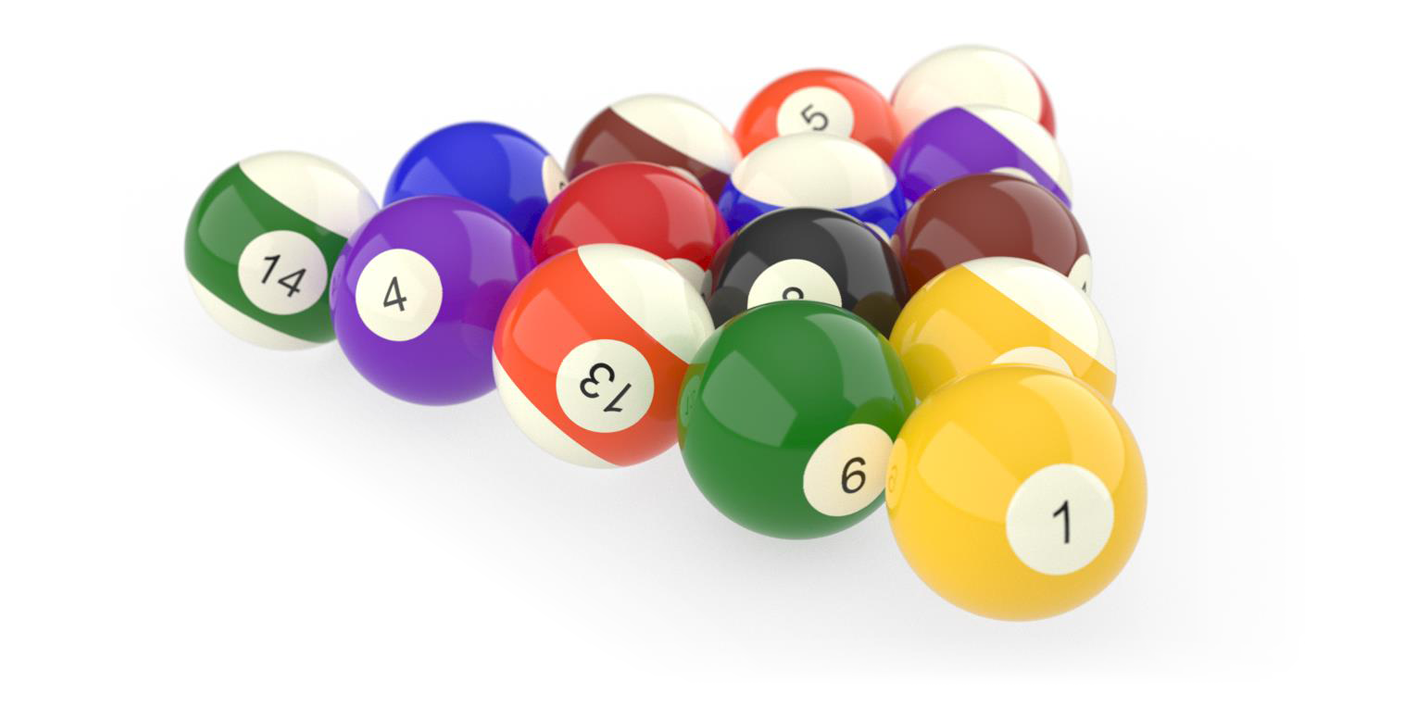
The new defaults are modeled on a typical product design studio
from the real world. They include a white background with an
automatically adjusted ground plane - and nice soft shadows
and lighting from big studio light panels. This means you get
beautiful reflective diffused lighting all around your model,
even in deep cavities.
All new models will have these updated defaults, and it’s
easy to convert older models just by pressing the "Reset to
Defaults" button on the Rendering Panel.
Materially Better
We’ve made it easier to create and assign materials, with new simple materials stripped of their geeky names, and a material library packed full of ready-to-use, real-world scale textures.
 Add
some simple paint and metal materials - all you need to do is
change the color to the way you like it. No jargon. The rendered
viewport already shows you how they will look.
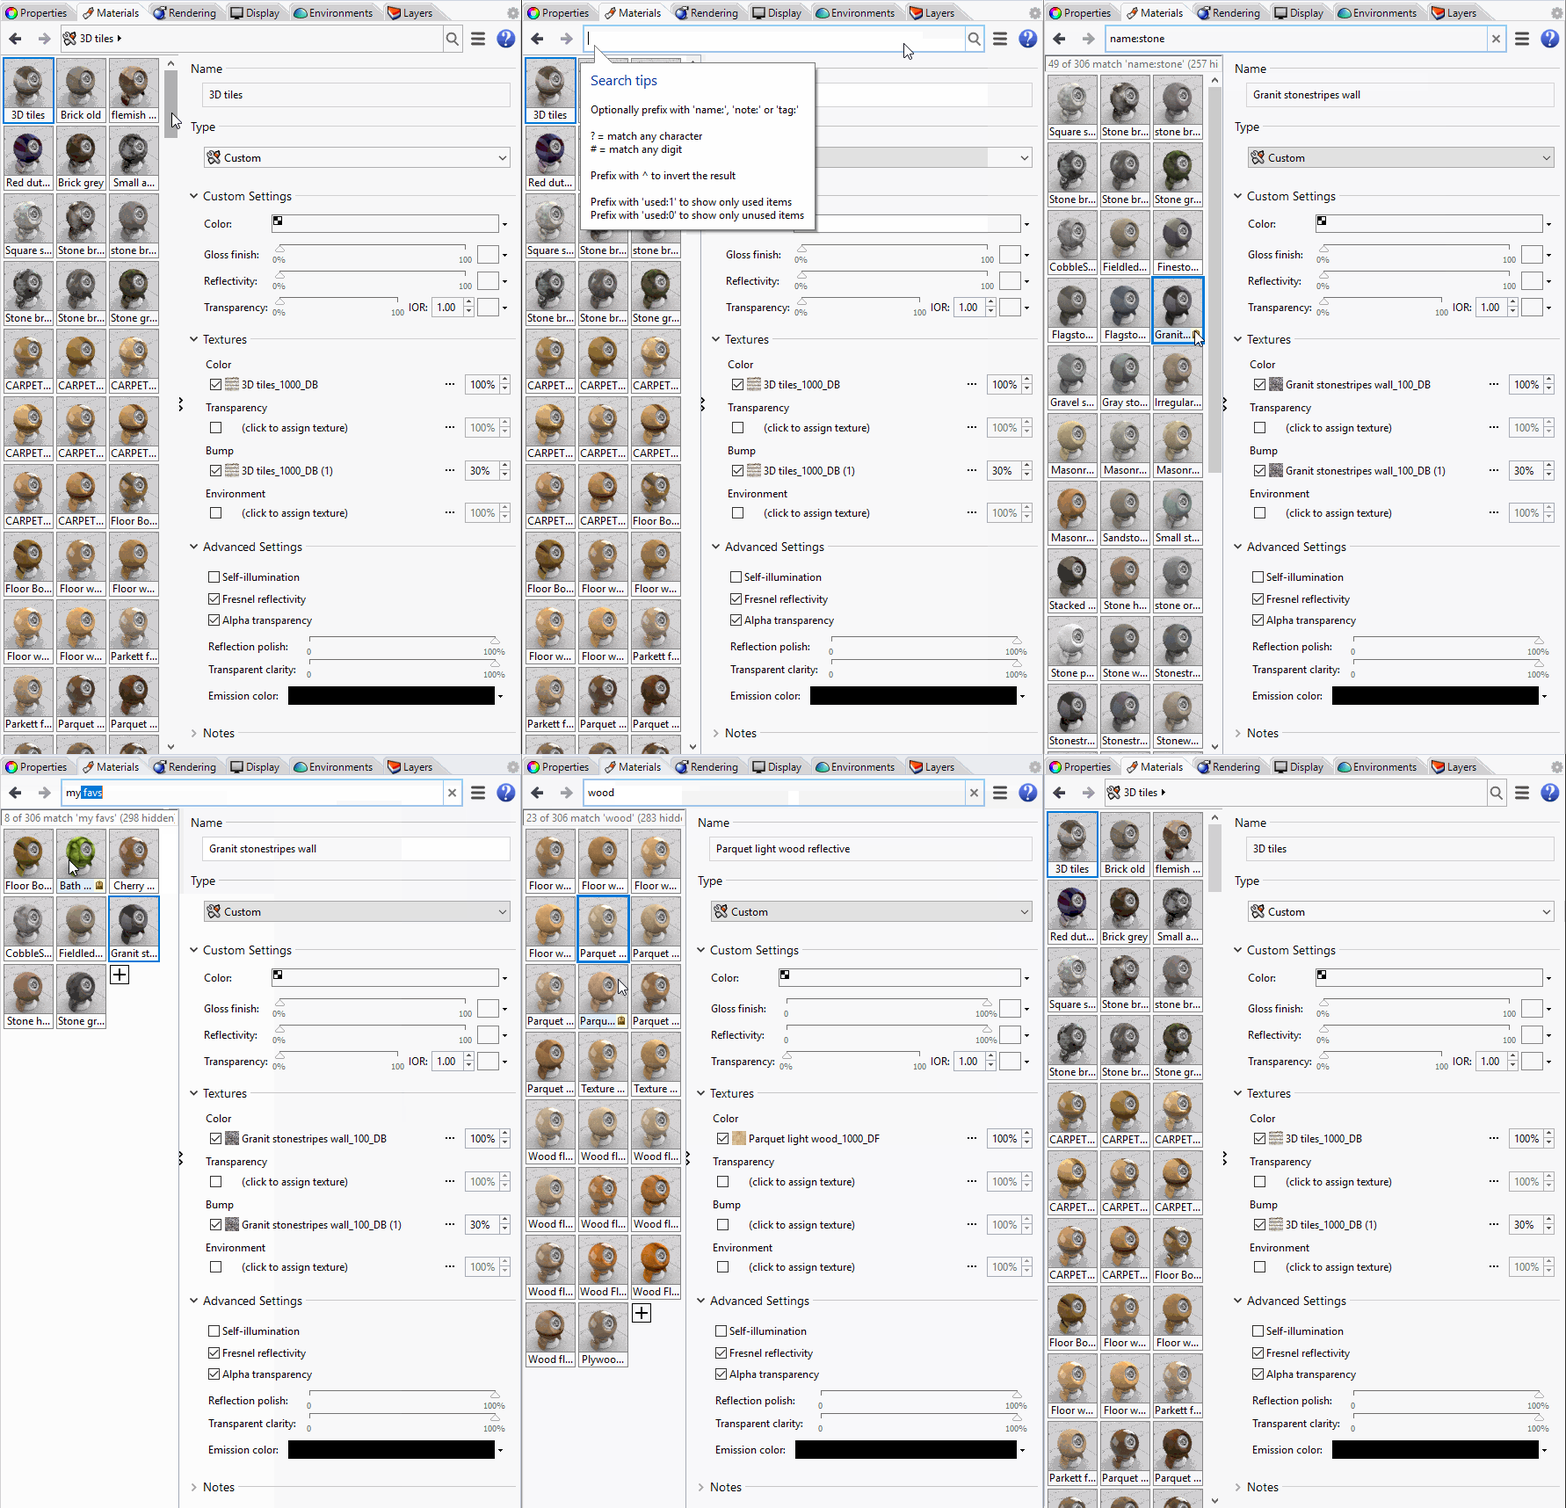
Open up the library panel and browse through hundreds of textured
materials, ready to drag and drop right onto your model.
All of the materials are real-world scale so there’s no need
to fiddle around - it all just works!
The new material browser makes it much easier to work with and
manage hundreds or thousands of materials and textures.
We’ve added "Tag and search" for materials in the Material Editor.
Search/filter by name, tag, or even by the notes in the material
itself.
Then add custom tags to those you use to sort them into groups
that are meaningful to you, like favorites.
You can even use ? and # to match characters and digits in the
material names.
You can also invert the search results with a ^ or filter by
used and unused materials as well.
We've also added per-face material assignment - finally eliminates the step of extracting faces just to change the material.
Everything in One Place
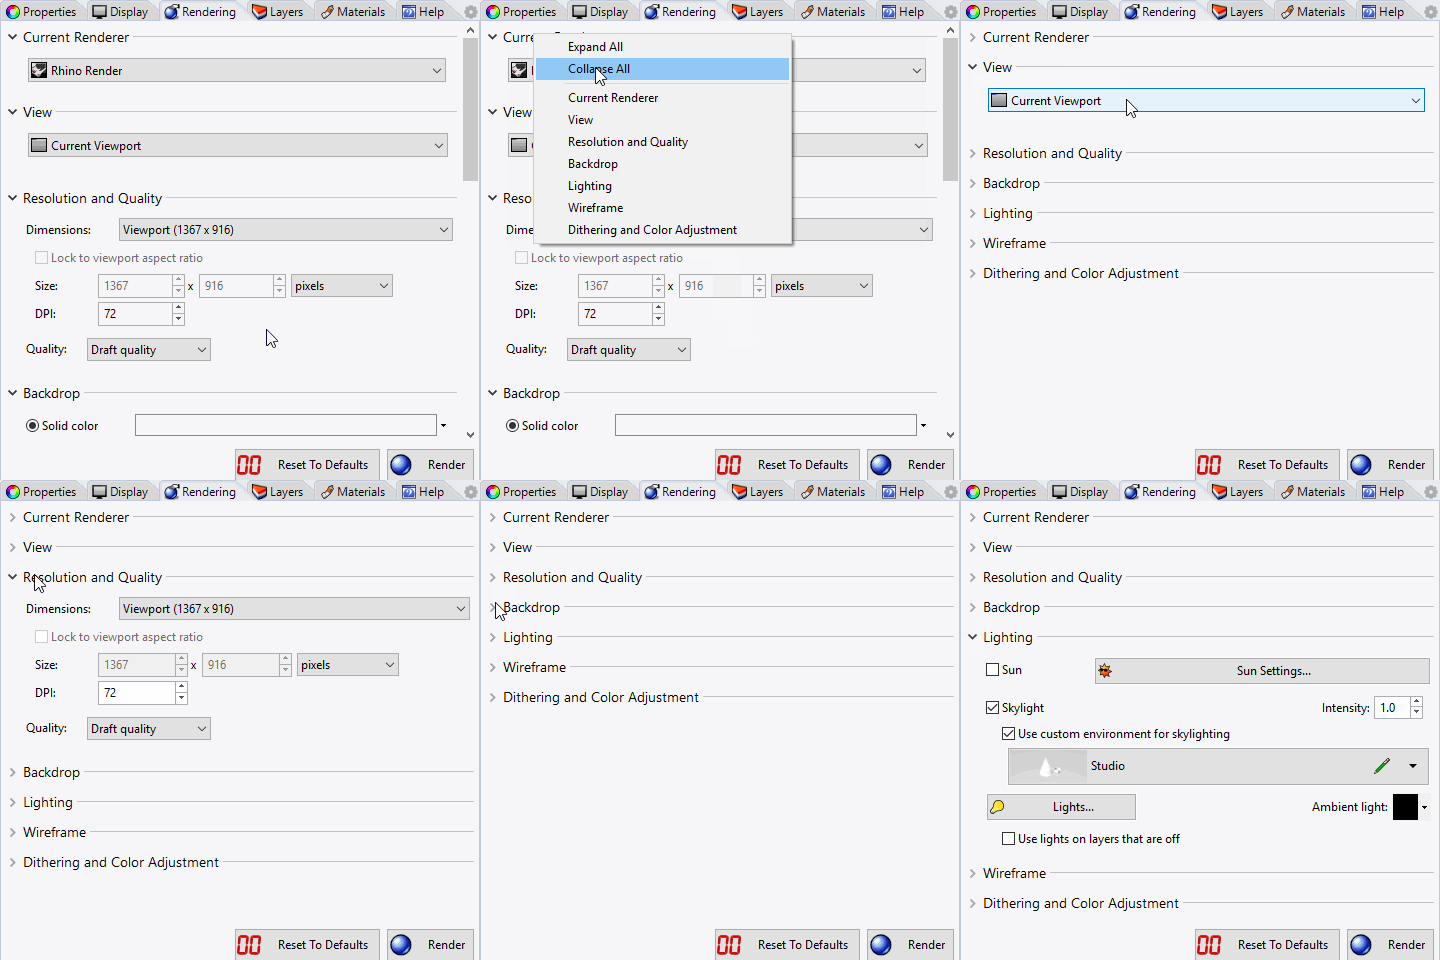
 We've
consolidated all the previously disparate controls into one
easy-to-access spot. Everything you need for rendering is in
the new Rendering panel.
You are no longer restricted to rendering the active view. You
can specify a specific viewport, a named view, or even a snapshot.
Set the Resolution and visual quality of the rendering and even
lock the aspect ratio of the viewport.
Add a background image, a ground plane, or even an environment
map. You can even mix and match separate environments for lighting,
reflections and the visible backdrop.
Fiddle with the lighting, set the sun position, and hit Render.
Don't like the result? Easily reset everything back to the default
values with the Reset To Default button.
Decal Placement
Decal Placement is simplified and easier to use.
UV Unwrapping
UV Unwrapping now works on multiple objects, making it easier to set up texture maps.
And More
Fresnel Reflections:
Clarity controls for reflection...
...and transparency:
Shadow-only ground plane:
Use image alpha for cutouts. Alpha transparency works exactly
the way you’d expect - no need to figure out how to mask the
transparency yourself.
Mirrored Textures:
 Many
bug fixes.

