Curves are the simplest form of geometry in Rhino. They are often the starting point for any 3D model. In Rhino, a curve encompasses lines, polylines, arcs, circles, conics, and freeform curves. Any of these can be used as input for creating surfaces. Like any NURBS object, the shape is defined by its degree and control point location.
Linear Curves
Let’s start by using some of the commands that create geometry from straight segments.
To create segments:
- Run the
 New
command.
New
command. - Select a template of your choice.
- Maximize the .
- Turn Grid Snap on.
- Run the
 Polyline
command.
Polyline
command. - At the Start of polyline prompt , type 0. The first point snaps to the Origin of the Grid.
- At the Next point of polyline prompt keep picking points by snapping to the Grid as you draw a profile shape.
- Right-click or press to end the command.
- Run the
 Line
command.
Line
command. - At the Start of line prompt snap anywhere on the grid.
- At the End of line prompt snap to another Grid intersection.
- Press
to run the command again. Continue creating other lines at will.
- Continue with the same file…
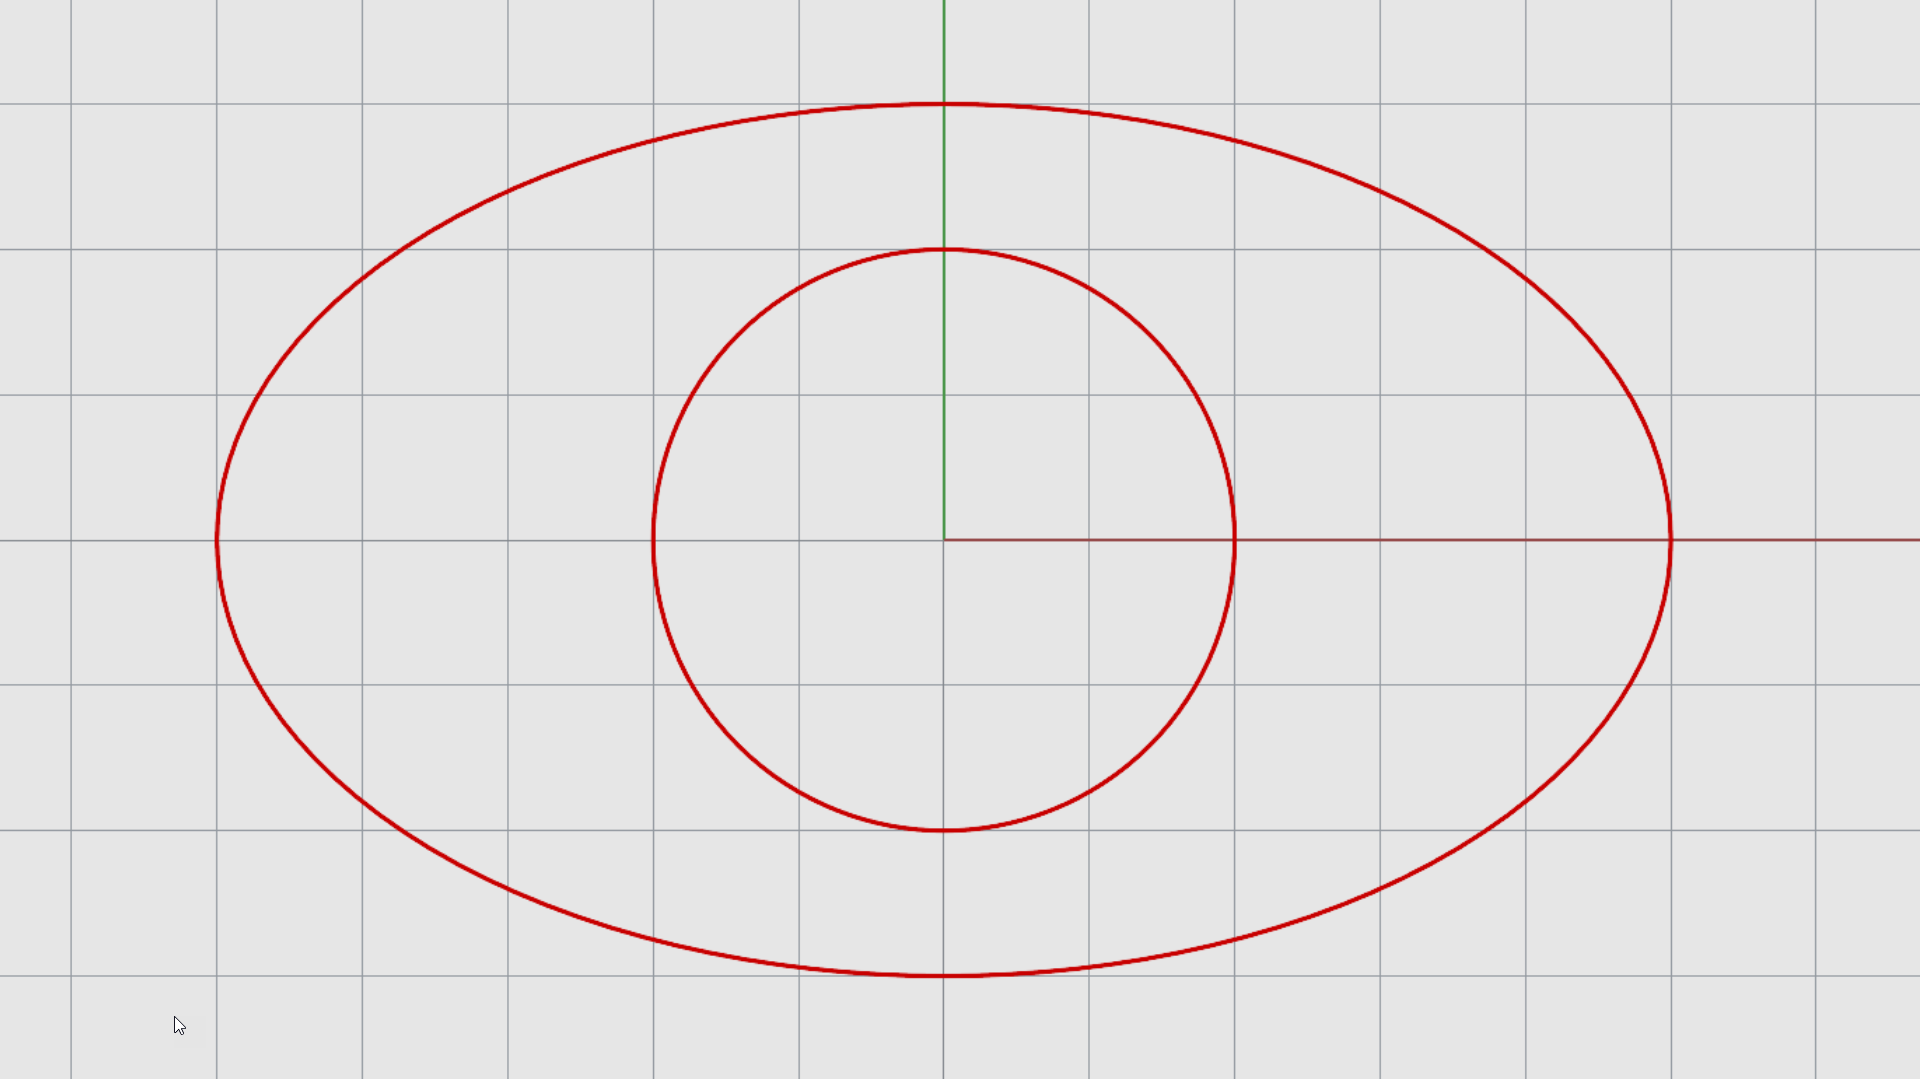
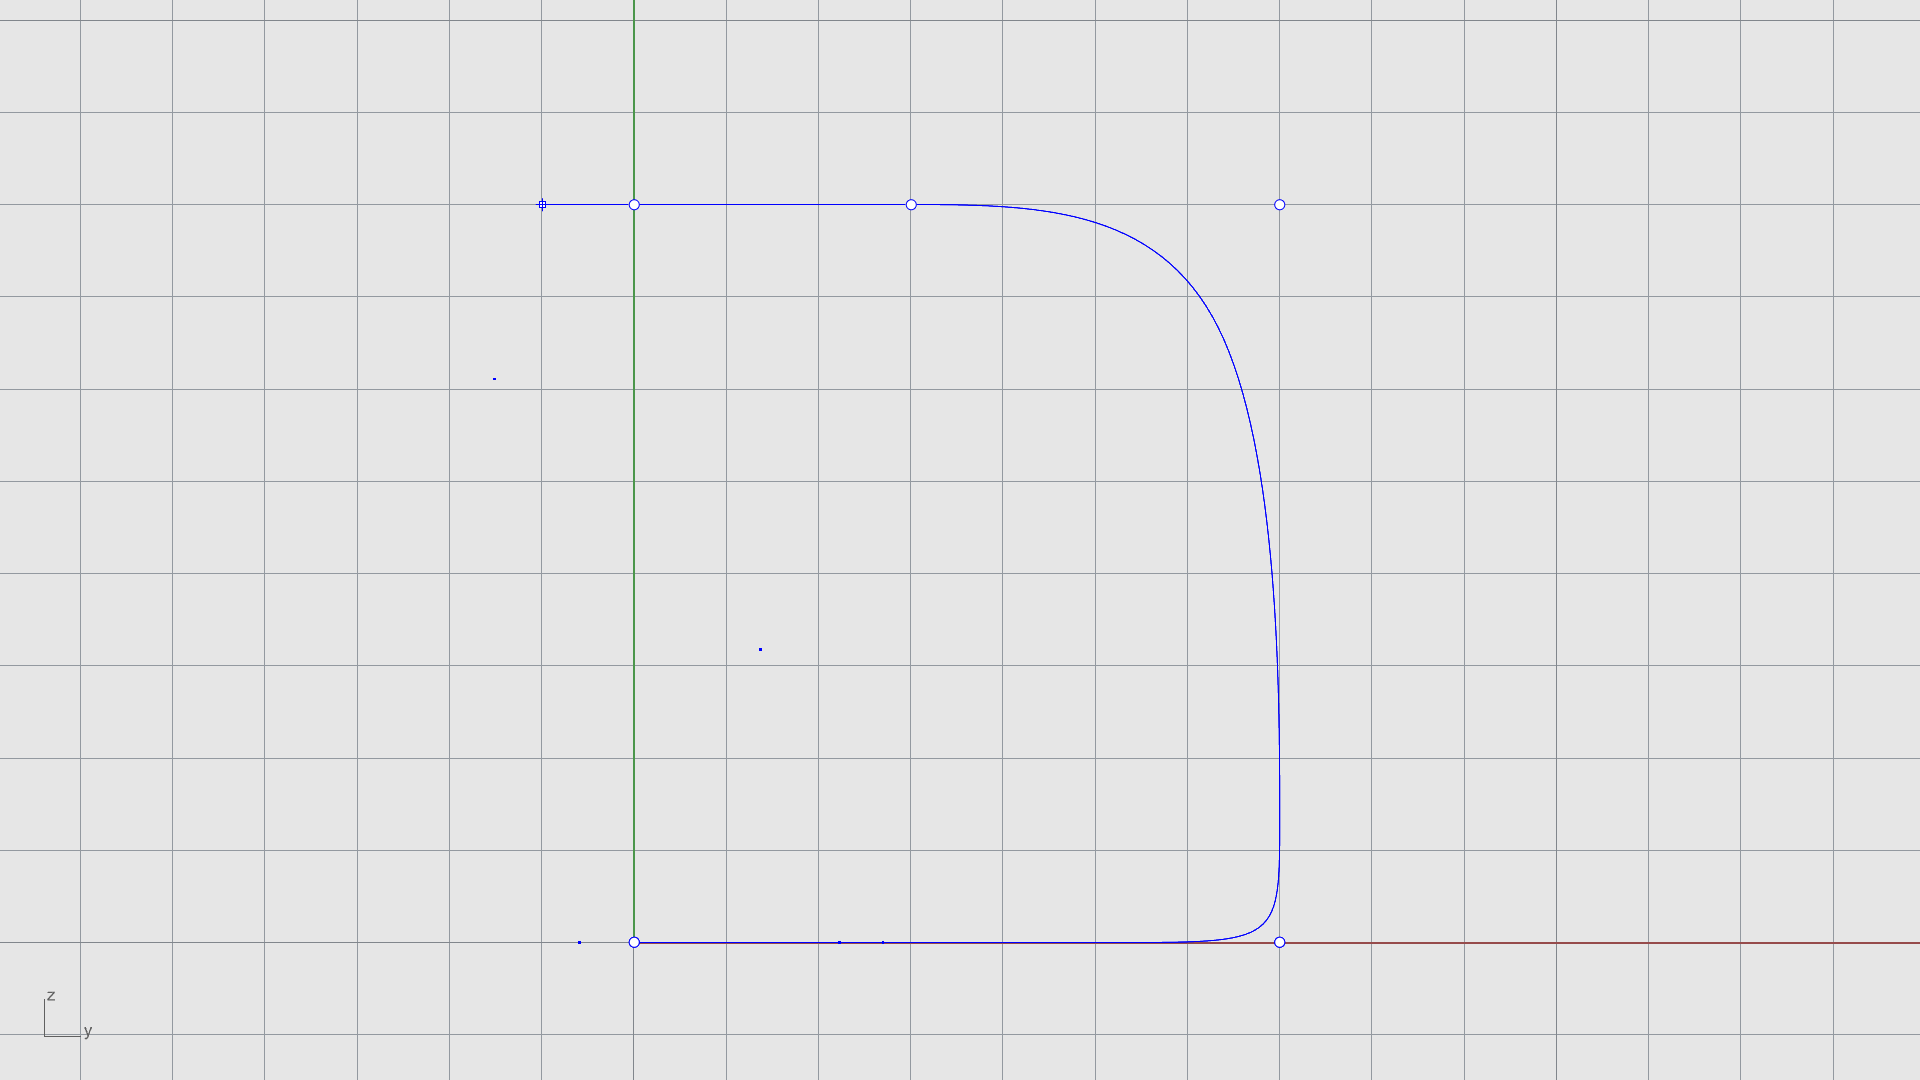
Arcs, Circles and Conics
Learn how to create conic curves in Rhino
To create a pattern using conics:
- Change layer to Layer 01.
- Turn Grid Snap on.
- Run the
 Circle
command.
Circle
command. - At the Center of circle prompt , type 0.
- At the Radius prompt , type 20.
- Run the
 Ellipse
command.
At the Ellipse center
prompt
, type 0.
Ellipse
command.
At the Ellipse center
prompt
, type 0. - At the End of first axis prompt , type 50 and click along the X axis (red).
- At the End of second axis prompt , type 30 and click along the Y axis (green).
- Run the
 Arc
command.
Arc
command. - At the Center of arc prompt , type 0.
- At the Start of arc prompt , snap to the top of the ellipse.
- At the End point or angle prompt , type 90.
- Press to run the Arc command again.
- Create the second arc on the bottom side, as follows…
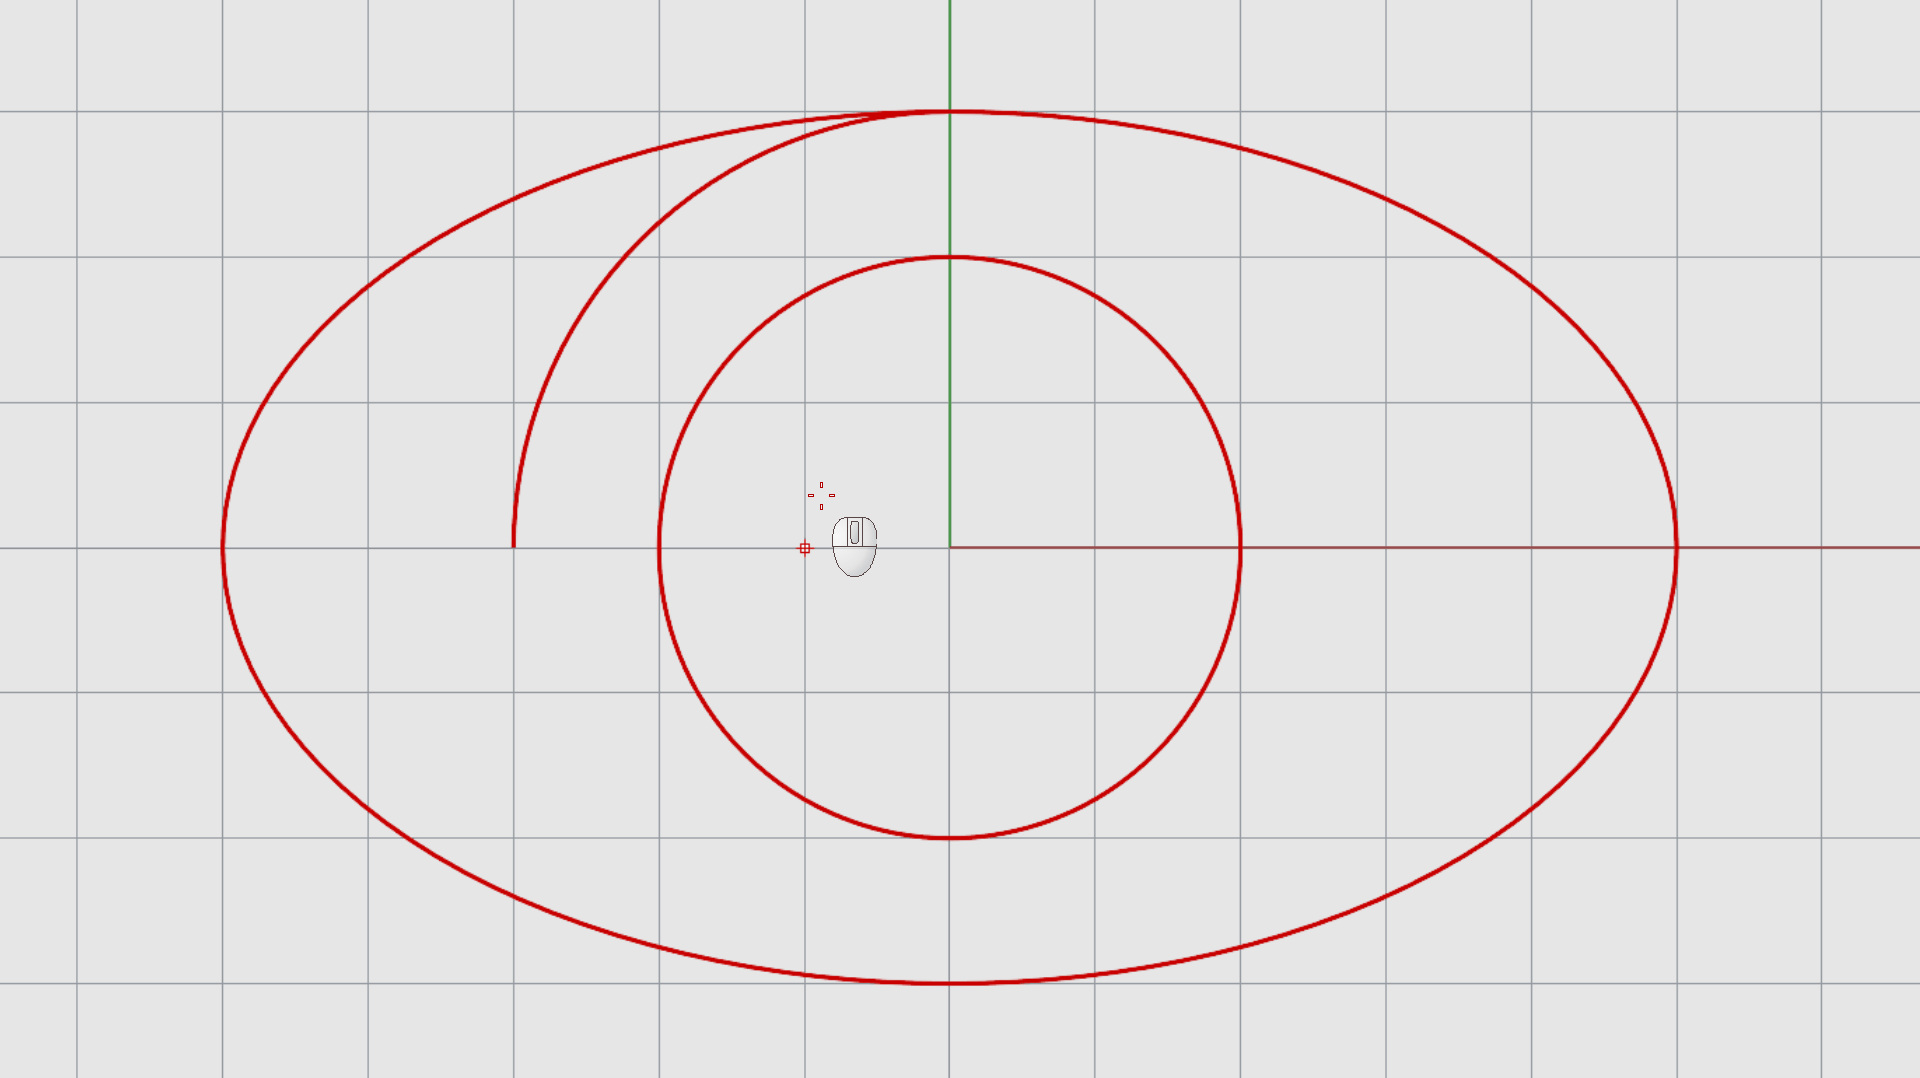
- Try it on your own! Use other commands such as
 Rectangle
or
Rectangle
or
 Polygon
to add more details.
Polygon
to add more details. - Continue with the same file…
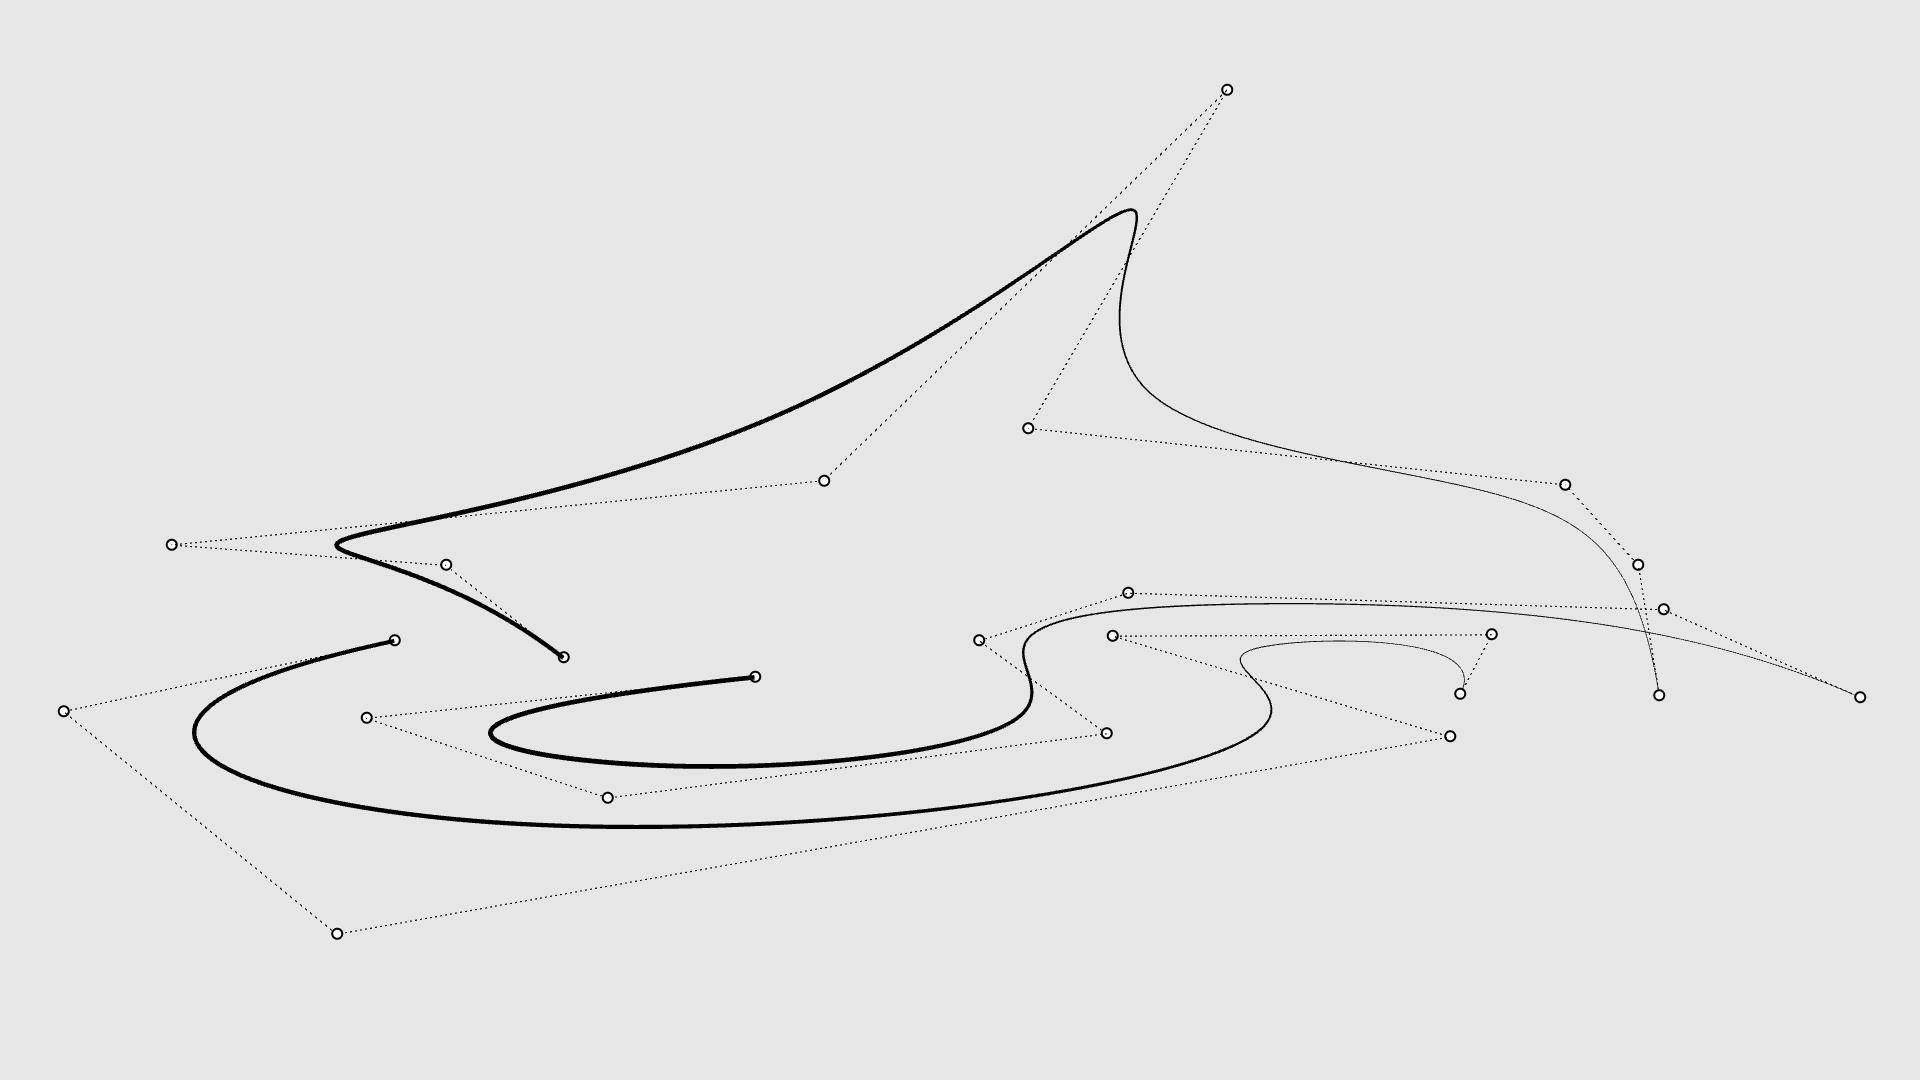
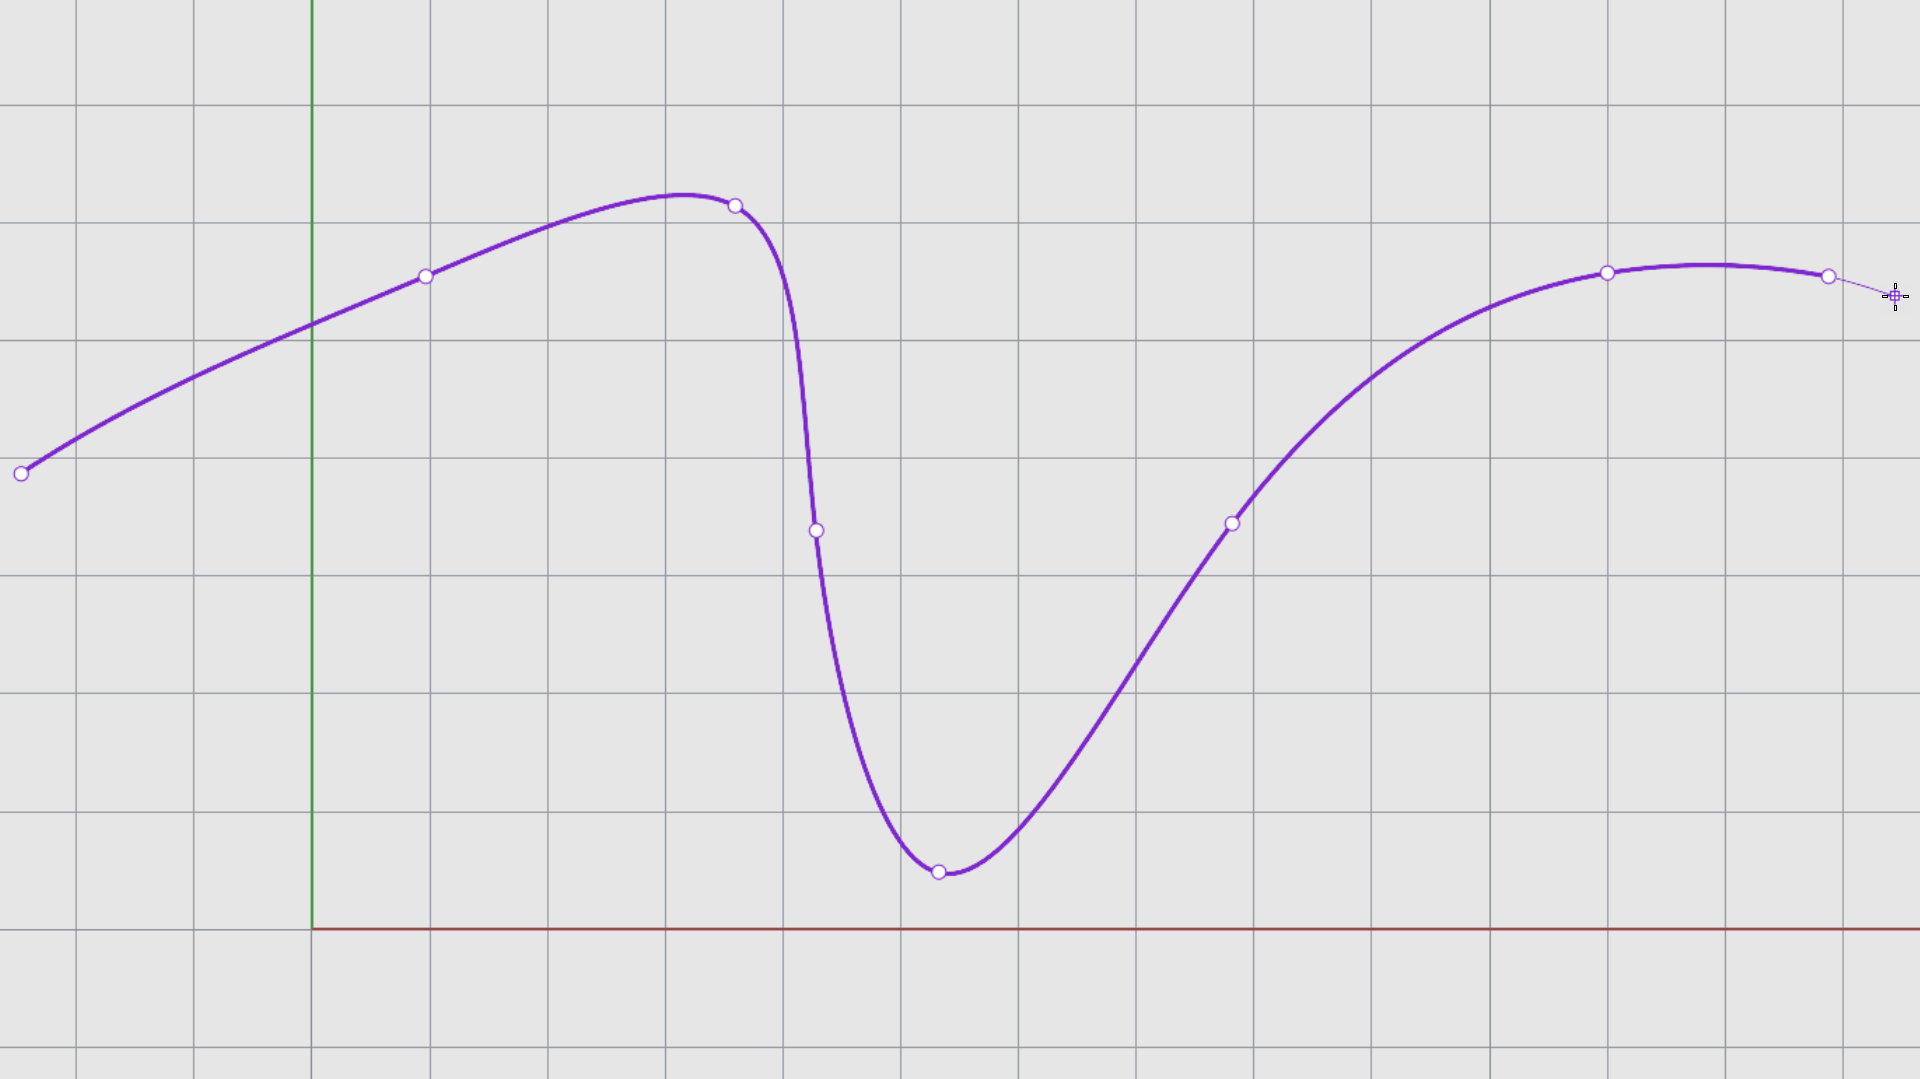
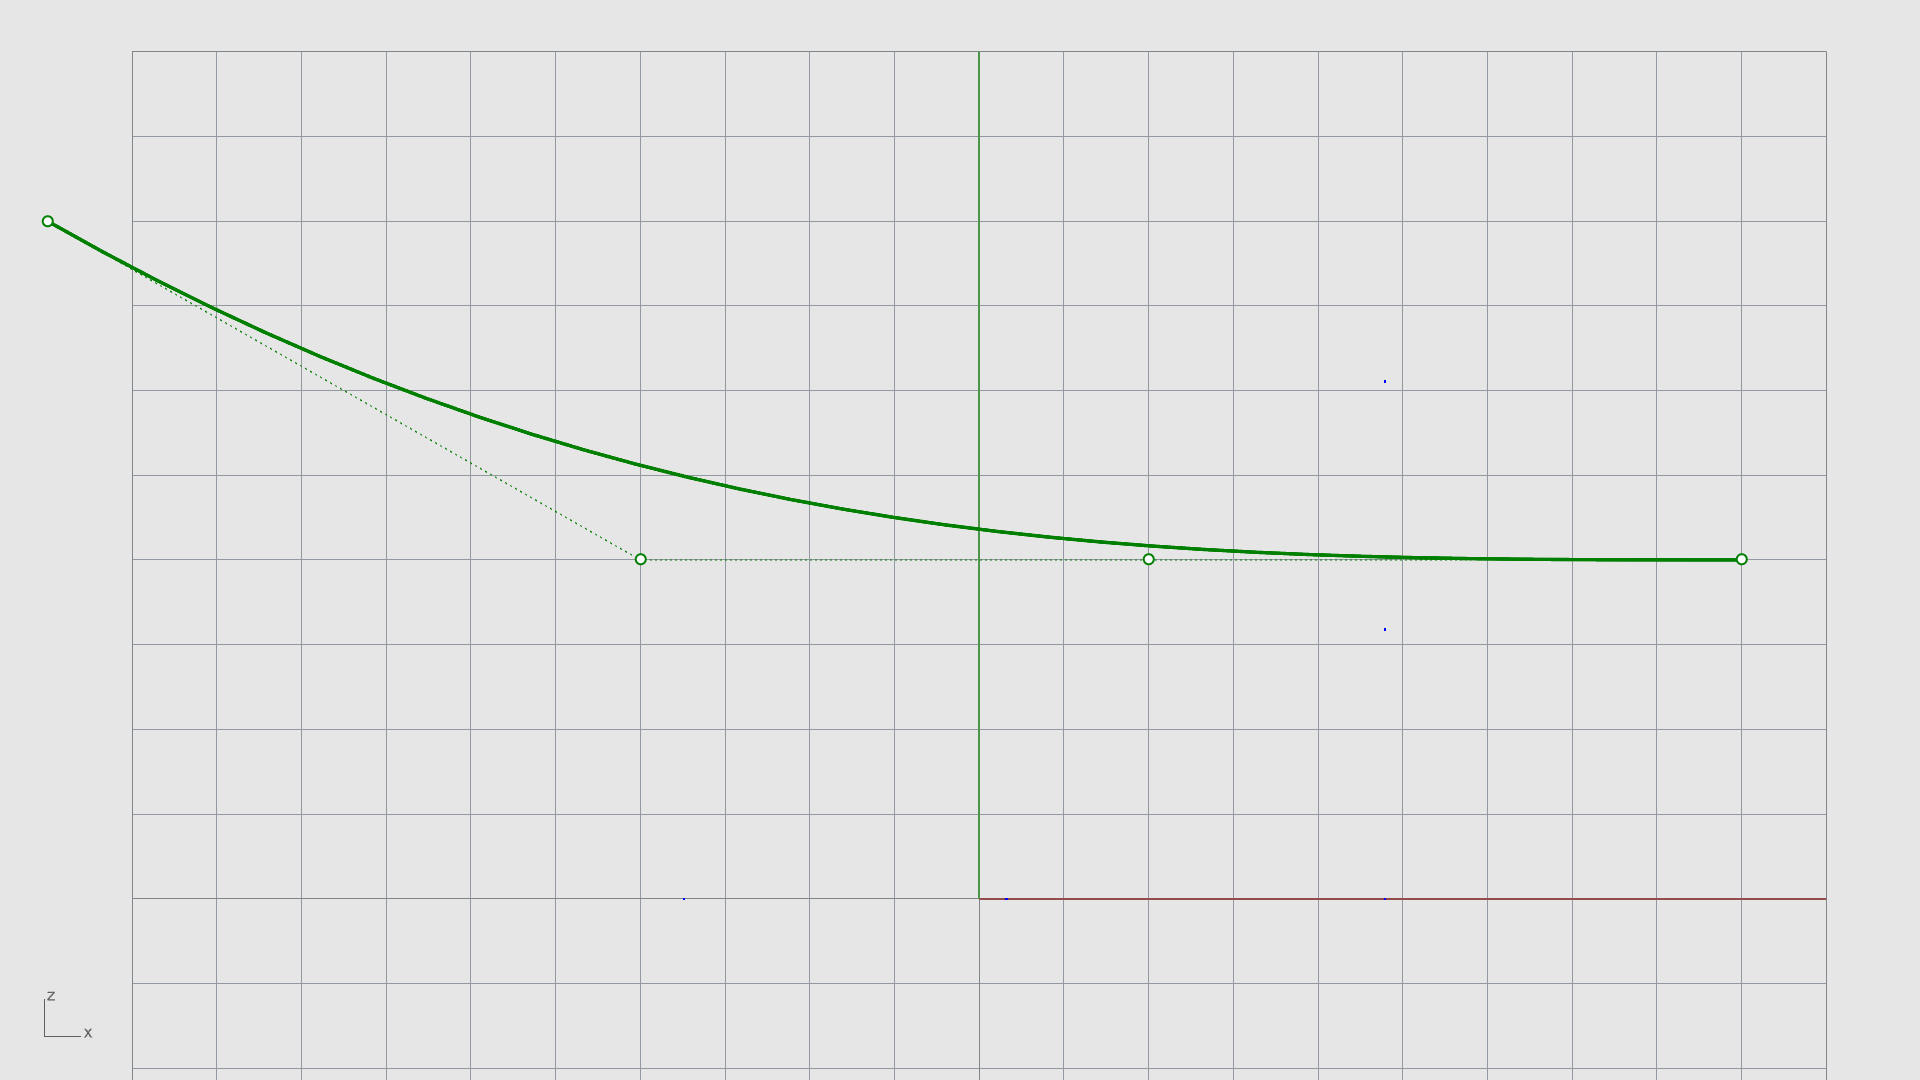
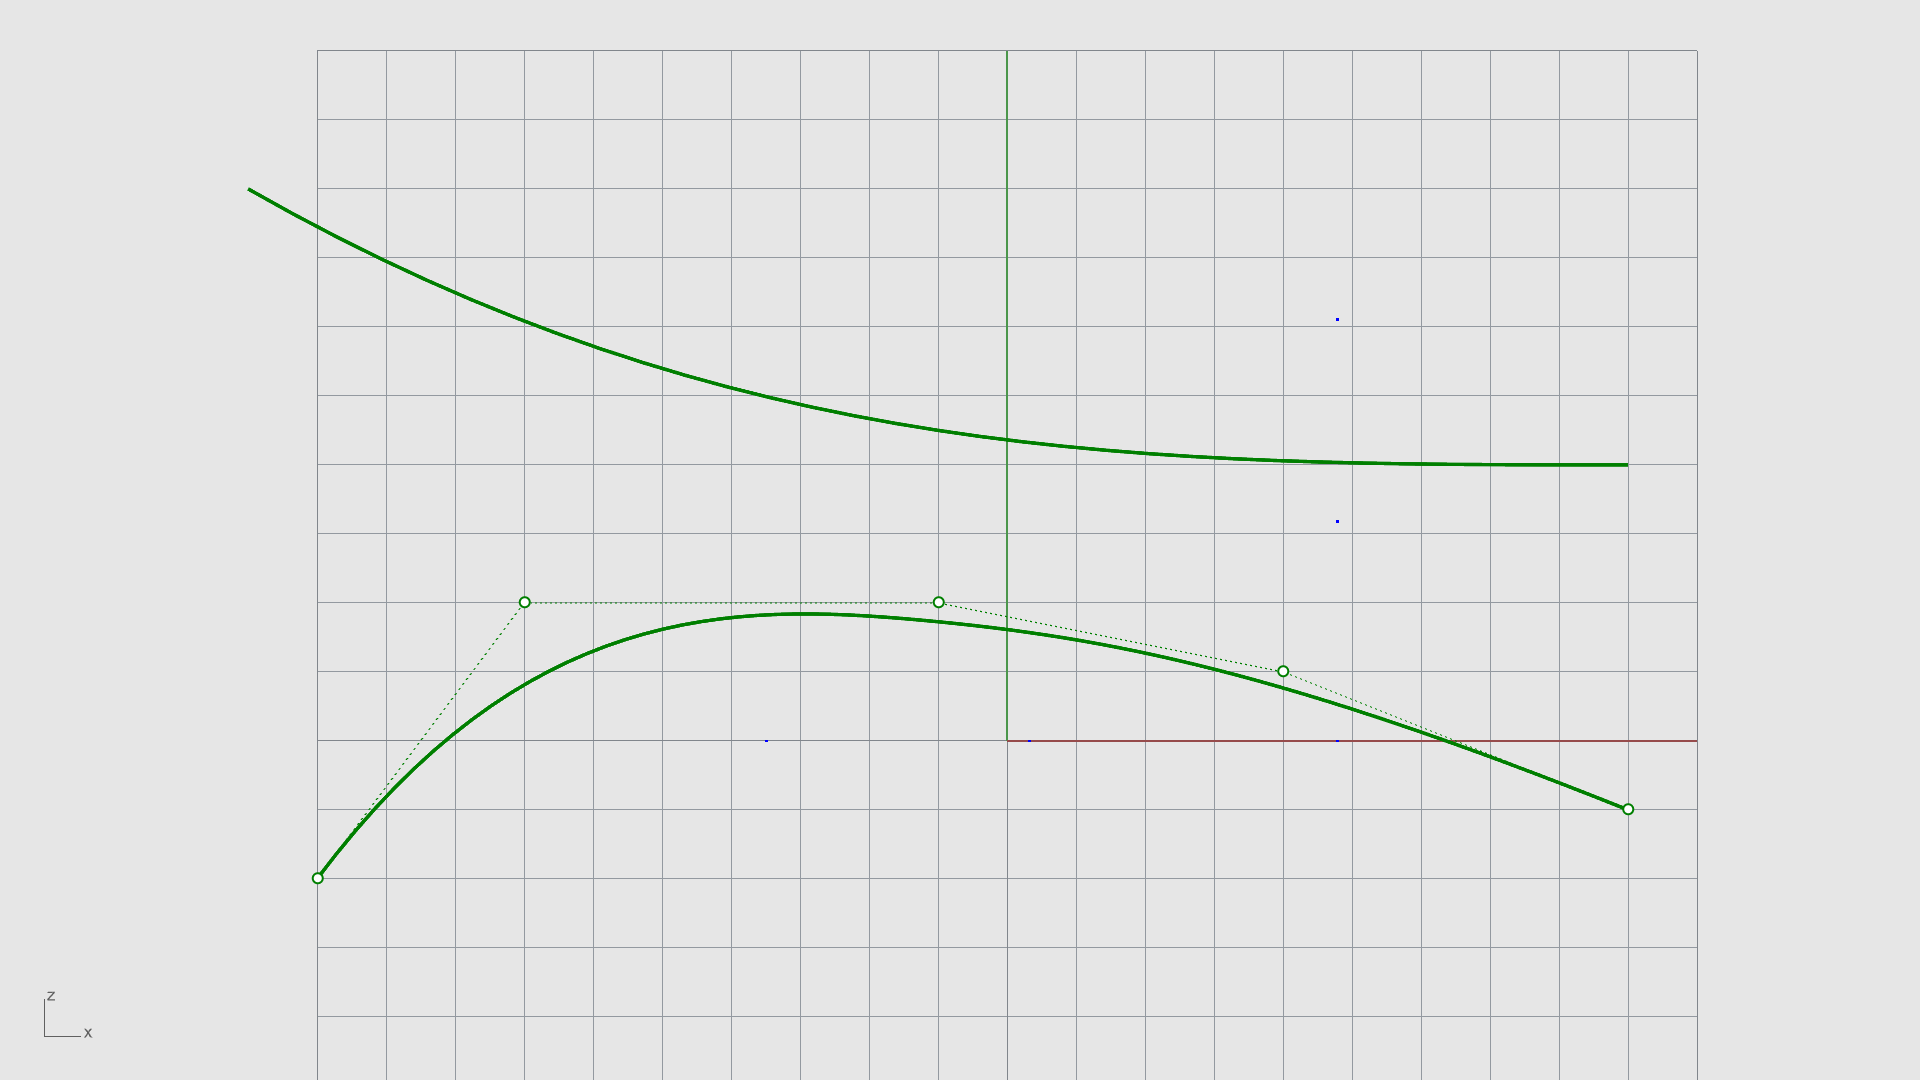
Freeform Curves
Freeform curves are the heart and the soul of Rhino. They allow you to place points in space and create a smooth shape in between. It is the way you define the shape of your product or model.
To use freeform curves:
- Change layer to Layer 02.
- Turn Grid Snap off.
- Run the
 Curve
command.
Curve
command. - At the Start of curve prompt , pick a point anywhere on the grid.
- At the Next point prompt , keep placing points randomly on the grid. Notice how it creates a network of points that contain the curve. The curve does not go through the control points.
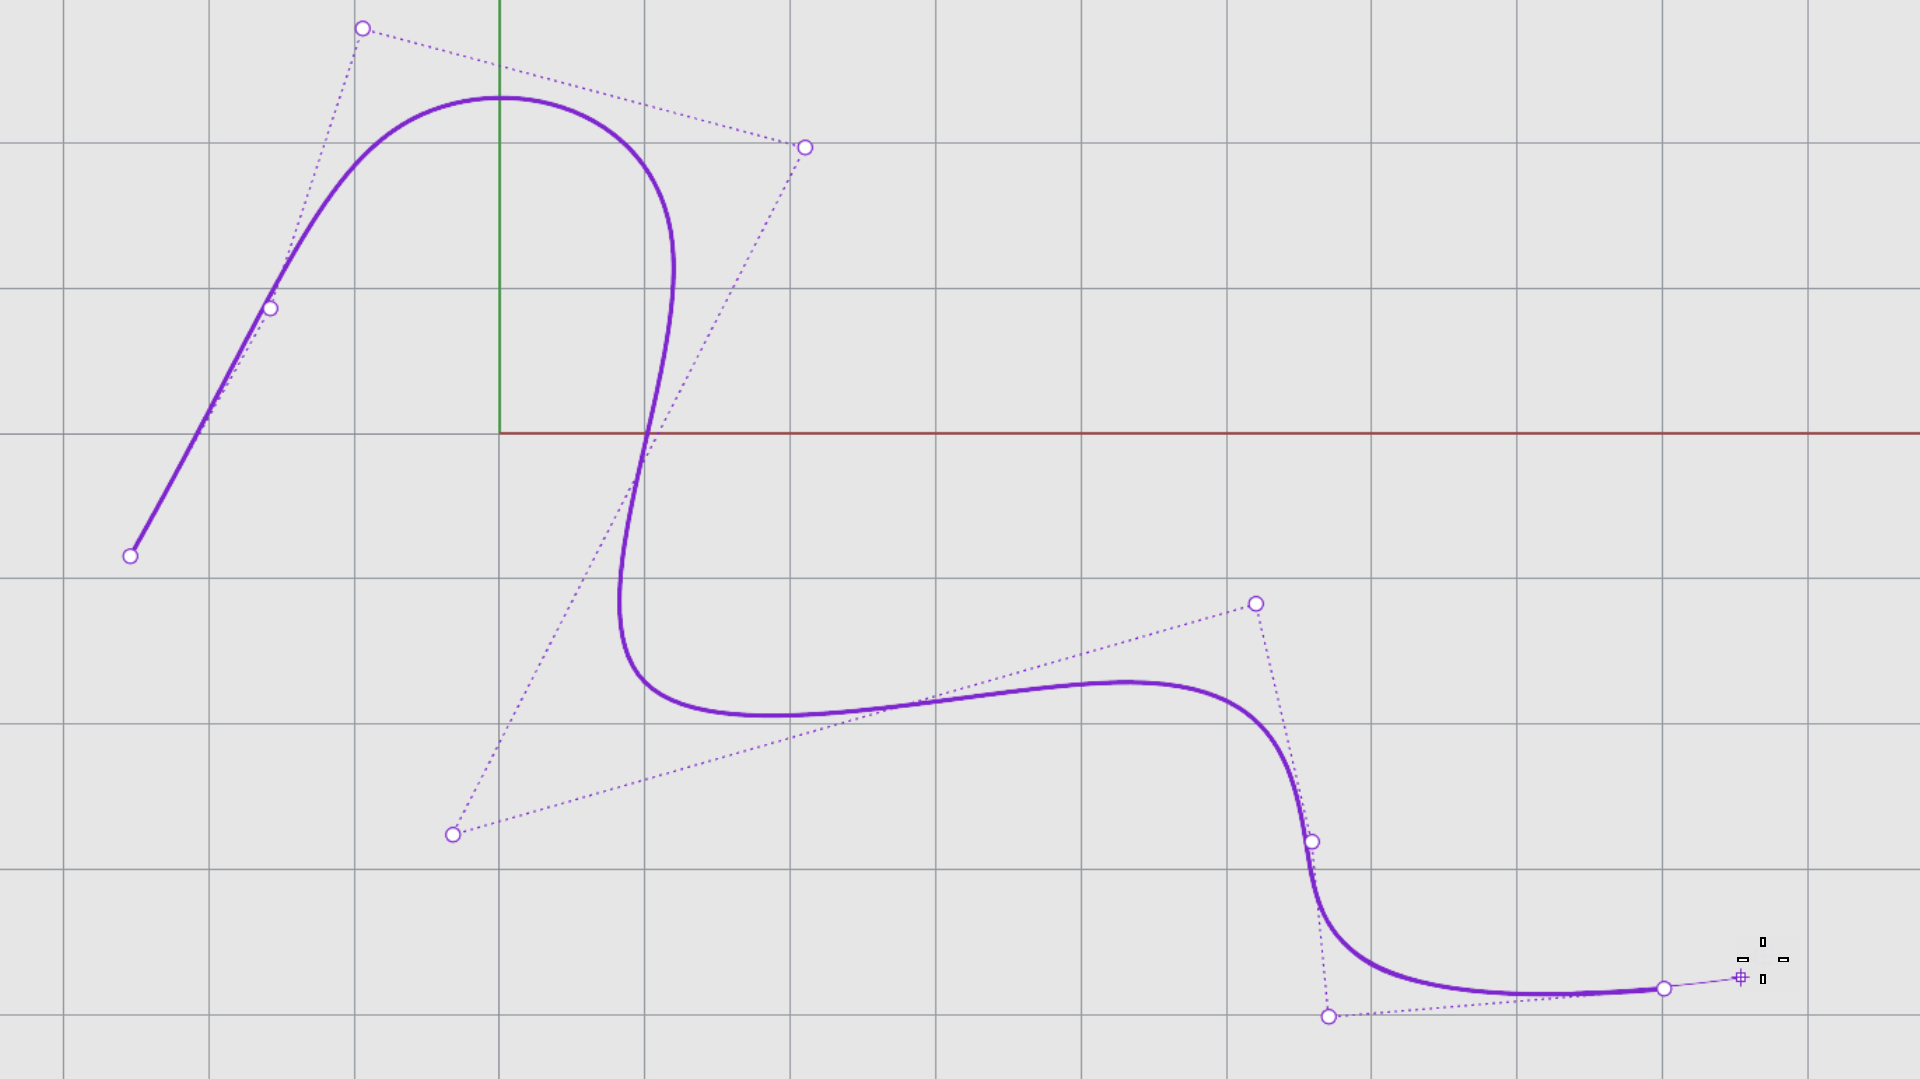
- Right-click to end the command.
- Run the
 InterpCrv
command.
InterpCrv
command. - At the Start of curve prompt , pick a point anywhere on the grid.
- At the Next point prompt , keep placing points randomly on the grid.
- Continue with same file…
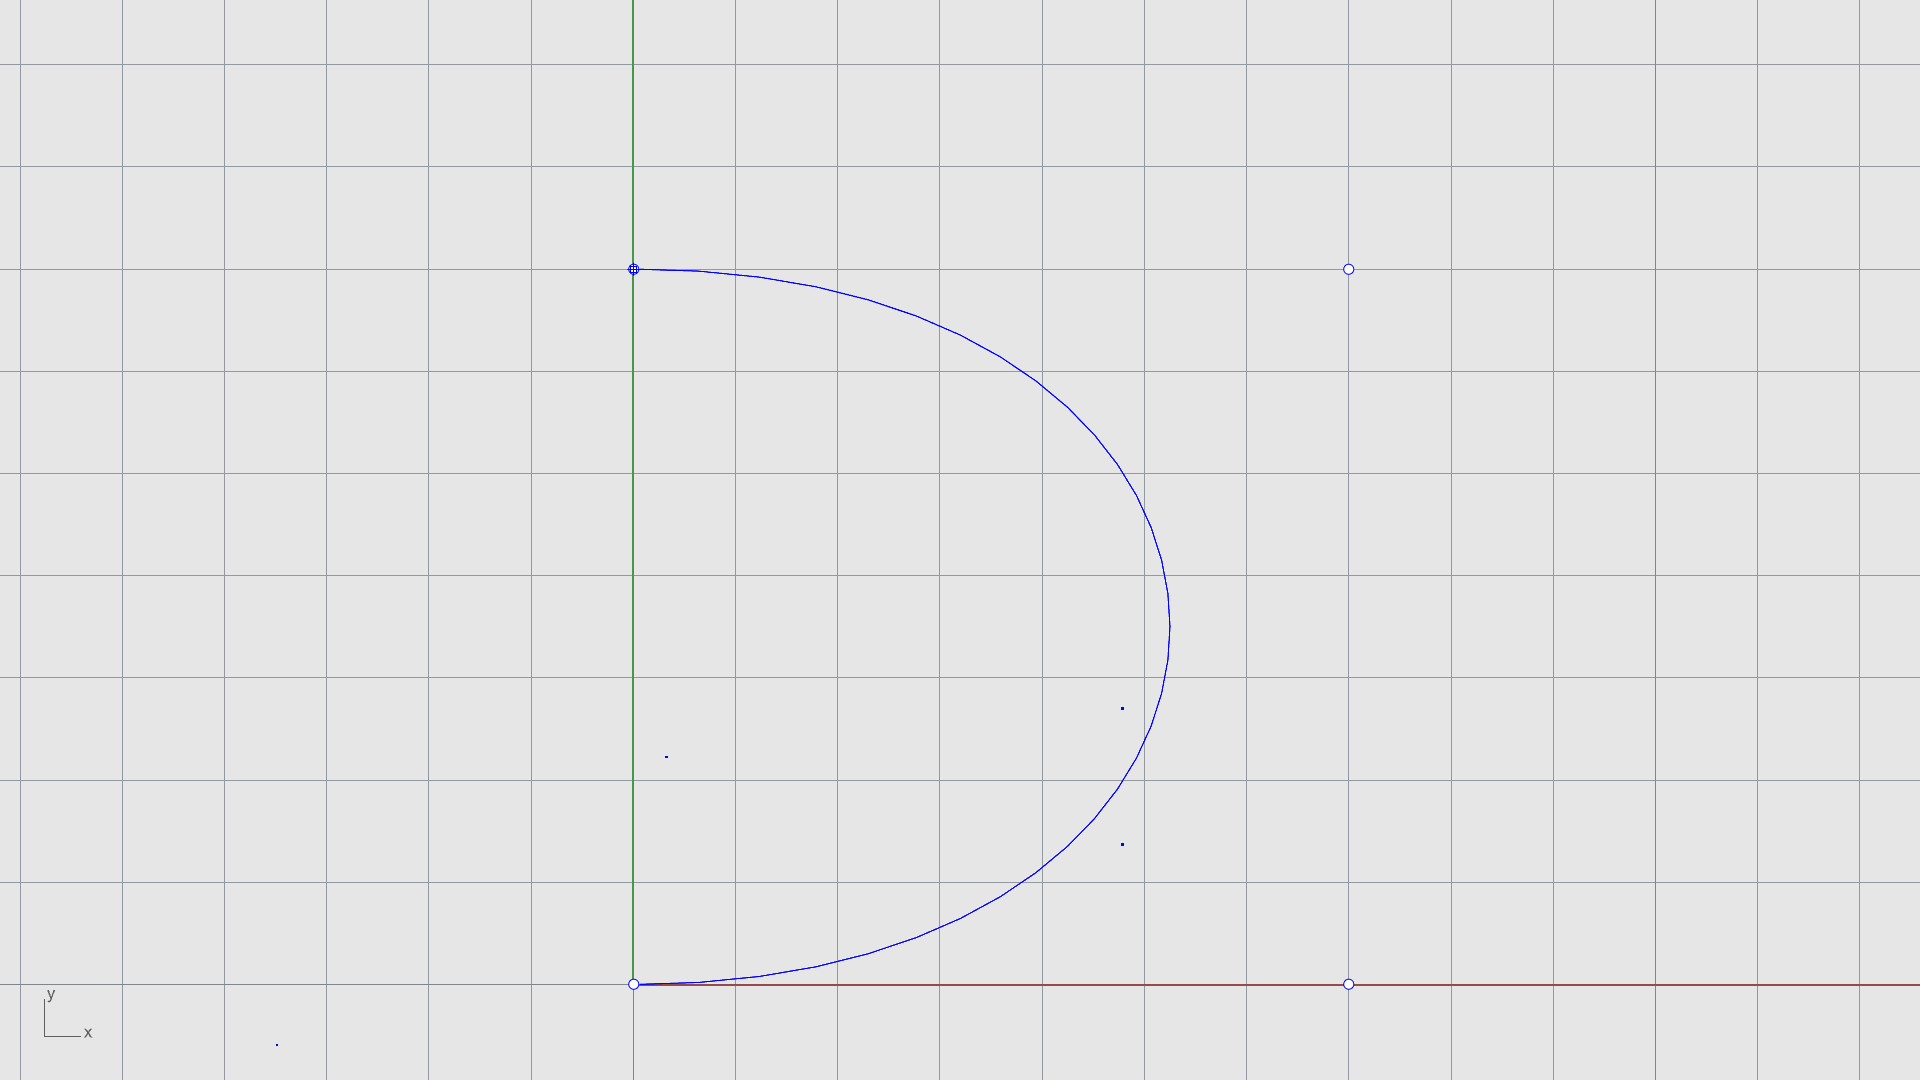
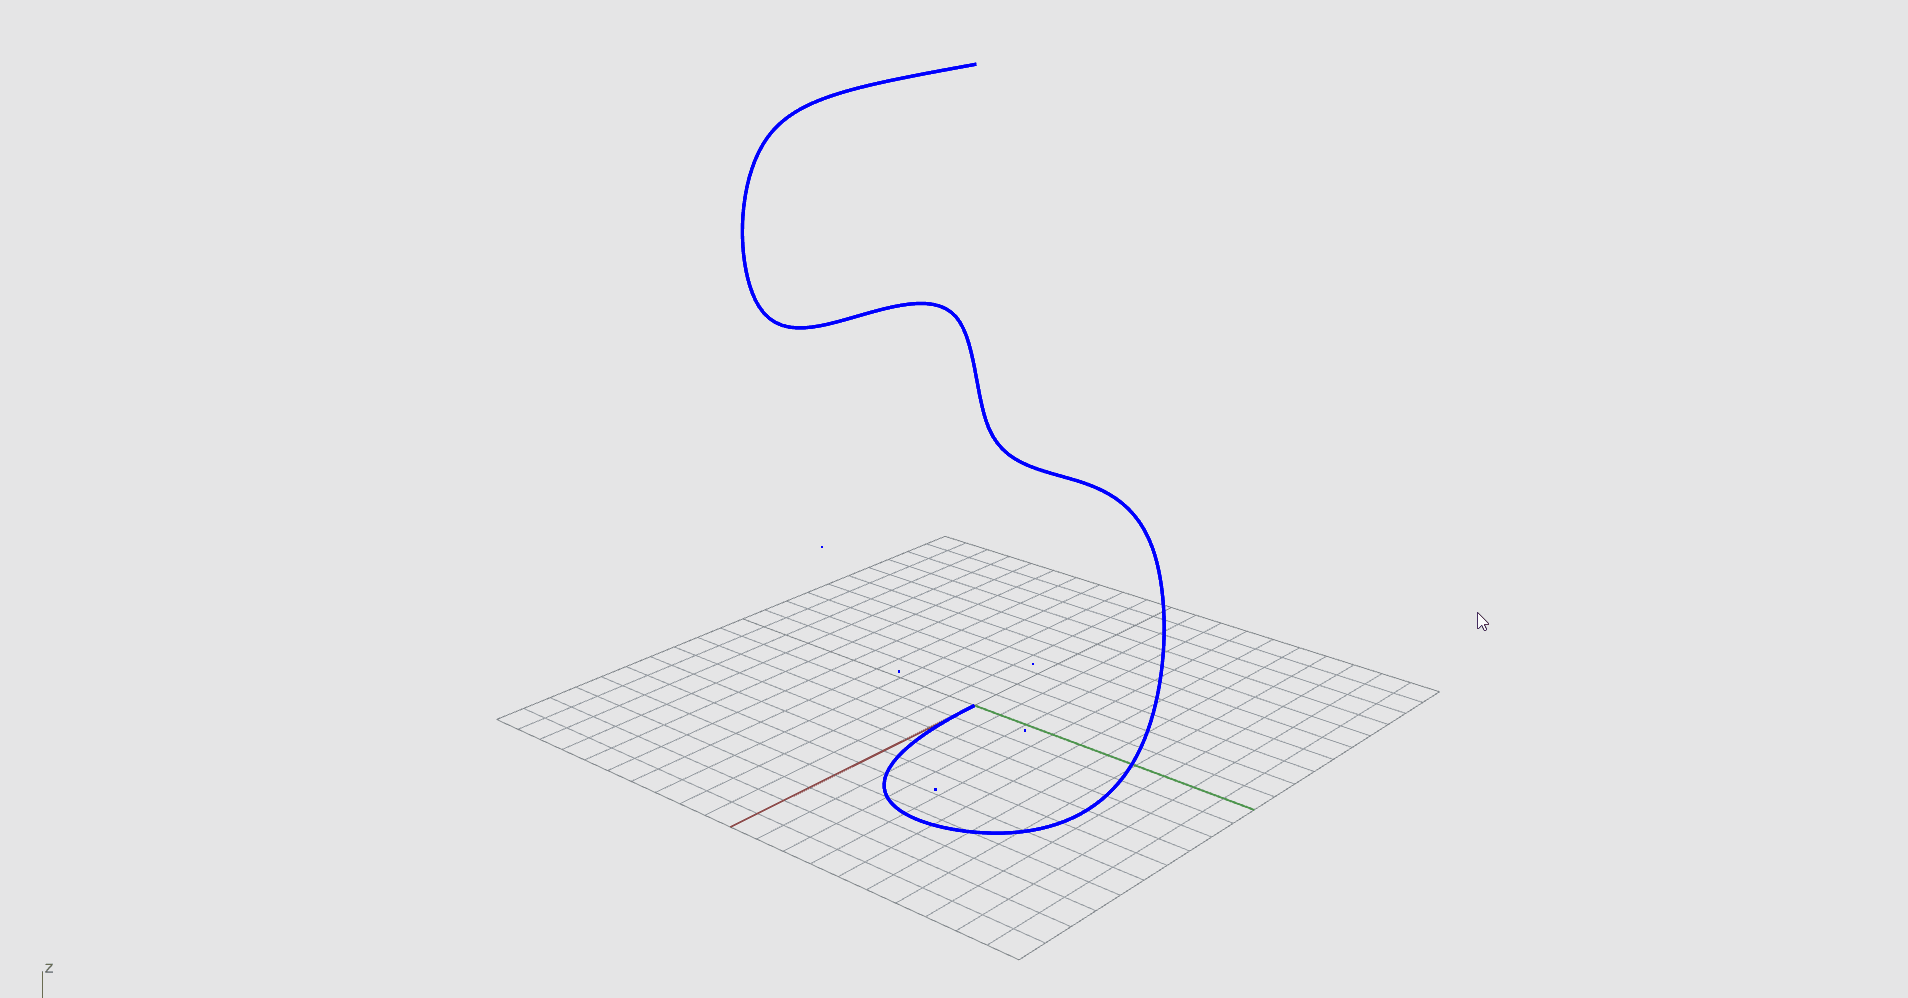
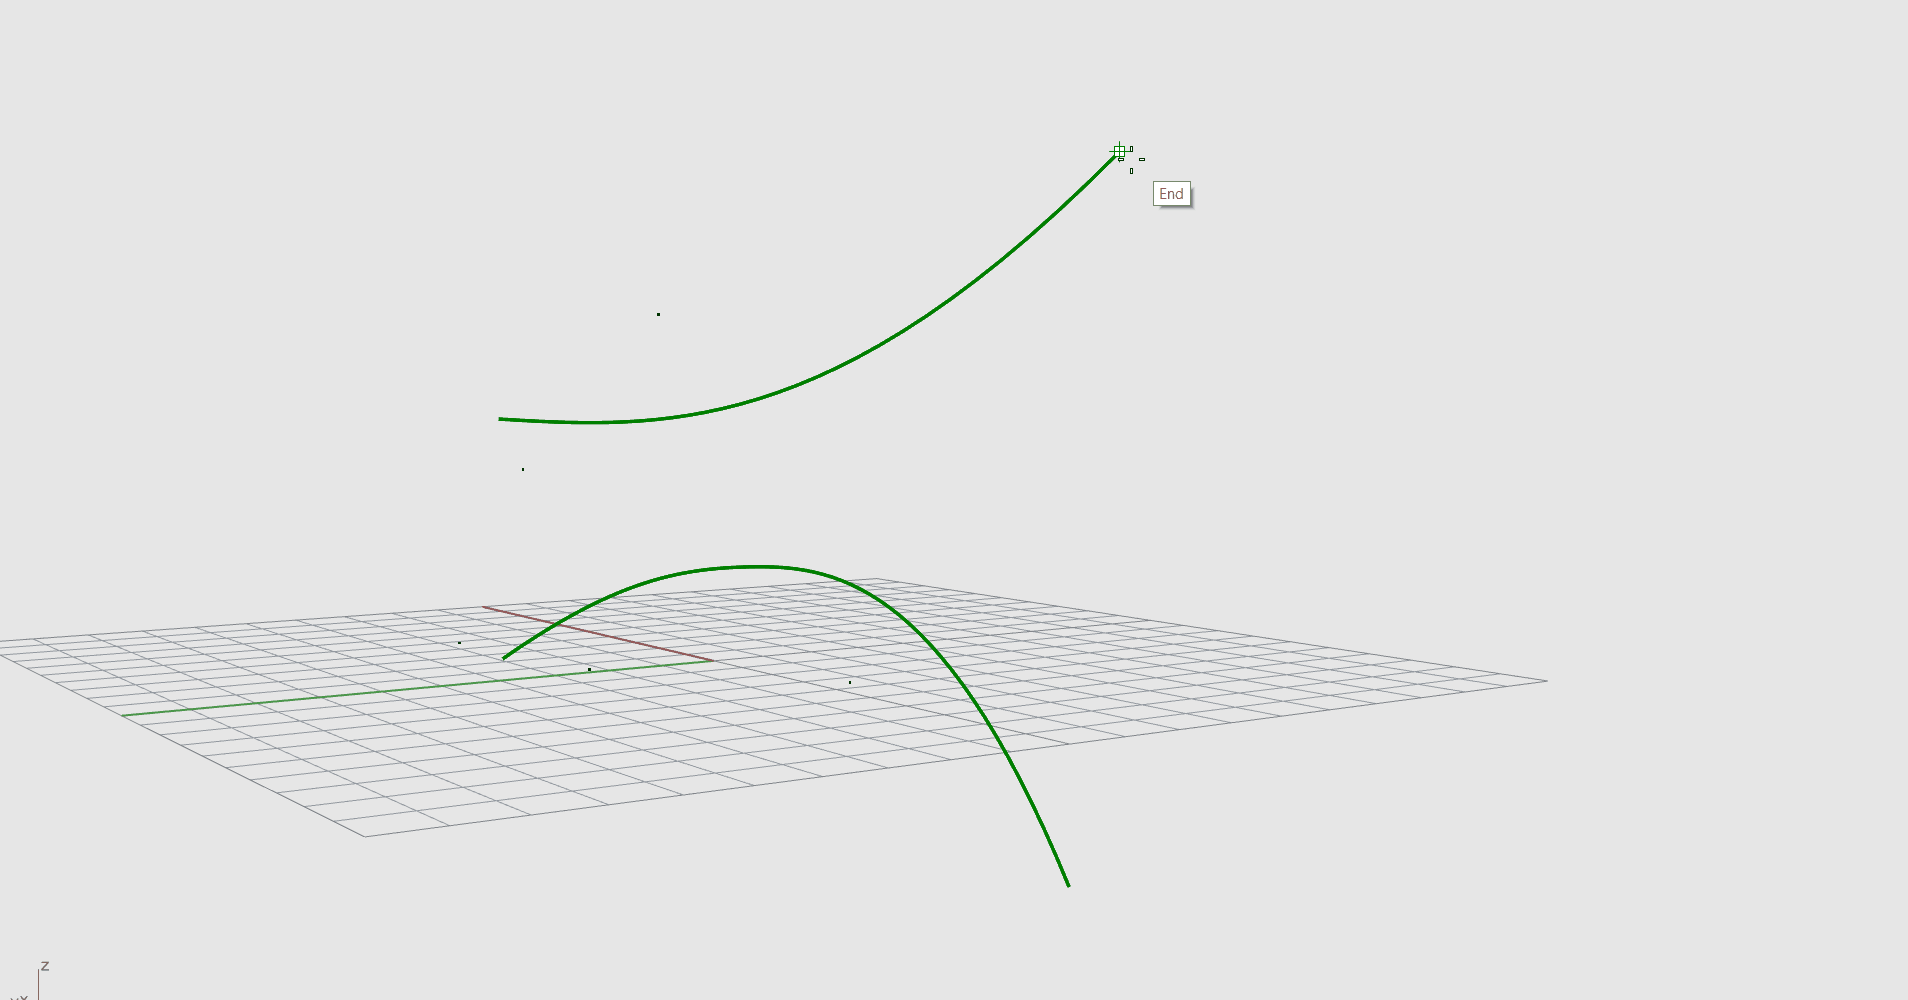
Curves in 3D
There are multiple ways of creating 3D curves. The main one is to use multiple Viewports to draw the curve in 3D space.
To draw a 3D curve:
- Change layer to Layer 03.
- Turn Grid Snap on.
- Maximize the viewport.
- Run the
Curve
command.
- At the Start of curve prompt , pick a point anywhere on the grid.
- At the Next point prompt , place two more points.
- Use the Viewport Tabs to switch to the and continue placing points.
- Switch to the and continue placing points.
- Right-click to end the command.
- Switch to the to view your 3D curve.
- Continue with same file…
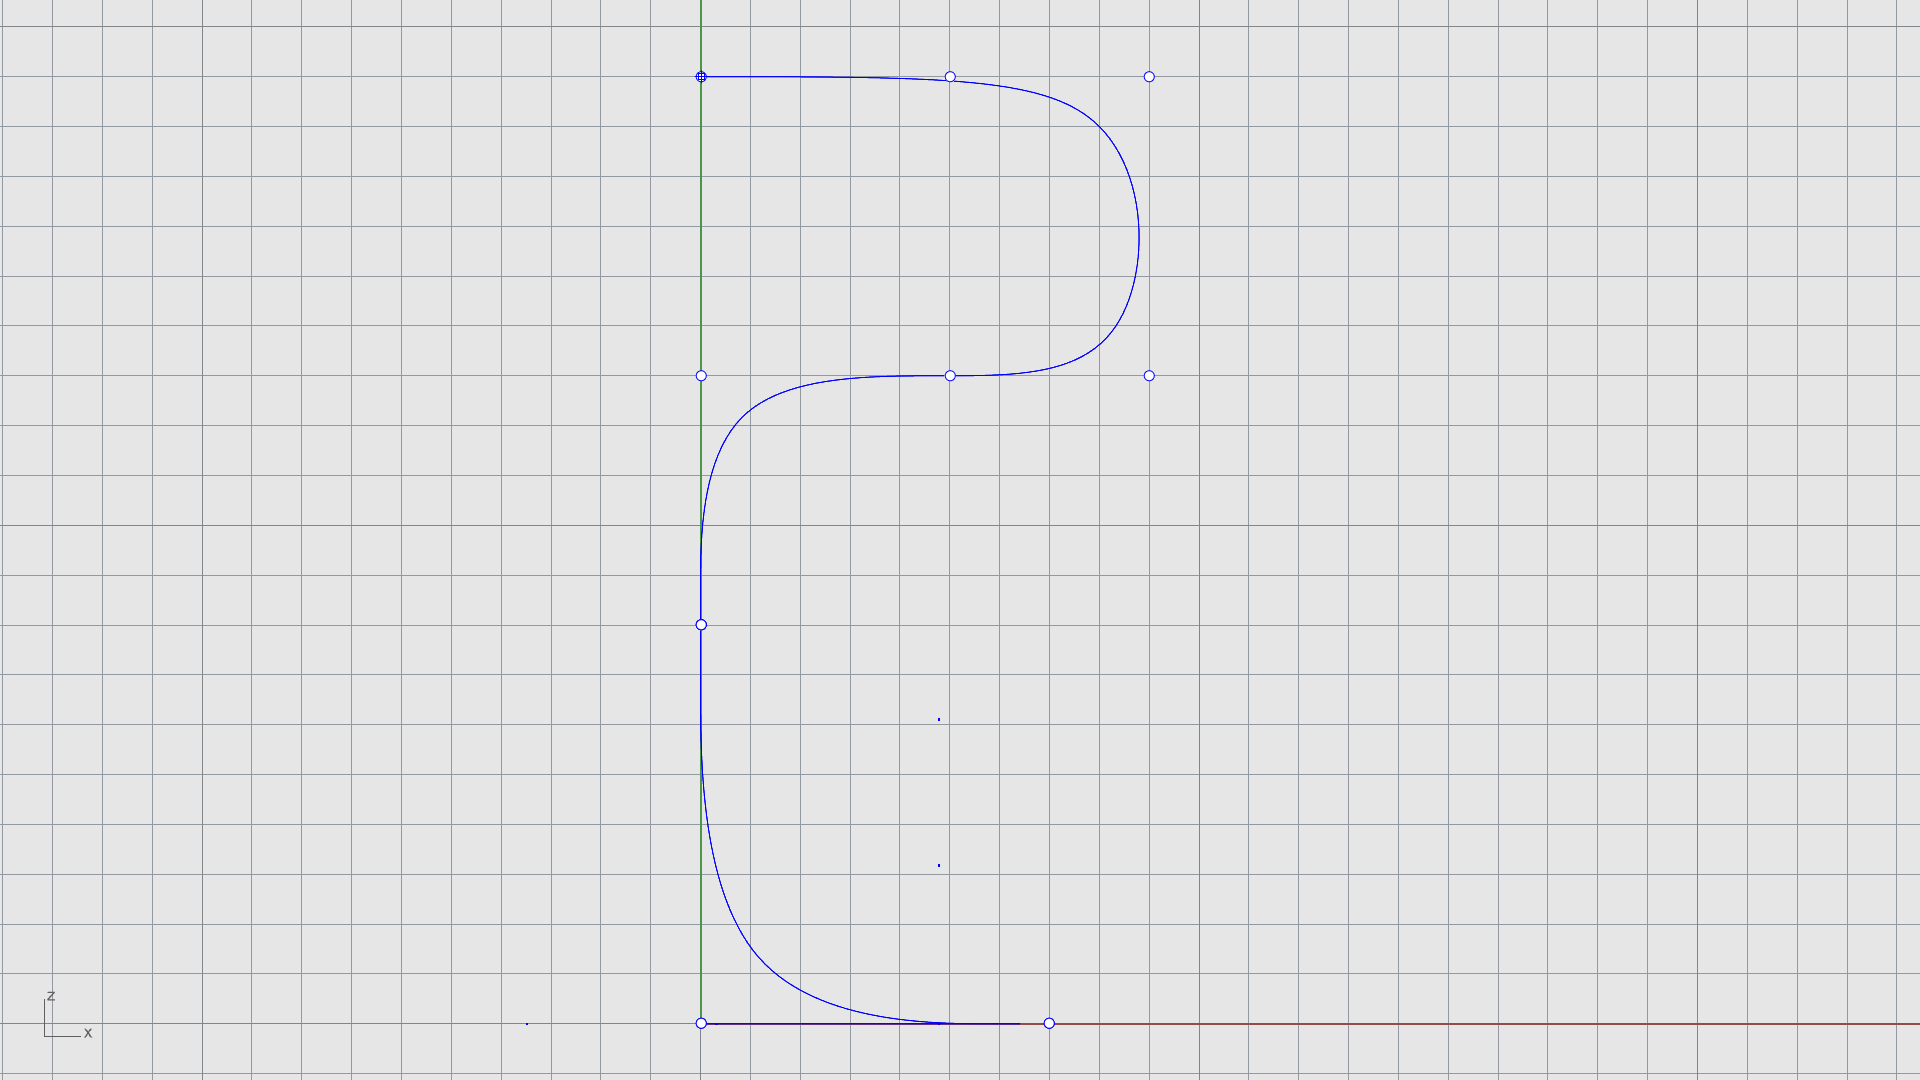
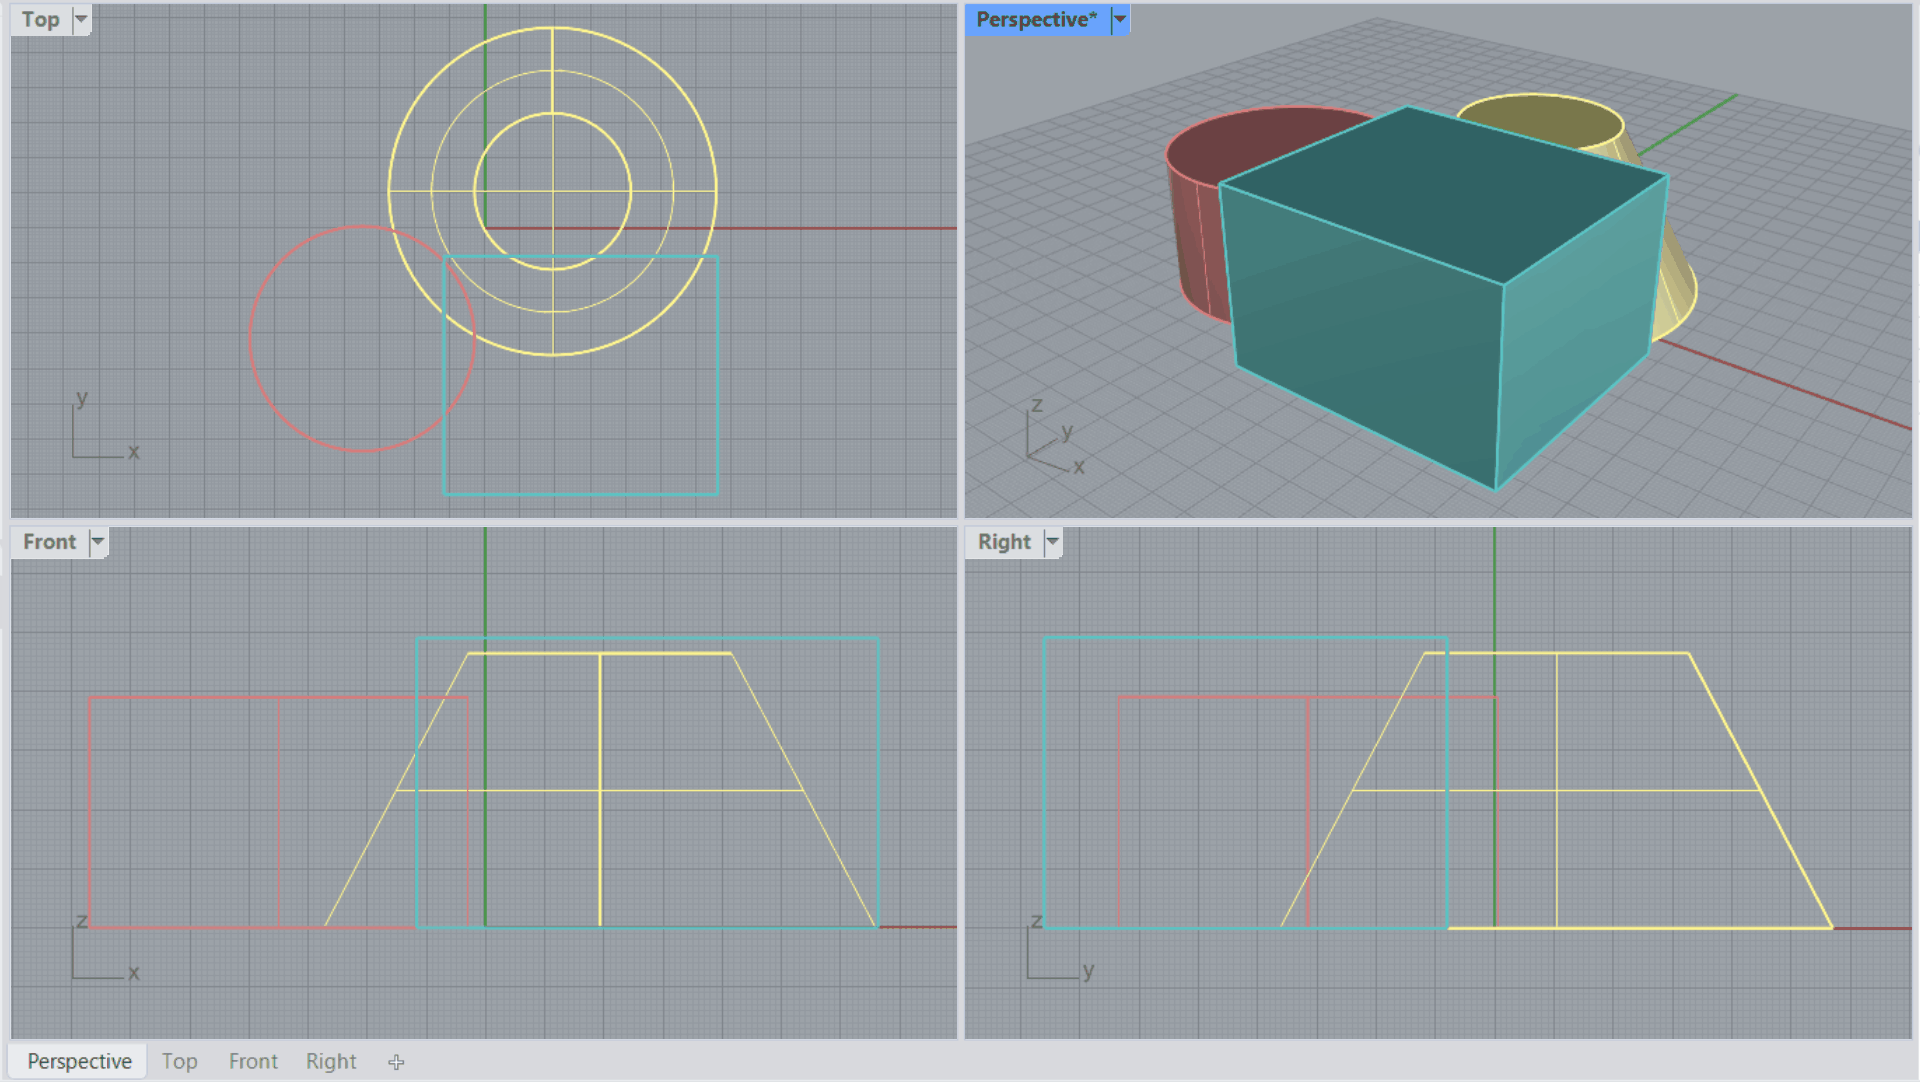
Curve Orientation
Curves are often the starting point for creating 3D objects in Rhino. When creating surfaces from curves, you will likely need sets of curves that are oriented parallel or perpendicular to each other.
To draw curves with different orientations:
- Change layer to Layer 04.
- Turn Grid Snap on.
- Maximize or switch to the viewport.
- Run the
Curve
command.
- At the Start of curve prompt , pick a point anywhere on the grid.
- At the Next point prompt , place a few more points.
- Right-click to end the command.
- Right-click or press
to run the
Curve
command again.
- Create a second curve on this viewport.
- Switch to the viewport.
- Make sure the End Osnap Control is enabled.
- Run the
Circle
.
- Select the 2Point option in the prompt .
- At the Start of diameter, snap to the end of your first curve.
- At the End of diameter, snap to the end of your second curve.
- Try it on your own! Run the
 Sweep2
command and follow the
prompts
to obtain your first 3D surface!
Sweep2
command and follow the
prompts
to obtain your first 3D surface!
